Sure, you can get a network attached storage device, or rely on somebody's cloud -- but, I've run a Mac-based home server for a very long time. Why have I kept one running, and why should you start one? Read on.
Historically speaking
Once upon a time, I had a spare PowerMac 6500. Maybe it was a Performa -- that specific is lost to me. This was just-pre MP3 explosion, but I still was generating a lot of data that I'd prefer not lurk constantly on my PowerBook 3400 first, then original PowerBook G3. What to do?
Left over from a client's job was a 15GB IDE hard drive. I could have tossed it in the Beige G3 desktop we had at the house, but I was forbidden from tinkering with the machine still under Apple warranty by the primary user -- the spouse. So, into the Ethernet-equipped 6500 it went.
Children of the revolution
Just having this 15GB available at a whim revolutionized how we did things in the house. Important files got shunted to it, which then got burned on a CD-ROM burner that I acquired. The zip drive got removed, and a spare 2GB SCSI drive got tossed in there to maximize the storage.
Wide adoption of MP3 arrived, so we started ripping the family's massive CD collection in a stunningly low bit rate, and marveled at having them all at our disposal at a whim.
The CDs in question, still crated up
Ultimately, we took the monitor away, and controlled it with Apple Network Assistant, then Apple Remote Desktop, and now Screen Sharing.
Nothing lasts forever
Then, in about the winter of 2002, hardware started aging less gracefully. The 6500 didn't boot one day, so the project to move the home server to the Beige G3 accelerated. At the same time, the G3 shifted to OS X. All of a sudden, I had an array of PCI slots at my beck and call for USB, or what have you. Storage was cheaper than ever, too.
Time marched on. The G4 tower that was the family's main Mac was replaced with a G4 iMac, so the G4 tower became the server. Did you know that with the right trays, removal of the optical drive, and a PCI ATA card, you can get six hard drives inside with no power issues?
This whole process has carved through several G4 towers through 2008, shifting to a brief dalliance in the Hackintosh community in 2008 and 2009, back to native hardware with a re-cored Mac Pro (1,1) loaded with eight SATA drives in 2010 through 2014, culminating in a 2012 quad-core i7 Mac mini with an external storage tower with four drives right now.
It will evolve again, someday.
But... why?
Music is streamed all over the house, and has been for 13 years. We started ripping our DVDs when we migrated from the 6500 to a G4, and connected a G4 Mac mini to a SD TV, just in time for the Apple TV to arrive after the first HD television came into the house. We've got literally hundreds of gigabytes of family photos -- including some pictures taken more than 50 years ago -- now scanned and cleaned up.
Along the way, I've messed around with a Nicecast radio station for friends (Beats zero?), a "Minecraft" server, "Unreal Tournament Classic" well past its golden years, and encoding media of all sorts for playback on an Apple TV, all with exactly zero impact on my day-to-day production equipment.
Nicecast, by Rogue Amoeba
We now run Time Machine backups from this machine, media streaming from iTunes and some other apps like Plex and StreamToMe, and also provide a proxy Wi-Fi network for the kids, with very strict filtering and monitoring.
Is cloud storage the wave of the future? Sure, but I've had a personal cloud for well more than a decade, and almost two.
Most of the hardware I've used along the way has been part of the "upgrade cascade." Instead of a relation getting the latest retired gear, I've moved it to a server. So, through all 18 years of this project, I think I've spent about $1000, and only on storage, inexpensive software solutions, and funky cabling throughout the years. Not too shabby.
Okay, I'm sold. I'll go get a Mac mini. Now what?
Not so fast, champ! If you've ever thought that mounting a Mac mini with velcro to the underside of a cabinet might be fun -- this is for you! If the thought of zip-tying a drive in place until you find just the right bracket, or coming up with similar solutions improvised in the heat of mortal combat with a pile of plastic and silicon scares you to death, stick with a NAS.
Spousal approval is an issue sometimes, as well.
With any project, right after the "yeah, what a good idea" part comes the "huh, what do I need" assessment. Before we roll into the nitty-gritty of the home server project, we're going to discuss what you want, versus what you need, cross-referenced with what you have.
The answers to three questions will help avoid multiple (seemingly mandatory) repeat trips to the local computer or electronics superstore.
Step One: What do you want?
A home server grows. You start with a simple idea in a TextEdit document, and then the scope somehow... expands. Like a marshmallow in a vacuum chamber, the thoughts about the capability of a home server grow to fit the container.
So, before you hit Amazon and check out multiple-drive arrays, VESA mounting brackets, and the like, its good to assess what you want to do with it.
What media is going to be hosted? Everybody has a lot of music at about 4MB per song, but video is potentially a much larger footprint on home servers in a smaller file count. Encoded at a medium bitrate, a 1080p movie in H.264 is about 2GB per hour -- more for higher resolutions. That HD "Star Wars" rip collection of Episode I though VII plus "Rogue One" easily chews through 26GB by itself. A season of "Agents of SHIELD" -- another 30GB.
This adds up in a hurry, and gobbles storage like nothing else. Ripping takes time -- did you want this all in a RAID to preserve your labor if a drive dies?
What about hooking the machine to a television, eschewing an Apple TV in one location altogether? Some models are easy to do this with, and some aren't. Some need DVI to HDMI adapters, audio splitters, and the like to accomplish the retro task reborn.
Time Machine backups? Better give everybody a terabyte. You've got to consider random file dumping by members of the household too.
So. What you want can get expansive, expensive, and out of control in a hurry. This can be pared down to...
Part Two: What do you need?
On that Text Edit document is probably a dozen uses, possibly mandating a server farm, a kilowatt of power, geothermal cooling, and a dedicated cooling water supply drawn from the local aquifer. None of these are cheap. Time to prioritize.
In a studio apartment? Maybe the music doesn't have to move off your primary work machine. Video mostly from iTunes? Maybe you don't need to store it locally at all. That Time Machine backup? Maybe, maybe not. This assessment is different in every use case.
For example, in our case, we've hosted Time Machine backups on and off again. We started doing them on the server when Time Machine launched over wi-fi, for no other reason than we could.
At launch, Time Machine over wireless was terribly slow, and a burden on network resources and overall speed, so we stopped. When we upgraded to Cat-6 cabling and better gigabit Ethernet switches, all of a sudden, Time Machine backups happened at a better-than-glacial pace, so we started doing them again over the network.
So, in step two here, take that Text Edit document of all the glorious things you can accomplish with a home network and dedicated server hardware, and see if you really need to do it all.
Part Three: What do you have?
Reutilization of existing computers is a really compelling thing. A home server is easy, and mandates nearly no spousal negotiation, if you're taking idle hardware.
Got a Core Duo Mac mini? After you've blown the sticky dust out of it (and you've done this with that run of mini, right?), it can be connected to USB 2.0 multiple drive cases to serve media, and some light lifting.
Like I mentioned before, we had a Mac Pro (1,1) sitting about. At the start, it had four cores, dual gigabit Ethernet, and PCI-E. Four drive slots we supplemented with a SATA card and a bracket for the optical bay to cram it absolutely full of hard drives.
This is how you get four hard drives in a Mac Pro optical bay
Ultimately, we had a pair of 64GB SSDs, plus eight hard drives internal hanging off the machine's six SATA ports, two ATA ports, and SATA PCI-E expansion ports. On the Pro, there was no need for external cases, but man, the power demand was rough -- probably $10 per month. However, that's still way cheaper than a new Mac mini would be, if a bit bulky.
There are some commonalities between the two machines I've mentioned -- there are some upgrade paths. The Core Duo mini can be re-cored to a Core 2 Duo with some finesse required, and perhaps a new processor heat sink standoff or two.
The 1,1 Mac Pro can be (and was!) boosted to eight cores, making it much more powerful than it was at launch, challenging even some newer iron. Other Mac Pro models have different upgrade options for processors, with the last 5,1 capable of 12-core processing.
Obviously, the Mac Pro can take better array of drives than the mini can internally. More modern machines can't really take upgrades or more internal drives gracefully, and you'll be better off hanging externals off of them through whatever high-speed interface you can muster. USB 2.0 externals are generally more than enough for basic file access across a wireless network
If you're strapped for cash, or would rather spend on storage, think outside the box. Do you have a MacBook Air with a broken display? Think really thin Mac mini.
How about an iMac with a wacky LCD that works okay otherwise? You could either get inventive and root around inside, or hang a piece of cardboard over the blinky monitor.
Now, it's time to reconcile. Compare what you have to what you've decided you need in part two. That Core Duo Mac mini? Perfect for LAN streaming without on-the-fly transcoding. That original Mac Pro, even not re-cored? Works great for video streaming with transcoding -- but I recommend the re-core, if you're even moderately handy and technical.
They'll both perform Time Machine duties, as well as file serving on the network just fine.
Initial setup
If you're come this far, you're already on board, and have some basic knowledge already. You may be thinking about just configuring it headless from the start.
Perform the initial setup with a monitor attached, and not headless. I don't care what you use, but until you've got a handle on this, eliminate a large number of setup variables by doing initial configuration on a display.
That said, the ultimate goal is to toss the server someplace, and basically forget it. Unless you've connected it to a television for media playback directly, that is.
Not all is well in OS X land for headless devices, or computers without a display connected before Mavericks. Some video cards play nice, but Mac minis in particular don't. GPU acceleration is off by default on headless Mac minis, but there's a way around this with a plug that fools the computer into believing a monitor is attached..
Local Area Network configuration
From a physical perspective, don't serve from wi-fi and use the Ethernet port. Position it on the wired part of your network as close as possible to the most traffic -- for most scenarios, this means it will be connected directly off your router.
Most of your network is rightfully on DHCP, acquiring a LAN IP address from the router automatically. I've found that even with the rest of the network getting IP addresses assigned, the server really should have a static IP address.
My server has been on x.x.x.205 for ages, with the preceding x depending on one of a host of routers I've used for nearly twenty years. The high trailing digit is generally outside of DHCP allocation ranges, so no problems there. Pick what you will, but I recommend above .100 for sure, not to exceed .255.
User accounts
If you grant everybody root access, it's ultimately going to go very badly, with files scattered willy-nilly all over your carefully maintained hard drives. Starting with OS X 10.6 Snow Leopard, there have been some very robust controls for user access to shared folders, and selection of same.
Every frequent file sharing user should have their own user account on the server, with a unique password. This will grant private access to the user's shared folder, and you, as the administrator, can tailor other folder access at your whim using the sharing control panel.
iTunes up and running
Here's the great thing about iTunes: if you take an entire iTunes folder from your user folder and copy it lock, stock, and barrel over to another drive, all you have to do is point iTunes at it either in initial configuration or hold down the option key while launching iTunes to select a new library.
iTunes folder to copy to retain playlists and play counts
So, knowing this, the easiest thing to do with iTunes is either copy it over to the user folder on the server across the network, through Firewire target disk mode, or to an external. Then, on the server, connect that iTunes to the library, and you're already good to go. When you choose a location for the iTunes library, be aware that this can get pretty large over time, so plan ahead!
Lurking in the iTunes folder is an "Automatically add to iTunes" folder. When iTunes-compatible files are found by OS X in this folder, they'll be moved to the current iTunes library, regardless of your iTunes setting about keeping files where they are.
"Automatically add to iTunes" folder location
So, if you share this folder, or a folder with an alias to this folder, with the server users, it may be a good way to allow the entire server "population" to add media to iTunes. There is no default automatic duplicate protection in iTunes, so some periodic pruning of the library might be needed.
Don't forget to check "open at login." If you have to log in to the server every time it restarts, that gets annoying after a while.
There are assorted ways to leave your media in-place without copying it to the iTunes folder. Specific configuration of iTunes is up to you.
Security
Security for Internet-facing computers is very important. If you're going to expose a large amount of services to the world at large, then a more modern OS with actual security support is a must.
Lion is long in the tooth, albeit semi-supported. Snow Leopard in its final incarnation is regarded by old-timers as pretty great, but many security patches haven't been applied, so, proceed with caution as you poke holes in your router's firewall.
On the Mac Pro with some extra hardware, I ran Yosemite through a hack, until I got my hands on the i7 mini I spoke about.
On the current setup, I'm up to date with High Sierra, primarily for security patches.
Data Integrity
At first glance, a home server would be an optimal situation to run an Apple beta, but I cannot stress this strongly enough -- do not run beta software on a computer where data integrity is paramount! It seems to me, that the whole point of a server is data integrity. So, for me at least, the choice is clear.
An uninterruptible power supply is important for commercial file servers, and it should be for yours as well. After the initial investment in the iron and enough storage is through, the next purchase should be this -- but in my opinion don't wait on it to get everything set up.
Unless you're home all the time, you should get one with a USB or network communication port, which will sense a power-out condition, and start an organized shutdown of the server. It's hard for us to recommend which you should get, as that depends greatly on the configuration of your home server and external storage arrays.
Getting a UPS for your router and crucial networking equipment isn't a bad idea either.
LAN versus Internet IP
If you don't want to access your server directly from the Internet, you can skip this part.
The Internet IP you get from your ISP isn't generally static. It can take days or weeks to change, but one day, it changes, and this invariably happens when you need something out in the world from your home server. Some higher end routers have this built-in, but if you're not so lucky, try noip.com.
Noip.com is a free service that gives you an easy to remember hostname, that's monitored at all times by your server by a small application, or daemon.
Coupled with the observing app on the server, you'll be given an URL like "mymacstuff.sytes.net" versus whatever your IP address is, regardless of how often it changes. The company pushes paid remote access, but any service that can face the Internet can use the redirect, assuming port mapping on the router is configured properly.
The free service will have to be confirmed through an email every 30 days, but that's not terribly arduous. I've used this service off and on for about 15 years, and have had nothing but success with it.
We're not going to go over how to execute port forwarding, as the interface can vary from router to router.
Set up Time Machine across the network
Apple really wants you to buy additional hardware for this or drop $20 on a server version of the client-based macOS, but you don't have to if you're running a machine as a home server. On machines you want to back up across the network paste...
defaults write com.apple.systempreferences TMShowUnsupportedNetworkVolumes 1
...into an active Terminal window. That's it! After the command is invoked, Time Machine will show all drives, not just drives that it wants to support.
As I mentioned earlier, this is doable on wireless, but even with recent improvements will take ages. A wired network is the way to go here.
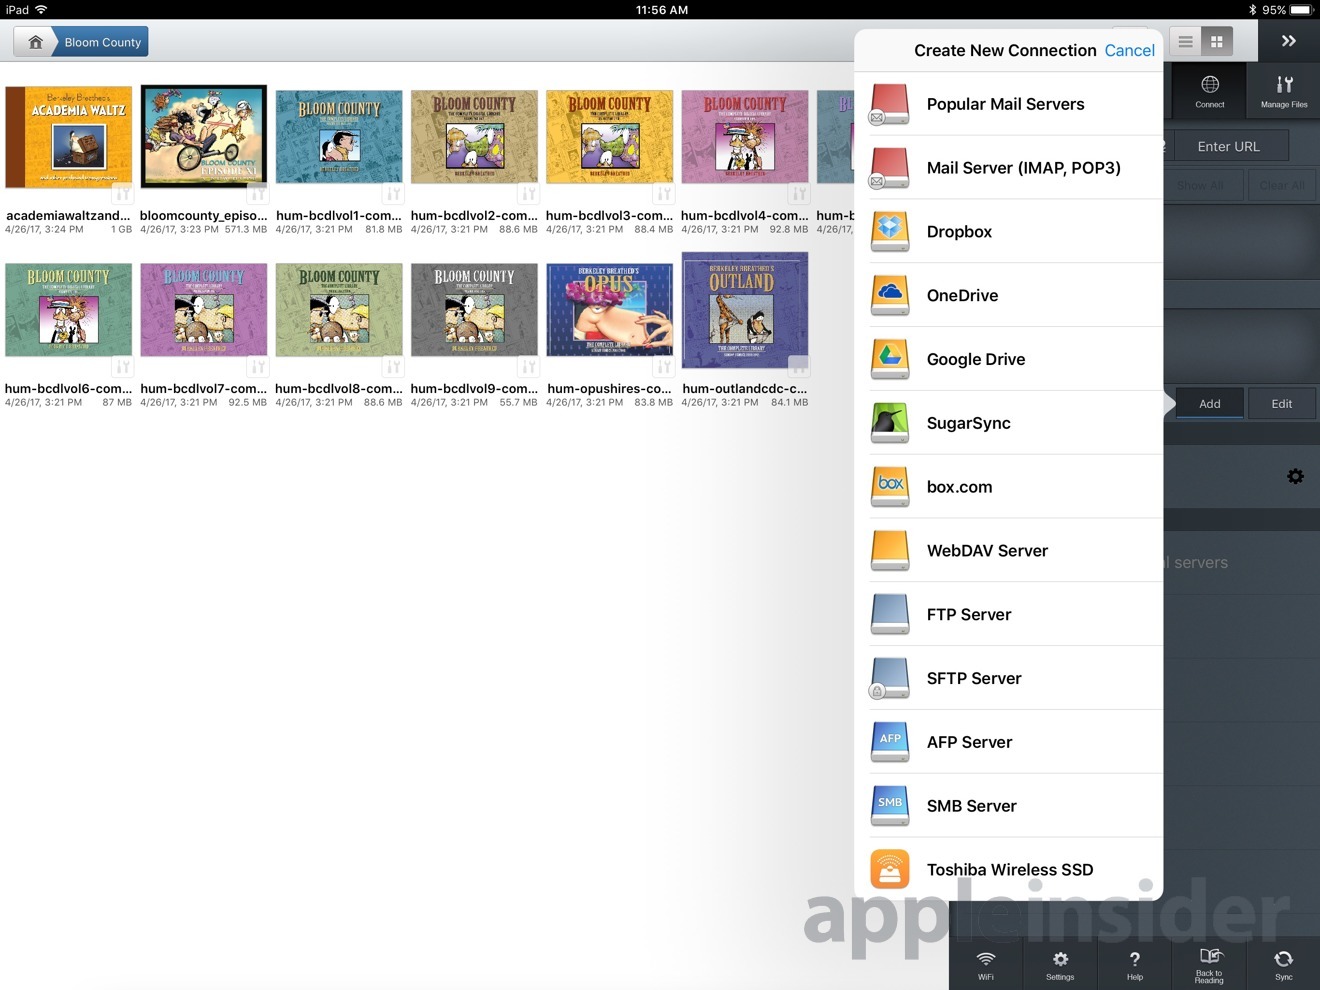
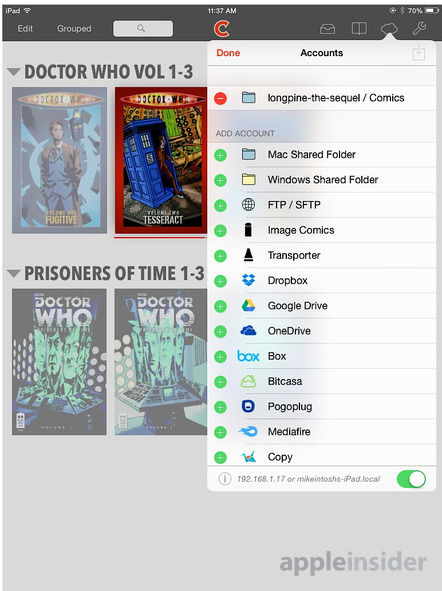
Getting reading materials on your iPad or iPhone from the server
With a home server, the better option is to "pull" what you want from the server, rather than "pushing" to a device from a synchronization process. This is not so much a function of the server, as it is the retrieving software.
From a computer a simple network share is enough. Mobile is more designed for a sync, rather than a pull, so apps with network access are a must.
For reading on your iPad, we continue to recommend third-party PDF and e-book app GoodReader. For comic book reading, we recommend Chunky Comic Reader. The former has network access by default, and Chunky has a $2 in-app purchase to enable it.
Jamming video on the server, in an iTunes-friendly format
Ripping DVDs you own is now is more complex than it used to be. Handbrake in conjunction with VLC could do it for the longest time, but if you're using Sierra or High Sierra, there's a process you need to follow to install the libraries you need to execute the task.
Transcoding video from one format to another is still best accomplished on its own by the free Handbrake. The video utility can be as simple as you want with pre-sets, or as complex as you need with discrete video settings to monkey with.
Blu-Ray discs are a little different, and have a less user-friendly software process. Hardware is easier, as just about any external USB Blu-Ray drive will work assuming you're using OS X 10.8 or later.
We've used MakeMKV to copy the disk to a giant file -- then we take the giant file, and either play it back in VLC directly, or transcode it for iTunes in Handbrake. MakeMKV allows us to not copy the entire disc, leaving things off.
Word of warning - MakeMKV isn't signed by Apple, so you'll have to bypass Gatekeeper to install it. We watch our outgoing network traffic, and keep a close eye on installed software, and have been using this for years with no ill effect.
The various media-related agencies of America with four-letter acronyms frown upon disc ripping for consumption on a different device, and the law isn't super-clear in the US. What is clear, is ripping discs you don't own is illegal, so don't do it!
Video transcoding? But my server hardware is ancient!
With ancient hardware and transcoding, patience is the key if you want to go free. However, there is a relatively inexpensive option that I used for a very long time. El Gato had a hardware video coprocessor that interfaced with the Turbo.264HD software, called, well, the Turbo.264 HD.
Tragically, they don't sell the hardware any more, and if you're using hardware newer than about six years old, the main CPU on your computer will process faster than this dongle will. However, if you're using an early Core Duo or Core 2 Duo computer, find the hardware. You won't be sorry.
Video metadata
If you choose one of the many non-free options for video transcoding, odds are, there's some form of metadata tag tool associated with them. Since we're choosing free with Handbrake, you'll want something a bit more robust. A word to the wise - metadata insertion often requires a complete rewrite of the file for the appropriate "atoms" to be added to the file. Be patient if you're doing a bunch of files.
I use MetaZ. MetaZ is an evolution of an older tool, and uses file name information to look up what a file might be automatically. It can also do batch processing, to "set and forget" as it chews through files.
On the subject of file names, rippers can sometimes get carried away. I use A Better Finder Rename for mass editing of file names, and have for a long time. The tool is an excellent one to use for general maintenance as well, including picture renaming and other similar needs.
Video streaming at home, or away
We highly recommend StreamToMe. Summarizing a previous examination of the software, the app and mini-server application allow streaming of stored videos in many different formats to an iOS device, either across a network or through the Internet -- the server app itself handles the configuration of the router and port forwarding.
Plex is a bit more complicated, but worthwhile -- you don't need both, though. With the recent iOS and tvOS version update, we also give it our recommendation. Additionally, a Plex server can stream media to set top boxes other than an Apple TV, so that's a giant plus.
Personal cloud across the Internet
For every iteration of the server, I think I've used something different. A favorite utility used to be ShareTool, which extended the Bonjour network and all relevant services like iTunes streaming across the Internet. It's gone now, and the custodian Bainsware seems to be missing in action.
If you don't want to poke too many holes in your firewall, a hybrid approach may be best. At present, I'm using Amazon Drive and a tool called Odrive, because Amazon's own app is terrible.
You already know what Amazon Drive is. Odrive is a third-party tool that the user can configure to make sure that a Amazon Drive file repository is up to date with the latest version of a file -- and vice versa.
This also neatly solves the backup conundrum. While storing files and machine backups on a server is nice, it's not always the safest solution in the case of a disaster affecting your home or office.
Up until the summer of 2017, Amazon Drive was a flat fee for as much as you could store. That pricing has since changed so if this is a good solution for you depends on how much you want to pay beyond nothing for 5GB of storage. On top of that, Odrive isn't free either.
Infinite possibilities
The great thing about an OS X server versus a Network Attached Storage device is the flexibility a full computer gives you over the storage appliance. Need multiple audio outputs from the box? Install Soundflower or use VLC's ability to select an output channel. Need network multihoming? Fine, just get the right applications and hardware going.
This article shouldn't be considered a comprehensive guide to the OS X pseudo-server for the home. There are literally millions of possible configurations, and you should adapt the guide to what you need. Tasks that you say "gee, I wish I didn't need to keep my main computer awake to do" are prime candidates for offloading to a server.
Going bigger
There's always macOS Server. For $20 more, Apple makes available server versions of macOS available on top of the client macOS.
There are advantages -- native Time Machine support without a lightweight hack, web site hosting, more robust file sharing across the internet, better account management, and a few others.
However, macOS Server is beyond the scope of this article. We'll address the pros and cons of installing macOS Server in a future piece.
Also beyond the scope of this piece are virtual private networks (VPN). In essence, a VPN extends a private network across a public network, and enables users to send and receive data across the internet as if their computing devices were directly connected to the private network.
This is a topic by itself. We'll deal with it, and which are best for macOS users, in a future piece.
But... there's lots more!
Yes, we know! Isn't this piece long enough already? What I've presented works for me. It may not work for other AppleInsider staffers, or you, the reader.
We know that different users have different needs. We also know that many AppleInsider users have their own home server solutions, and this is where we toss it out to you, the reader.
If you've got something you use and like, or tried and dislike, let us know in the forums. This isn't a spam invitation, though -- tell us what you use, not what you're trying to sell.