How to get Windows 10 up and running on Mac using Boot Camp
 AppleInsider Staff
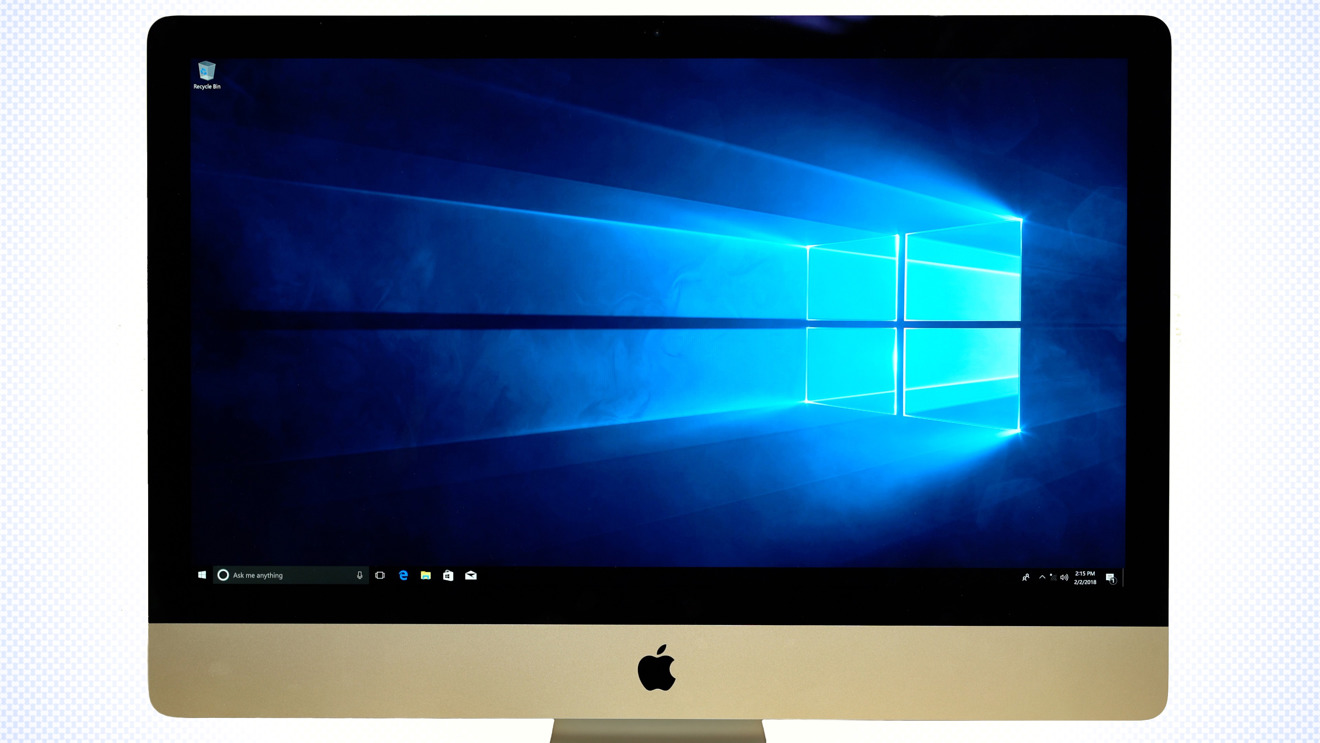
Choosing between a Windows computer and a Mac can be a tough decision. Some users think they'll be giving up features or apps they enjoyed on Windows when making the switch to Mac. Luckily, you can have the best of both worlds by running Windows on a Mac using Apple's Boot Camp.
Why would you want to run Windows on an Apple machine in the first place? First of all, there's quite a large number of programs and apps that only work on Windows, especially professional software. If you're a gamer, you can't go without Windows as the selection of games on macOS is extremely limited.
So why not just buy a Windows computer? Well Apple computers are known for their reliability and they hold their value very well compared to PCs. Some people still buy used Apple laptops that are a few years old, something almost unheard of for Windows laptops.
Mac owners can use Apple's built-in Boot Camp Assistant to install Windows for free. The first-party assistant makes installation easy, but be forewarned that you will need to restart your Mac whenever you want to access the Windows provision.
Another option is Parallels Desktop, a third-party service that allows you to switch back and forth between macOS and Windows without having to reboot, but that product requires an annual subscription.
Before we begin installing Windows using Boot Camp, make sure you're on an Intel-based Mac, have at least 55GB of free disk space on your startup drive, and have backed up all of your data.
The first thing we need is a Windows disc image file, or ISO. Use Google to search and find the "Download Windows 10 ISO" file page on Microsoft's website. Once there, select "Windows 10," and hit "Confirm." Choose your language and select "64 bit" unless you're running an older Mac that only supports 32 bit programs.
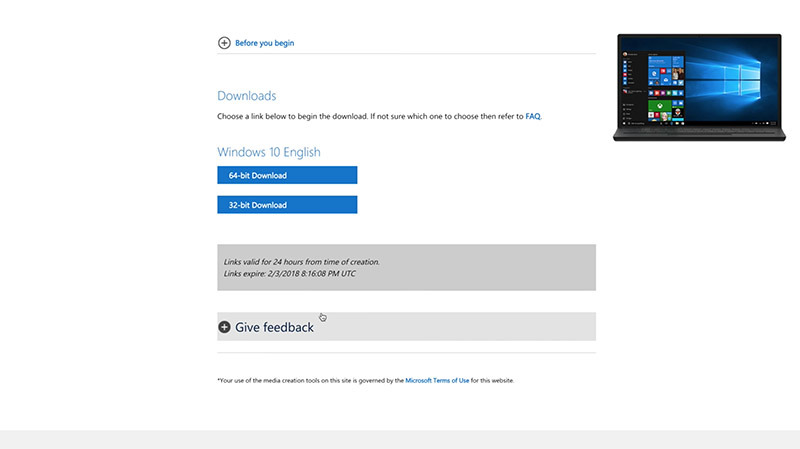
If you're not sure, click the Apple logo at the upper-left hand corner of your Mac's home screen and select "About this Mac." If it says "Core Duo" in the processor section, then your Mac is 32-bit.
If you're running OS X El Capitan 10.11 or later on a Mac, Windows installation is going to be a breeze since those models use the computer's internal drive to temporarily store Windows installation files. If not, you'll need to insert a blank 16GB or larger USB flash drive or external SSD to complete the installation.
Once your ISO file is done downloading, open Spotlight Search or Launchpad and search for "Boot Camp Assistant."
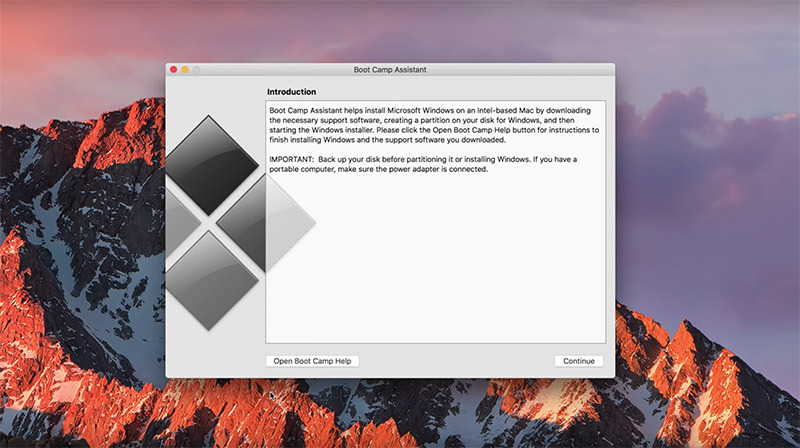
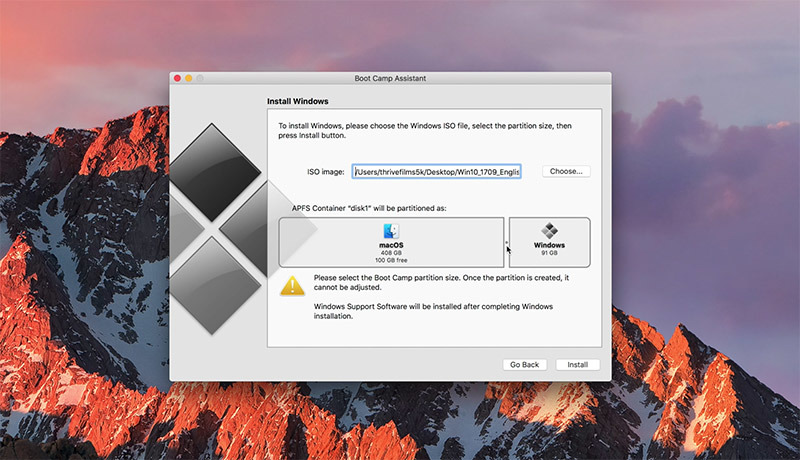
Click continue, then click choose and select your newly downloaded ISO file. Next, Boot Camp will ask you to adjust the size of your Windows partition. You should make it larger if you plan on downloading and playing games or using professional software.
If you're on an older Mac operating system, you'll see some options to create an install disk and download the latest Windows support software. Make sure all of them are checked, then click continue.
Now choose your ISO image file, and the destination disk, which is your USB Flash drive. Then click continue, choose the partition size for Windows 10, and click install.
If the installation is successful, the system will ask for your Mac's password. Make sure to save any important documents or files, as your Mac will instantly restart into Windows once you enter your password.
After the reboot, you'll be greeted with the windows setup menu. If your mouse isn't working, click a couple of times and the mouse pointer should show up.
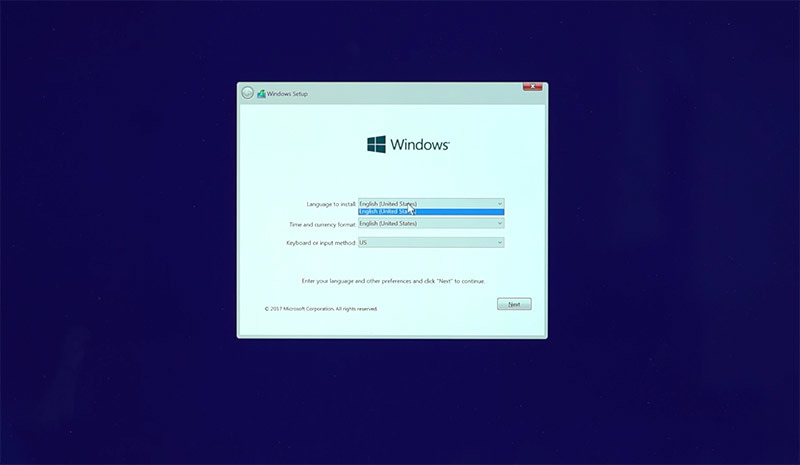
Click Next, then enter your Windows 10 activation key if you have it. If you don't have one yet, click "I don't have a product key." In that case, choose which version of Windows 10 you want to install. We chose Windows 10 Home. Accept the terms and click next on the next page to begin the installation.
When it's finished, Windows will automatically restart and bring you through the rest of the installation. Once at the Windows desktop, the boot camp installation program will show up. This will install all the necessary drivers for Windows to run properly.
Your system will restart one more time and then Windows is ready for use!
To get back to macOS, find boot camp at the bottom right hand corner of the screen, right click on it? And click "Restart in MacOS"
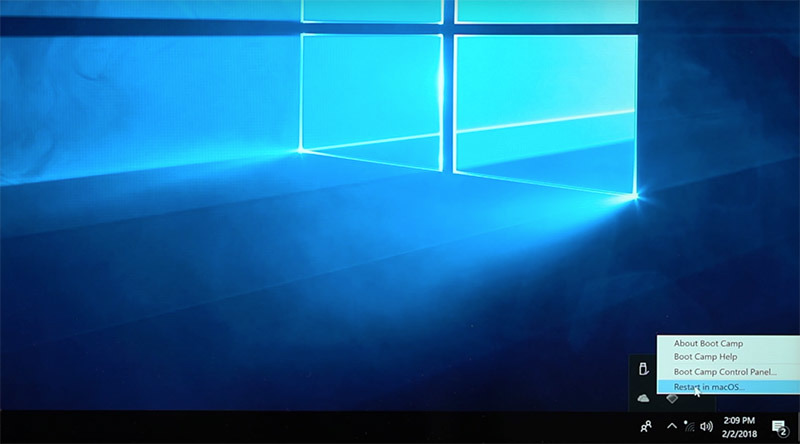
If you get an error message, don't worry. Just restart your system while holding down the option key to choose which operating system to start up in.
To get back to Windows from macOS, you can either use the restart while holding the option key method, or you can use Spotlight search to open the Startup Disk settings. Click the lock and authenticate to unlock the settings, then click on Bootcamp, and click restart.
If you want to completely remove the Boot Camp partition, open Boot Camp Assistant again and click Restore. Just remember that this operation will delete all data and contents on the Windows partition.


 Chip Loder
 Andrew Orr
 Christine McKee
 Marko Zivkovic

 Mike Wuerthele
 William Gallagher