How to unclutter your Mac's desktop by opening windows in tabs
 Malcolm Owen
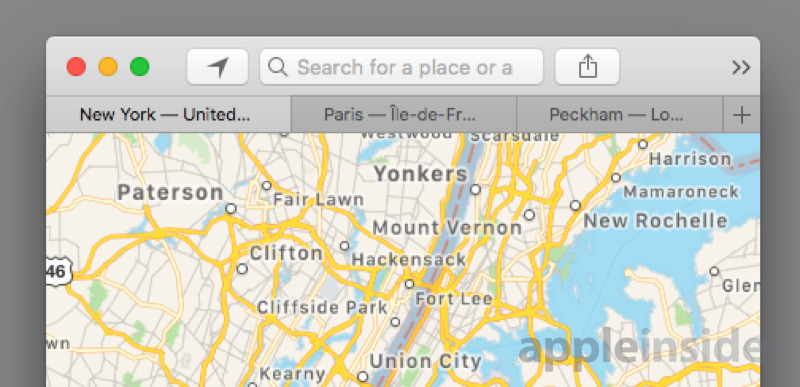
Many Safari users will be familiar with tabs, a way to have multiple webpages open within a single browser window, but Safari is not the only application to offer this handy organization option. AppleInsider tells you how to start using tabs away from the browser, to help reduce the number of windows on the Mac desktop.
Tabs have become an indispensable part of online browsing, and for good reason. For those wanting to quickly switch between viewing websites, it is a far better method for containing all the different open pages than having multiple browser windows open and cluttering up the desktop.
The same concept can also be applied to other Apple apps in macOS, stacking multiple documents and windows into a single panel that can be quickly switched between at will. This can be handy if you have to reference two or more maps or emails as part of your work, and is probably a more workflow-friendly option compared to constantly minimizing and recalling windows to and from the dock.
Added in macOS Sierra, tabs for apps works similarly to Safari's version, but it may take a bit of getting used to outside of the normal browser-based usage.
Enabling and Disabling the Tab Bar
Open the application you want to use tabs within. In this example we will be showing how it works using Maps.
Click View in the Menu, followed by Show Tab Bar. This will bring up a new tab bar that consists of the current window's view and a small plus button.
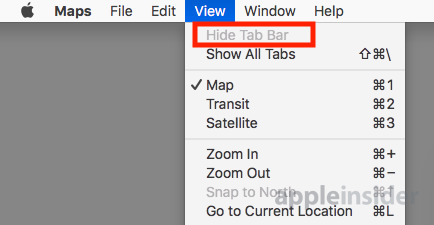
The same process can be performed to remove the tab bar, but instead selecting the now-renamed option Hide Tab Bar. This option may be grayed out and unavailable if multiple tabs are open in the current window, so reduce the tab count to just one beforehand.
Creating Tabs
To create a new tab in the current window, click the small plus symbol on the right-hand side of the tab bar. If this button isn't available, it is not possible to add tabs to that window despite the Tab Bar being available to enable, such as in the main inbox view in Mail.
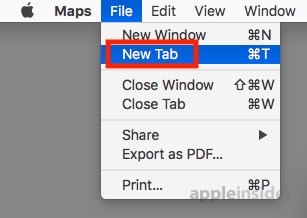
It is also possible to create a new tab by selecting File then New Tab in the Menu. In most cases, this can also be performed by the keyboard shortcut Command-T.
Removing Tabs
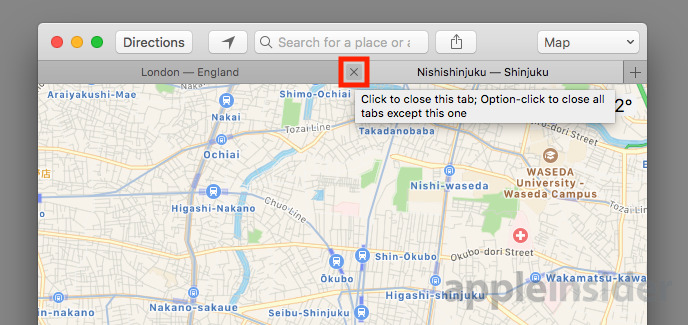
Each tab has a hidden cross on the left-hand side, revealing itself with a mouse-over action. Either click the cross to close that specific tab, or Option-click to close every other tab in the window except for that tab.
As above, the File menu will also house an option to Close Tab.
Tab Navigation
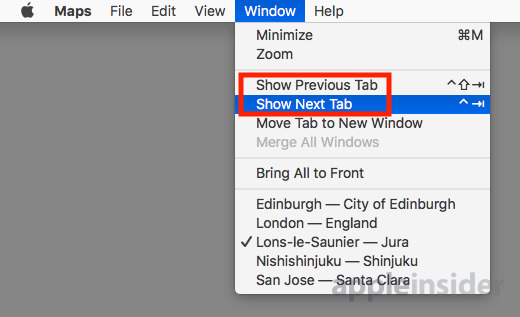
The simplest way to switch tabs is to click the one you want to see in the tab bar. The Window menu also presents options to Show Previous Tab and Show Next Tab, which can also be cycled through using the Control-Tab and Control-Shift-Tab keyboard commands.
If you want an overview of what items are in which tabs, select View then Show All Tabs in the menu. This will tile thumbnail images of each tab into a grid, adding one more box at the end that can be clicked to add one more tab.
Tab Management
If you want to change the order of tabs in a window, simply click and hold the tab you want to move, and drag it to a new position.
This also works between separate windows of the same app, allowing the tab to be shifted from one window to another using the same dragging action.
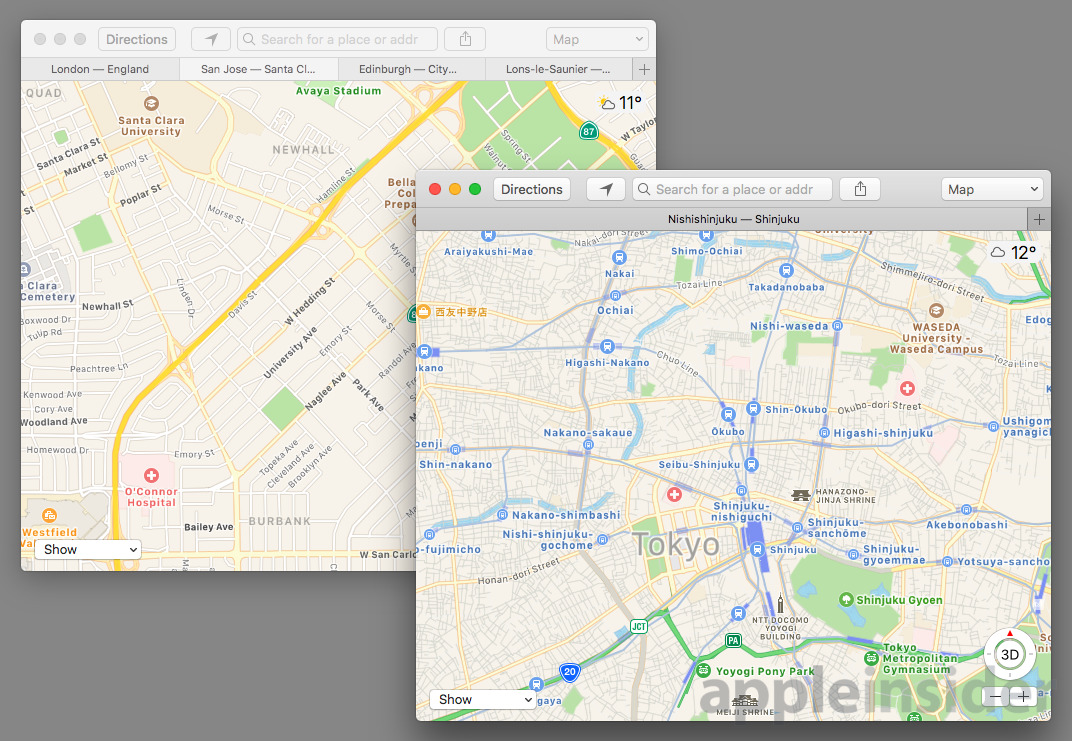
Dragging a tab out from the window and onto the desktop will turn that tab into its own window. This can also be done by selecting the tab then clicking Window in the Menu followed by Move Tab to New Window.
Further Notes
The tab bar is available in a large number of Apple-produced productivity-focused apps supplied in macOS, including but not limited to Finder, TextEdit, Numbers, Pages, Keynote, Mail, and Maps. Not all Apple-made apps support the functionality, such as GarageBand and FaceTime, but many do.
Some third-party apps also support Tabs, so it is worth checking them to see if the option is available in the menu. It will generally be under the View or Window menus, and may have a slightly different wording to how it is presented in Apple's apps.


 Wesley Hilliard
 Andrew Orr


 Amber Neely
 William Gallagher