How to make a bootable, external macOS Mojave install disk
 William Gallagher
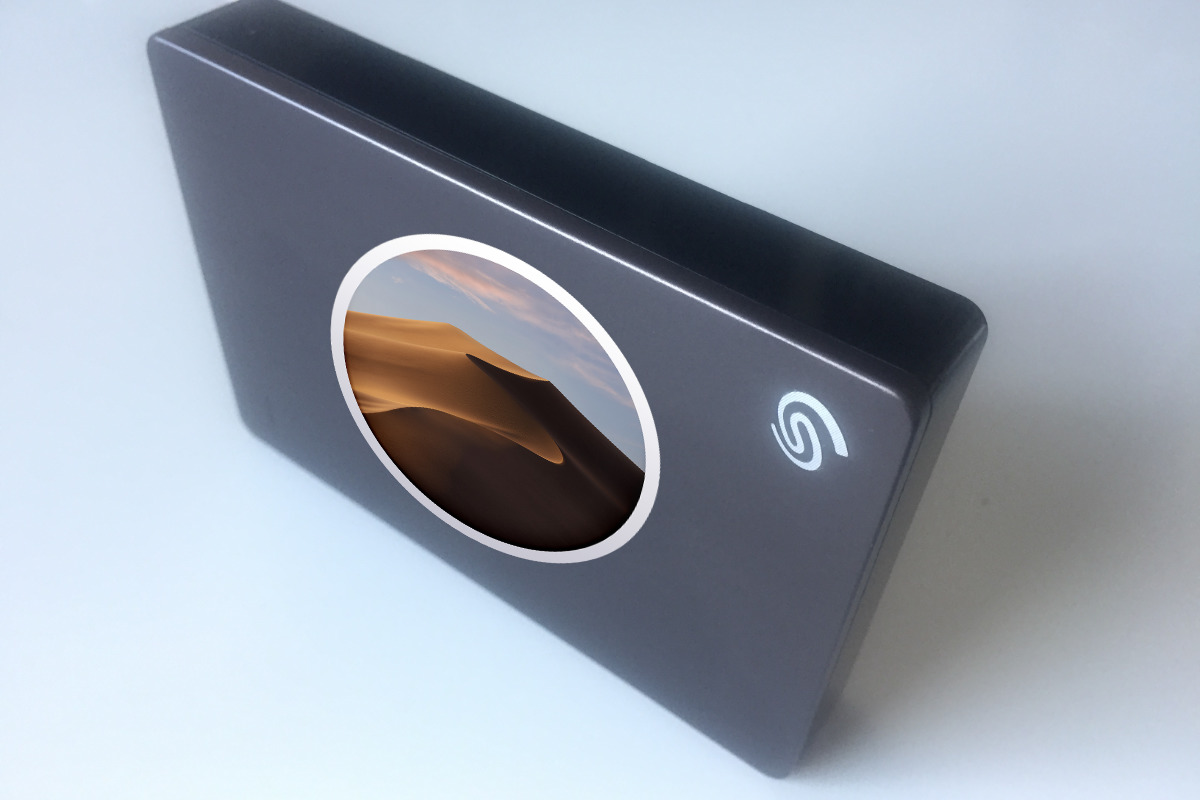
Apple makes installing macOS very simple — if you only have one Mac. When you have many, it takes an unnecessarily protracted time. Circumvent Apple's installer and create your own using the Terminal.
We shouldn't complain. To install macOS Mojave on your Mac, you just download it and let Apple's installer do its job. Only, that installer is big — circa 6GB — so downloading it can take a time. And once it's run, Apple immediately deletes it. To install Mojave on a second or third or fourth Mac, you're supposed to re-download it to each one.
Given that we have lives as well as multiple Macs, we need to do something about this. Rather than working through Apple's installer, you download that once and stop it before it begins working. Then type some commands in Terminal to extract Mojave, and put the installer on an external drive so you can re-use it without having to download it every time..
This is one of the easiest uses of the Terminal program on Macs — but it still needs you to take care — and in this case to specifically copy and paste the instructions into it. A stray typo isn't likely to cause you problems, it's more likely to just not work, but it can.
Then, too, this is ultimately about installing a major macOS update onto all your Macs so that thought you had a moment ago about backups is spot on. Make a backup. Make two.
What you need
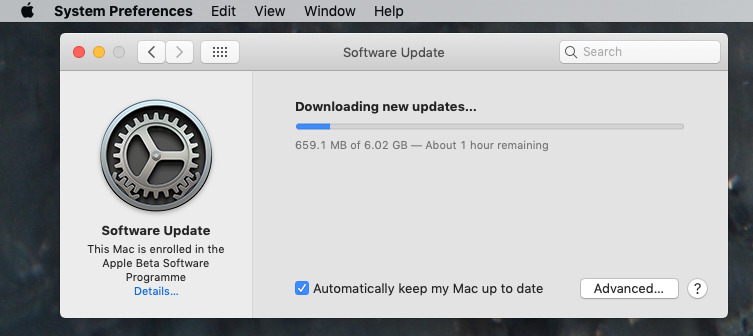
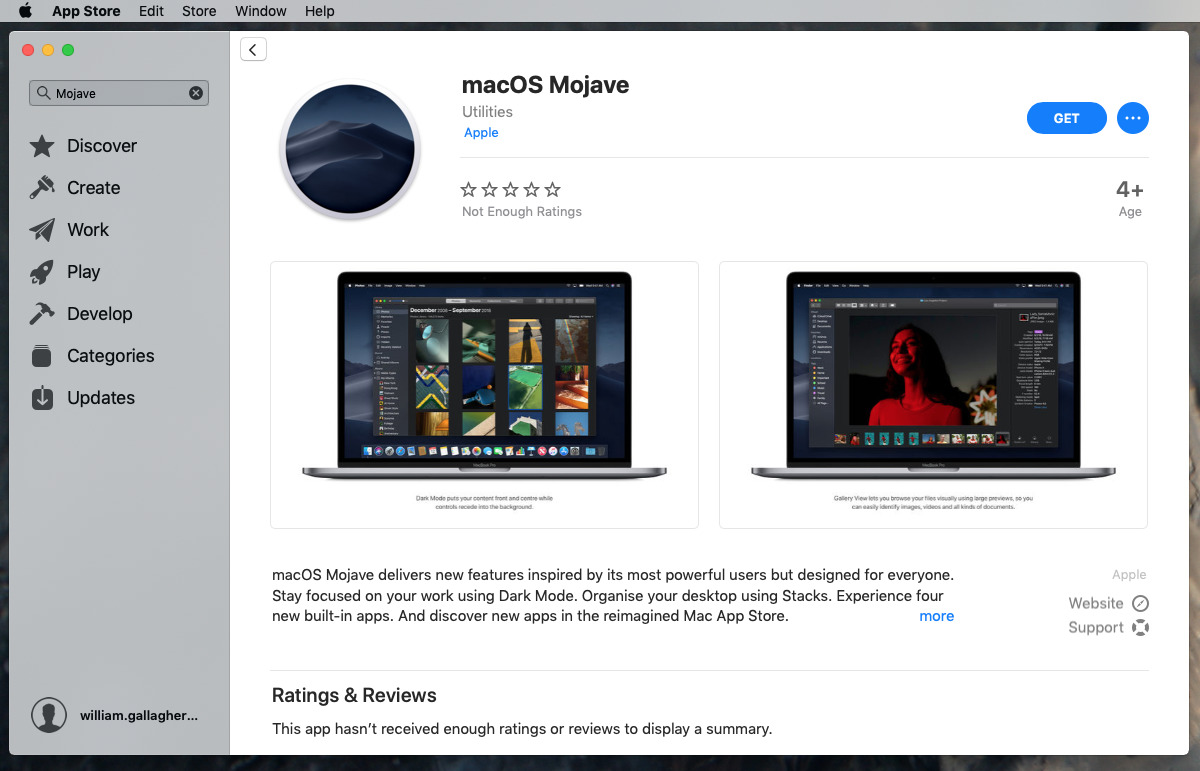
Get Apple's macOS Mojave installer and start downloading it. Most of us will get it from the Mac App Store but if you have a developer account, you can elect to get the latest beta from developer.apple.com instead.
While that download is happening, pick a drive — USB or Thunderbolt-connected — that you can use as a Mojave install disk. It will end up erased and with only the Mojave installer on it so really pick one you can spare.
If that's an SSD one then you'll be glad: the speed of the installation depends hugely on how fast your drive is.
Prepare the drive
Mount the drive or the volume that you want to do this on. That drive can be called anything you like but so that you can just copy and paste our Terminal instructions, rename it macinstall. You can rename it again later.
When Apple's macOS Mojave installation app is downloaded, launch it but don't let it start the installation process. Click on the Install macOS Mojave menu and choose Quit Install macOS.
Make a copy of Apple's installer. It'll be in your Applications folder with the name Install macOS Mojave. Copy it to another folder or drive just so that you know you never have to schlep through this downloading again — at least until next year.
Terminal velocity
With Apple's installer safely copied somewhere and the drive you want to make into a bootable installer ready and mounted, now you open Terminal.
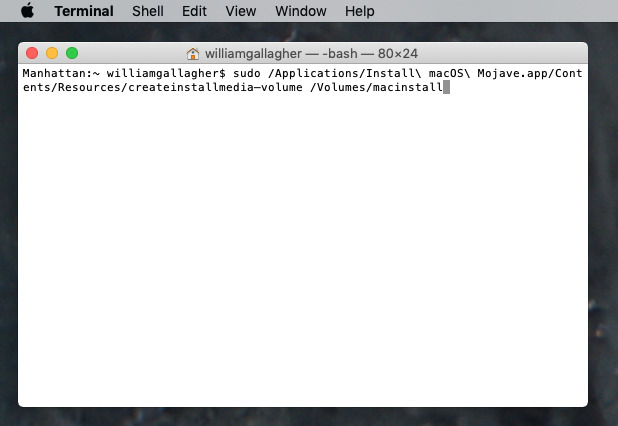
It's in Applications, Utilities. It opens to a command line: copy and paste the following into it:
sudo /Applications/Install\ macOS\ Mojave.app/Contents/Resources/createinstallmedia — volume /Volumes/macinstall
Hit return and you'll be asked for your Mac admin password. When you enter that, Terminal starts running a program called createinstallmedia. It's an Apple program: they've created it for us all, they just haven't mentioned it much.
Terminal and createinstallmedia will remind you that this means erasing the drive and if you enter Y then it will start the process. First it erases the drive and you'll see it report "10% 20%" as it goes.
Then when that's done, it automatically copies the installer files — the Install macOS Mojave downloader from Apple — onto the drive. Lastly it makes that drive bootable.
What you end up with
Depending on the speed and age of both your Mac and your hard drives — both the spare and the one you're currently booted from — this could take anywhere up to 20 minutes.
After that, type exit into Terminal and when it says Process Completed then choose File, Quit.
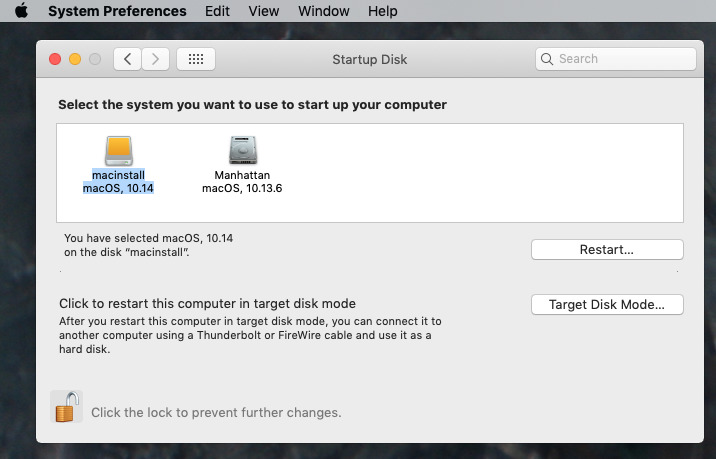
Now you have a drive called macinstall. It's bootable and it contains only the macOS Mojave installer. That means you can eject that drive and take it to any or all Macs you've got. Plug it into each one in turn, reboot the Mac from it and run the Mojave installer.
The process will still take some time — but an external installer will save you the substantially long and tedious time it would take downloading the installer for macOS onto each Mac from Apple's servers.
Keep up with AppleInsider by downloading the AppleInsider app for iOS, and follow us on YouTube, Twitter @appleinsider and Facebook for live, late-breaking coverage. You can also check out our official Instagram account for exclusive photos.


 Malcolm Owen
 William Gallagher and Mike Wuerthele
 Christine McKee

 Marko Zivkovic