How to edit video in Photos for macOS Big Sur
 Malcolm Owen
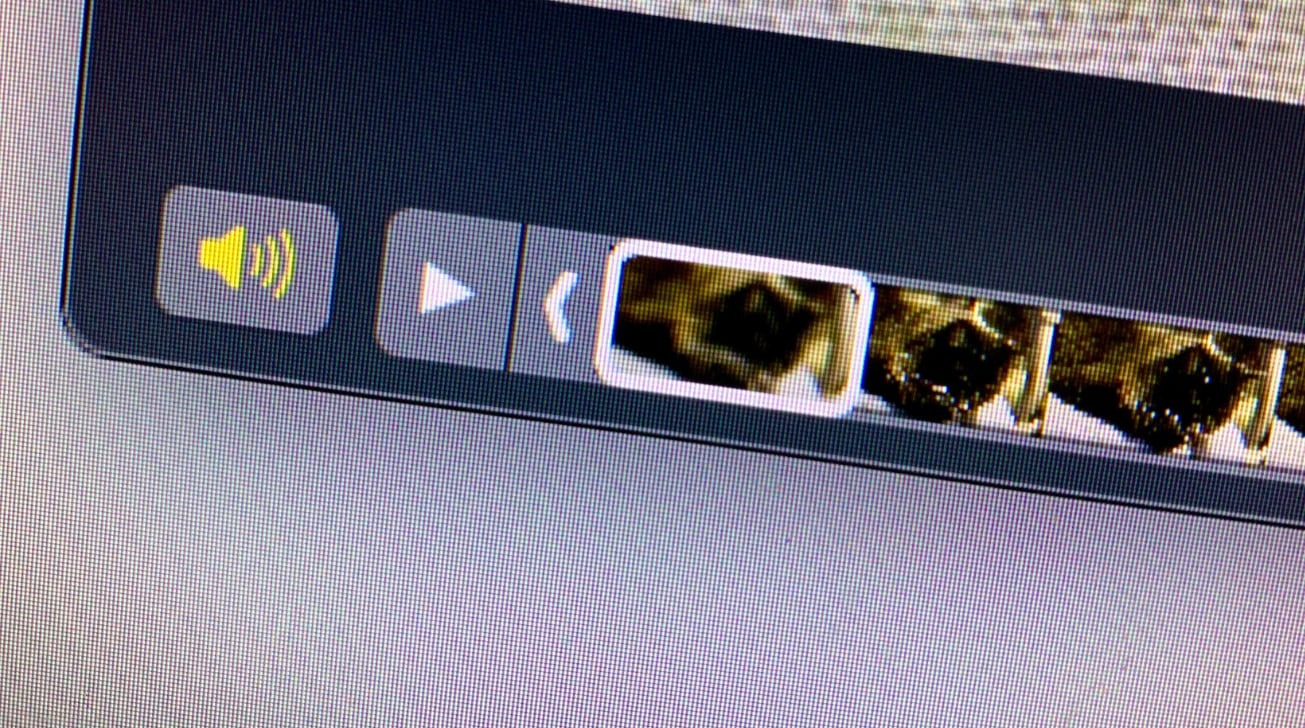
Photos for macOS Big Sur can now make more changes to videos, including applying filters and other adjustments. Here's how to get started with the new additions.
The Photos app is best known for its ability to organize and edit images, as the name strongly suggests, but it can do more than just that. As the central repository for media generated by the camera, it also functions as a storage area for your self-captured videos, and so it offers some options to alter what has been captured.
Likewise, while most people would associate Photos with photo editing, you can also make changes to videos via the app.
Of course, you may want to look in the direction of iMovie, Final Cut Pro, or Adobe Premiere if you want a full video editing suite, but if it's just altering a single clip, there's no need to go that far. Simpler things like trimming a video or making simple corrections can easily be performed in Photos without needing to use the more advanced tools.
With the introduction of macOS Big Sur, Photos on Mac now offers more ways to tweak your clips. Here's how to take advantage of them.
Starting Editing
The first thing you need to do in Photos is to actually reach the view needed to edit video. This works in the same way as for editing a photograph, a characteristic that many of the new video additions to Photos share.
How to start editing videos in Photos for macOS Big Sur
- Select the video you want to edit. Double-click it to see a blown-up view of the media.
- Click the Edit button in the top-right corner. This will bring up a screen offering different ways to edit the video.

How to stop editing a video in Photos for macOS Big Sur
- Once all tweaks to a video have been made, click the Done button in the top-right corner.
- This will save the changes automatically in a non-destructive fashion, keeping the original video intact.
If you just want the video to seem better before posting it online, you can always allow Photos to do changes for you.
How to automatically enhance a video in Photos for macOS Big Sur
- Select the video you want to be enhanced. Double-click it to bring up the blown-up view.
- Click the magic wand button in the top-right corner, labeled Auto Enhance. This will make automated changes to the video.
- To perform further tweaks on the automatically adjusted video, click the Edit button and make changes, before clicking Done.
This same region of the screen also offers the rotate button, which works just as well for video as it does for photo. Click it to rotate the video counterclockwise 90 degrees.
Adjustments Screen
The first screen you will see when editing a video in Photos will be familiar to anyone who has edited photographs, with some small changes.
On the right-hand side, you will find the usual array of picture adjustments you can make. Rather than being something that can be set to change at specific points in a clip, which can be done with full video editing packages, this will apply changes to an entire clip, so keep this in mind when making alterations.
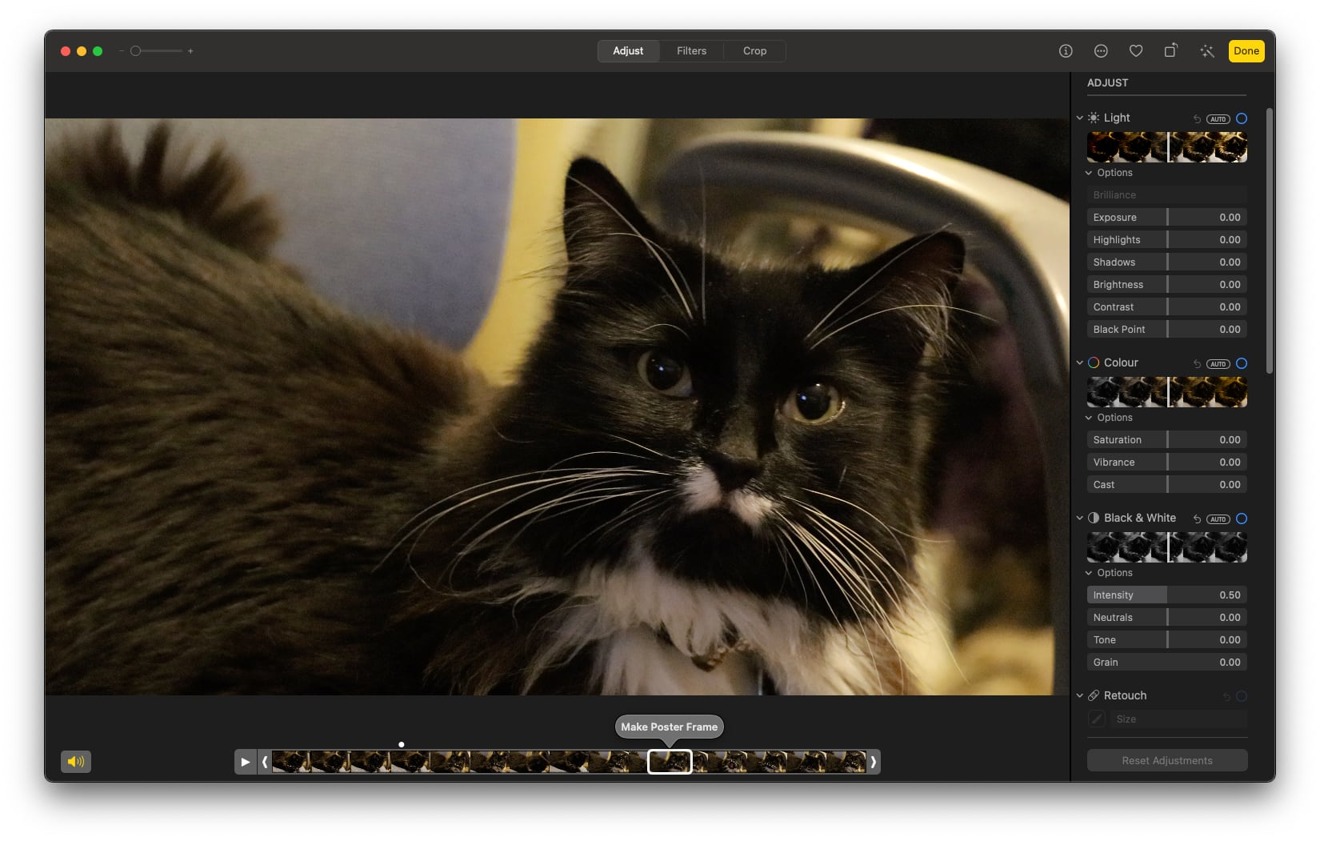
The list of changes is also offered in the same sort of categories as you would see for photographs, such as the brightness, contrast, and black point adjustments for Light, the saturation and vibrance of Color, Black & White video options, the white balance, curve, and level adjustments, and others. Not all elements will be available to use, as naturally you cannot retouch a video in the same way as a photograph, nor correct for red-eye.
All of these changes work using sliders. At the top of each section, there's a blue circle you can click to enable or disable all of the changes under that group title, along with a Back arrow to revert changes. There's also an Auto button, which enables Photos to enter settings it believes are ideal for the video.
Trimming Video
Underneath the video is a timeline for the clip, showing frames from throughout the video, as well as the currently-selected point in time that is being looked at in the main viewing area.
How to use media controls when editing video in Photos for macOS Big Sur
- Click the play-pause button to start and pause playback of the video. This will be useful for checking alterations are appropriate throughout the clip.
- Alternately, click on a specific point of a timeline to jump there.
- You can also hold and drag the white highlighted section to scrub through a video quickly.

How to trim video in Photos for macOS Big Sur
- Click the left or right chevrons on the ends of the clip. This will show a yellow highlighted section, indicating the length of the trimmed clip within the full-length video.
- Click and drag the chevrons left or right to shorten or lengthen the selected area of the clip.
- Changes will take effect after clicking the Done button after all edits have completed.
Filters
If you want to stylize the video, you should look at the second editing screen, titled Filters. These are effects you can apply to a video, on top of the adjustments you may have already made.
At the time of writing, there are nine filters available by default, consisting of: Vivid, Vivid Warm, Vivid Cool, Dramatic, Dramatic Warm, Dramatic Cool, Mono, Silvertone, and Noir.
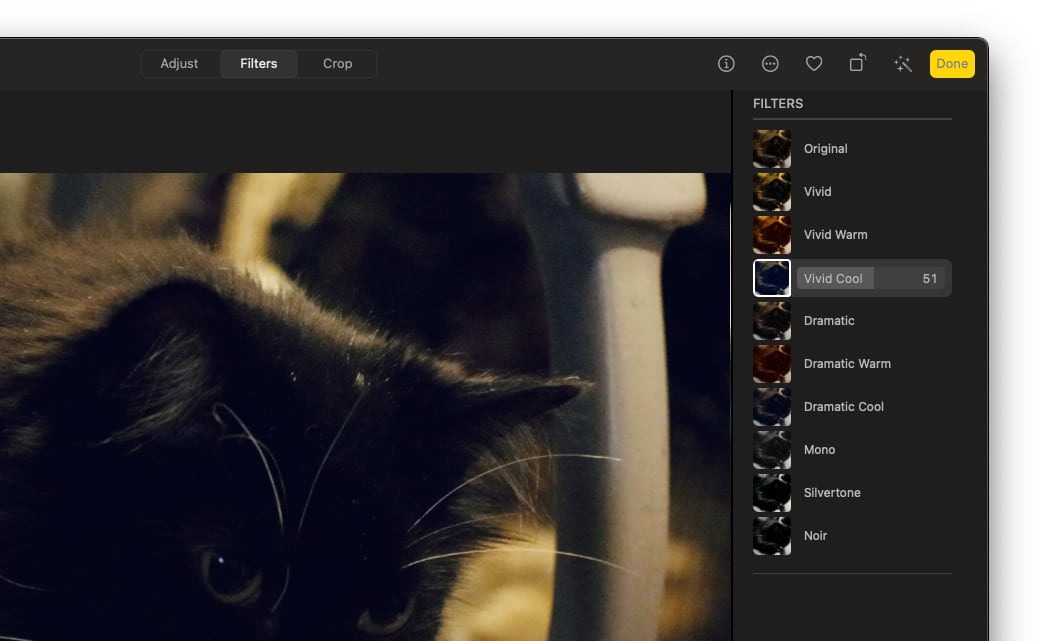
How to apply video filters in Photos for macOS Big Sur
- Within the Edit screen, select Filters.
- Click on one of the filter types from the list.
- Once selected, use the slider on that filter to adjust its intensity. Setting to 0 means the filter has no effect on the original video, while 100 puts it at full power.
Cropping
Let's say that you have a full-resolution video, but you don't want to show all of it. For example, you may have recorded a video in a messy room and don't want trash to appear in your otherwise great clip, or you want to keep a specific subject as the main thing you want to see in the video.
Depending on the social network, you may also want to constrain the proportions of the video to be ideally viewed in a specific orientation, such as creating a square or vertical video instead of a landscape-orientation version.
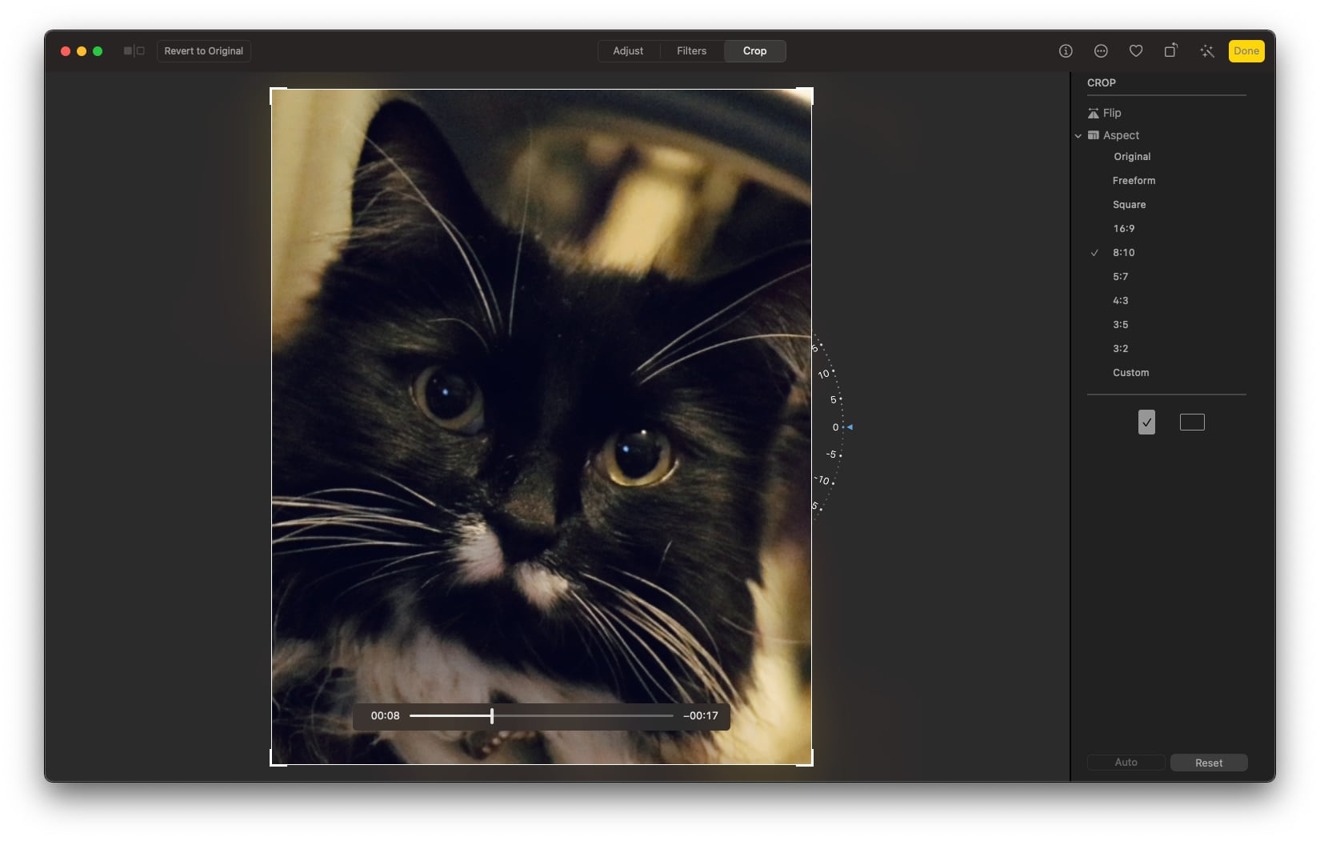
Much in the same way as you can adjust this for images, you can do the same for video. The Crop screen offers practically the same type of adjustments as you would expect for normal photo editing, with the only real difference being the addition of a timeline at the bottom to help you make sure any changes you make to the clip are correct throughout the video.
How to crop a video in Photos for macOS Big Sur
- In the Crop screen, select an Aspect from the sidebar. Use Freeform if you want to frame the video in a non-standard aspect ratio.
- Click the portrait and landscape icons to switch orientation if required.
- Once an aspect is selected, use the corner edges or sides of the highlighted section within the main video to alter the size of the box.
- Drag the video within the selected area to change the portion of the video that will be viewable in the final version.
- If necessary, you can rotate the video by moving the dial on the side of the video frame up and down.
- Once all edits are complete, click Done.
Non-destructive editing
A key thing to remember here is that any and all changes made to a video are non-destructive, as in the original video file remains untouched and in its normal state. Edits are saved separately, allowing for multiple edits and trims to be made to a video while still being able to revert to an earlier state, without losing any original data.
On exporting a video from Photos that has been amended, Photos generates a new video file that bakes in any of the changes. The exported video does not contain the original clip data at all, so editing it won't enable cropped or trimmed elements to return, nor for users to see the original color of the video.


 Andrew Orr
 William Gallagher
 Mike Wuerthele
 Christine McKee