How to use RAW images with Photos app on the Mac
 Malcolm Owen
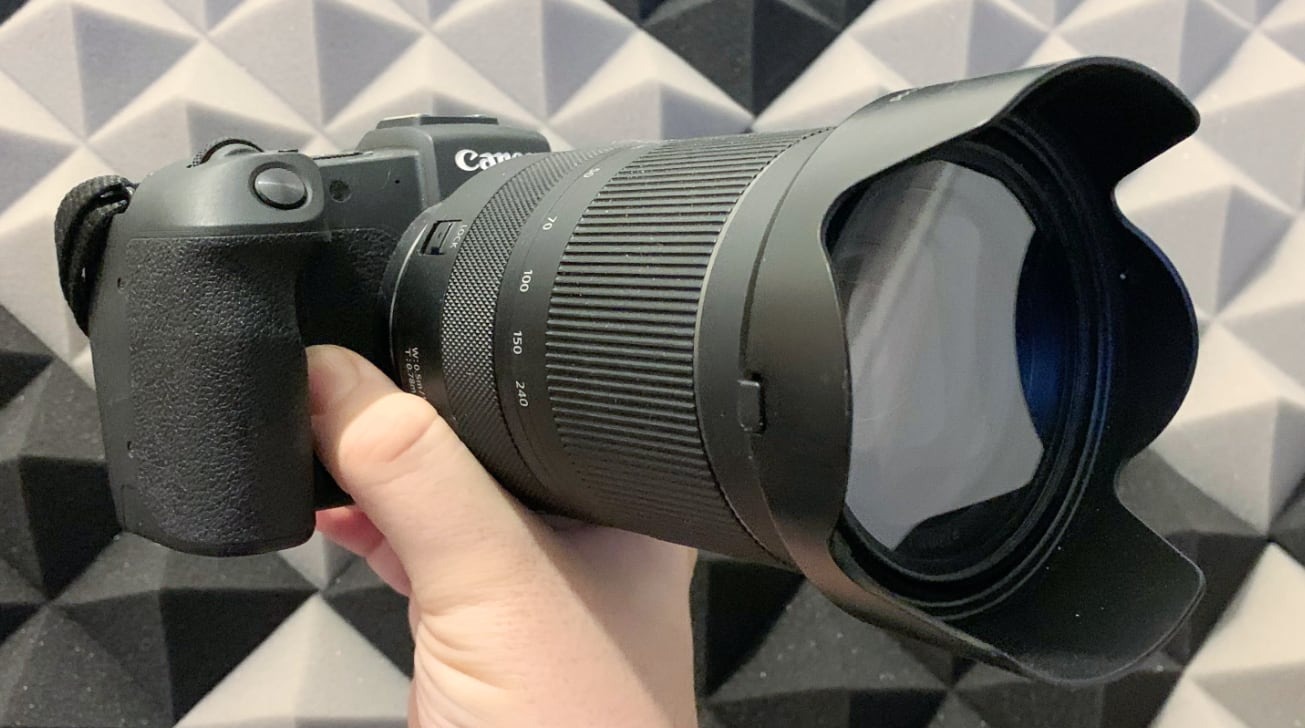
If you have a DSLR or mirrorless camera, you may want to start using RAW images instead of JPEG files. Here's what you need to know about using the higher-quality images in Photos on macOS.
While Apple is continuing to further the photographic capabilities of its iPhone line, as well as introducing features like ProRAW in the iPhone 12 Pro, many people still use separate cameras to take photographs. While an iPhone may offer decent quality shots and is practically always on hand, using a camera could provide alternative shot choices, as well as some that an iPhone simply cannot match.
For example, an iPhone's camera may not provide the level of zoom a user requires for telephoto shooting, or it cannot quite handle a specific macro shot.
Some photographers that use DSLRs, mirrorless cameras, and bridge cameras also take the step in shooting RAW images alongside JPEG. Typically performed with an expectation that extra editing will be done to a photograph before it is finished and seen by the public, shooting RAW has the potential to elevate an image further in post production than a JPEG.
The Photos app in macOS is able to handle these RAW images. Here's how to get started managing and editing the photographs in the organization and editing tool.
What is the difference between RAW and JPEG?
When a camera captures a photograph, it has to take light data from the sensor, process it in some way, and create a file. Depending on how the camera is set up, the processing and resulting file can fall into two general types.
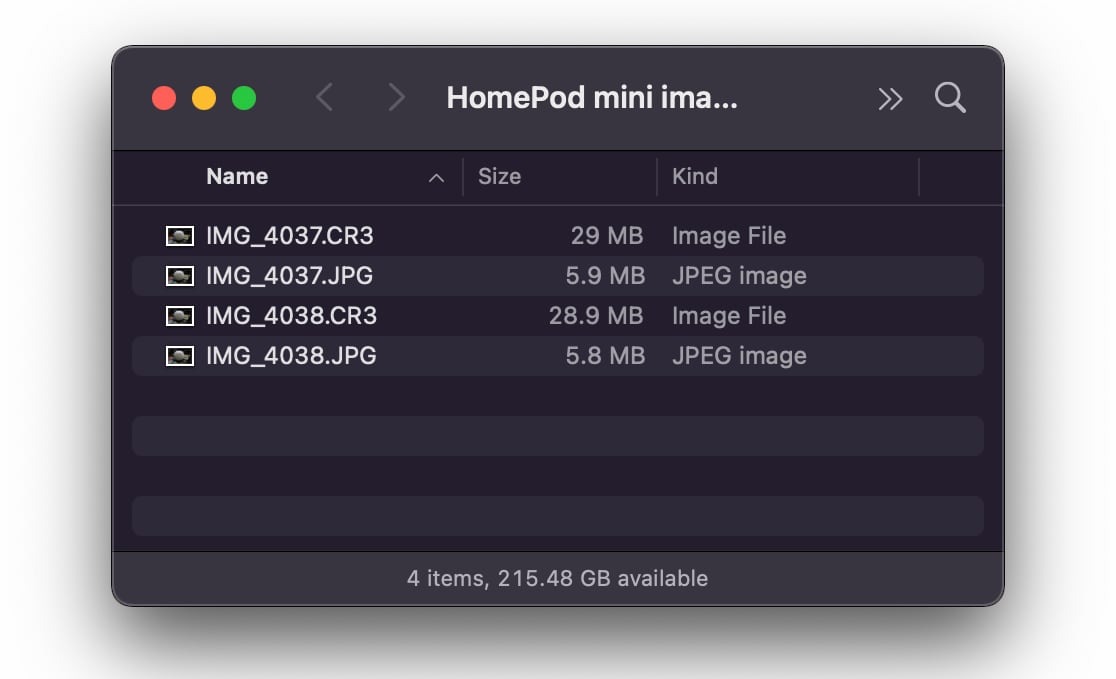
A RAW image largely consists of the sensor data with minimal adjustments, along with an assortment of metadata relating to camera settings, the time, a preview and thumbnail, and other items. The file preserves as much of the data as possible in an untouched manner, which results in a typically large image file.
A JPEG uses the same data as a RAW image, but undergoes on-device post-processing to interpret the data into what could be considered a final usable image. The final JPEG is typically multiple-times smaller than the RAW equivalent, and is readily acceptable to publish, post online, or use in applications.
The RAW file has to undergo some form of post-processing before it can be deemed finished. Typically this involves opening it in an image editing program and then exporting the file as a JPEG, at a bare minimum.
This post-processing phase is where RAW's benefit comes through, as there's simply more data to be able to adjust than a fully-baked JPEG. You have a greater dynamic range, more control over camera settings, and the ability to adjust the color space, which can lead to a better result.
A RAW image can be lossless, preserving the image far better than a lossy and compressed JPEG. This is also data that would otherwise be lost when you convert from RAW to JPEG.
Simply put, you can do a lot more with a RAW image in editing than you can with a JPEG, and therefore potentially better results.
Apple's ProRAW is not addressed in this piece. As an image type offered only on the iPhone 12 Pro and iPhone 12 Pro Max, it isn't compatible with other camera systems.
For reference, ProRAW effectively combines the RAW image data and Apple's computational photography processing into one file. While this gives users some of the benefits of JPEG-style on-device processing, it also retains all of the RAW image data to enhance future edits of the image. We'll be discussing integrating RAW and ProRAW workflows at a future date.
Handling RAW files
The process of switching to RAW starts with setting your camera to take photographs using the format. This will vary from camera to camera, and many will even offer the option to take both RAW and JPEG photos simultaneously.
Unless storage space is at a premium, it is advisable to use the option to take both kinds of images. That way, you have a JPG backup if something happens to the RAW, as well as a file you can immediately share with others.
Other than that, the RAW file can typically be handled similarly to images in other file formats. This includes importing the images from your camera's memory card to macOS, and into your photography management and editing software of choice.
How to import RAW image files into Photos for macOS
- Open Photos.
- Select File then Import
- Navigate to the folder containing the files you want to include.
- If it is one file, select it then click Import.
- If it is for multiple files, select the group or the folder itself, then click Review for Import.
- In the Import view, select the images to keep, then click Import Selected.
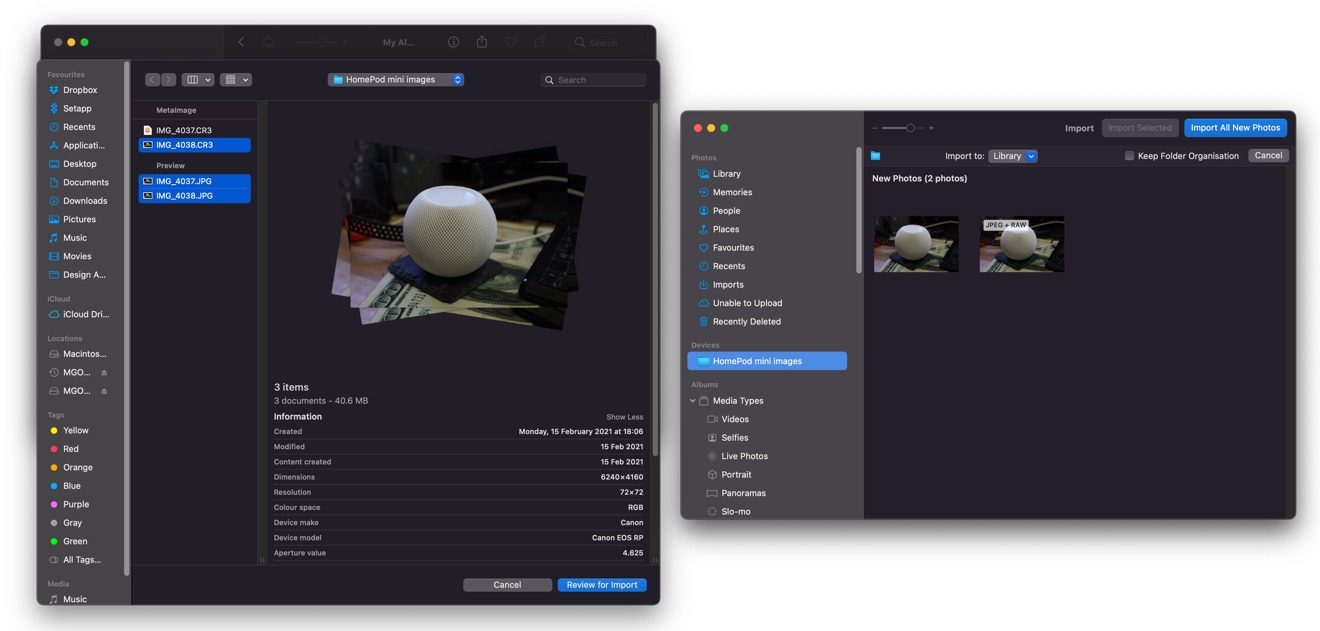
Remember that you can sort the folder in the directory view to Group by Application. This will typically separate out files with the JPG extension from the RAW images, which usually appear under the listing "MetaImage."
If you decide to import both the JPEG and RAW images of the same shot, Photos will treat the two as one image, and group them together. In such cases, it adds the label "JPEG + RAW" to the thumbnail to show which is being used.
If this label doesn't appear, you can bring it up by opening the View menu then selecting Metadata, then making sure there's a tick next to File Type.
This style of labeling will also appear throughout your library of images wherever both file types for the same image are grouped.
Switching from JPEG to RAW
By default, Photos prefers to show JPEG files to users, rather than RAW files. Since it's a prebaked and smaller file, it's easier for the application to handle, especially when looking at pages of thumbnails.
When it comes time to edit the image, you will want to see the RAW and not the JPEG.
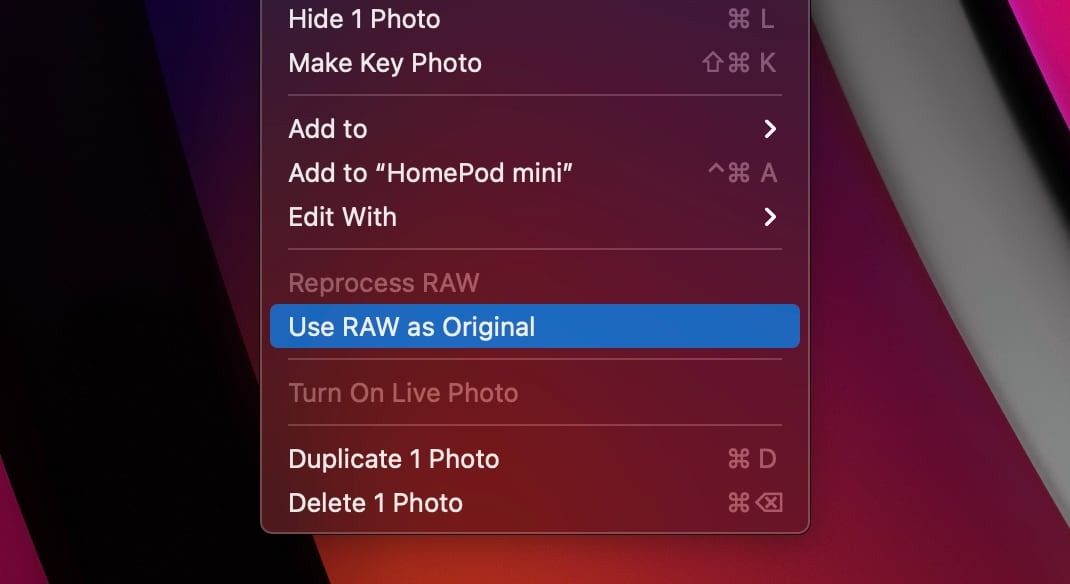
How to switch from JPEG to RAW in Photos on macOS
- Select the image or images, or double-click to bring up the full-size view.
- Click Image in the menu, then Use RAW as Original.
- Alternately, right-click selected images and select Use RAW as Original.
The same process can be used to make Photos use JPEG for the image, except you select the renamed option Use JPEG as Original.
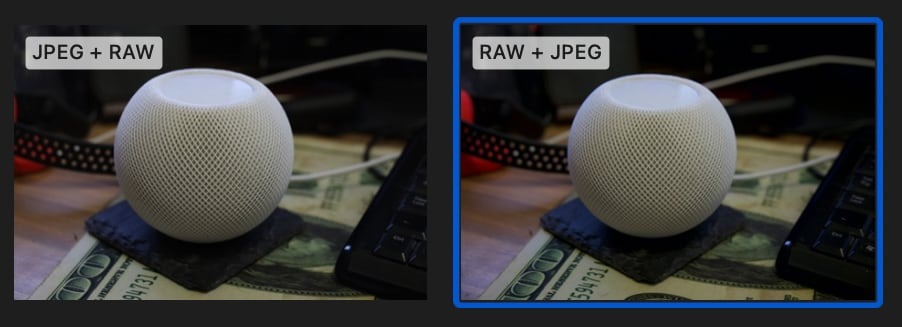
Photos also tells you which of the two file types are being shown for an image by the phrasing of the label. The front-most file type is the one being viewed.
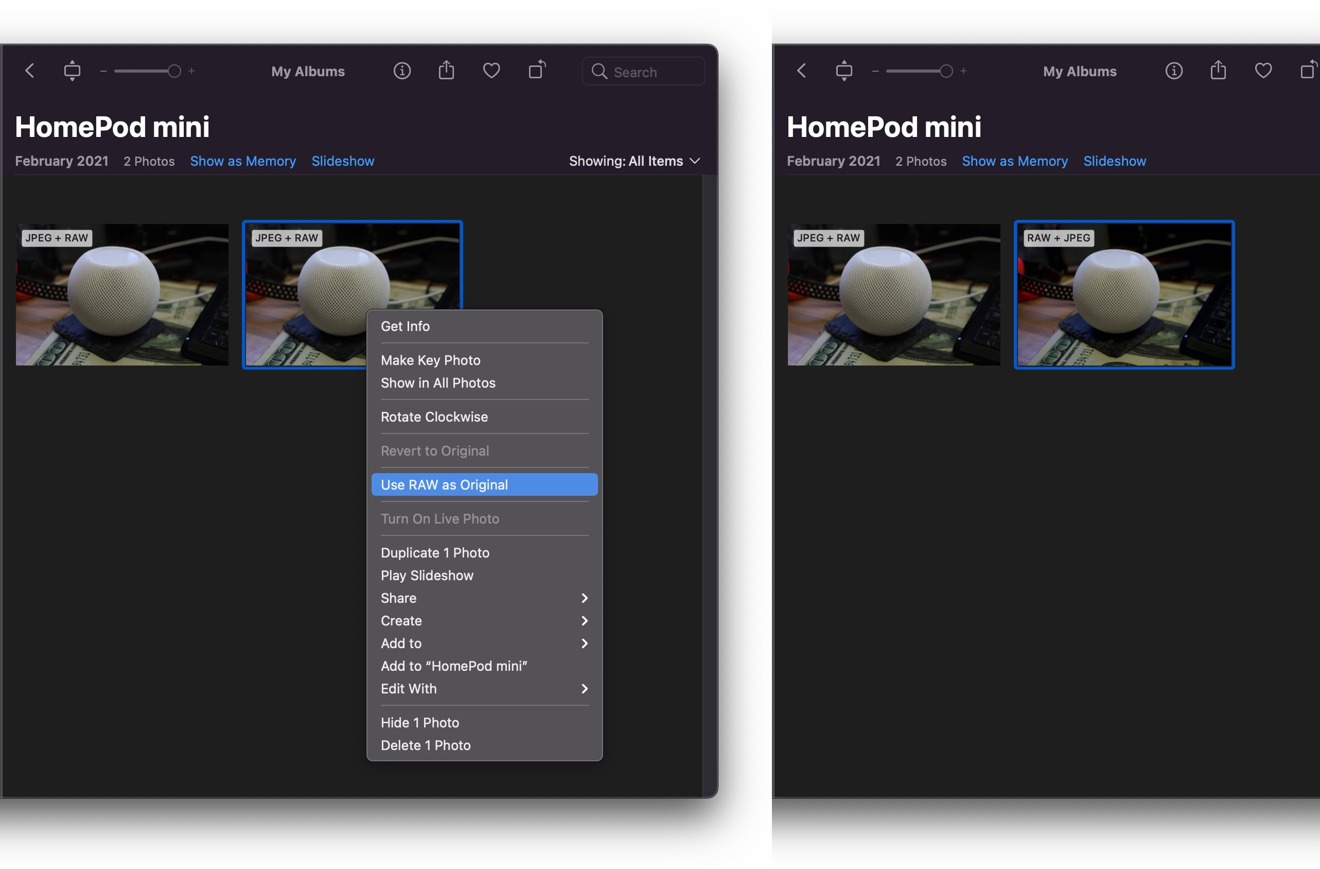
In cases where the label shows "JPEG + RAW," the image you are seeing is the JPEG. Likewise, if the label reads "RAW + JPEG," it's the RAW image.
Exporting images
When you have finished editing an image in Photos, you will want to export them for viewing. Depending on your reasons for getting the image out of Photos, you may have to do different things.
If you want to export the edited image, you can go through the usual exporting process. This is by selecting File in the Menu followed by Export, then Export 1 Photo.
Going down that route will bring up options to output the edited image in different sizes, file formats, quality, and other options.
You could also export a JPEG with default settings by simply dragging an image from Photos to the macOS desktop.
However, neither route will allow you to export the original RAW image, only versions with the edits baked in.

You can export the RAW file by selecting File then Export in the menu, then selecting Export Unmodified Original. This will bring up another window offering customizations for the file name, subfolder format and an extra option.
"Export IPTC as XMP" is an option that will export two files: the original image and a second in the XMP format. This second file contains metadata that may have been added to the file since its inclusion in Photos, such as added location data and keywords.
Since Photos is a non-destructive editor, the use of two files allows users to retain this added metadata, without affecting the original file at all.
If you import the exported RAW file into another compatible editing program along with this second file, the metadata will be ingested and added to its records for the photograph. In effect, the metadata is retained.


 William Gallagher and Mike Wuerthele
 Christine McKee
 William Gallagher

 Marko Zivkovic


 Wesley Hilliard