How to sign a PDF on a Mac
 Amber Neely
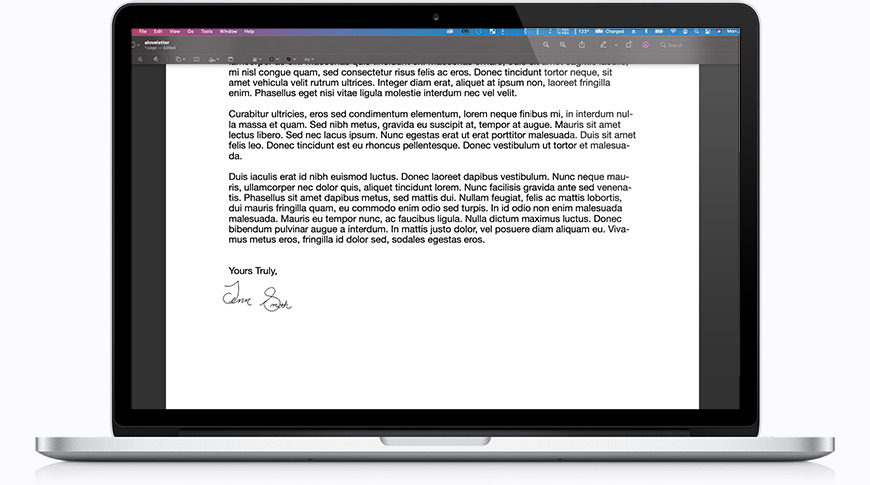
Learn how to create a digital signature that can be inserted into digital forms and documents on macOS with this helpful guide.
If you've ever been emailed a form you need to sign, you know that it can be a bit annoying, especially if the sender expects it returned via email. Rather than printing the form out, signing it, scanning it, and then reconverting it to PDF, your Mac allows you to create a signature and stamp it into any PDF you need to save you time, money, and a lot of frustration.
This guide assumes that you do not wish to use any Adobe apps, including Adobe Acrobat and instead would rather use the included tools on macOS.
How to create a signature on macOS
- Open the PDF you'd like to sign — you may need to do this by right-clicking it and selecting "open with preview."
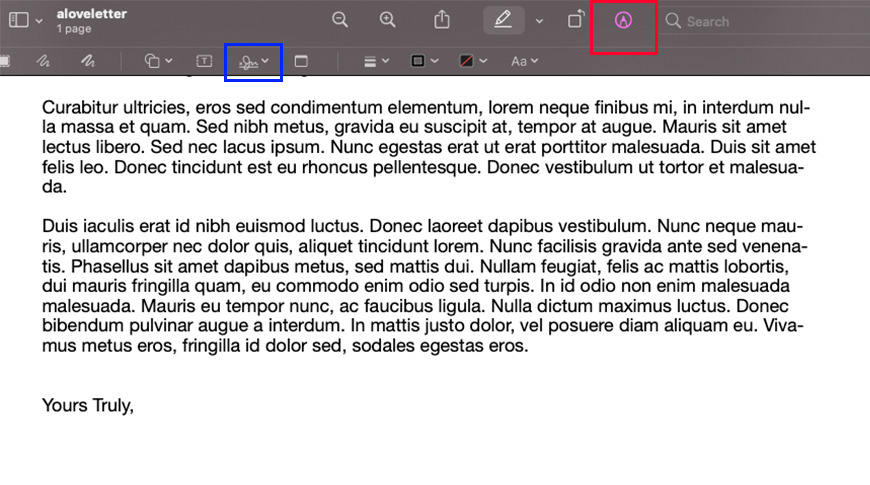
- Click the Markup button at the top next to the search field
- Click the Sign button
- Click Create Signature
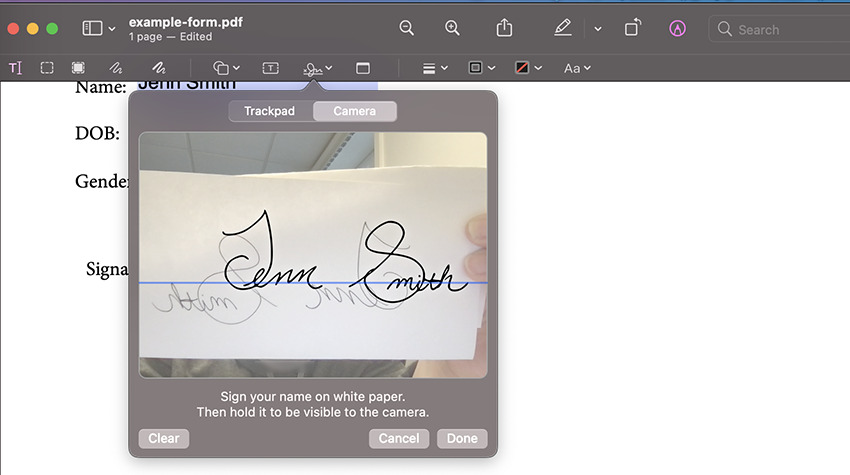
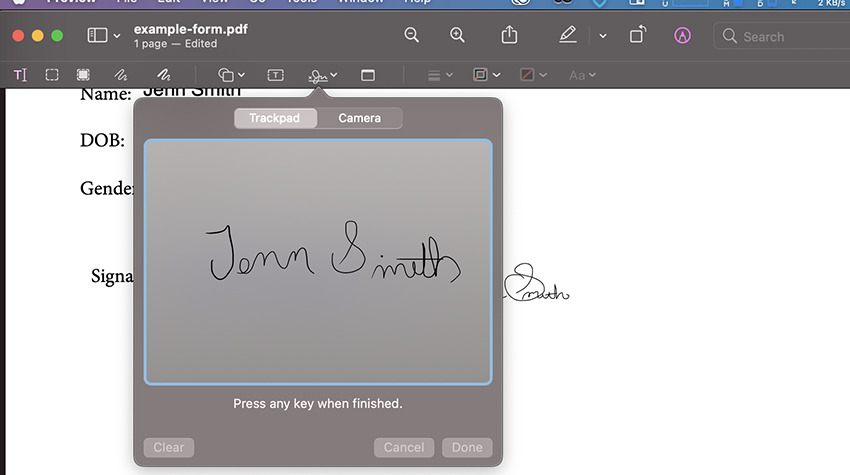
- Click Trackpad, Camera, or iPhone
Of course, you can select whichever method you'd like. If you've got a Mac with a camera, you can write your signature in dark ink on a piece of white paper, and your Mac will automatically convert it to a usable signature. This often produces the best result. If you choose this method, be sure to sit in a well-lit room with plenty of light shining onto the paper — avoid harsh backlighting if possible.
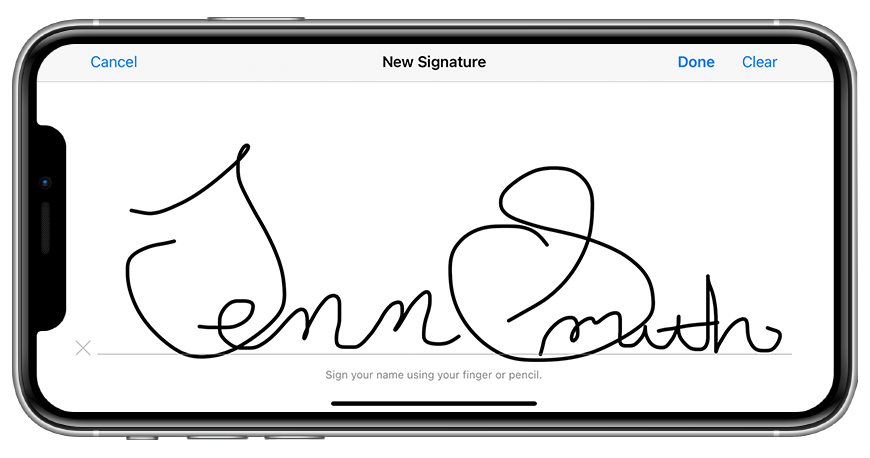
You can also use your iPhone to draw your signature with your fingertip on your phone screen. This produces a decent, though not perfect, result. If you choose this method, be sure to flip your iPhone horizontally before beginning — it makes it much easier!
If you don't have an iPhone or want to use the camera, you can also use the trackpad, though we find that this produces a result that seems the least close to our actual signature. Our only tip for this is that you try to do your signature with as little hesitation as possible — we found that going or being particularly fussy produced the worst results.
Once created, you can place your signature wherever you need to by following the steps below.
How to sign a document on macOS
- Open the document you wish to sign
- Click the Markup button at the top next to the search field
- Click the Sign button
- Select the signature you'd like to use
- Drag your signature to the appropriate field
- When finished, save your document
You can resize your signature as needed with the blue toggles on each corner around your signature.
Of course, there may be a time when you wish to redo your signature, or maybe you don't need a specific signature anymore. Here's how you can get rid of any ones that you don't need.
How to delete a signature in macOS
- Open any PDF via Preview
- Click the Markup button at the top next to the search field
- Click the Sign button
- Hover over the signature you'd like to delete
- Click the x button to the right of the signature


 Malcolm Owen
 William Gallagher
 Mike Wuerthele
 Christine McKee

 Andrew Orr
 Sponsored Content