How to use Guided Access to limit access on your iPhone
 Malcolm Owen
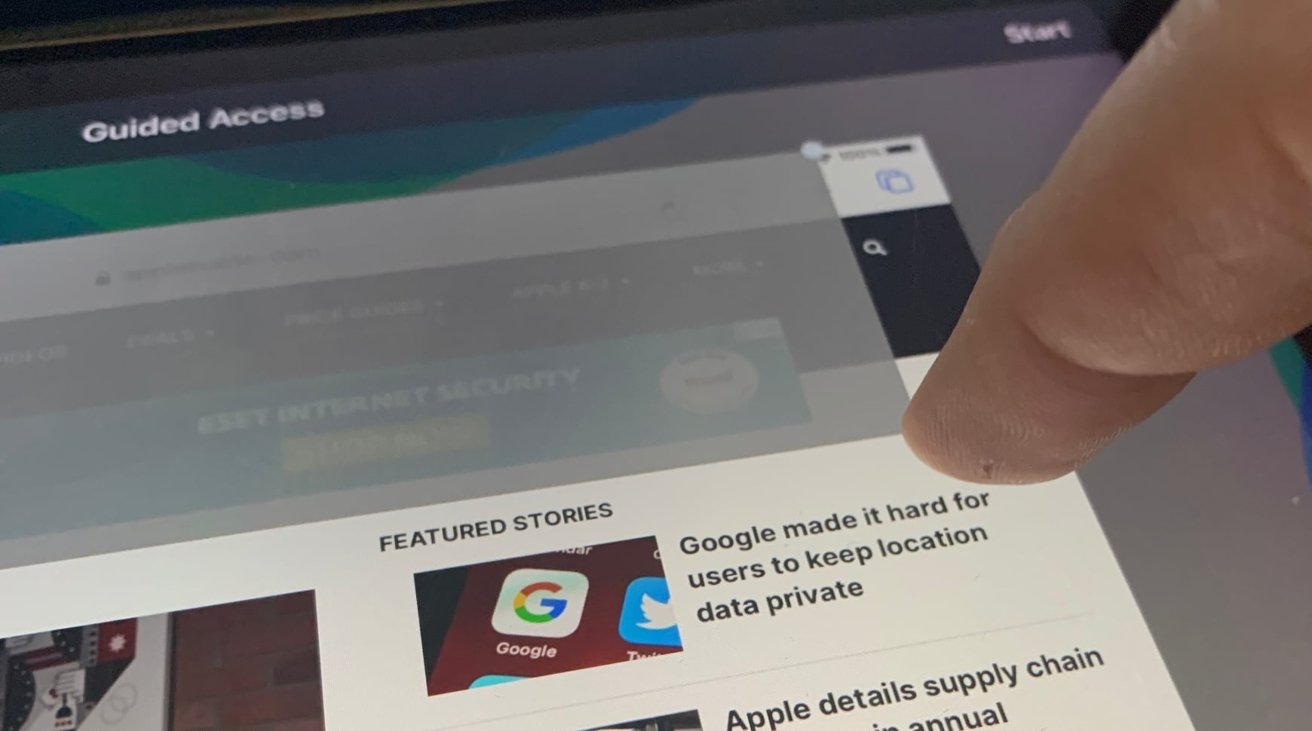
Stop being worried about your friends snooping through your data if you hand your iPhone to them, by using Guided Access to limit what they can do on your personal device. Here's how to use it.
Practically all iPhone and iPad users have, at some point, been encouraged to hand their devices over to someone else, such as to show them a photo you've taken. While generally a safe thing to do when the device owner's watching closely, sometimes the friends, family members, or other people want to pry a little further.
This could lead to them seeing images in Photos that you consider to be extremely private, or scanning through your contacts list or recent calls for interesting people, or sending direct messages via social networks to others, pretending to be you.
The potential for mischief, or for more serious actions, makes people wary of handing out their devices to people that they don't completely trust.
However, there is a way to hand your iPhone over to someone else and know full well it will be returned safely, without any sneaky access to other apps. That is by using Guided Access.
What is Guided Access?
Built into iOS and iPadOS, Guided Access is an option that locks down what you can do with the device.
Hidden within the Accessibility settings, Guided Access is intended as a tool for parents, teachers, and support workers working with people with attention or sensory disabilities. It temporarily restricts the device to one app, as well as impacting what a person could do within that app, keeping them on task.
The system can also be used to turn an iPhone or iPad into a makeshift kiosk with limited functionality, which makes it ideal for handing over to a friend known for snooping.
Setting up Guided Access on an iPhone
Enabling Guided Access is simple, and leaves your iPhone or iPad in a state that it can be easily triggered and disabled, whenever you need it.
How to enable and disable Guided Access
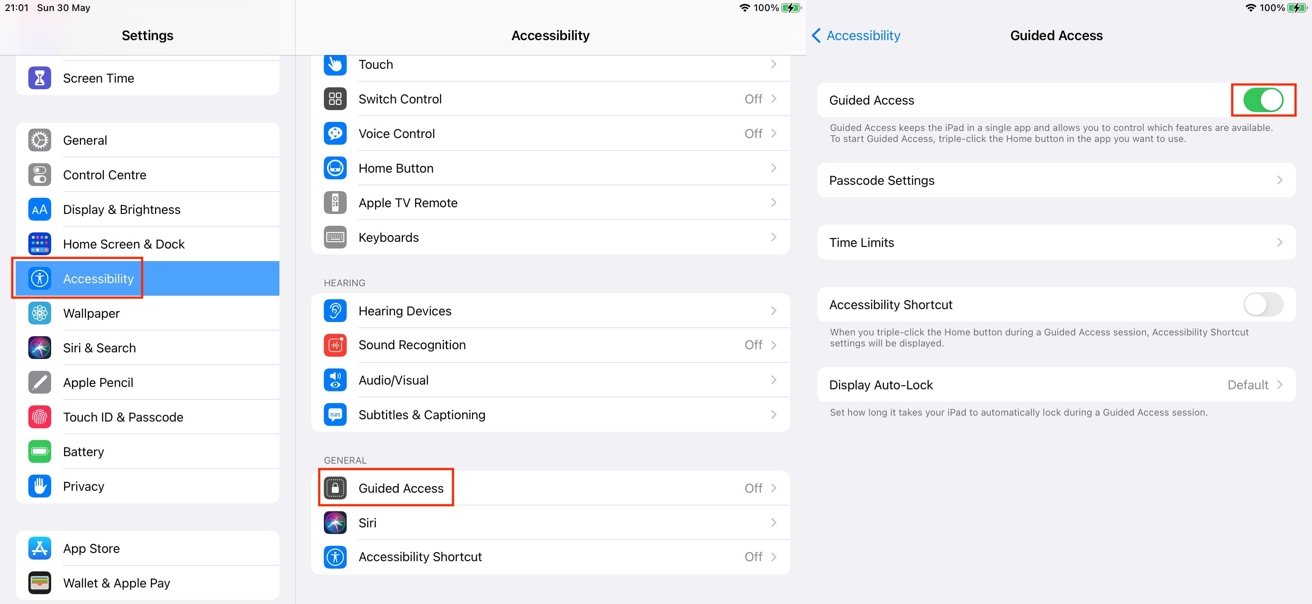
Open Settings.
Select Accessibility.
Scroll down to General and select Guided Access.
Tap the toggle next to Guided Access.
Once it has been enabled, more options become available in the Settings menu.
The first thing you should look at is Passcode Settings, which will allow you to set up a passcode to use each time you invoke the Guided Access session. This isn't a requirement, as you can be asked for a passcode at the start or end of a Guided Access session if it's not enabled.
The section also includes an option to end Guided Access with either Face ID or Touch ID. It is advised to enable this as a quick way to end it, without needing to enter the passcode.
There are also options to set a sound to play once a settable time limit has been reached, and for the remaining time to be spoken before that time runs out.
You can set up the Accessibility Shortcut settings to be displayed when you triple-click the Home button or side button during a Guided Access session.
If you want to alter the automatic locking feature of your device for a different period of time than what is already set up, there's an option to alter Display Auto-Lock within the settings menu.
Starting a Guided Access session on an iPhone
Once you have enabled Guided Access, you can invoke it at any time by opening the app you want to provide access to, then to triple-click the Home button or side button.
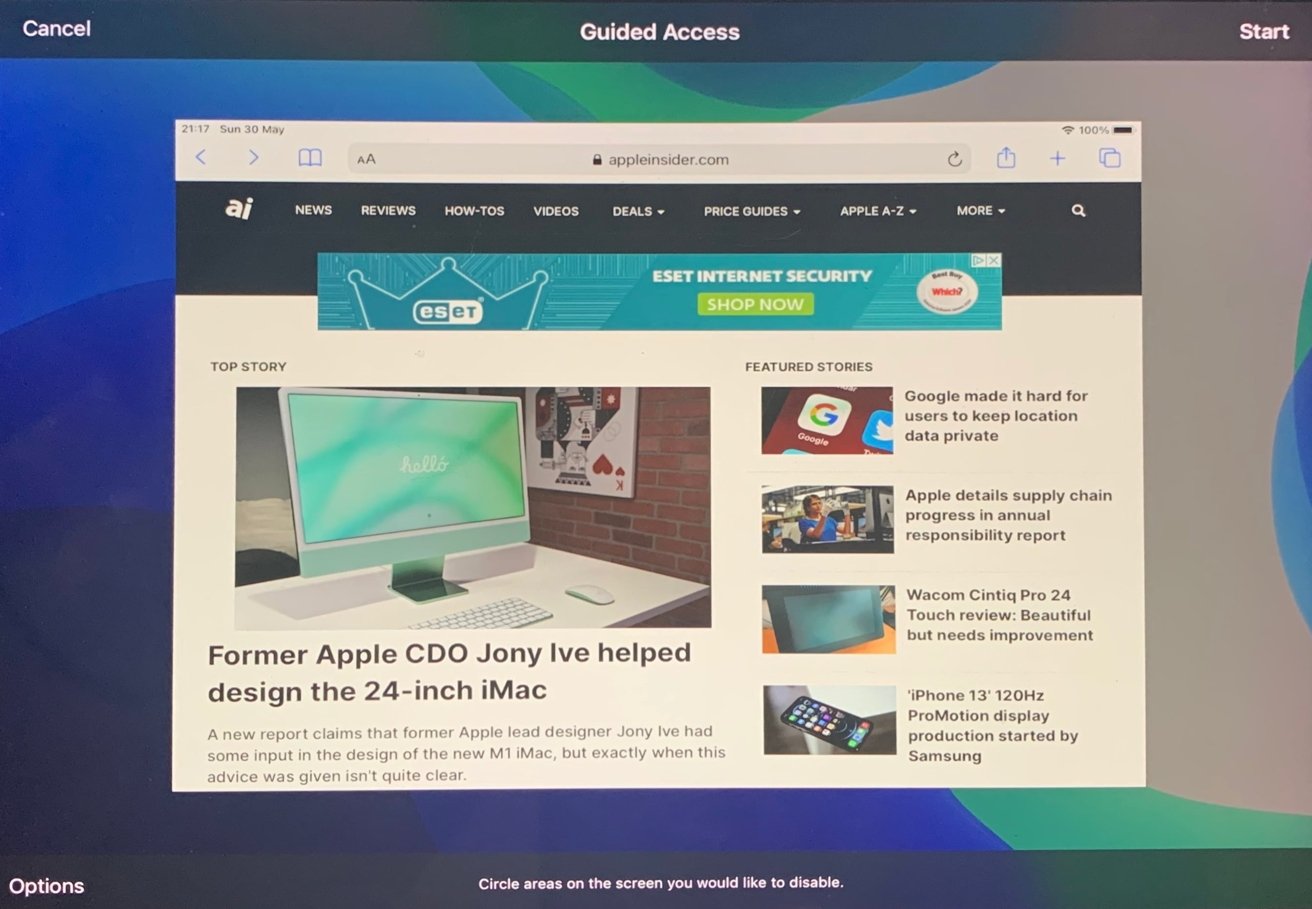
This will shrink the current app's screen and provide the opportunity to select areas of the screen that won't work. For example, you could make only the media playback controls of an app be accessible, but prevent the ability to trigger anything else visible on the screen.
How to disable areas of a screen in Guided Access for iOS and iPadOS
Enter Guided Access with a triple-click of the Home button or side button.
Draw around areas of the screen you want to disable.
Using dots on the shapes that appear, resize the shapes to perfectly define what you want to block off. Tap the X dot to delete the shape.
Once set, tap Start.
If a passcode hasn't been set, you will be prompted to set one up, and to authenticate it.
Once enabled, Guided Access will show gray sections covering parts of the screen that will not register touch inputs by the user.
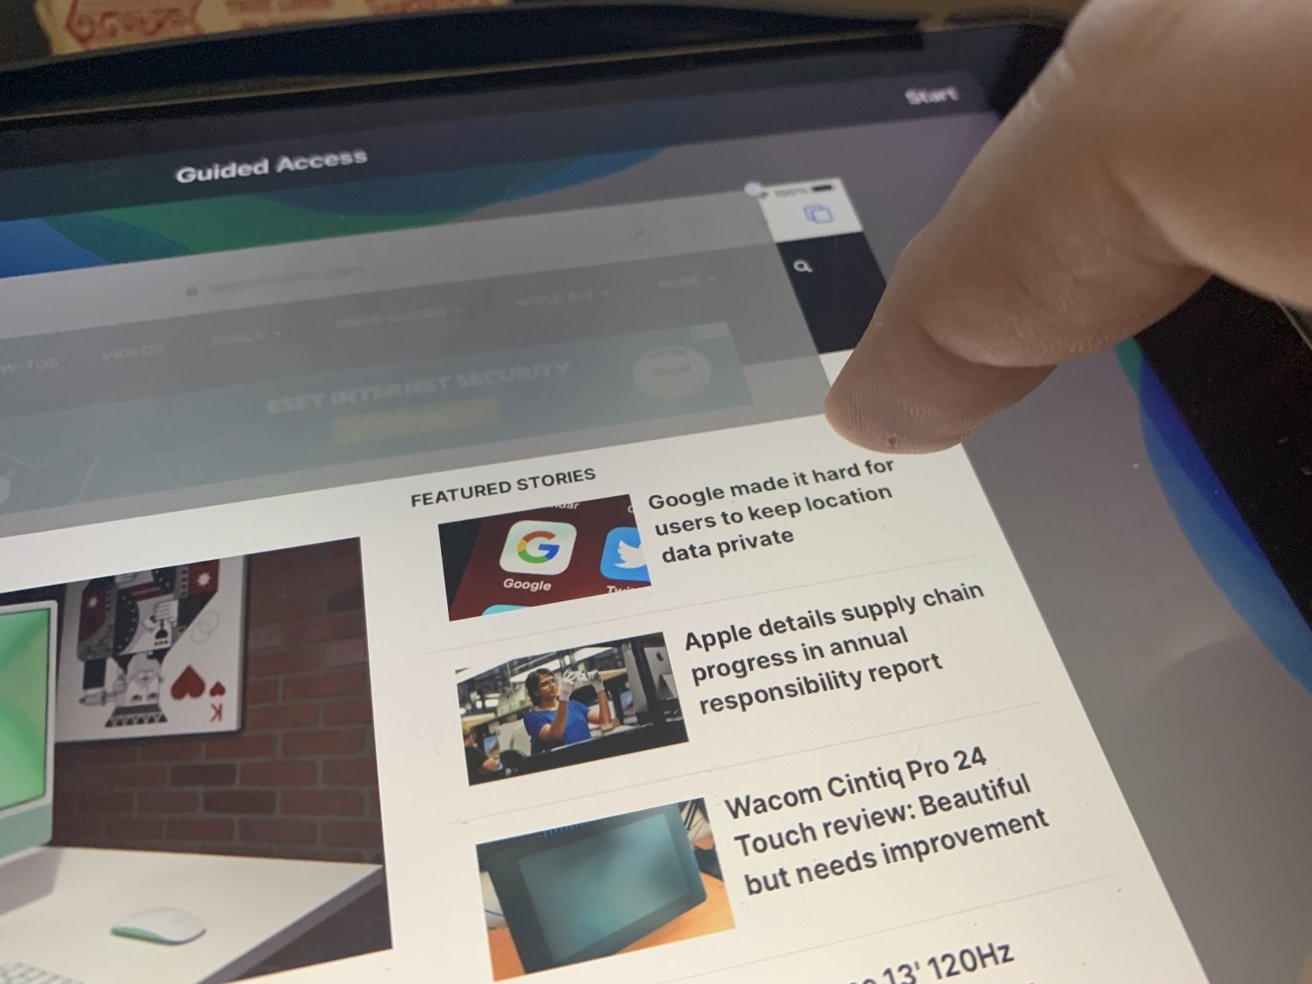
Be aware that these define areas of the display that cannot be touched, but they do not define areas of the app itself. If the app scrolls, like a browser, this may mean elements you blocked may shift and become touchable once again.
Attempts to leave Guided Access to another app will display a banner saying it is enabled, and to triple-click to exit. Performing a triple-click will bring up the passcode dialog.
How to exit Guided Access for iOS and iPadOS using a passcode
Within a Guided Access session, perform a triple-click on the Home button or the side button.
Enter the passcode for the session.
Tap End.
How to exit Guided Access for iOS and iPadOS using Face ID or Touch ID
Double-click the Home button or the side button.
Unlock with Touch ID or ace ID if it's enabled.
Tap End.
Options
The screen for managing the touch-disabled elements of the app also offers an Options menu. Selecting it brings up a list of different elements that can be enabled or turned off, depending on what's needed.
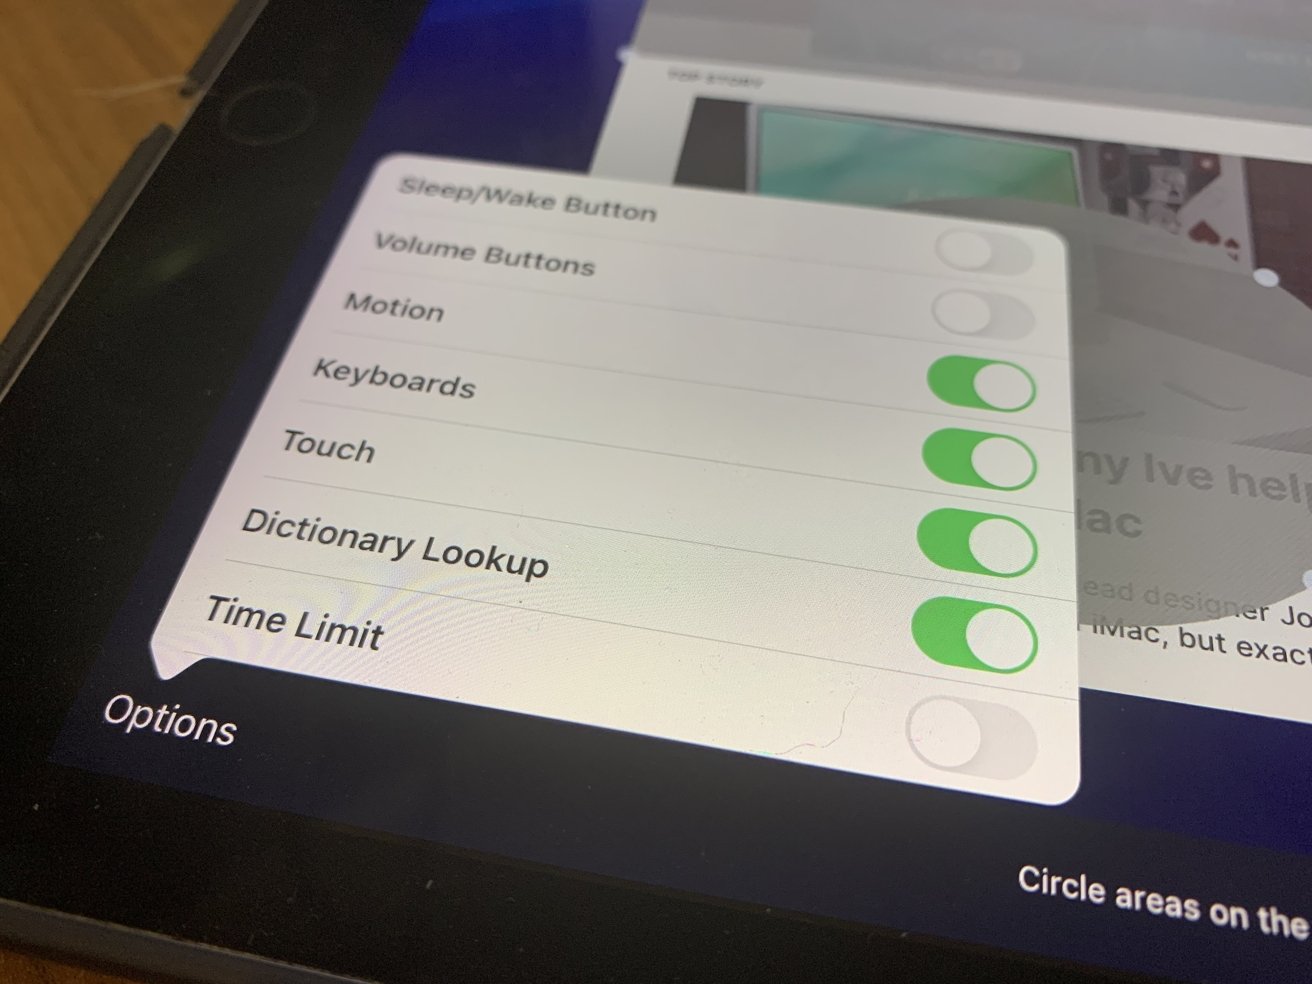
By default, the apps will continue to accept motion input and touch inputs, offer the Dictionary Look Up feature, and allow the software keyboard to be displayed. It will also disregard presses of the Home or Side button to sleep or wake the device, and presses of the volume buttons.
Depending on the needs of the device owner, there could be a good reason to change these. For example, you could prevent the device from manually sleeping or waking, or to stop anyone from entering text data, or from turning the volume up to the highest level.

There's also the option to enable a Time Limit. Once selected, an interface shows asking how many hours and minutes you wish to allow access to the device. Once elapsed, the preset sound will play, while the screen will switch to show "Time Expired" and preventing further use of the iPhone or iPad.
The usual triple-click action and unlocking process will return users to the configuration page.


 William Gallagher
 Mike Wuerthele
 Christine McKee

 Andrew Orr
 Sponsored Content