How to set up and use Launchpad on macOS
 Malcolm Owen
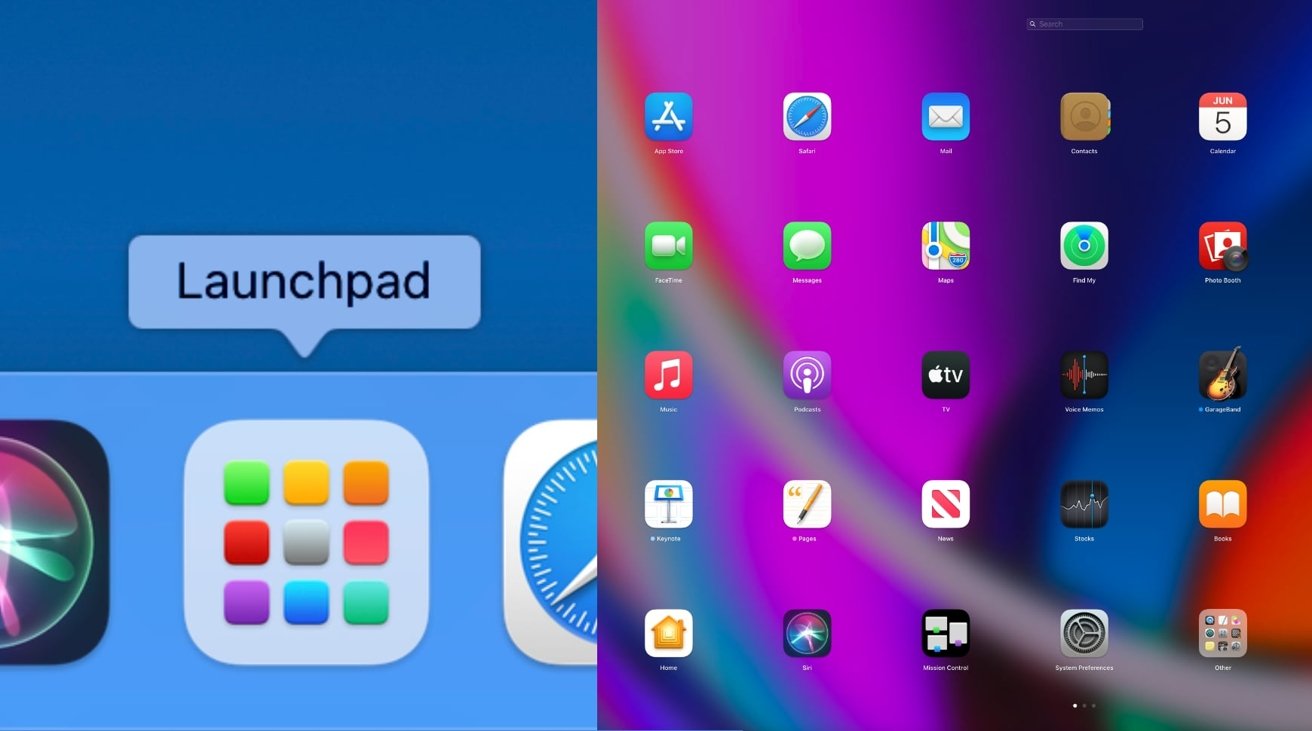
Launchpad is an essential part of the macOS desktop, and is a quick and easy way to access applications installed on your Mac. Here's how to get the most out of the feature.
Launchpad has been part of the macOS desktop for a few years, serving the simple purpose of helping users open the app they need as quickly as possible. Likened to the Windows Start Menu, it simply offers a long list of apps that the user can see and quickly open, with minimal effort required.
It is a straightforward tool, and it certainly isn't the only way to do the same job. Anyone wanting to open an application has a variety of different ways to accomplish the task.
For example, you could search for the name of the app via Spotlight. You may have placed the app icon on the Dock for ease of access. You may have even manually gone to the Applications folder to find and open the app.
These are all valid ways of doing the same thing, but for those new to macOS and switching from a Windows-based environment, it is probably the most logical method of app opening available to them.
Basic accessibility
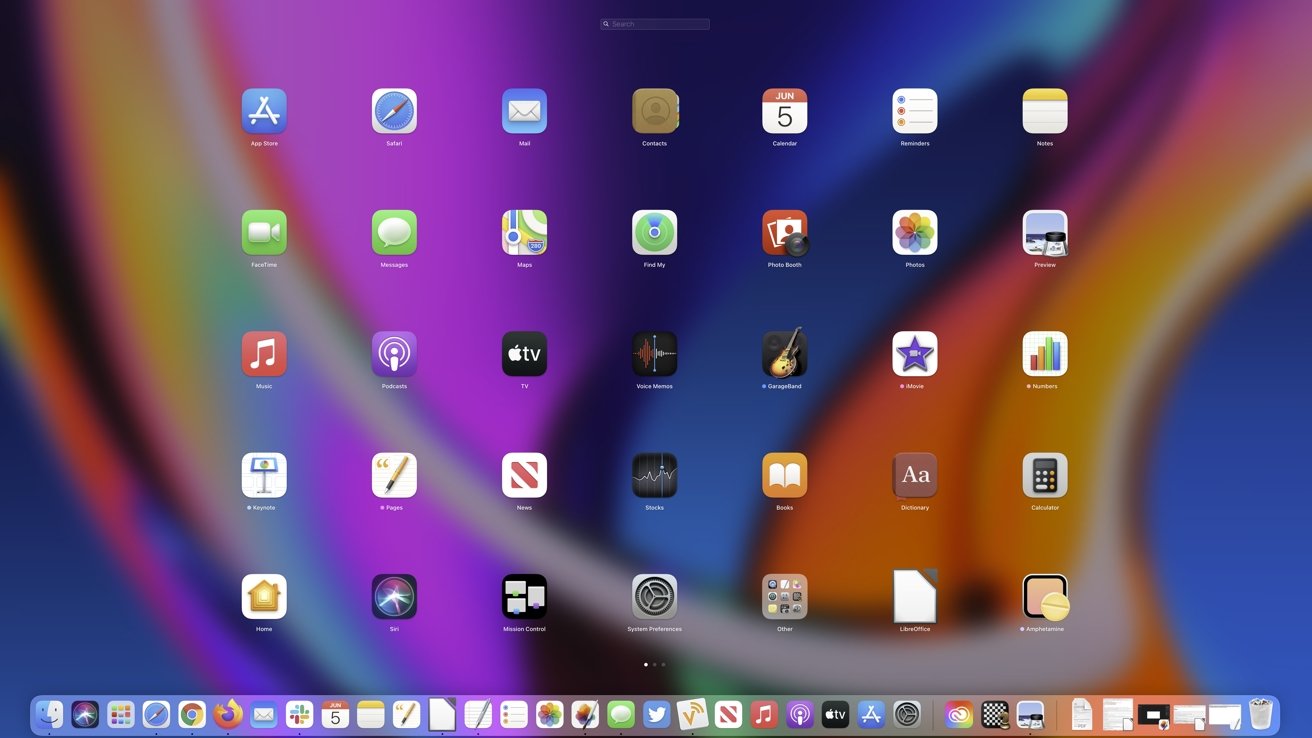
The simplicity of Launchpad is akin to turning your Mac into an impromptu iPad home screen. When you click the Launchpad icon, you're shown a similar screen, consisting of a grid of well-spaced icons and their titles.
To open an app that you can see, click it once. That's all you have to do.
Just like the familiar iPad and iPhone home screens, app icons can be stored in folders, which you will have to click and expand before clicking the app icon itself.
At the bottom of the screen are dots, which will show you how many pages of apps are included in Launchpad, as well as which page you are looking at. Use the mouse scroll wheel to switch pages, or click the dots.
If you need to get out of Launchpad, simply click anywhere on the background that isn't an app icon or another on-screen element, or press the Escape key on your keyboard.
Keyboard-based access
Let's say that you want to speed up your accessing of apps within Launchpad, or don't want to use your mouse as much. There are a few things you can do to access apps within Launchpad than normal mouse-centric controls.
You do, admittedly have to open up Launchpad by clicking the icon. There's no escaping that point, unless you set up a keyboard shortcut.
Once within Launchpad, you can navigate between apps using the arrow keys, then using Return to enter folders or to open apps. Press the Escape key to back out from a folder.
You can switch between pages in Launchpad using the keyboard, by holding Command then pressing the left or right arrow keys.

If speed is your thing, you could simply search for the app. As soon as you're in Launchpad, start typing the name of the app you want to open, and your Mac will start narrowing down the list until you see the app you're searching for.
Use the arrow keys to highlight the app you're looking for, and tap Return to open it.
Opening Launchpad without clicking
While the Windows Start Menu is always in the corner of the screen and easy to access without issue by moving the mouse to its most extreme position in the corner and clicking, it's not the same for Launchpad. As it's located on the Dock, it's not right in the corner, so it requires more thought to access.
One way to fix this is to take advantage of Hot Corners, a feature built into macOS where you can assign actions to be performed when you push the mouse into one of the corners.
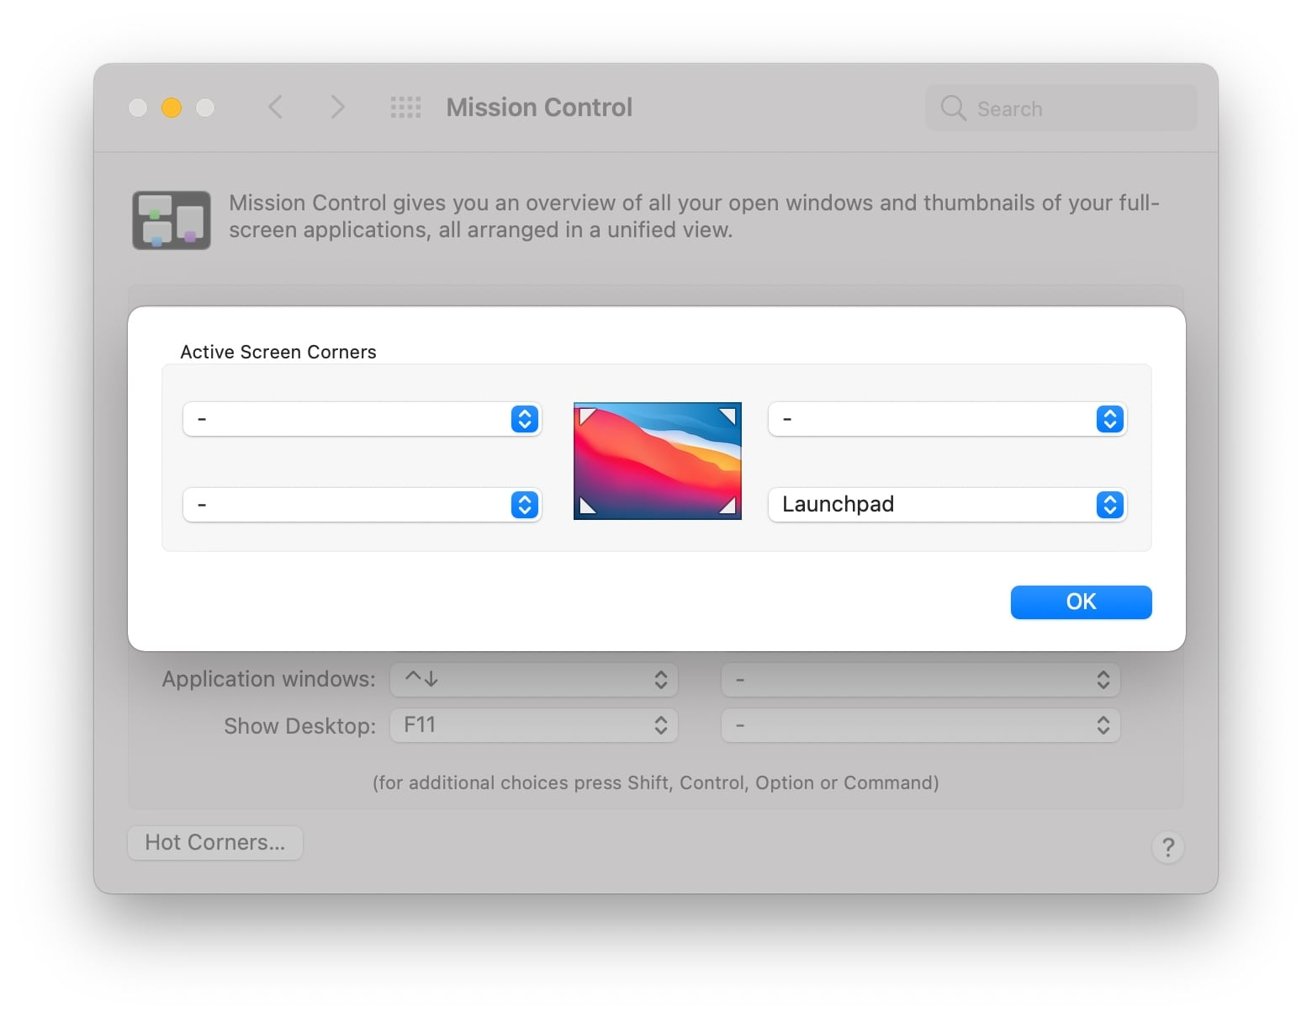
How to add Launchpad to a Hot Corner in macOS
Click the Apple logo in the menu bar then select System Preferences.
Click Mission Control.
Click Hot Corners.
Select the dropdown for the active screen corner you want to use to activate Launchpad.
Click Launchpad.
Click OK.
Right-clicking Launchpad
If all you want is quick access to apps, but without the pretty UI, you can do this with a right-click of the Launchpad icon. This will display a context menu containing a list of all applications held within Launchpad, which can be scrolled through and clicked to open like any other context menu.
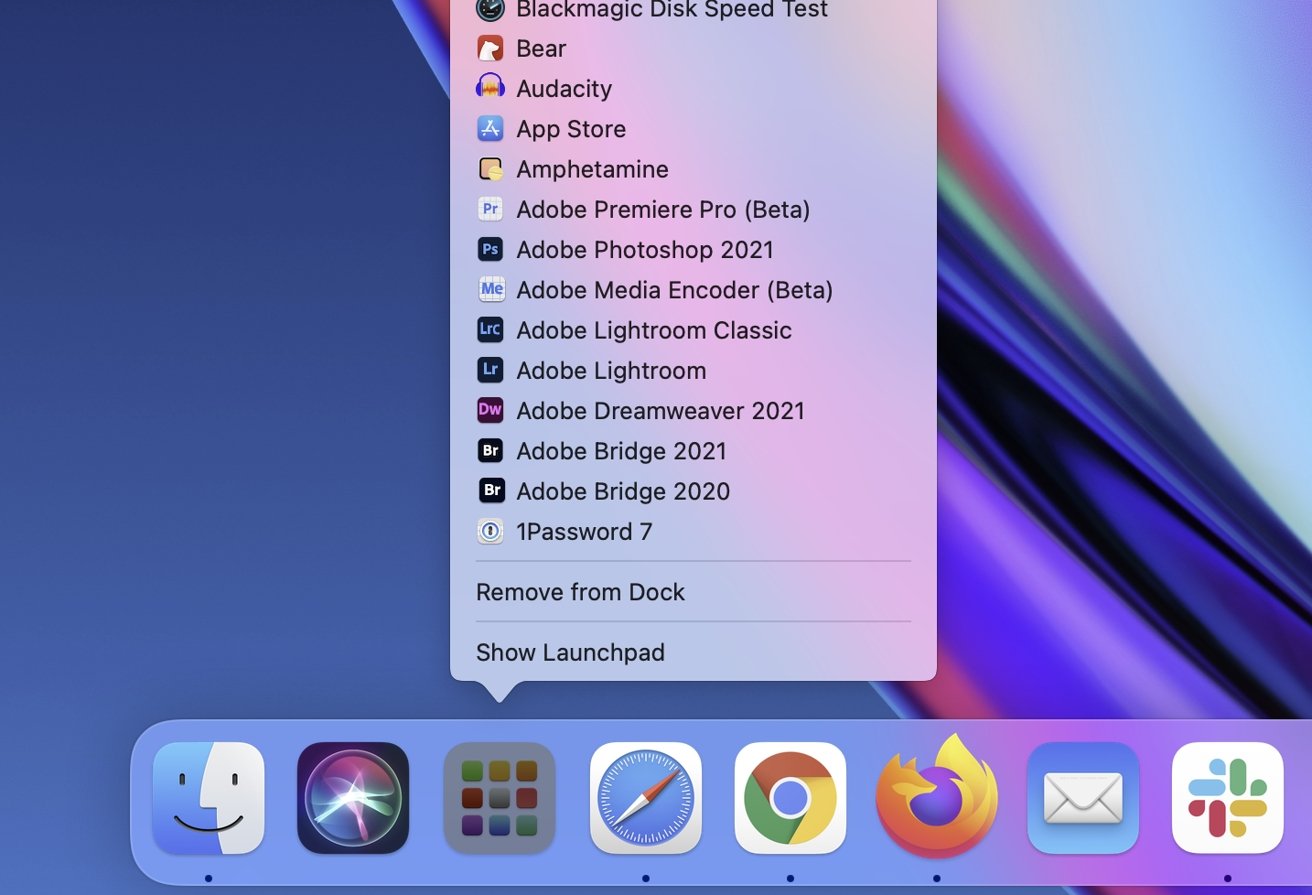
There are also options to remove Launchpad from the Dock, if you don't want it there anymore, or to bring up the usual Launchpad experience by clicking Show Launchpad.
Adding apps to Launchpad
The simple thing to know about Launchpad is it's basically a list of apps you have installed on the Mac. Specifically, it's a list of apps that you have either downloaded from the Mac App Store to your Mac, or an app you've placed into the Applications folder.
New apps you install from the Mac App Store or have downloaded and put into that folder will automatically appear. However, not all apps will appear on the list.
Suppose you have an application installed on the Mac that is neither downloaded from the Mac App Store, nor is it one you wish to actually move to the Applications folder for some reason. It's not going to appear in Launchpad automatically, but you can place it there.
How to add apps to Launchpad in macOS
Drag the app onto the Launchpad icon in the Dock, and release.
Open Launchpad to check the app has been added.
If required, drag the app icon to where you need it within Launchpad.
Managing apps and folders
If having multiple pages of apps is overwhelming, you can organize the icons to better suit your workflow, or at least to put your most-used apps in easier reach.
For a start, you can move apps by dragging it from one position to another. If you need to move it to another page, drag the icon to the edge of the screen to switch pages, wait for the page to change, then drop the icon in its new home.
You can create new folders by dragging an app on top of another, or you can add an app to a folder by dragging and dropping an app onto a folder. You can move folders in the same way as you would move an app icon.
If you need to rename the folder to a title that makes sense, simply open the folder, click the name at the top, and enter a new name.
Removing apps
Let's say that you don't want an app to be visible within Launchpad. Getting rid of it is relatively easy, and is quite similar to app management on an iPhone or iPad
How to remove apps from Launchpad in macOS
Open Launchpad.
Click and hold on the app you want to remove until the icons start jiggling .
Click the X symbol that appears in the corner of the icon.
This will work the majority of the time, but there are some apps you simply cannot remove from the list, as the X symbol doesn't appear. They will generally consist of apps that weren't downloaded from the Mac App Store, or were preinstalled to the operating system.
In such cases, you will have to uninstall the app itself.
Adding and removing Launchpad
If you want to simply get rid of Launchpad to get more space on the Dock, you can do that. Since it's an application in its own right, you can handle it like any other app on the Dock.
To remove it, click and drag the icon off the Dock, raising it up enough until it goes transparent and is tagged with the word "Remove." Release it to remove the icon.
Alternately, you can right-click it and select Remove from Dock.
If you want it back, you need to open the Applications folder in Finder, locate Launchpad, then drag it back onto the Dock.


 Marko Zivkovic
 Amber Neely
 Christine McKee
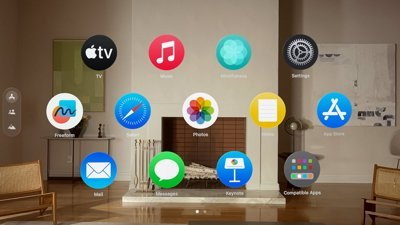

 Mike Wuerthele and Malcolm Owen

 William Gallagher