How to easily edit video on an iPad using an external SSD
 Andrew O'Hara
It is now easy to edit and produce videos from an SSD
For mobile creators, storage was always a bottleneck. But thanks to a few recent updates between iPad, iPadOS, and some popular apps, creating an entire video production workflow on external storage is now possible. Here's how to pull it off without needing any internal storage on your iPad.
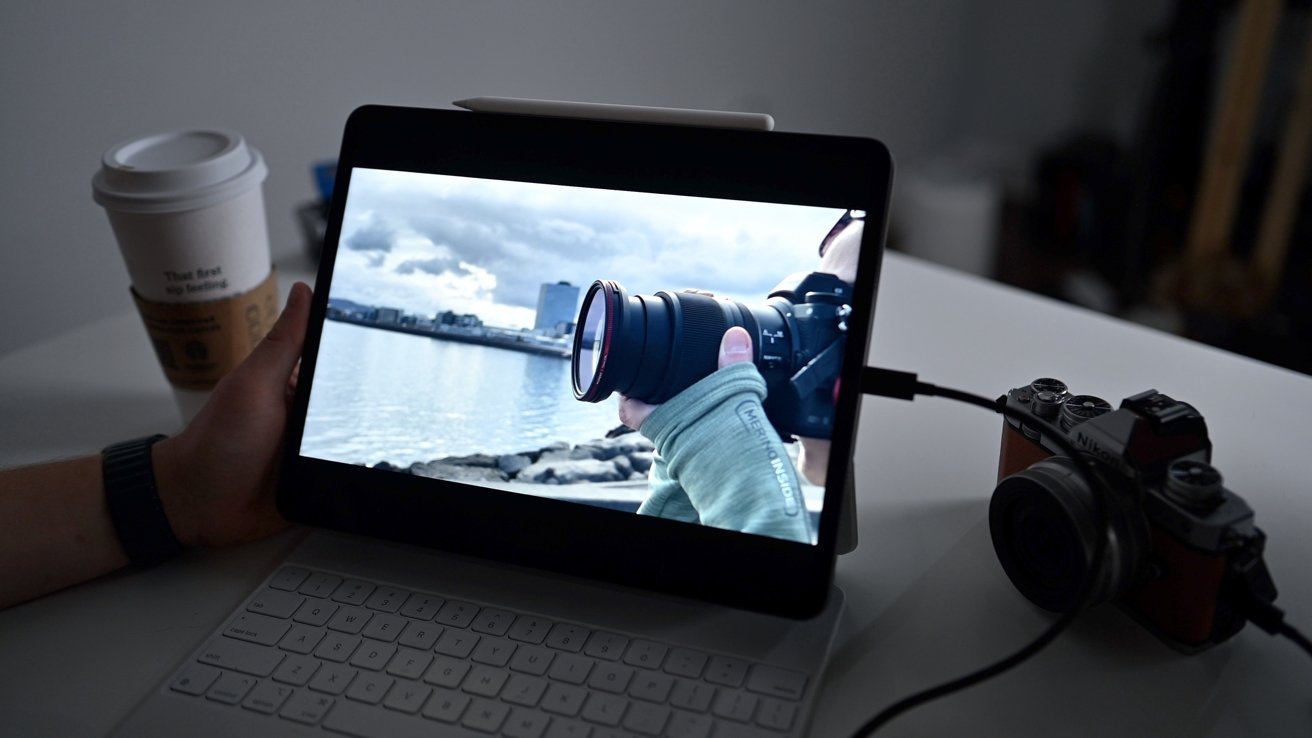
When all of these enhancements come together, it is now possible to import footage, edit a project, and export a 4K HDR project all on an SSD without requiring any remaining storage on your iPad Air or iPad Pro. This workflow is a game-changer for mobile creation or iPad-centric workflows.
The problem with mobile video editing
The big issue with mobile content creation always comes back to storage. In recent years, Apple has done some work trying to alleviate this problem but has thus far come up just short.
New iPad Pros can come equipped with up to 2TB of storage which is excellent but carries a huge price tag. Going from 1TB to 2TB costs users an additional $400 and puts the device itself at $2200 for the 12.9-inch model.
Apple also put USB-C and Thunderbolt ports on the recent iPad Air and iPad Pro which allows for external media to be connected such as SSDs or hard drives, but there was no way to edit directly from these devices, especially with the absence of Final Cut Pro on iPadOS. Our workflow usually resulted in us moving media back and forth from the iPad to our drives and back again.
LumaFusion filled the gap early, allowing users to import media from external drives for editing, but it still relied far too heavily on the storage inside the iPad.
Until now.
Our setup and what you need
There are a few things you need to create this wholly external workflow.
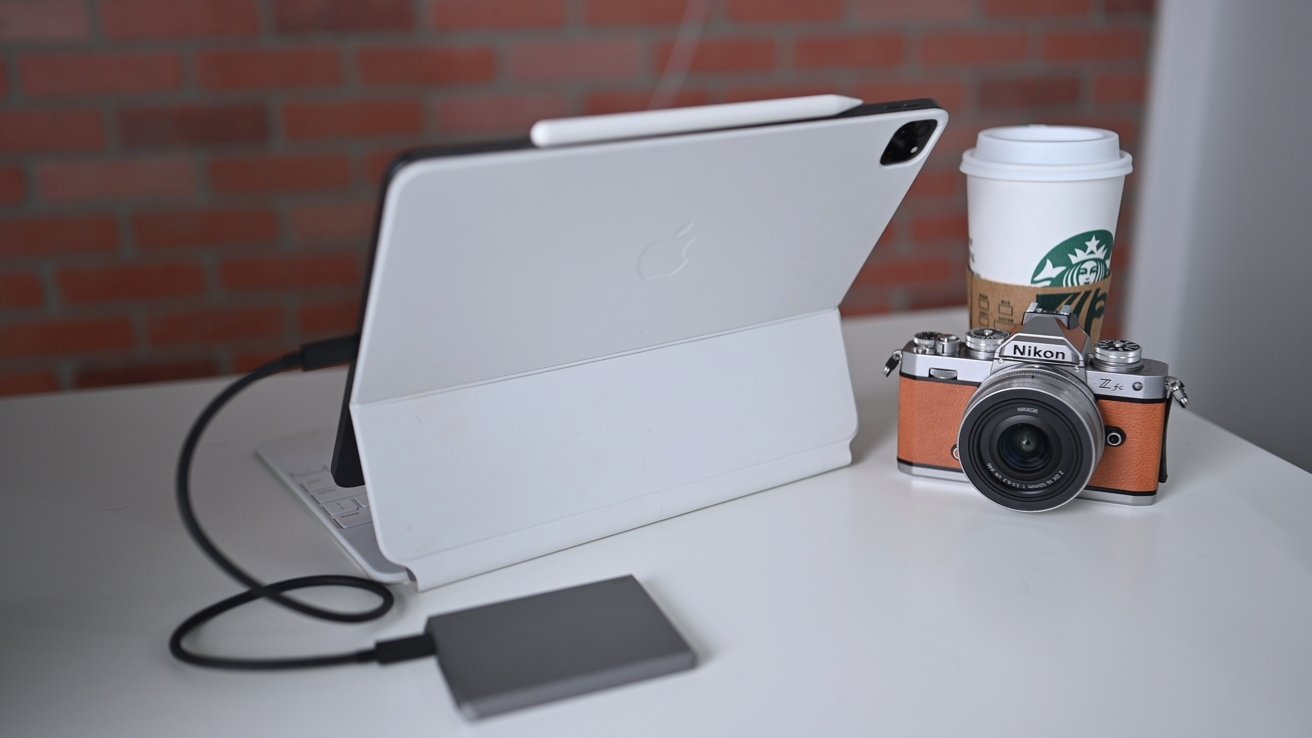
In our case, we are relying on our 2021 12.9-inch iPad Pro, which has a Thunderbolt 3 port for connecting blazing-fast external media.
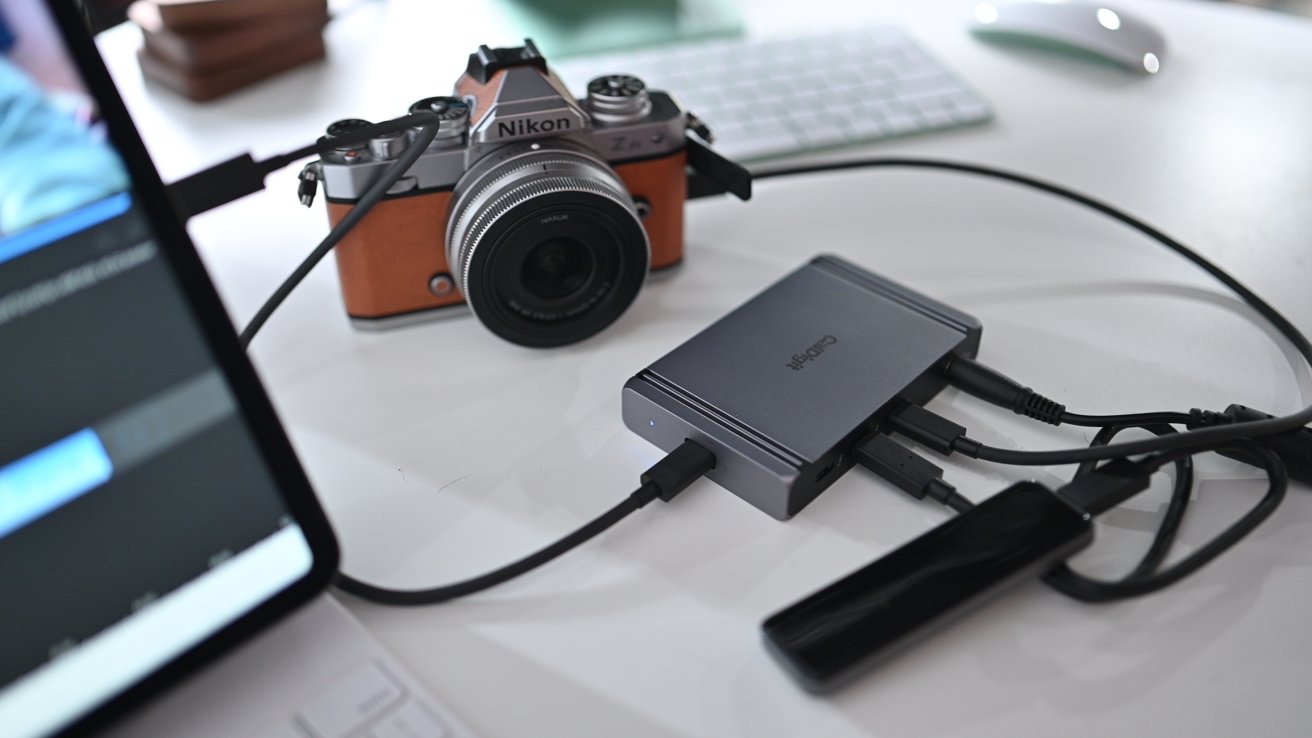
Connected to our iPad Pro, we are using a hub, specifically the CalDigit Thunderbolt Element Hub. Make sure you choose a Thunderbolt or USB-C hub depending on what port you have on your iPad.
You don't need to use a hub, but it allows us to connect our camera and SSD simultaneously. With both connected, we can transfer our footage direct from the camera to SSD. Without the hub, we'd have to transfer the footage to the Files or Photos app and then to the SSD in two steps, requiring free storage on our iPad.
We're using our stick SSD from RAVPower, but any USB-C or Thunderbolt storage will do. There are countless options available, and we've taken a look at many.
A few SSDs we've recently reviewed include the GigaDrive Pro, the Crucial X6, the LaCie Boss, and the Fantom Drives Extreme SSD.
Finally, you need a source of footage. If using what you shot on your iPhone, it will already be in the Photos app. If you're using a camera like the GoPro Hero 9 Black or new Nikon Z fc, you're set, and they can transfer footage wirelessly or via USB-C. In our case, we're using that new Nikon.
How to create your external workflow
Here is how our mobile workflow plays out.
Both the Nikon Z fc and the Go Pro Hero 9 Black can transfer footage wirelessly. If going that route, we skip the hub and instead connect our SSD directly to the iPad. But as we already mentioned, that requires us to store that footage on the iPad's SSD. So if we are out of storage, out comes the hub.
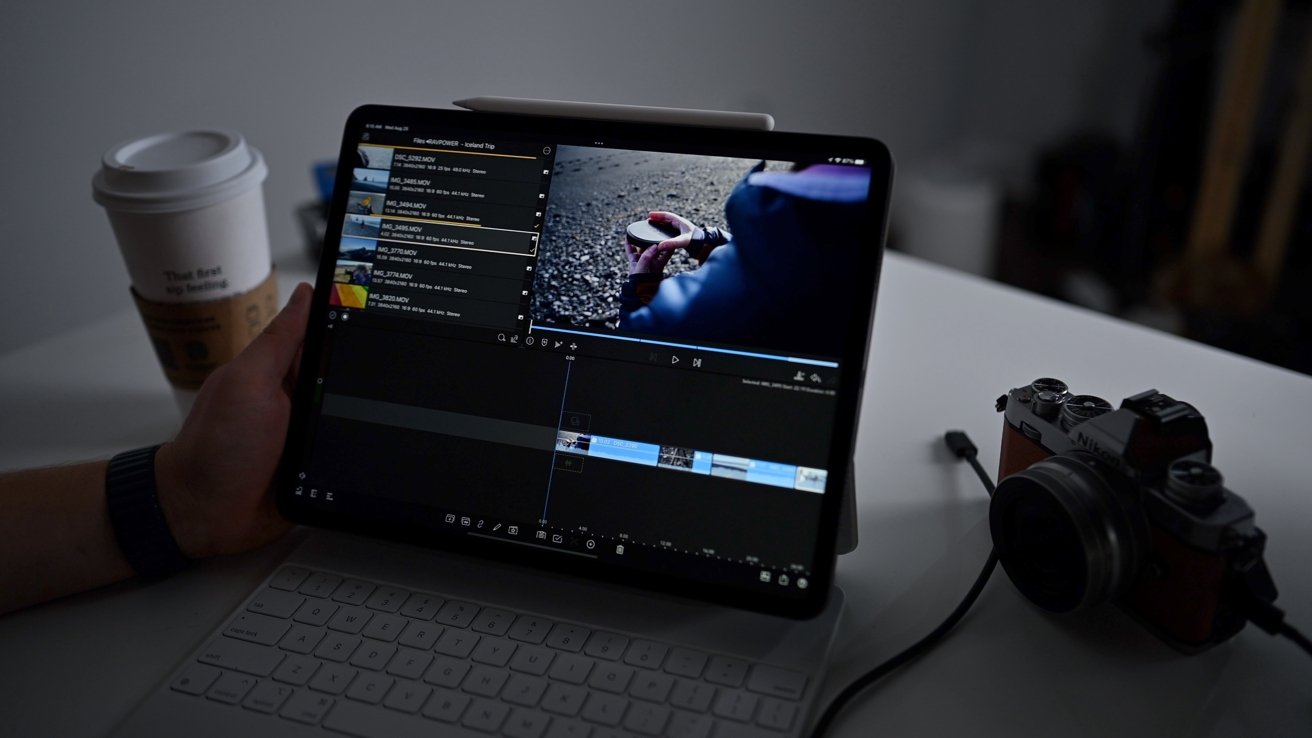
We use the Files app to handle the transfer, opening the connected camera or the card reader, copying the files, and pasting them directly to our destination folder on the SSD. Once our video clips and photos are moved to the drive, we can begin editing.
We create a blank project in LumaFusion by tapping the "new project" button in the lower-left corner. We then moved to the settings icon in the lower-right corner, where we want to ensure that editing on external drives is enabled.
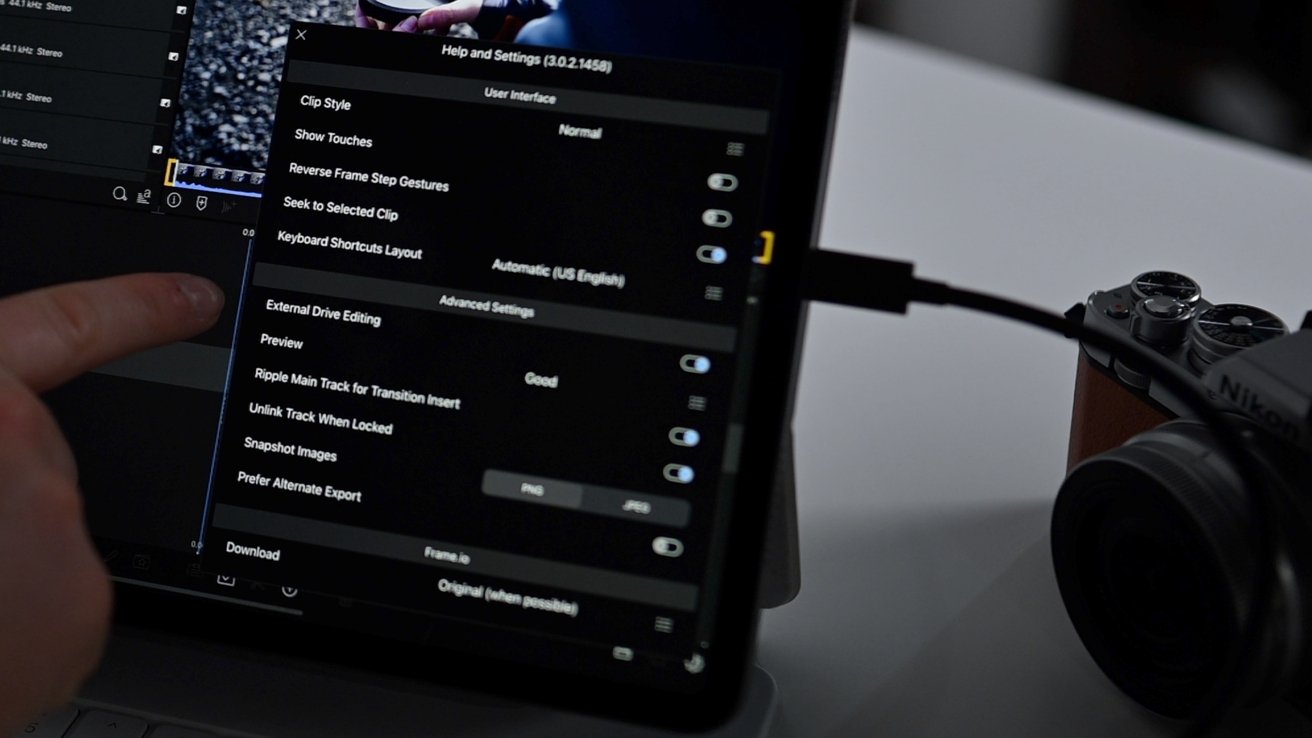
If this is toggled off, when we import media from the SSD, it will be copied locally. Not what we want.
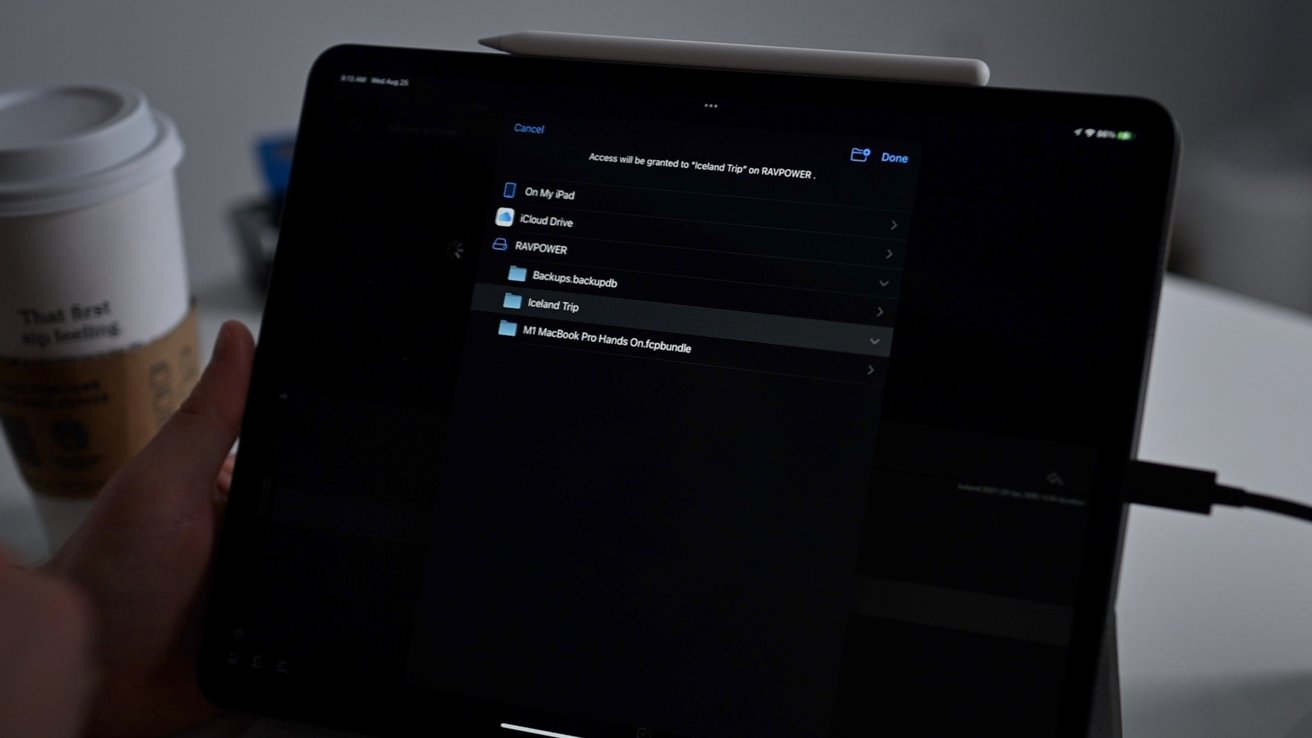
With external editing enabled, we tap the source icon in the top-left corner and choose Files. Here, we can find our folder located on the SSD. This creates a shortcut link in our project to all our source files.
These files aren't stored on the iPad and stay where we copied them to earlier. This shortcut gives us quick access to them. Even if we drag any of the clips into our timeline, the files still are not copied.
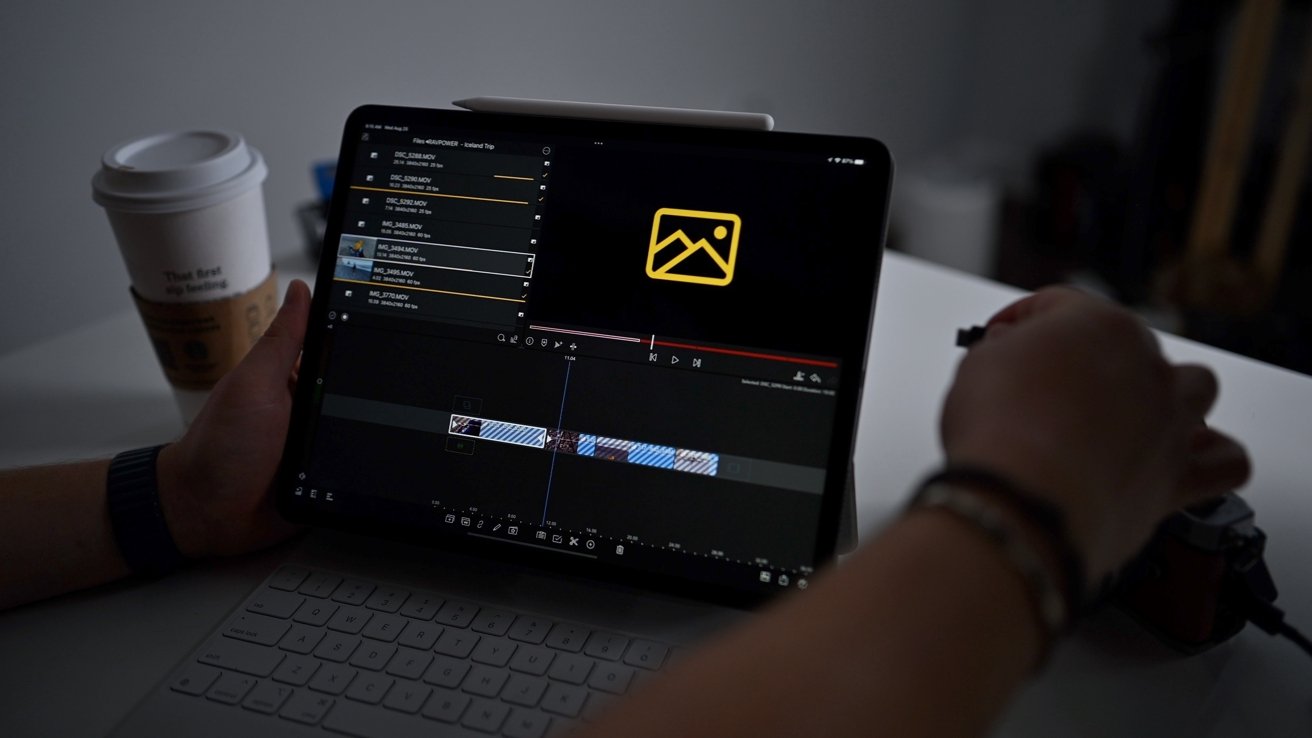
Should you disconnect the drive while editing, your project will be fine, though you won't be able to see any of your footage. Placeholder still images will remain in their place, but the video won't play, and you can't preview clips.
If you try to make a change, the scrub bar below the preview window will turn red, identifying all of the clips that are no longer available. Double-tapping a clip will refresh the project when you reconnect your drive, and your clips will work once again.
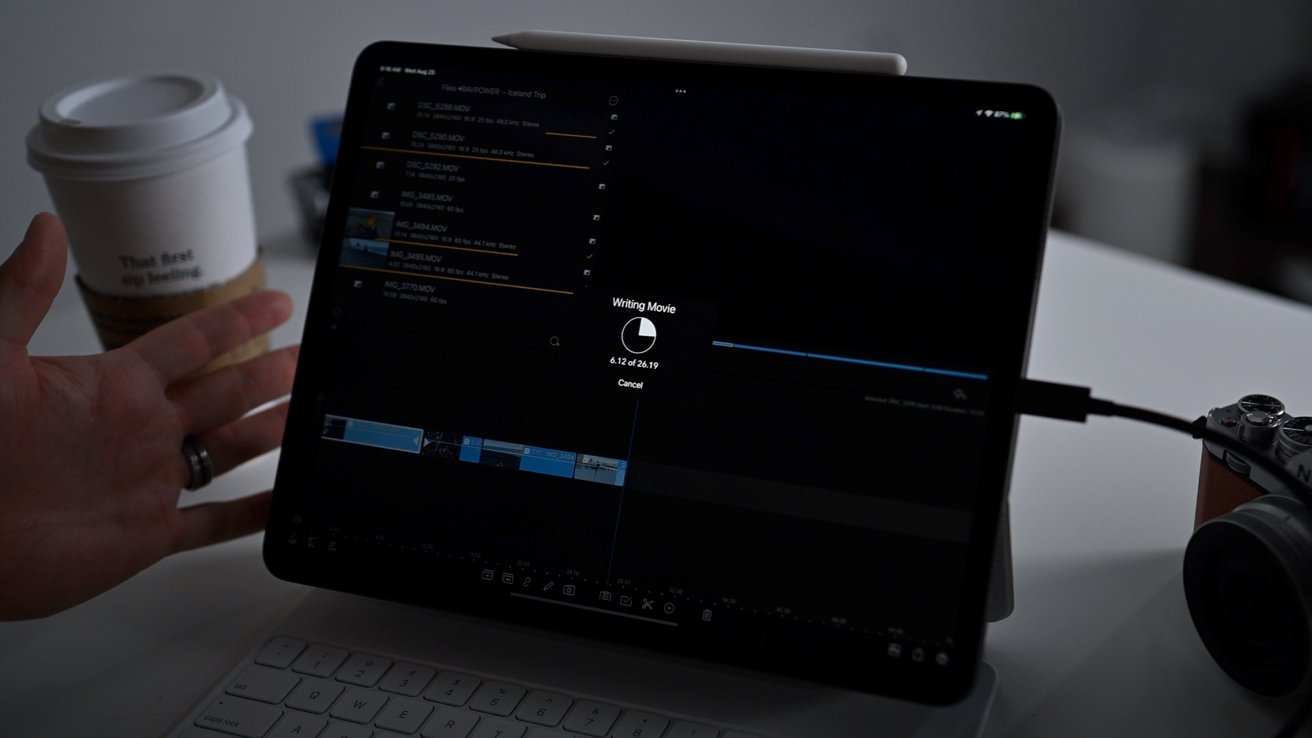
With our video produced, it needs to be exported. LumaFusion has a myriad of output settings for your configuration, though we'll leave those to you. The important part is choosing the destination. If we choose our SSD we can again reduce the load on our iPad's storage and save it directly to the external drive.
By the time you wrap production, you'll have imported, edited, and exported your movie without almost any internal space. This would never have been possible a few short years ago, but it's now a reality thanks to Apple's increased development of iPadOS and great third-party developers.


 William Gallagher
 Mike Wuerthele
 Christine McKee
 Malcolm Owen
 Amber Neely

 Marko Zivkovic