How to use the Accessibility features on iPhone and iPad
 Darryl Boxberger
The usability of Apple's iPhone and iPad goes well beyond users with perfect hearing or vision. Here's how to set up Accessibility features in iOS 15 and iPadOS 15.
You or a family member or friend might want on-screen text larger, so it's easier to read. Or, they might want the buttons to be more visible and easier to see, or to receive some audio feedback as a confirmation. Apple's iPhone and iPad's Accessibility features customizes the user experience to tailor to the needs and wants of every user.
How to access the Accessibility panel on your Apple device
A brief overview of the special accommodation categories available in Accessibility
Accessibility features are subdivided into four main categories: Vision, Physical and Motor, Hearing, and General. Any combination of these features can be enabled to fit a user's unique needs.
Vision
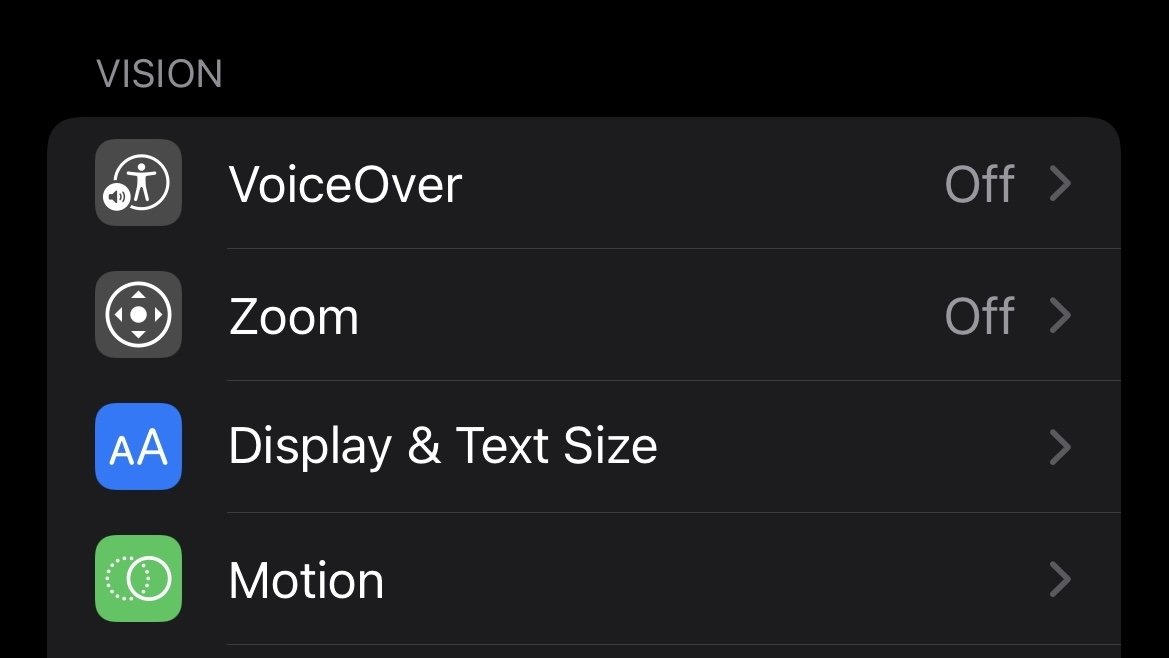
VoiceOver speaks out loud all text in the interface, including button labels, the time, text on the screen, and toggle states to let you know if a setting is on or off.
How to turn on VoiceOver
- Launch the Settings app.
- Tap Accessibility.
- Under Vision, tap VoiceOver.
- Set the switch for VoiceOver from Off to On.
Spoken Content aims to give you feedback on typing and the text presented on screen, including from your own typing. Audio Descriptions automatically play descriptive tracks in audio-video content where a descriptive track is included.
Zoom allows you to zoom in on any part of the display to temporarily get at smaller elements on the screen.
Display and Text Size makes text, buttons, interface elements, and icons easier to see to make navigation easier while not impacting the interface.
How to access Display & Text Size options
- Launch the Settings app.
- Tap Accessibility.
- Under Vision, tap Display & Text Size.
- Enable and disable options as appropriate.
Finally, Motion reduces the animation in the interface for a more comfortable viewing experience, especially for those that find animations disorientating.
How to reduce the amount of animations in iOS and iPadOS
- Launch the Settings app.
- Tap Accessibility.
- Under Vision, tap Motion.
- Turn on Reduce Motion.
Physical and Motor

Touch is the broadest category, encompassing features to aid users who have difficulty using a touch screen. Its settings provide better haptic feedback when a toggle is selected and some useful shortcuts to replace touching the screen. Touch also includes AssistiveTouch, a widely-used shortcut to replace hardware buttons and to replicate on-screen gestures to navigate the interface.
How to turn on AssistiveTouch
- Launch the Settings app.
- Tap Accessibility.
- Under Physical and Motor, tap Touch.
- Tap AssistiveTouch.
- Turn AssistiveTouch On.
Switch Control and Voice Control allow you to control your device with adaptive accessories and your voice, respectively. Face ID & Attention, Side Button, and Keyboards provides accommodation for easier use of the named features.
Finally, Apple TV Remote and AirPods includes more features to simplify the user experience for those peripherals.
Hearing
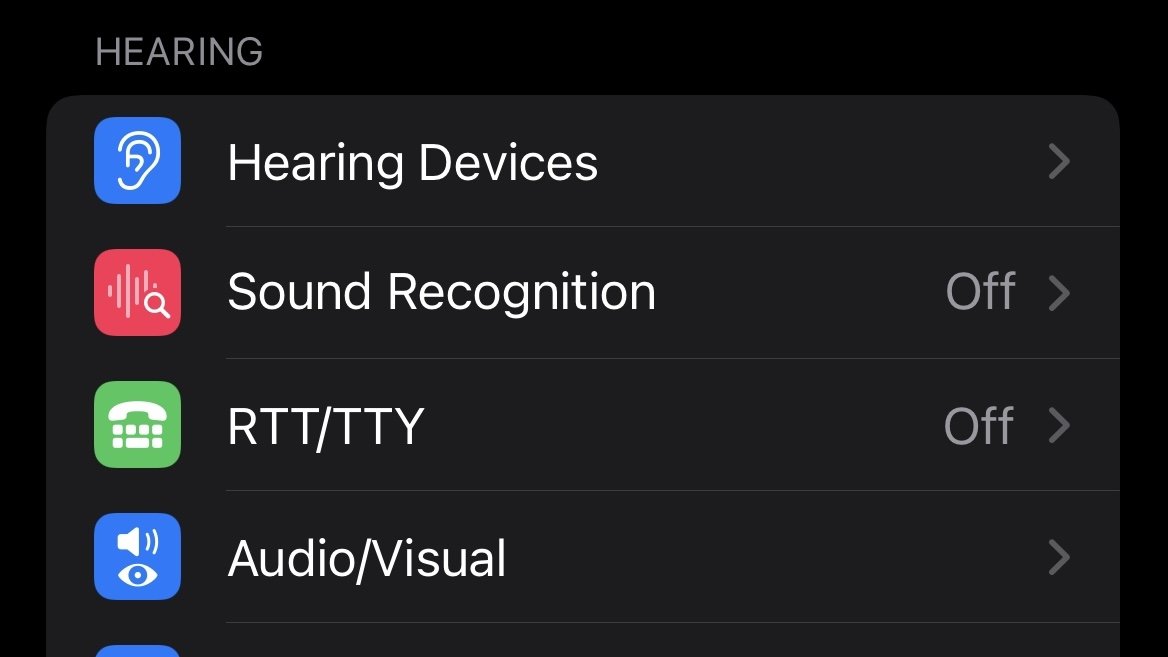
Hearing Devices allows your device to connect to Made for iPhone hearing aids to assist deaf and hard-of-hearing users.
How to connect Made for iPhone-compatible hearing aids and devices
- Launch the Settings app.
- Tap Accessibility.
- Under Hearing, tap Hearing Devices.
- After pressing the pairing button on your hearing aid, tap on your device under MFi Hearing Devices.
Sound Recognition recognizes common sounds by using your device's microphone as it listens continuously.
RTT/TTY adapts phone calls into special display and Braille text accessories.
Audio/Visual contains various options for audio. This includes headphones and how they output sound, background sounds for white noise, and an LED flash option to make device alerts more easily recognizable. Subtitles & Captioning controls built-in support for closed captioning-supported media.
General
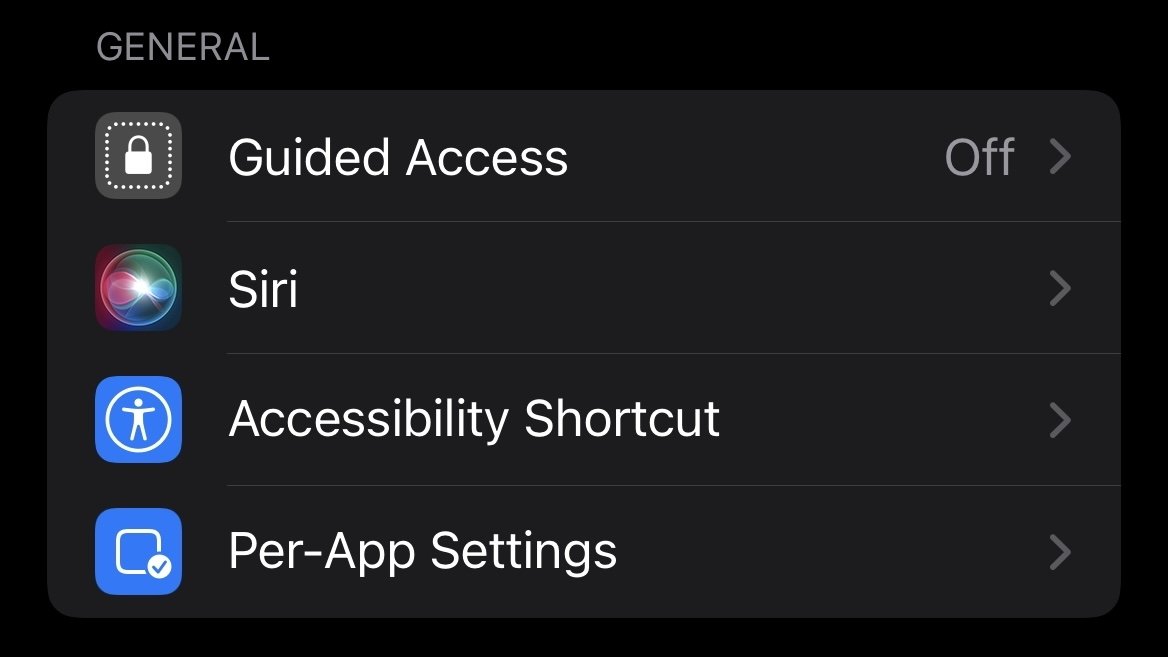
Guided Access prevents the user from leaving an app. It's helpful for those that require help to maintain their attention on a single task, or as a learning aid to avoid unwanted access to material unrelated to the curriculum.
How to enable Guided Access for an app
- Launch the Settings app.
- Tap Accessibility.
- Under General, tap Guided Access.
- Flip the switch for Guided Access from Off to On.
- Navigate to the app you wish to enable Guided Access for, then click the Side Button three times.
Siri controls how the user interfaces with the personal assistant.
Accessibility Shortcut places an Accessibility feature into the triple-click shortcut for the Side Button.
How to set up an Accessibility Shortcut
- Launch the Settings app.
- Tap Accessibility.
- Under General, tap Accessibility Shortcut.
- Select the Accessibility option you want the shortcut to enable.
- When you want to enable that specific Accessibility option in a pinch, click the Side Button three times.
Per-App Settings customizes the experience for the individual app.


 William Gallagher
 Mike Wuerthele


 Andrew Orr

 Marko Zivkovic
 Malcolm Owen