How to reuse an iPad as a HomeKit dashboard
 William Gallagher
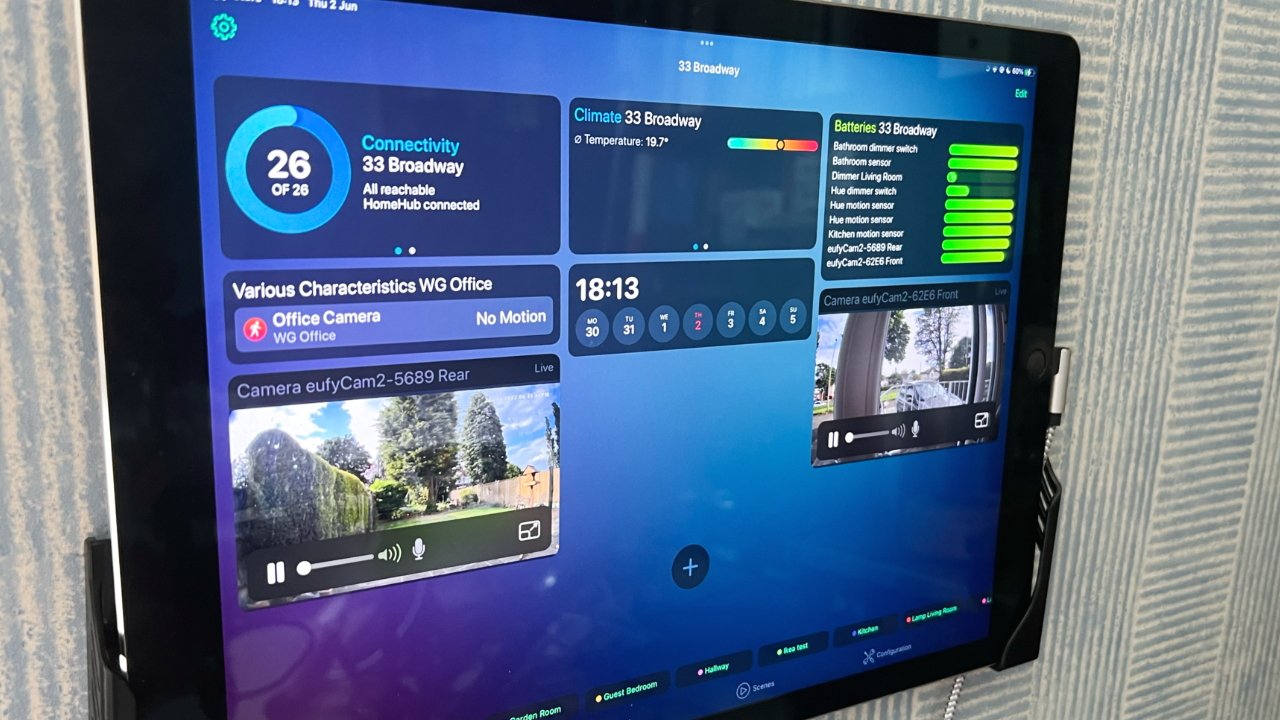
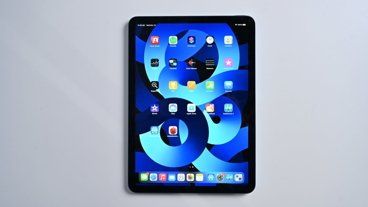
If you have a spare iPad of nearly any make or model, you can mount it on a wall and use it to control your HomeKit devices. Here's how.
It would be an expensive job buying, say, a 12.9-inch iPad Pro just so you could have a touchscreen light switch in your den. But if you already have a spare iPad, even one of up to a few years old, then it's better to get some use out of it than not.
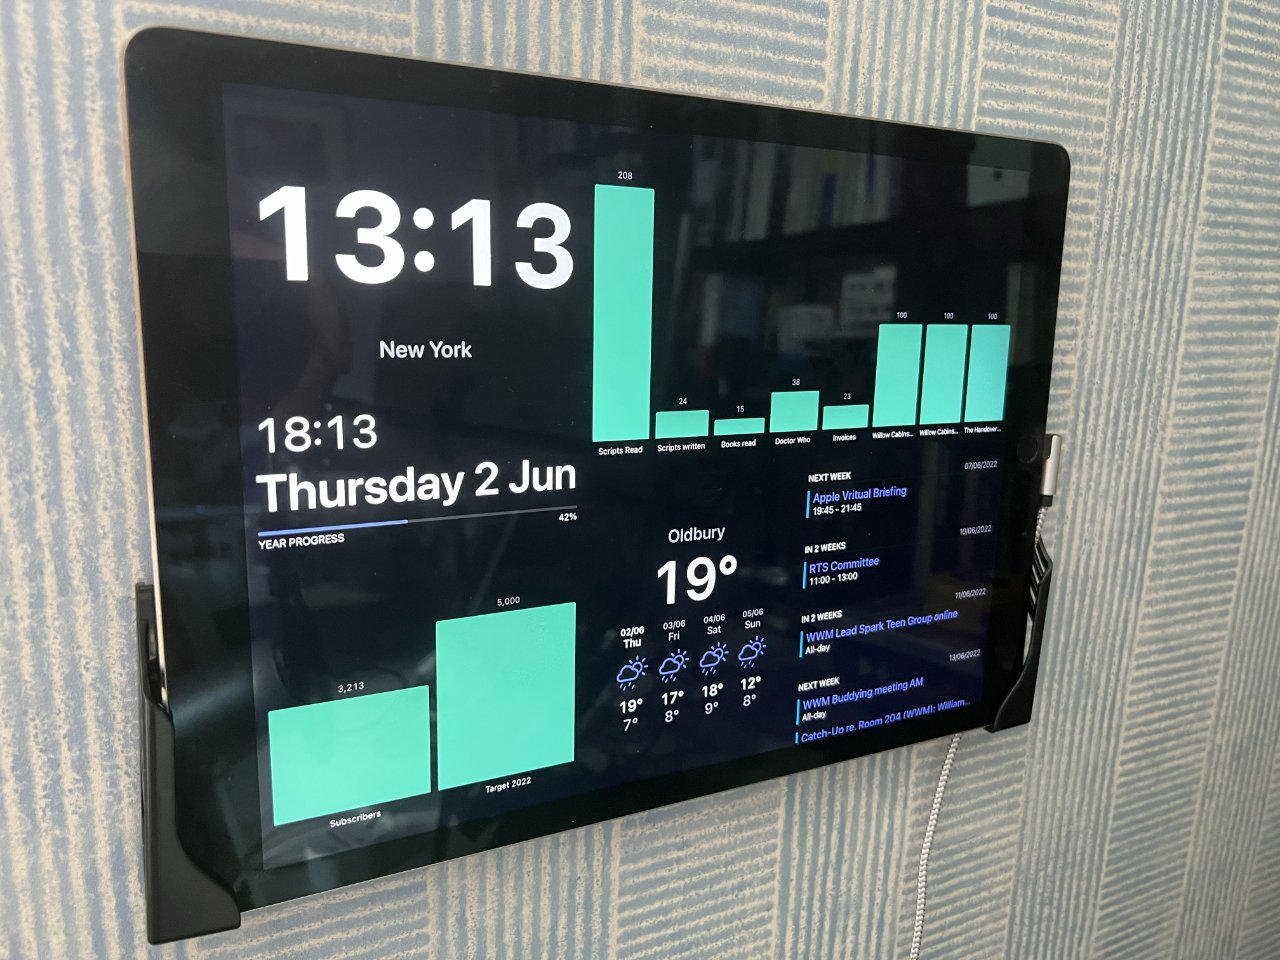
And you can get excellent use by turning that iPad into a dashboard. Mount it somewhere handy, and have it always show you useful information, ranging from a clock to providing HomeKit buttons.
There are many different apps you can use when you get to deciding what information or controls to display, but whatever your needs, you have the same considerations for the hardware.
It's not enough to just have an iPad
True, you could prop an old iPad up on your desk and it could be quite useful. But to make a true dashboard, you need to mount that iPad on the wall.
That immediately means three things. You have to decide what wall it would be best on, then physically affix it to that, then run power to it.
It's obviously up to you where you mount the iPad dashboard but you're not going to pop it up in a guest bedroom. Have it by your front door, have it in your living room, or have it in your kitchen.
Choose a point in your house or office where you will be able to see what it shows you. And choose a point where you can and will tap buttons on it.
If you have to get up to cross your office to press a button to turn on the lights, you're not going to do that. You're just going to use Siri.
Mounts for iPads
There are countless mounts for popping your iPad up on a wall. Purely as one single example, take a look at the Dockem Koala Tablet Wall Mount which costs about $15 on Amazon.
This comprises two small plastic tabs that you position on the wall, and then slide your iPad into. You do have to get the position right so that the iPad goes in neatly, but this kind of mount lets you easily remove the iPad, too.
So if you suddenly need that iPad for work, it's not a problem.
A problem is powering it. While iPad batteries last a long time, you're talking hours rather than days or years.
Consequently, you have to run power to the iPad. The neatest looking way is to have the iPad wired into the wall.
That tends to make it harder to quickly remove, but it also absolutely requires a trained electrician. Don't electrocute yourself just to have a HomeKit dashboard.
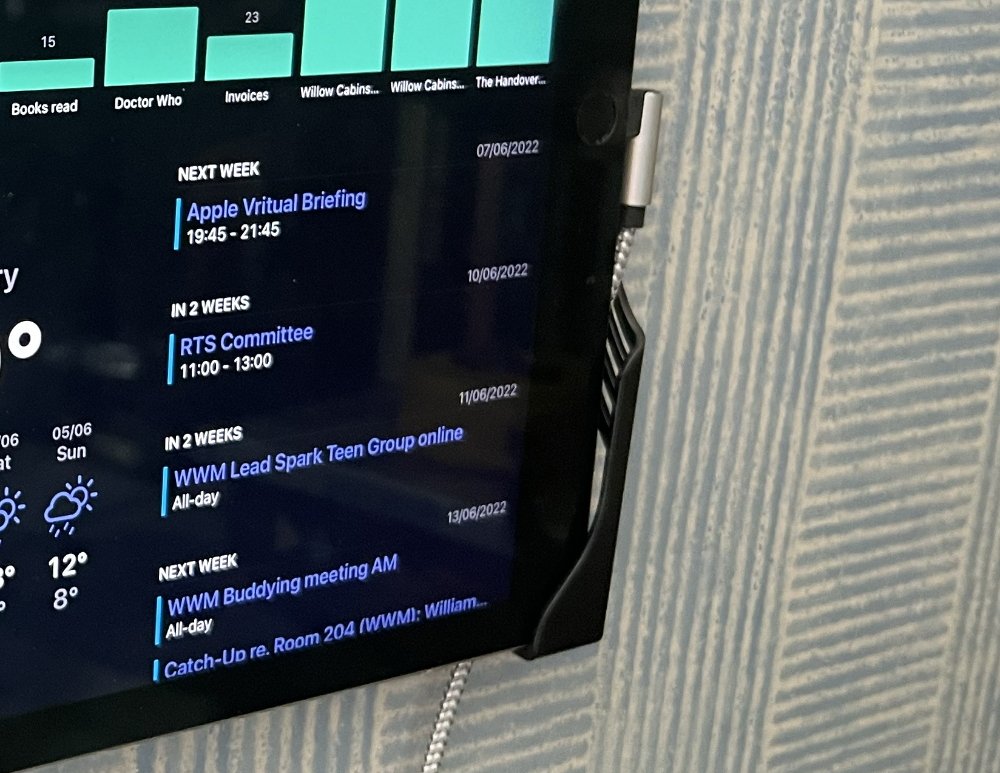
Alternatively, you can just use a Lightning cable (or a USB-C one for newer iPads). Get one with a right-angled connector so that it fits snugly against the iPad instead of sticking out, and it could look neat enough.
Choosing your dashboard software
Nine years ago, the answer would have been Panic Software's Status Board, and there was no point looking for anything else. But Panic closed down that app and while there are now very many dashboard apps, maybe none are quite as versatile, quite as attractive, as Sound Board was.
The apps have fragmented, too. While we're looking at HomeKit ones, you can get a more general purpose information display, or you can do a very deep-dive into business sales data for your company.
General purpose dashboards
If you just want a clock, calendar, and maybe a Twitter feed, you can get Dashkit for iPad. This requires iOS 14.4 or later, and is a free download.
It's a generous download, too, with most of its features permanently available in the free one. There are some bugs with its calendar, which doesn't refresh daily for some reason.
But there is also a pro version that costs $8 per year, and among the very few extras you get for subscribing, is the ability to integrate with the AppFigures business service.
Business data
Dashkit for iPad works with this AppFigures service, but Numerics is a more powerful, all-round business dashboard. It, too, is a subscription, and costs $99 per year.
What that gets you is real-time, updated business data such as how many YouTube subscribers you have, or breaks down the sales totals for each of your dedicated sales team.
Similar information to do with your business and what your staff have on their plates is also available via Monday.com.
But it's HomeKit that the iPad dashboard was really made for.
HomeKit dashboards
You have a lot of choices for HomeKit dashboard apps, but typically that choice centers around either functionality, or aesthetics. There are some horrible looking dashboards available on the App Store.
Since this is something that's going on your wall all day, it would be best if it looked good.

Home+ 5
Take a look first at Home+ 5. This is a $14.99 app for iPad and iPhone that is meant to replace Apple's Home app, and it does so by being noticeably easier and quicker to navigate.
You could run Home+5 by itself, or you could use iPadOS's Split View, having it on one side of the screen and Apple's Home app on the other.
Home+ 5 is good for when you do a lot of interacting with your HomeKit devices, when you are working scenes or turning on lights manually. It's arguably best at this, and definitely handiest, in its iPhone version.
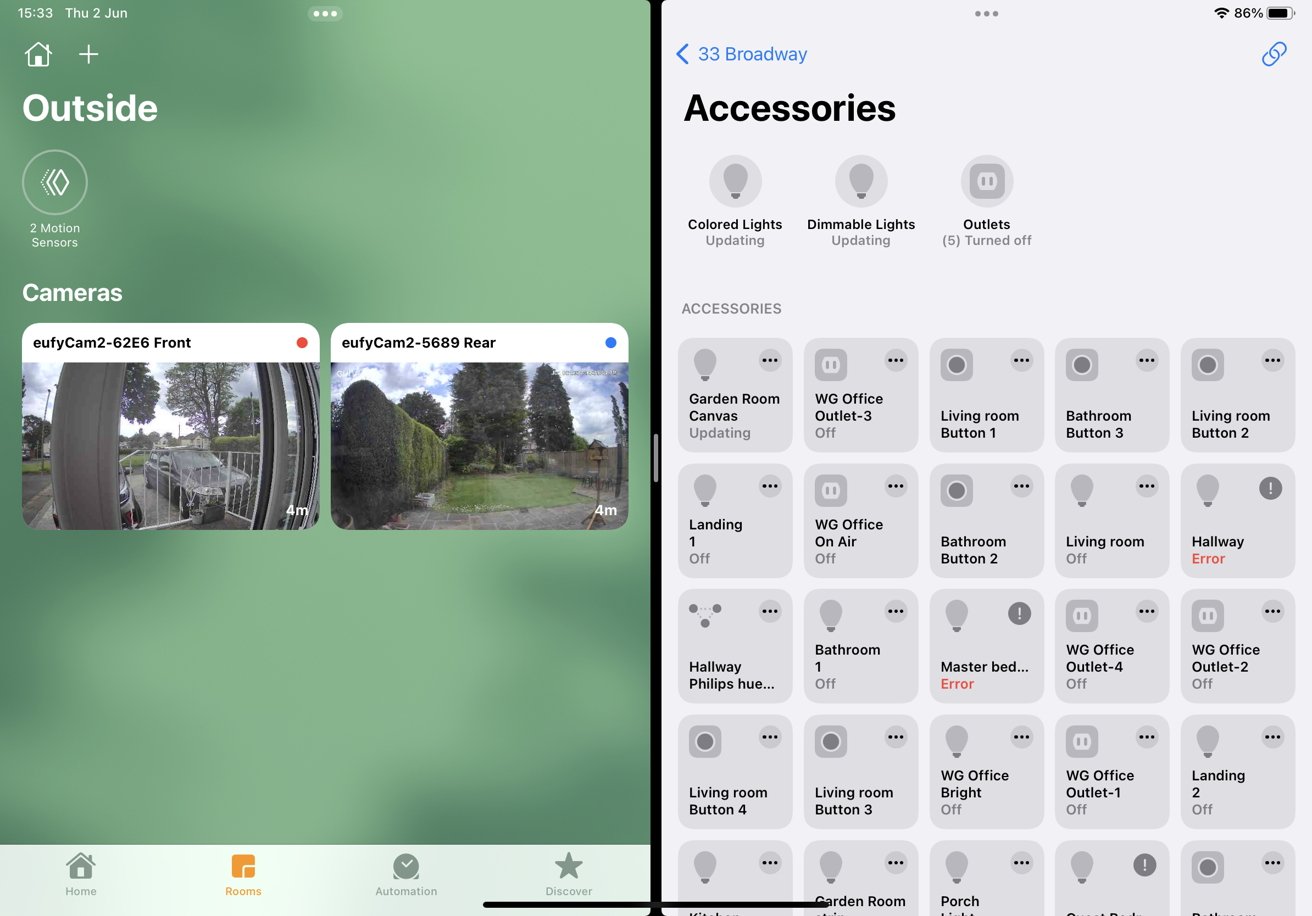
But have it as a dashboard on your wall and you can quickly see what lights are on, what doors are locked, or you can directly see the view from your cameras.
HomeDash
Home+ 5 is really a set of controls that are big enough and clear enough, that they can act as a dashboard. HomeDash is an iPad app that costs $9.99, and which puts presentation first.
It has plenty of controls and options, it can be your one-stop HomeKit control device, but it concentrates on how well it can present information and controls.
HomeDash doesn't have the most obvious system for choosing elements like light switches or cameras, and it takes time to learn how to reposition elements you want.
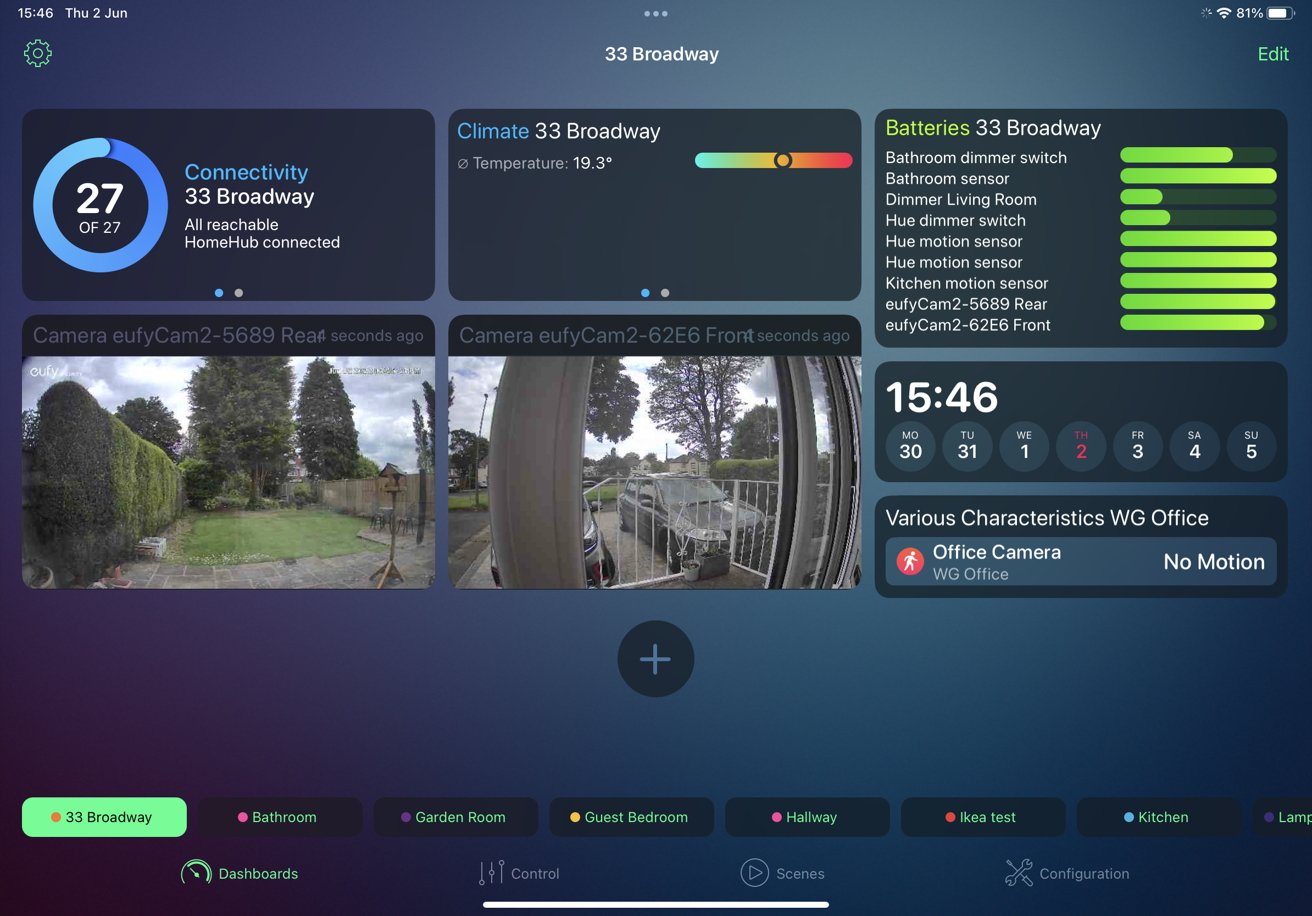
But you can glance at the dashboard and see the state of all your HomeKit devices and their batteries. You can get a clock and calendar, and you can integrate views from any or all of your security cameras.
Viz Designer
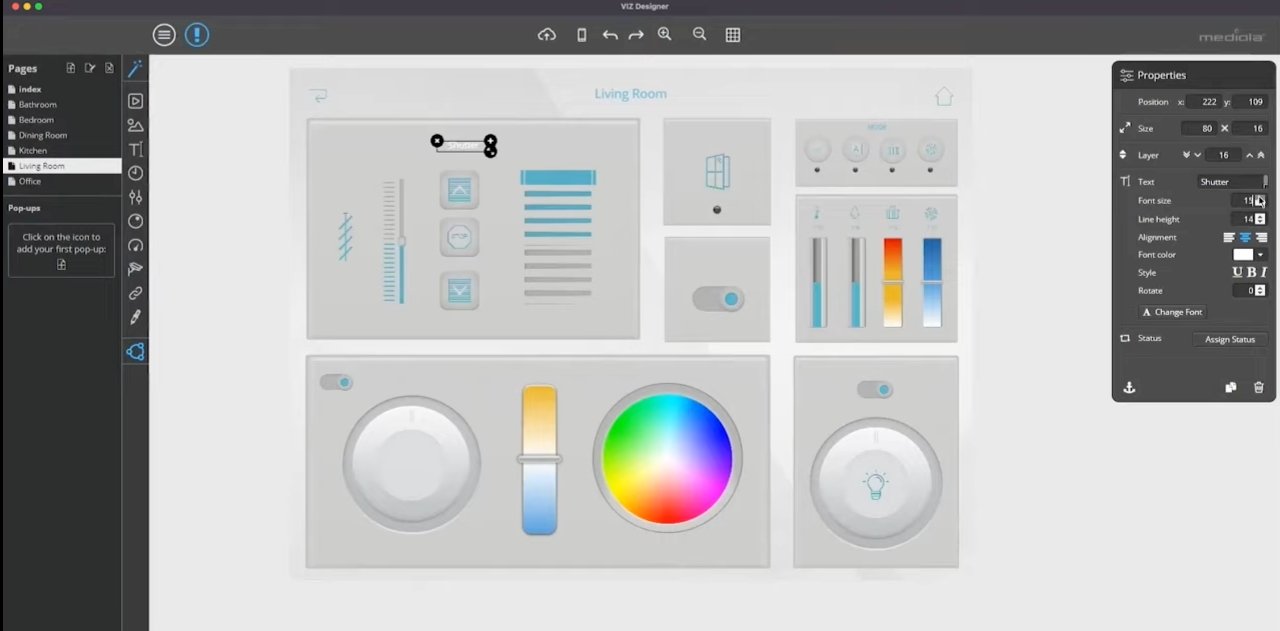
At $25, this is the most expensive single-purchase dashboard, but it's also by far the most customizable.
Viz Designer is a combined iPad and Mac app. You get the iPad to display as many different dashboards as you want — you can have a different one for every room in your house — but you use the Mac to set it up.
On the Mac, Viz Designer resembles an image editor in how you can drag different elements, resize them, or even overlay them.
It takes time to make a dashboard
When you have a spare iPad, it doesn't take long to physically mount it on the wall. It also doesn't take long at all to find dashboard apps.
It does take a while for you to find one that is the right combination of showing you the information you need, the HomeKit controls you want, and which won't look awful on your wall.
Even when you hit the prefect combination of these for you, it's going to take weeks before you're completely happy. You will fiddle with layouts, and you will keep changing just what information is there.
But you can.
And what's more, once you've had an iPad dashboard up on your wall, you'll start thinking about other things you can do with it — which we'll be talking about later.


 Malcolm Owen
 William Gallagher and Mike Wuerthele
 Christine McKee

 Marko Zivkovic