How to master the camera app on iPhone 14 and iPhone 14 Plus
 Andrew O'Hara
The Camera app on iPhone 14
The iPhone 14 and iPhone 14 Plus have a camera system that's simple on the surface, and complex underneath. Here's how to get the most out of it.
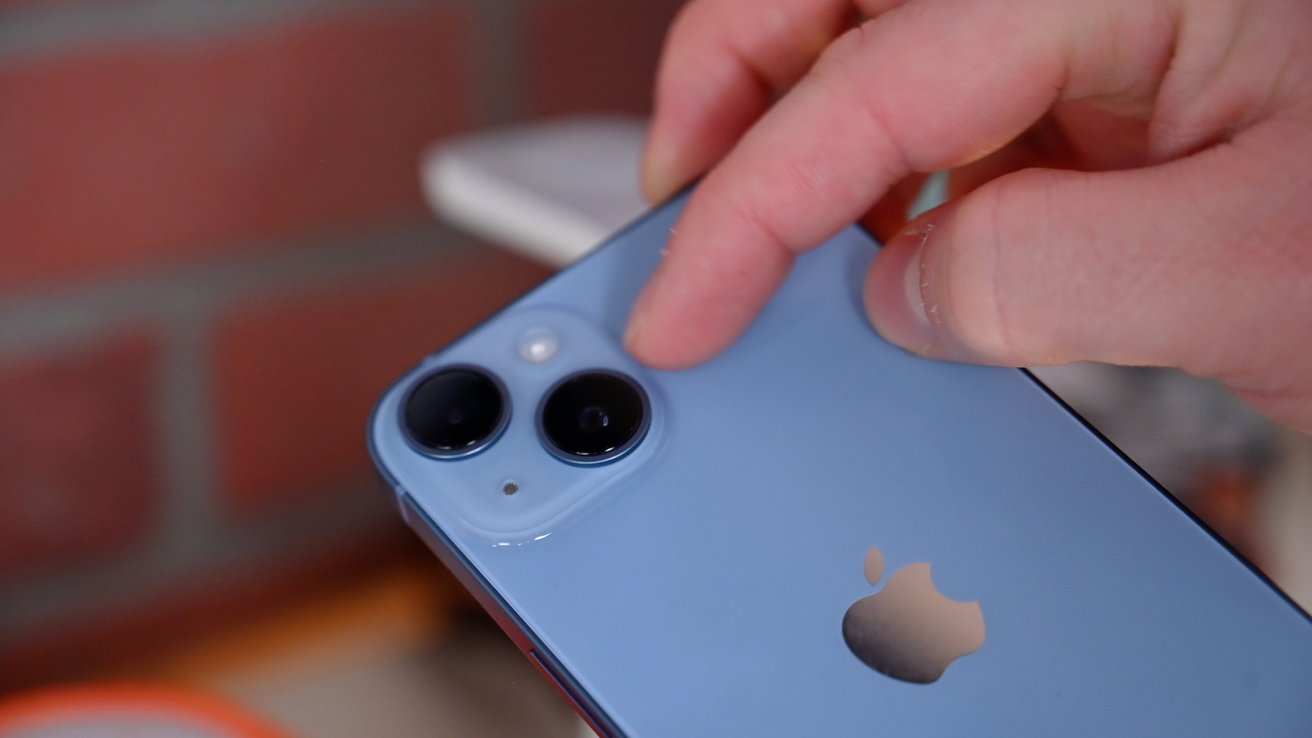
On iPhone 14 and iPhone 14 Plus, there are two rear-facing cameras. We have a 12MP wide-angle lens and a second 12MP ultra-wide-angle lens.
With these new models, Apple introduced a series of improvements, including a larger primary sensor and the new Photonic engine. They may not be as capable as the new iPhone 14 Pro, but they still offer improvements over the iPhone 13 series.
Let's walk through the native Camera app and how you can take advantage of all the latest features to get the most from your iPhone.
Volume buttons
The most basic action of the Camera app is capturing a photo. Many do this by tapping the on-screen button, though in some instances, that tap can move your phone, causing unwanted blur in your photos.
Luckily, there is another option that can be even more convenient. The physical volume buttons can double as shutter buttons while pressed inside the Camera app.
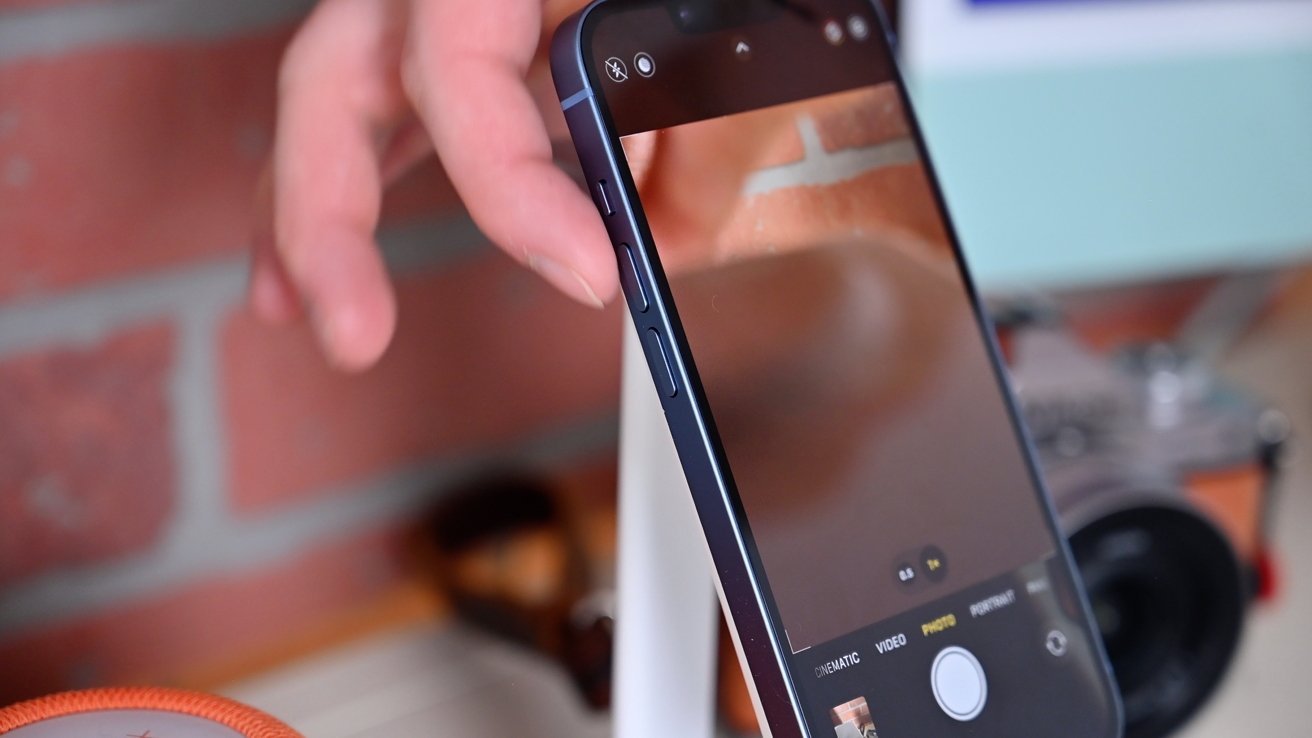
When the volume up or down buttons are depressed, they will snap a photo by default. If you hold either of the buttons down, a video will start to record until the button is released.
If you'd prefer, by venturing into the Settings app, you can assign the volume up button to capture burst photos when held while the volume down will continue to capture video when held.
Controlling the zoom
Another trick is controlling the scope, or zoom level of your photo.
As mentioned, iPhone 14 and iPhone 14 Plus have two cameras. In the Camera app, you can quickly toggle between the ultra-wide and the wide-angle cameras by tapping the small circles just above the shutter.
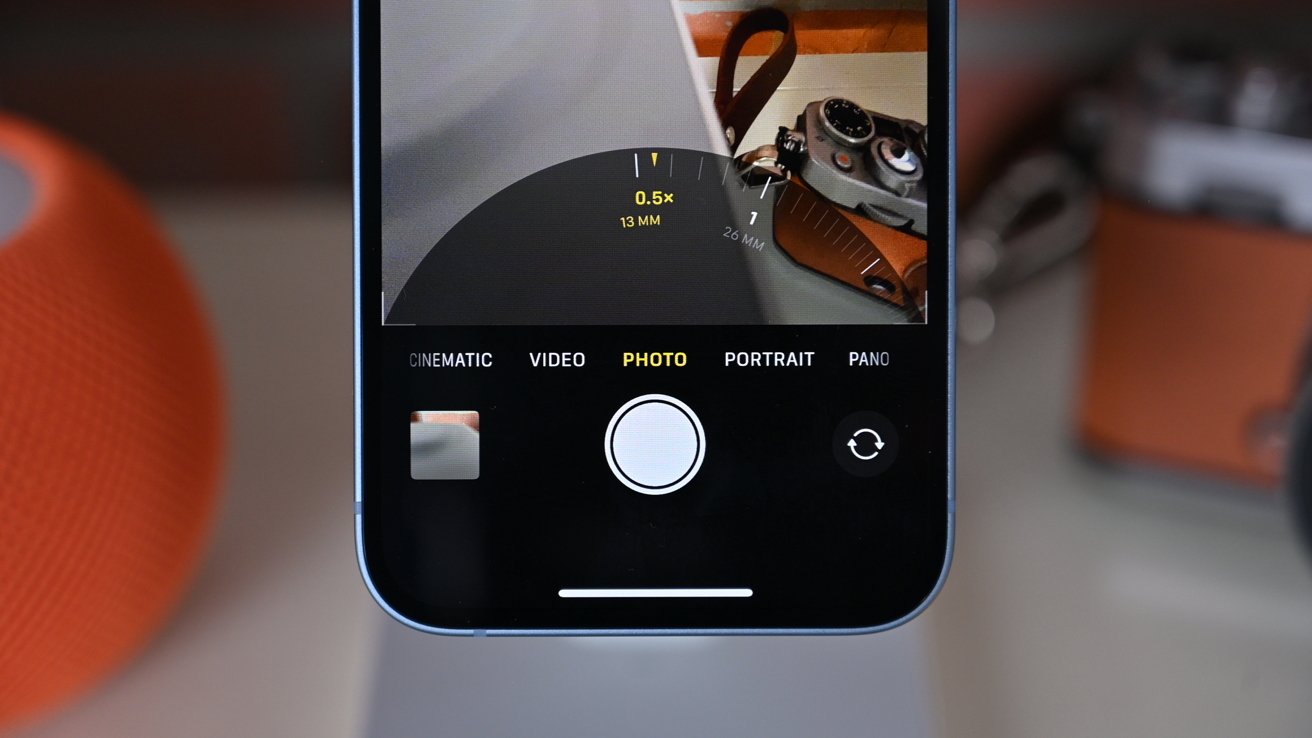
Beyond that, you can choose between .5X and 1X zoom or up to 5X digital zoom. Frequently, we see users pinching and pulling on the display to zoom, but this isn't very convenient.
Pinching on display obfuscates your view and moves your phone around. Instead, try swiping left or right on the zoom level buttons.
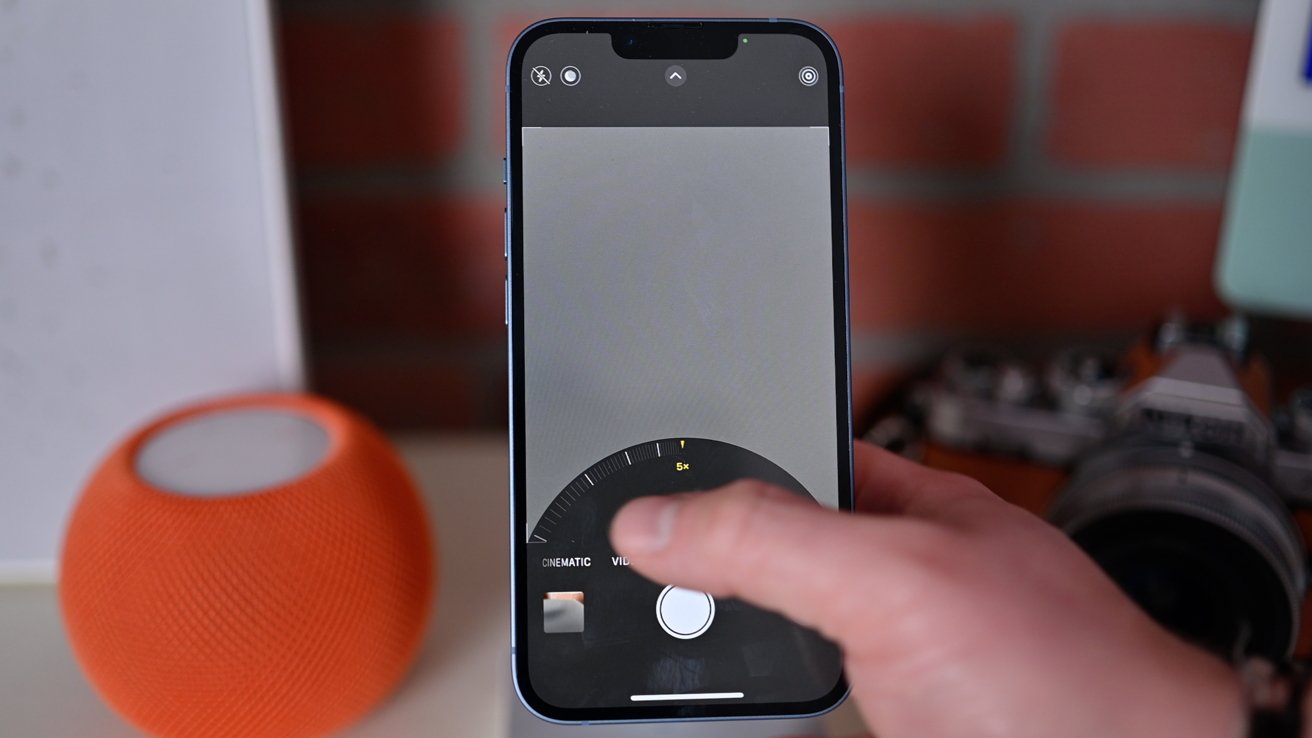
When you slide the .5X or 1X buttons, a zoom wheel will appear and allow you to dial in exactly how much zoom you want. It's much easier to pull off and if using your thumb to hit the shutter, your thumb is already well positioned to adjust that wheel. When you finish, you can pull toward the shutter and the wheel will vanish.
Apple QuickTake
Similarly to the multi-use volume buttons, Apple has a neat feature called QuickTake. Depending on how you press the shutter button, you can do several different things without changing shooting modes.
Tap the shutter and you will shoot a single photo. Tap and hold the button and a video will start to record. The shutter button will morph into a red circle and a counter will appear at the top of the display as the video records.
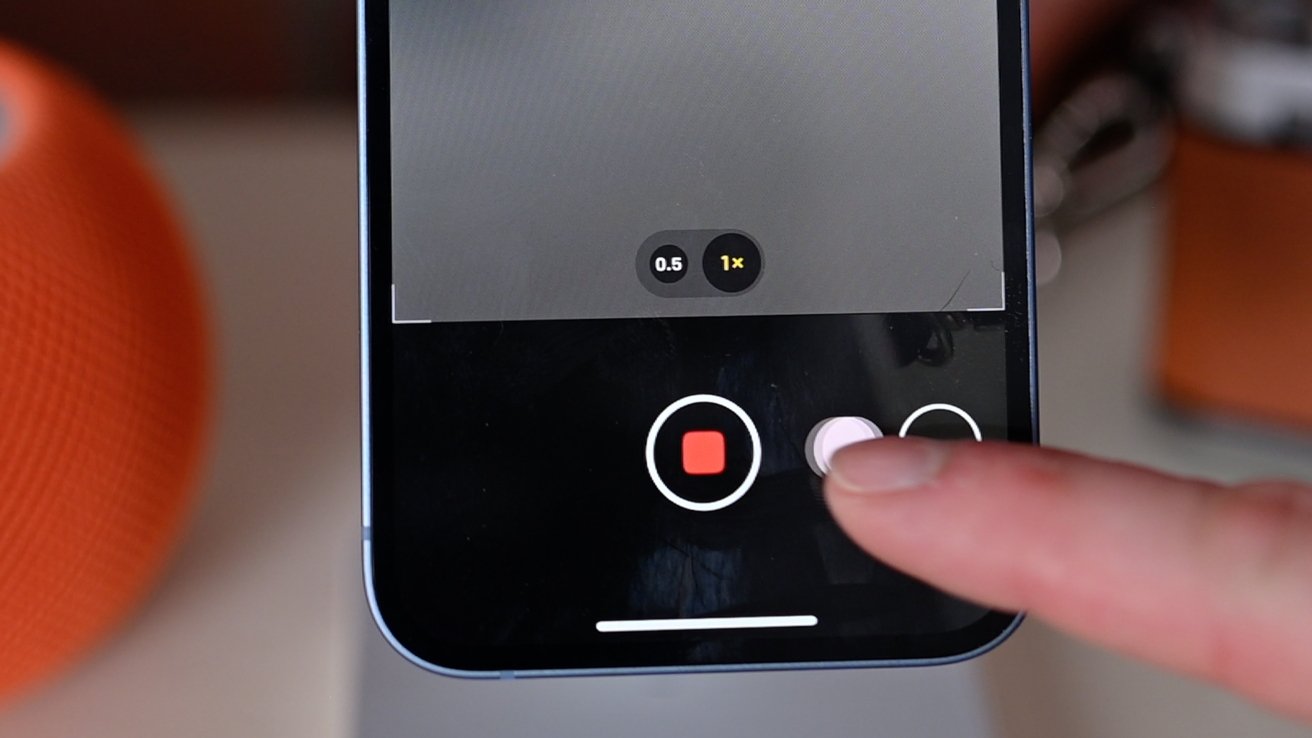
Once you release the shutter, the video will stop recording. If you want to keep recording, you can press the button and drag it to the right. The shutter will turn into a red square and it will record video until you tap to stop.
Lastly, if you tap and drag to the left, you will start taking burst photos. A counter will appear in the shutter showing how many burst photos you've taken.
Advanced controls
Different controls will sit near the top of the screen, depending on the shooting environment. If it's dark out, for example, the Night Mode indicator will appear. Or if you're in Portrait Mode, the aperture control will appear.
To access all in-app controls though, you can tap the carrot at the top to open the control drawer at the bottom. It has everything you need to capture the moment.
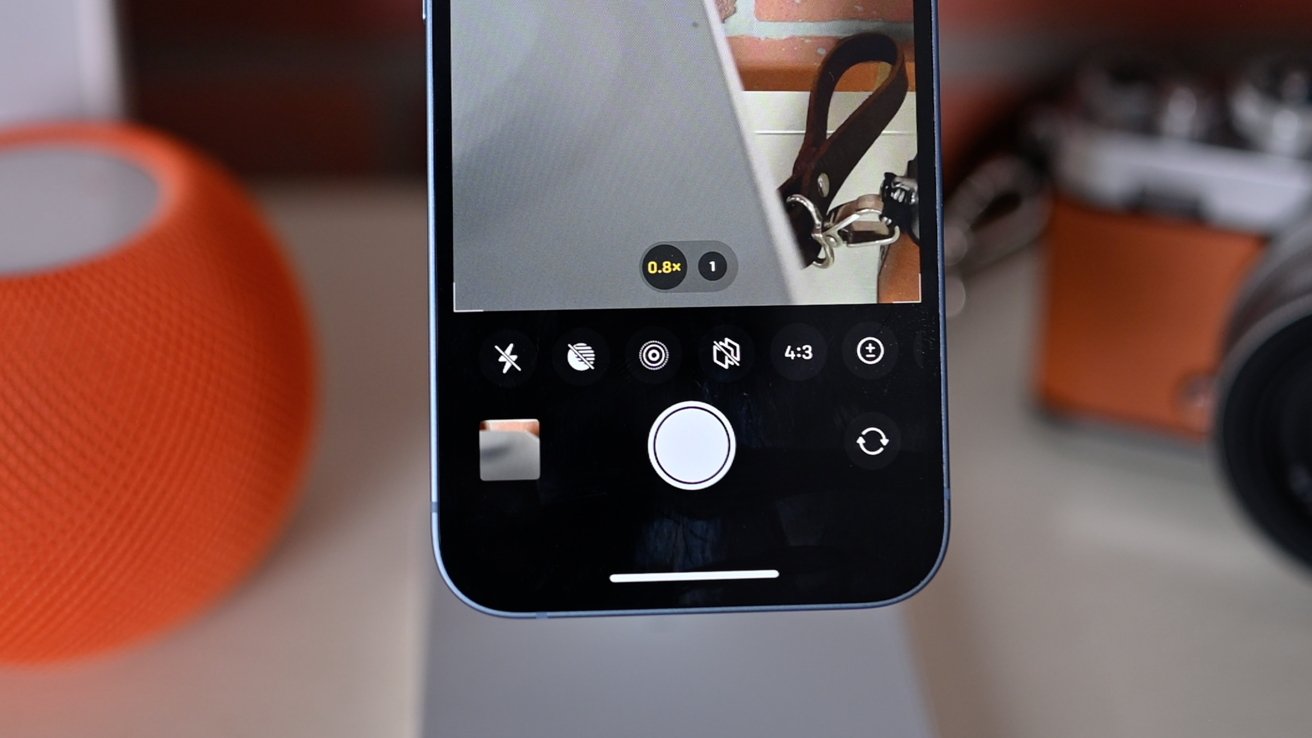
In the advanced controls, you'll have the flash toggle (auto, off, on), Night Mode (appears only when dark), Live Photo (on, off), Photographic Styles (choose from five styles), aspect ratio (4:3, 1:1, 16:9), exposure compensation, timer, and filters.
Video recording on iPhone 14
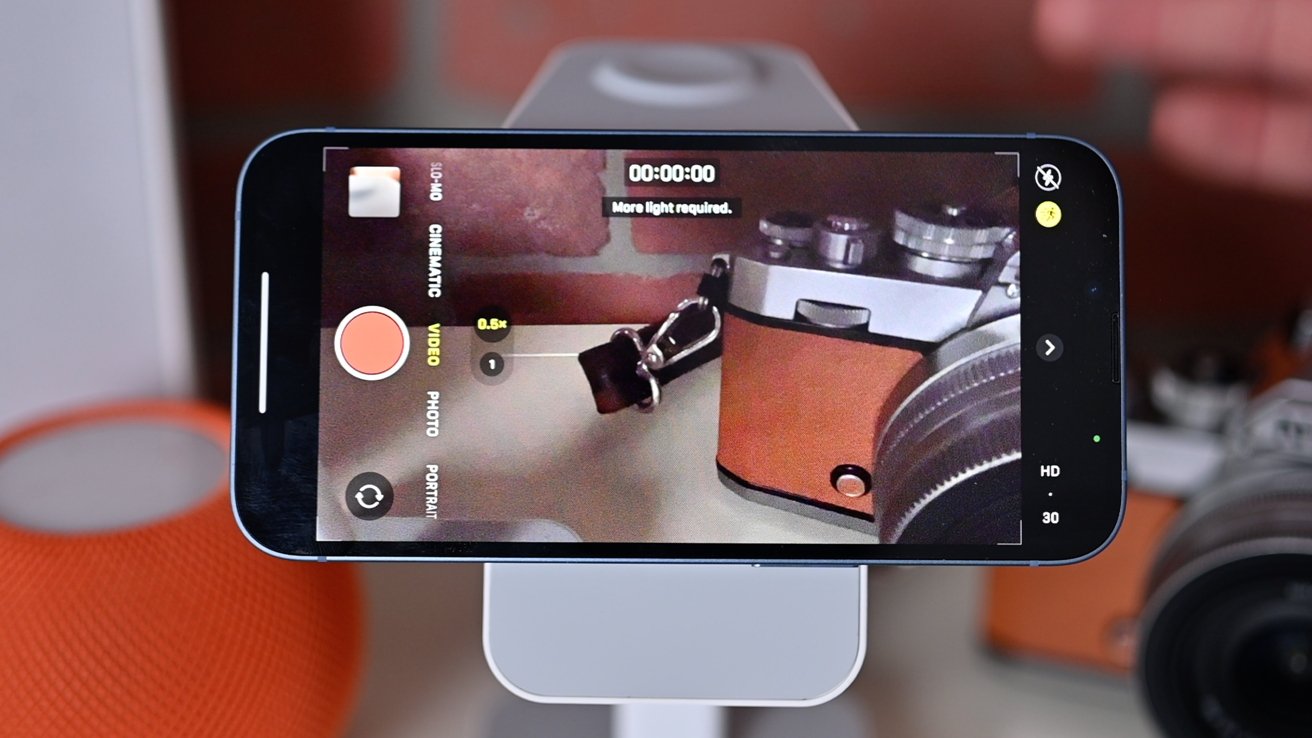
On iPhone 14, there are four video modes — or five if you want to get technical. There is timelapse, slo-mo, Cinematic, and your basic video mode. While in the standard video mode, you can toggle on the new Action Mode.
Anytime you're shooting video, you can change the resolution and framerate from within settings, but you can also do it from the Camera app. In the top-right corner, you can quickly change from 1080P HD to 4K and various frame rates — depending on video mode.
Cinematic Mode debuted with the iPhone 13 and essentially mimics Portrait mode but with video. It can blur the background, keeping your subject in focus as they move.
What's even better, is you can adjust all of this after shooting. With iPhone 14, Cinematic Mode has been upgraded to support 4K for the first time in either 24 or 30 frames per second.
Action Mode is all-new this year and does its best to replicate a hardware gimbal via software. Video gets cropped in slightly and can be shot at up to 2.8K resolution.
You can run and jump and your footage will come out stabil, without the need for an external gimbal. It does require quite a bit of light, though there is a toggle in Settings to support lower-light situations at the cost of less stabilized footage.
Get shooting
Apple is always improving the cameras each year and the iPhone 14 is no different. The upgraded sensor, Action Mode, and higher-resolution Cinematic Mode are great enhancements over the iPhone 13 and give users, even more, to do in the stock app.


 Wesley Hilliard
 Andrew Orr


 Amber Neely
 William Gallagher