How to make a custom iPhone ringtone in iOS 15
 Malcolm Owen
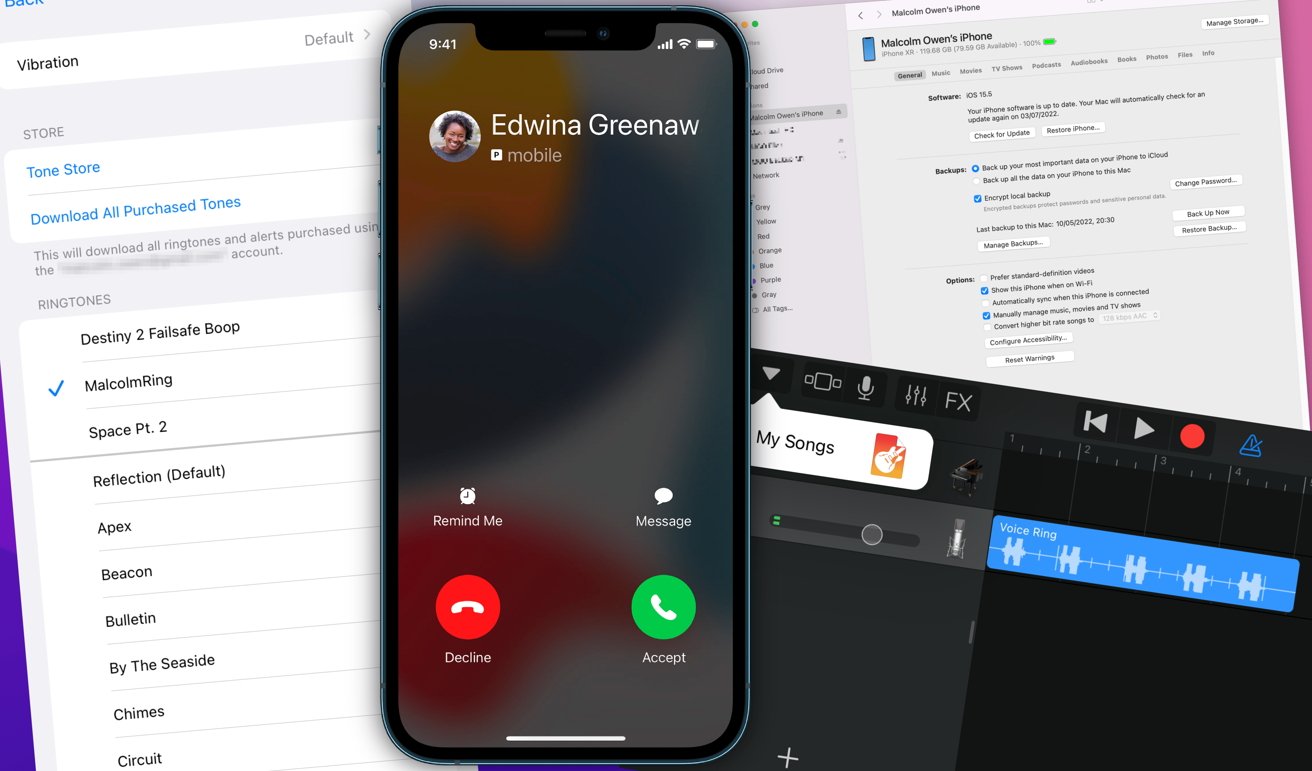
If your iPhone's ringtone is hard to make out in public, or you're simply tired of what's available, here's how to personalize your mobile device with a custom ringtone.
Apple has a wide array of default ringtones included in the iPhone. With a few taps, anyone can change the ringtone from the default to one of many alternatives.
If what is included in iOS doesn't work for you, there's also a sea of ringtones available to buy from the iTunes Store. With a wealth of sounds available, you could easily acquire part of a favorite song to hear whenever your phone starts ringing.
Not everyone wants to spend money on a ringtone, though. Furthermore, not everyone wants to use the same snippet of a popular song if others are doing the same thing.
One option is to create your own ringtone. A unique signal that is personal just to you and your devices.
Here's how you can put your audio masterpiece as your alert sound on your iPhone.
Method 1: Wired Syncing
There are a few steps to creating the ringtone, and the first is to make the actual ringtone itself.
You can do this in a few ways, such as by clipping down a DRM-free MP3 or creating something entirely from scratch. On Mac, your best bet for doing either is via GarageBand.
In GarageBand for macOS, create a new project. You will have to play around with the various settings and instruments to create a track to your liking, but make sure it is reasonably brief, such as 30 seconds or less.
If you have a non-DRM MP3 file that you want to trim, you can import it to GarageBand and cut it down to just the chunk of audio you need. Alternately, you could slap some of Apple's loops together to make a suitable composition.
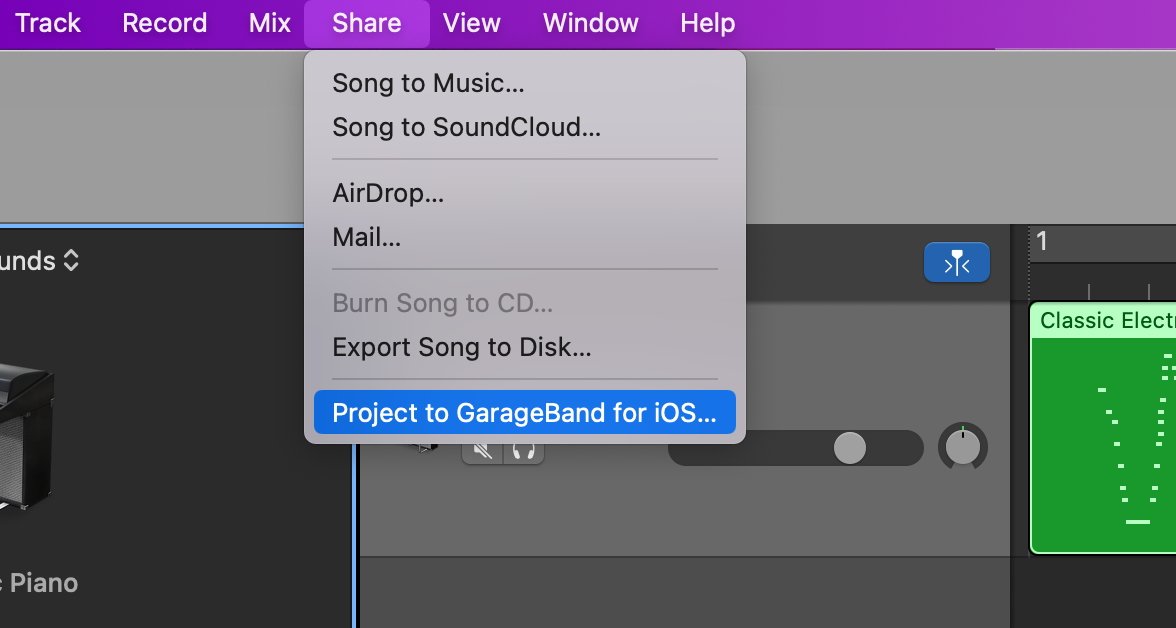
How to turn a GarageBand project into an iPhone ringtone by syncing via Finder.
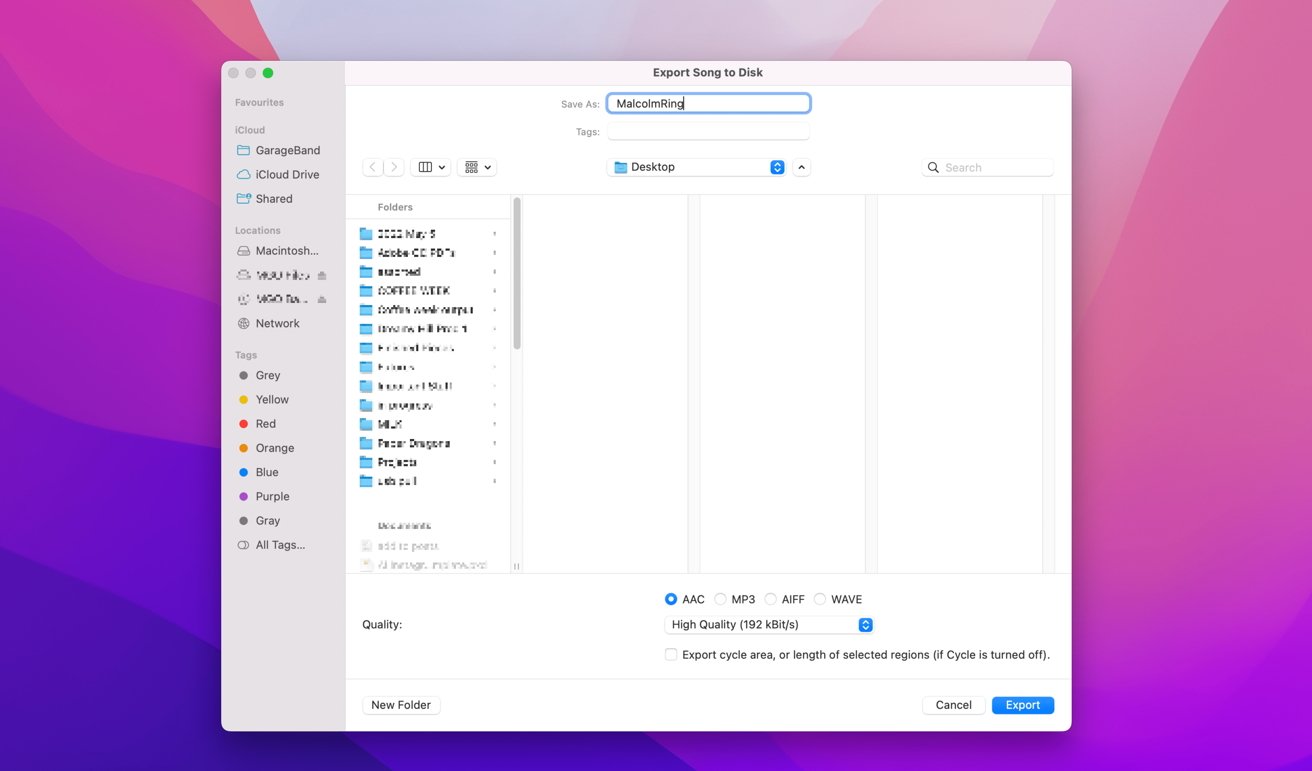
- Once you are finished with the composition or edit, click Share, then Export Song to Disk.
- Give the tone a name and set the save location as appropriate. The desktop would be ideal for one-off transfers.
- Make sure it is set to AAC, and click Export.
- Right-click the ringtone file and rename it, changing the suffix from .m4a to .m4r. While functionally similar, the iPhone will recognize the latter as a ringtone file.
- Connect your iPhone to your Mac using a Lightning-to-USB cable.
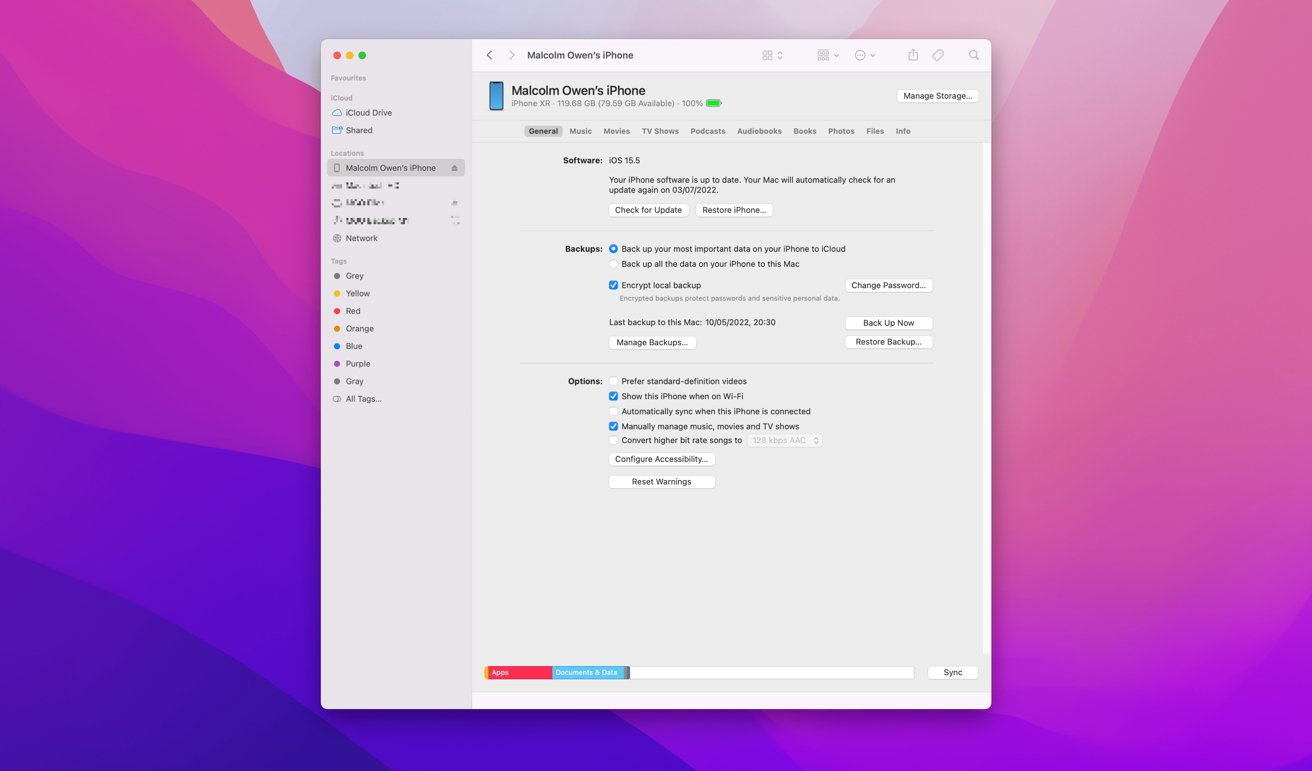
- Open Finder and select the iPhone.
- Drag the ringtone file onto the Finder window.
- Once it has transferred over, you can access the ringtone on the iPhone.
- On the iPhone, open Settings and select Sound & Haptics.
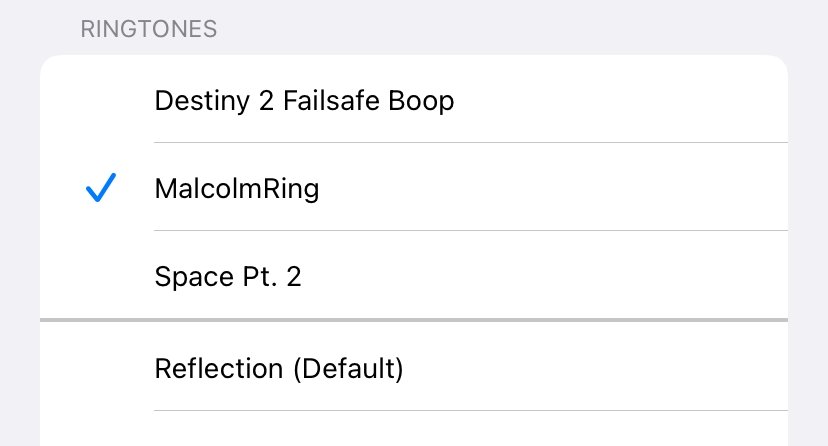
- Tap Ringtone and select your new custom ringtone. It will usually be pushed near the top of the list.
Method 2: Garageband Directly
If you have GarageBand installed on both your Mac and your iPhone, you could use iCloud Drive to work on the ringtone on the Mac, then transfer it to the iPhone for the final export.
Doing so this way also allows you to find out what the ringtone sounds like through the iPhone's speakers before officially setting it as the ringtone. Further tweaks can be made before the final export.
How to transfer a GarageBand project from Mac to iPhone and save as a ringtone.
- Create your ringtone in GarageBand on Mac.
- Once complete, click Share, then Project to GarageBand for iOS
- Give the project an appropriate name and save it within iCloud Drive by clicking Save.
- On the iPhone, open GarageBand.
- Tap the dropdown arrow in the top left, then My Songs.
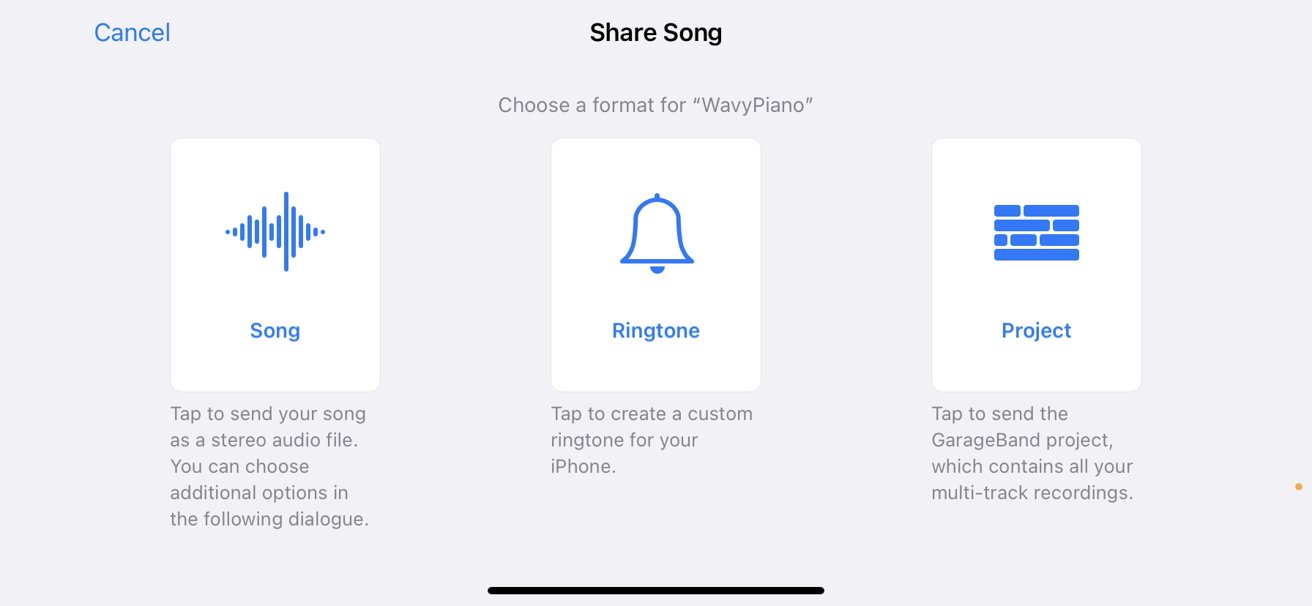
- Tap Browse and find the saved project in iCloud Drive. Tap and hold, then select Share.
- Under Share Song, select Ringtone.
- Enter the name of the ringtone, then tap Export.
- Open Settings and select Sound & Haptics.
- Tap Ringtone and select your new custom ringtone.
Since this second method relies on using GarageBand on the iPhone to export, you could eliminate using the Mac altogether and create the ringtone entirely on the mobile device.
Once you have finished making the creation, you must go into the project browser, hold down the file to find the Share menu, then follow the rest of the process for creating the actual ringtone.


 Chip Loder
 Andrew Orr
 Christine McKee
 Marko Zivkovic

 Mike Wuerthele
 William Gallagher