How to use SCP to transfer files in the macOS Terminal
 Chip Loder
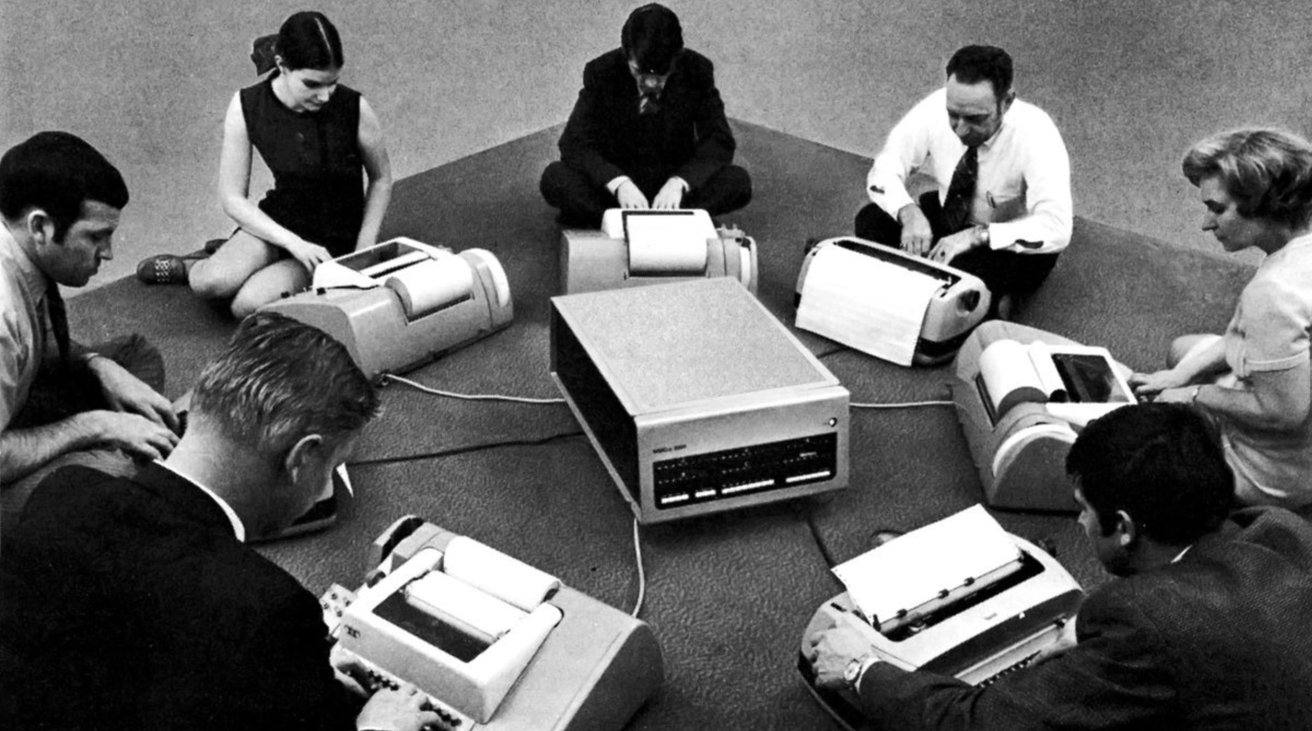
Secure Copy is a UNIX standard used to transfer files from one computer to another. He's how to use the function in macOS, all via the Terminal window.
Before personal computers, there were mainframe computers and timesharing terminals. Users would log in to an account from a terminal to a mainframe, and issue commands to the mainframe to process.
As the internet came of age in the 1990s the need arose to be able to use such terminal commands securely across networks and computers. In 1994 a Finnish programmer named Tatu Ylonen created the Secure Shell. For background on using Secure Shell, see our other SSH intro article.
As part of the Secure Shell, the SCP (Secure Copy Protocol) program was created. SCP is both a protocol and a UNIX program which can be run from the Terminal command line in macOS.
SCP enables file transfers to and from SSH servers in both directions. SCP is based on the RCP (Remote Copy) command (part of BSD's r-commands) which was originally used when BSD came to prominence in the mid 1980's.
The default TCP port used for SCP file transfer is 22 (the standard SSH port).
Unlike other internet standards, there is no RFC or formal standard for SCP - it's part of the open-source OpenSSH project. You can view all of OpenSSH's source code at its GitHub project.
Basic Usage
In order to use SCP to transfer files, you must first establish an SSH connection via login to the remote server you wish to transfer files with. This is done either by a username/password-based login in Terminal, or via the use of public key infrastructure (SSH PKI key pairs).
Once logged in to the remote server, you use the 'scp' command followed by options in Terminal to transfer files. There is no way to obtain directory listings using scp, nor does it provide a way to delete remote files, but you can use standard UNIX filesystem commands such as ls to obtain directory listings once logged in to the remote computer.
After an SSH connection is established, all commands in that macOS Terminal window tab go to the server instead of to your Mac.
For example, in the macOS Terminal to get a directory listing of files on either the local machine or the remote server, you can issue an ls command such as:
ls -l
The "-l" flag tells ls to list files vertically, in the Terminal window with each file/folder's details such as UNIX permissions, owner, group, size, and file creation date and time. If you omit the "-l" flag, the ls command lists only file names in several columns without each file's details.
For more details on the ls command, in Terminal type man ls and press Return.
To exit the man page system in Terminal for any man page, type Control-Z and press Return.
You can also use the 'cd' (change directory) command to change directories within a local or remote file system. Simply type 'cd' followed by a space, and the name or path of the directory you want to change to. All Terminal commands then operate on that directory, unless you cd again to another directory or specify a full path in a command.
To go up one directory level in a filesystem using cd in Terminal, you can type:
cd ../
and press Return.
To go to the very top (root) of a filesystem, type:
cd /
and press Return.
You can have Terminal print the current full path and directory name in any filesystem by typing:
pwd
and pressing Return.
'pwd' is the UNIX command to get the present working directory (i.e. - the current directory the Terminal shell is operating in). For the manual page on pwd in Terminal, type:
man pwd
and press Return.
See the scp man page for more details on flag usage with the command:
man scp
and press Return.
scp examples
SCP or 'scp' in the Terminal is easy to use. The basic command syntax is 'scp' followed by file name, user name, server name or IP address, and remote directory path on that server to access. For example:
scp example.txt [email protected]:/directoryName/
tells scp to copy a local file in the pwd named "example.txt" to the server at IP address 10.10.0.1 on that server's filesystem directory named "directoryName" as the user named "remote_user" with the remote file copy to be named "example.txt" also.
If you omit the remote file's name the same name as the source file will be used. If you want to change the remote file's name to something else, include a new file name after the remote directory path at the end of the command:
scp example.txt [email protected]:/directoryName/newExample.txt
Also note that the user indicated must have permissions in the remote directory specified in order to copy the file.
An opposite example - copying a file on the remote server to your Mac, looks similar. For example:
scp [email protected]:/directoryName/example.txt /Users/your_username/Desktop/
copies the file named "example.txt" in directory "directoryName" on the remote server to your Mac's Desktop.
You can also specify flags immediately after the scp portion using the a minus sign followed by the option.
Two flags after "scp " can be used to specify either version one two of the SSH protocol: -1' or -2'. For example:
scp -2 example.txt [email protected]:/directoryName/newExample.txt
forces use of version two of the protocol to copy the file example.txt in the pwd to the remote server at 10.10.0.1 into the directory named "directoryName" with a new file name of "newExample.txt".
You can copy entire directories by using the -r flag..
A few other flags you can use with scp to change the way it behaves are:
- -4 Use IPv4 addressing only
- -6 Use IPv6 addressing only
- -B Batch mode (suppresses additional requests for authentication)
- -C Enables compression on the connection
- -F Use an alternate ssh config file for connections
- -i Specifies an alternate private key file to use for connections
- -l (Limit) - Sets connection bandwidth limit in kb/s
- -O (Old) - Force older SCP protocol instead of newer SSH SFTP protocol during transfers
- -o Pass additional, non-command-line options to ssh
- -P Connect on an alternate port number other than 22
- -p Preserve all local file metadata on the remote file after copy, including dates and times
- -q (Quiet) - don't display file copy progress info in Terminal
- -R (Remote) - Force the use of the remote version of scp for copies instead of the local one
- -r Recursively copy entire directories instead of just single files
- -S Use an alternate SSH program to manage the SSH connection
- -v (Verbose) - Print additional info in Terminal for all scp operations
The -O option is provided for use in cases where you are connecting to older SSH servers which don't implement the newer SSH File Transfer Protocol (also part of SSH).
You can use the -o option to pass additional parameters to ssh, which aren't available as command-line options. See the scp man page for more details.
scp local copies
scp works perfectly fine on your local network between different kinds of computers and operating systems. You can connect to and transfer files between two LAN computers just as easily as remote internet computers, assuming both LAN computers are running SSH.
Microsoft inclues SSH in later releases of Windows 10 beginning in 2019. For use with earlier versions of Windows, you may have to install a third-party SSH server on the Windows computer.
But obviously there are easier, and more modern ways to copy files on your Mac such as using the Mac's "Connect to Server" window in the Finder.
For local-only file copies in Terminal, see Manage files in Terminal on Mac in the Mac Terminal User Guide.
Additional resources
You can learn more about SSH at the official SSH website.
Some interesting books on SSH you may want to check out include:
- SSH, The Secure Shell: The Definitive Guide
- SSH Mastery: OpenSSH, PuTTY, Tunnels and Keys
- Computer and Information Security Handbook
- Security without Obscurity: A Guide to PKI Operations
- The Mac OS X Command Line: Unix Under the Hood
- Tweak Your Mac Terminal: Command Line macOS
- Learning Unix for OS X: Going Deep With the Terminal and Shell
- UNIX System V Release 4: An Introduction
- Macintosh Terminal Pocket Guide: Take Command of Your Mac
- UNIX and Linux System Administration Handbook
In future articles we'll explore transferring files in Terminal using two more modern networking protocols: SFTP and rsync.


 William Gallagher and Mike Wuerthele
 Christine McKee
 William Gallagher
 Malcolm Owen
 Marko Zivkovic


 Wesley Hilliard