 Mike Wuerthele and William Gallagher
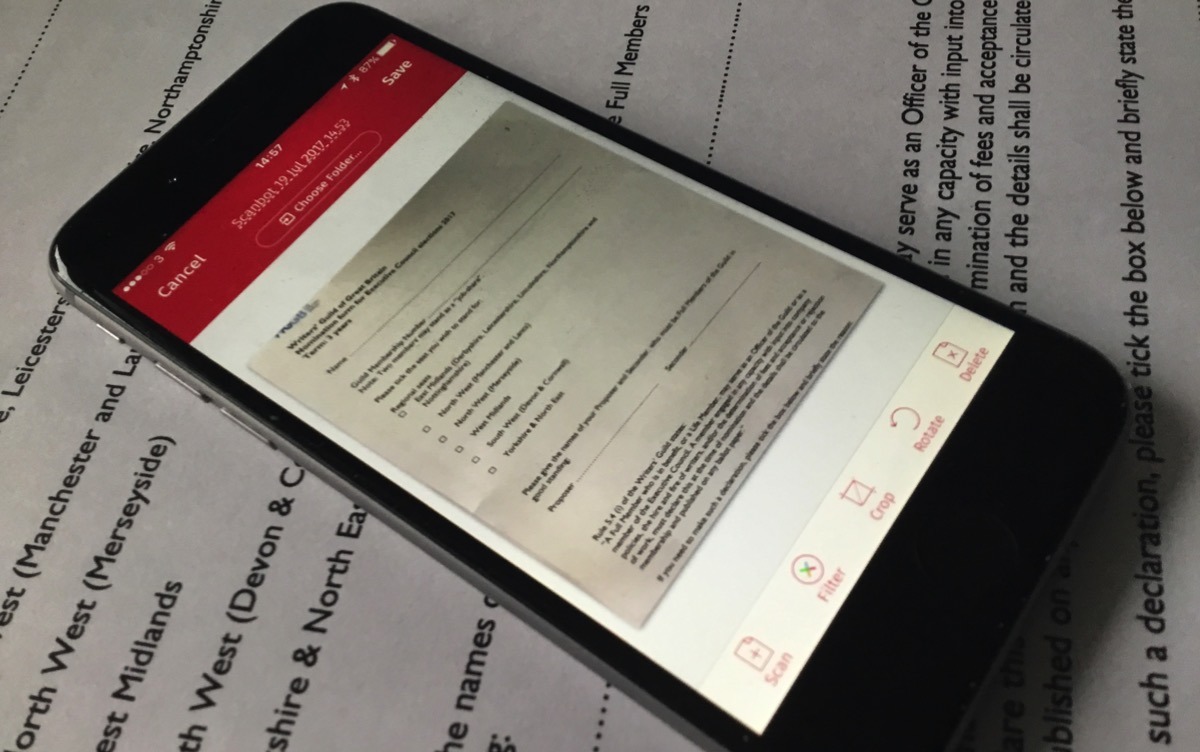
Nothing can beat having the iPhone's camera with you but many, many tools can better how that camera shoots documents and what you can do with them later. AppleInsider staffers show you what apps and hardware we use to scan everything from single receipts to the contents of a history archive.
You do already have a document scanner in your iPhone with its regular camera. So if you're not going to scan many documents, there's little to stop you just taking a normal photograph of it. There's nothing to stop you doing it on an iPad either, except that it's substantially harder to hold one of those steady over a document and without casting a shadow.
When you do that, the document scans go into your Photos camera roll where you can see them on your iPhone, iPad or back on your Mac.
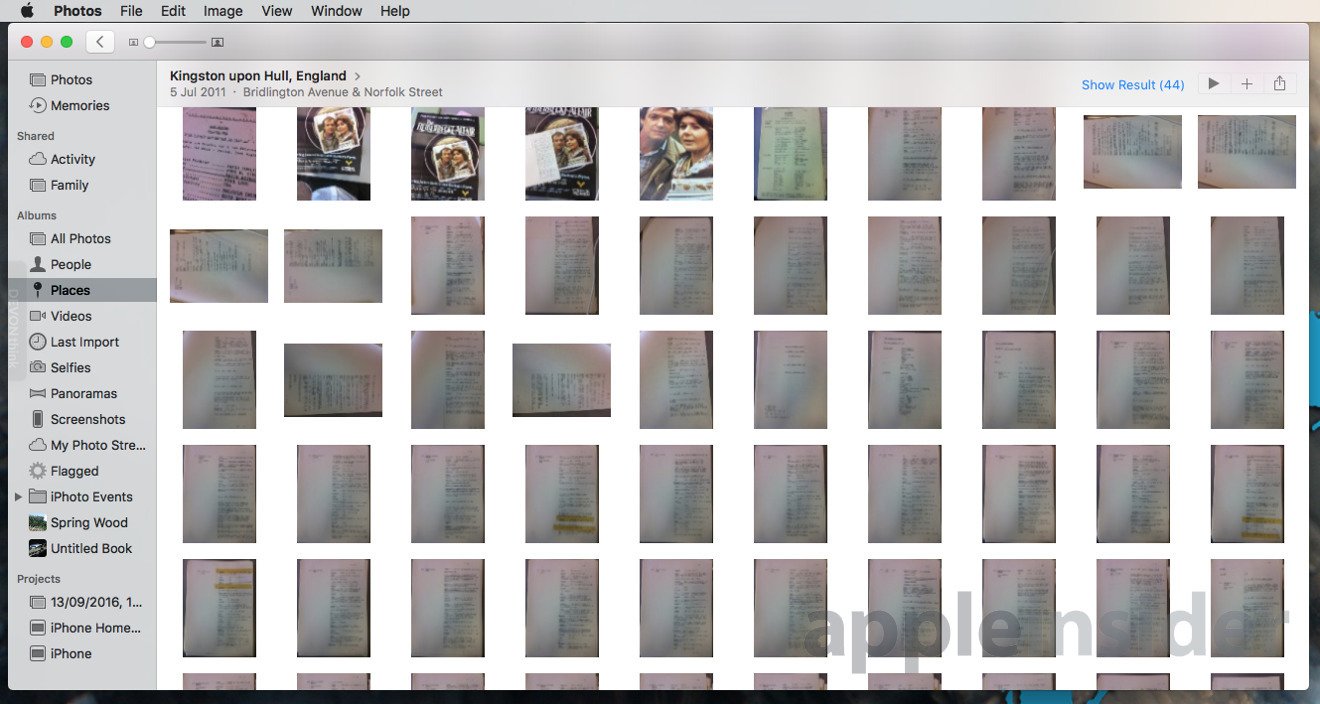
Then you can later select any number of images from your iPhone's Photo app and send them to iBooks as one single PDF. It isn't OCRd, it hasn't been turned from photographs of text into something you can search and select, but it's all there and good for things like cooking directions so you don't have to store a box in the freezer when a bag will do, or the like.
Similarly, you can send the photos to just about any iOS app. Apple Notes, for instance, will take them all in one go too — but it will create a note that has each image stored separately.

We like PDFpen. It costs costs $19.99 on the App Store and lets you pick out photographs to put into PDFs. That's really meant for adding an occasional photo to some other document, though: you can only select a single image at a time.
We'd recommend it for single items like one page or one receipt at a time. It's good for making a fast scan of something you'll only want to glance at later, not work from or share with anybody.
Roll your own
You can do a huge amount with photographs in the Workflow app that's free on the App Store. You can create a workflow that takes however many images from your Photos app that you choose and work on them.
It took us four minutes from an idea to a working and tested Workflow that selects images, makes them into a single PDF and sends them via email.

We've previously done more elaborate ones for sending receipt scans to particular Evernote notebooks and shared Dropbox folders.
What this does, though, is turn the various stages of scanning and saving into convenient one-tap workflows. It doesn't actually improve the quality of a scan, and it doesn't do anything for coping with the problems you'll find scanning whole documents.
So, Workflow added into the mix is handier than just using the regular Photos app — but not by a great deal. As a result, we recommend it for no more than four pages of documents at a time which will still suit most casual document scanning needs.
Dedicated scanning apps
If you really want to do larger volume scanning from your iPhone, get either Scanbot Pro ($6.99) (left) or Scanner Pro ($3.99) (right). They're both first class and jockey with each other for the title of best with each update.
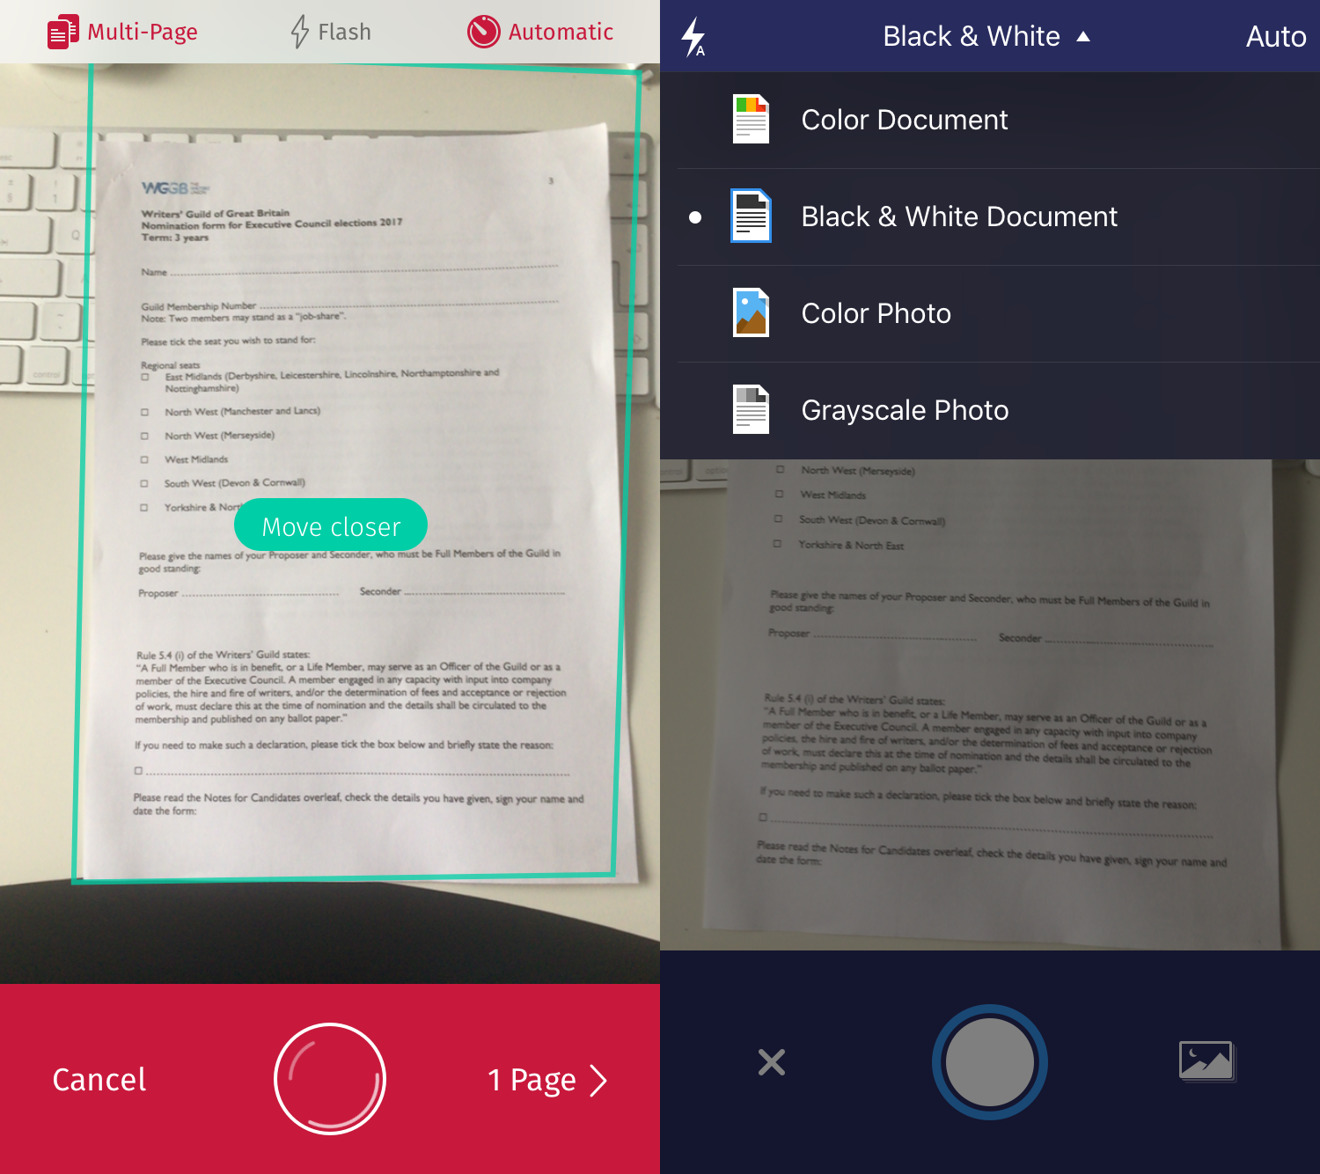
These and all dedicated scanner apps use the iPhone's camera and then work to counter — or at least reduce — the common problems in document scanning.
Chief amongst those problems is the user. It's difficult to hold your hand at just the right angle to get the document and just the right position to not get the desk around it. It's quite easy to get the text in focus but then even easier to lose that as you tap the Camera button and nudge your phone.
Then even if you get great at doing this for a single sheet, you will never get good at doing hundreds of pages in a row.
So when you hold your phone over a document, a dedicated scanning app will look for the edges of the page. Very often it will find them correctly and overlay a clear outline showing the page and obscuring its surroundings. When it's done that, you tap to take the shot and the app solely captures the document part of the image.
Reasonably often something will confuse the app and what it thinks is the complete page is out for some reason. In that case, you tap on what it thinks are the edges and drag them to the right place before taking the shot.
Book and document scanning seems intensely personal, and highly dependent on the work situation.
These apps will also take the shot for you so that you don't undo that careful positioning by your tap on the phone. Scanbot Pro and Scanner Pro go further by taking shot after shot as you move through page after page: they detect when you've changed page and automatically take a new image.
Both of these apps can also do the next thing you usually want when scanning documents — they can use OCR to turn the images into text. We still find that OCR on iOS is slow and error-prone but it does work.
We have used these apps to scan hundreds of pages of documents. You're going to get mistakes and they won't all be the fault of the apps. You'll miss pages, you'll turn a couple of them, you will lose focus in every sense. So we recommend dedicated scanning apps for no more than 30 or 40 document pages per session.
We've fiddled with a few iPhone mounts for scanning, but found them either too expensive, too fragile, too finicky, or all three, so at this point can't recommend any of them.
Right tool for the right job
Say you've got hundreds or thousands of pages to scan and every one of them is a single sheet. In that case, you use your iPhone for many things but not for actually taking the images.
Instead, look at a hardware document scanner. You can get single-sheet portable ones with the Doxie Go from around $250 or Fujitsu ScanSnap iX100 from around $200. Feed a sheet into one of these and that device will do the scanning. Then it can send the image over to your iPhone, iPad or Mac where you can check them out.
The scans you get from these are superb. There are never any focus problems, you never capture more of the desk than you do of the page you wanted and you never accidentally get your thumb in the shot.
For fast, you need desktop document scanners like the higher-end Fujitsu ScanSnap models. In that case you can race through documents at between 25 and 50 pages per minute. The only problem is that they have to be single sheets, they can't be bound books.
So for loose document sheets, we recommend the portable hardware scanners for jobs of around 100-200 pages. For 200 to 1,000 pages in any one job, you should get the desktop scanners.
Bound tomes need something different ... right now
None of these options are any use when the documents you're scanning are bound. We've twice done research jobs with around 1,300 pages to scan where hundreds were only bound by paper- or brad-clips but others were hardback books. Some were merely stapled but in an official archive you're not allowed to risk damaging documents by removing those and re-stapling later.

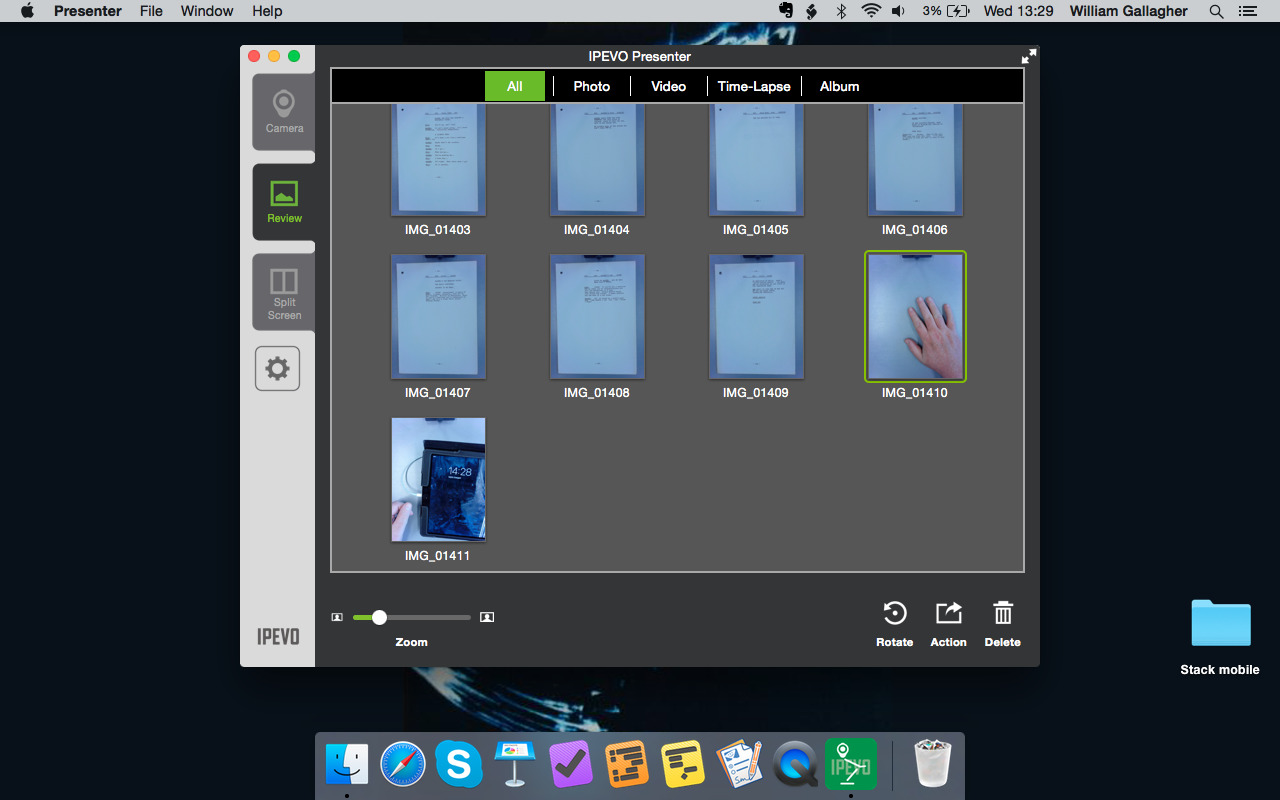
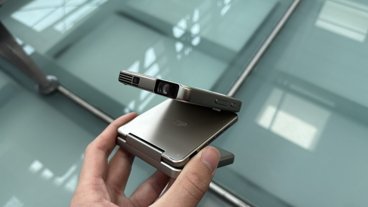
The solution is to get a dedicated document scanning camera. Fujitsu sells one we've used called the Scansnap SV600 which retails at around $1,000. That's pretty steep, and there are others such as the IPEVO Ziggi-HD Plus USB model for around $100. We used the IPEVO and its provided Mac app, Presenter.
You'll notice we said Mac app, though. The IPEVO connects over USB but it draws more power than any iPad can currently provide. So, there's no choice but to plug it into a Mac.
Once you do, however, this type of scanner lets you adjust the camera's position so that you can perfectly align it over your document, whatever the size. Then you can adjust the focus, the exposure and the white balance to get the perfect shot.
It's not a quick job. Setting up to take your first scan requires time and patience as you adjust the camera. On long jobs you may well find you have to stop to reset everything as the available light changes, too.
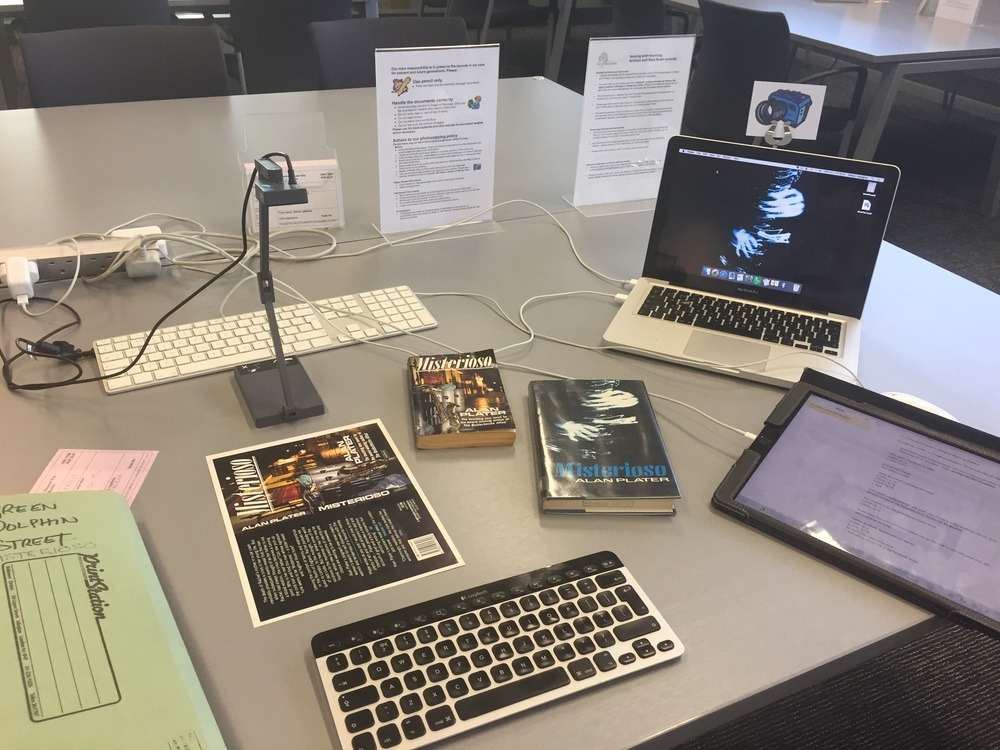
However, we found we could put a document of around 130 pages under the scanner and it would take a shot each time we removed a page. In the end it wasn't quite quick enough for us so we did click and tap to take shots but the process was straightforward. We didn't even have to adjust the focus as we got down through those 130 pages to the last ones at the bottom.
With hardback books, you hold them open and take the shot. Later you can crop in closer to get rid of your fingers in the image. You can also tell the IPEVO's software that the image is of two pages at a time and it will split them where you say.
Not the end
Scanning entire archives as we have takes patience and requires developing ways to avoid mistakes and handle masses of documents. Scanning single receipts takes practice to get a good shot too.
So the task of document scanning is always involved but the apps and the hardware you can use are also constantly developing. One major development coming is in Apple's iOS 11 where you'll be able to scan documents directly into Apple Notes.
More than just scan them, though, you'll be able to photograph a document at angles you'd normally reject as a mistake and it will produce a correctly sized and shaped document ready for OCR. We'll be interested to see if developers have a hook for this capability for their own apps in the future, which may completely change scanning bound books.
Book and document scanning seems intensely personal, and highly dependent on the work situation. Let us know your solutions in the comments.


-m.jpg)


 Andrew Orr
 Wesley Hilliard
 Oliver Haslam
 Christine McKee
 Amber Neely


24 Comments
This changes somewhat with iOS 11, so the following relates to 10, sometimes 11.
Best scanner qua scanner (in my experience) is Adobe Scan(? -- the new standalone scanning app). By that I mean that it's the best at finding, scanning and cropping the scan. Tied with Adobe's app is the scanning feature in Notes in iOS 11.
Where both apps fail me: Work requires me to email multiple scans; emailing them individually is not an option. Can't do that with Notes. (Should add: "not that I've figured out and/or maybe it'll be a feature some day".) So to email multiple scans, I use GeniusScan -- which, of all the scanner apps I've used, is the only app that has that feature. I also copy the scans to my Box account; obviously, I can send multiple scans from a Mac from the Box folder.
What about Evernote Scannable. It's great at detecting the document boundaries (in my experience better than iOS 11 Notes), can create PDFs or images, email or share using any of your iOS share options and its free. You don't need to use Evernote to use the app. It's also an App Store Editor's Choice.
So
- Scanbot Pro
- Scanner Pro
- PDF Pen
- Office Lens
- Adobe Scan
- Doc scanner
- Evernote scannable
What else? What are pros and cons?
I didn't find this review very helpful in deciding what was best. :)
( looking back, I guess the article is not meant to be a review...)