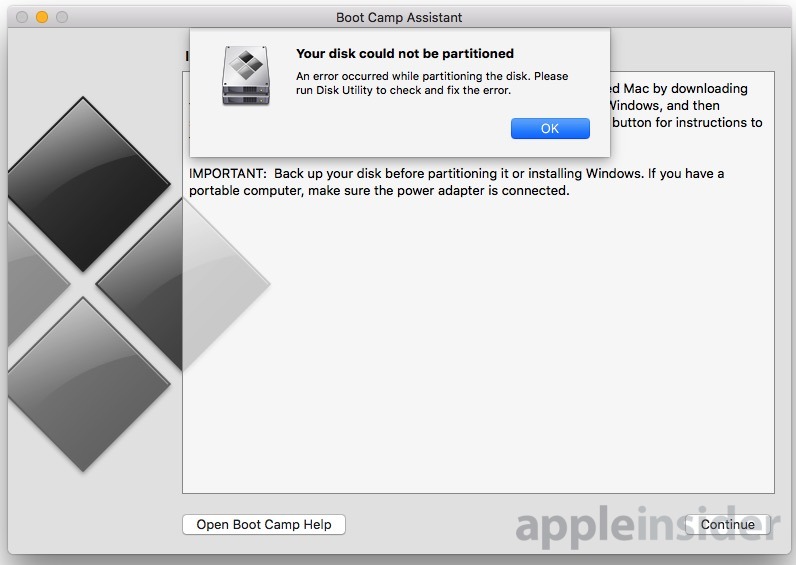
Boot Camp will add a partition on-the-fly to your system drive, but there are some things that can stand in the way of that process. AppleInsider explains how to fix most of the issues preventing you from setting up that partition, if the assistant throws you the failure to partition error.
Pre-step. Get a backup with something other than Time Machine. For this task, we recommend Carbon Copy Cloner, SuperDuper, or ChronoSync to make a fully bootable, fully clone-able backup volume.
We've spoken about Carbon Copy Cloner and ChronoSync in the past. Before we go any further, it might be worth taking a look again.
Disable FileVault
FileVault can, in some cases interfere with the partitioning process. Why, we're not sure, but the best and least destructive, way around it is to turn off Filevault, if it is on. If it isn't, then go to the next step.
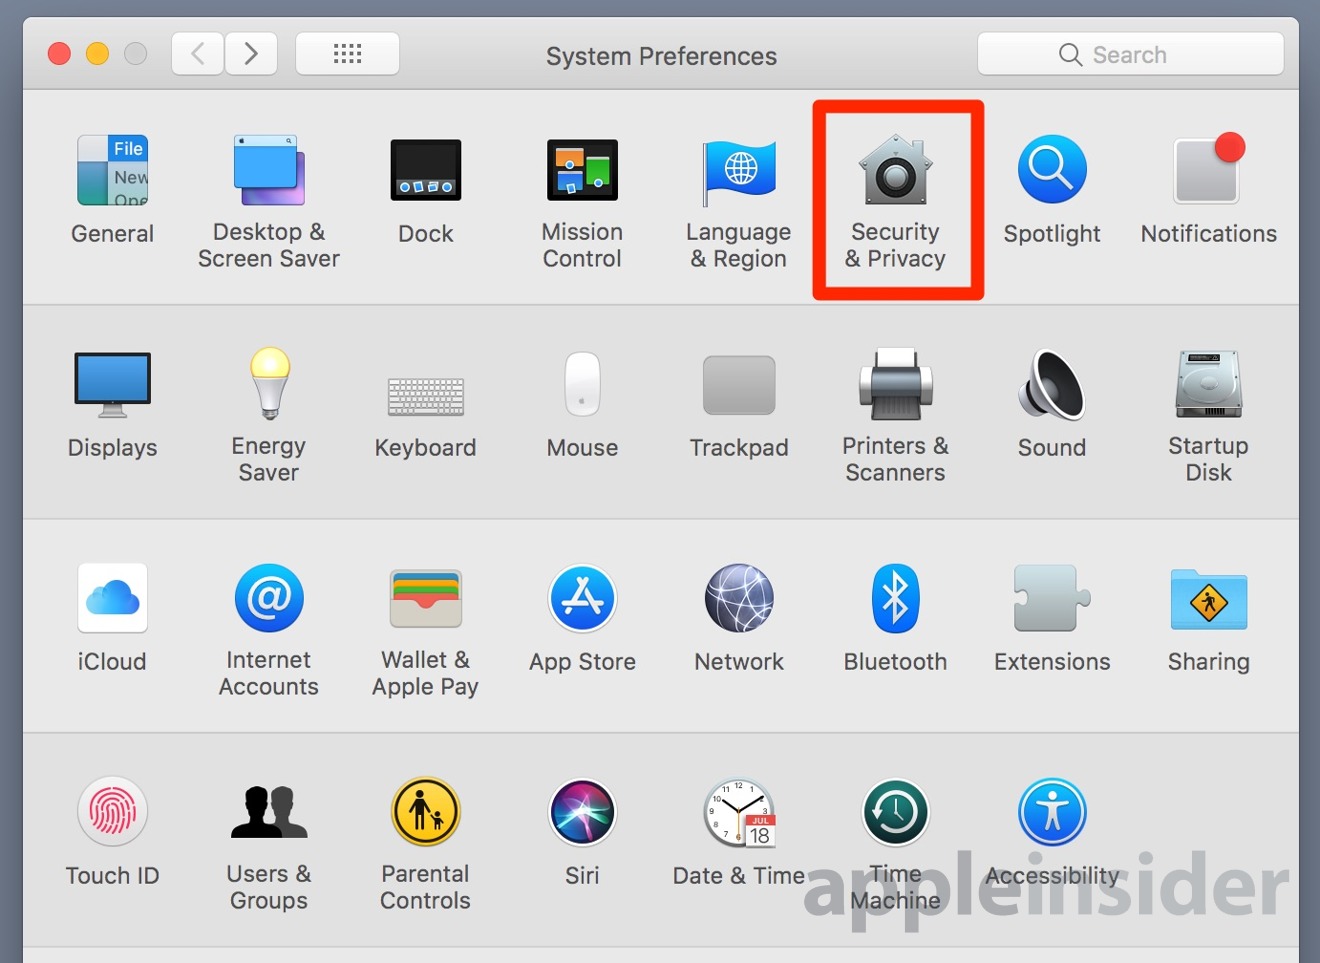
Select System Preferences, and click Security and Privacy.
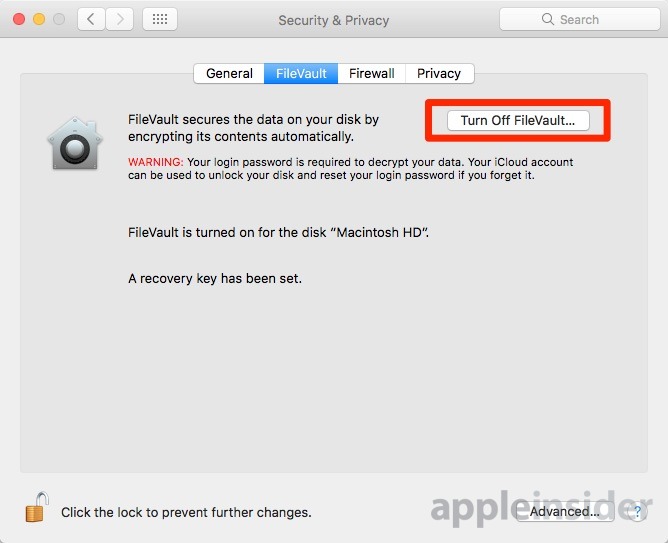
Click on the FileVault tab. Unlock the pane, validate your credentials, and click Turn Off FileVault.
This isn't an immediate process. Decryption of your drive happens when the Mac is awake and plugged in. So, either use your Mac for a few hours doing things other than making a Boot Camp partition, or tell your Mac to never sleep in the Energy Saver control panel and walk away for a while.
Turn off Time Machine, un-associate any backup drives
You've got a backup, right? Don't proceed any further unless you have a backup that doesn't depend on Time Machine.
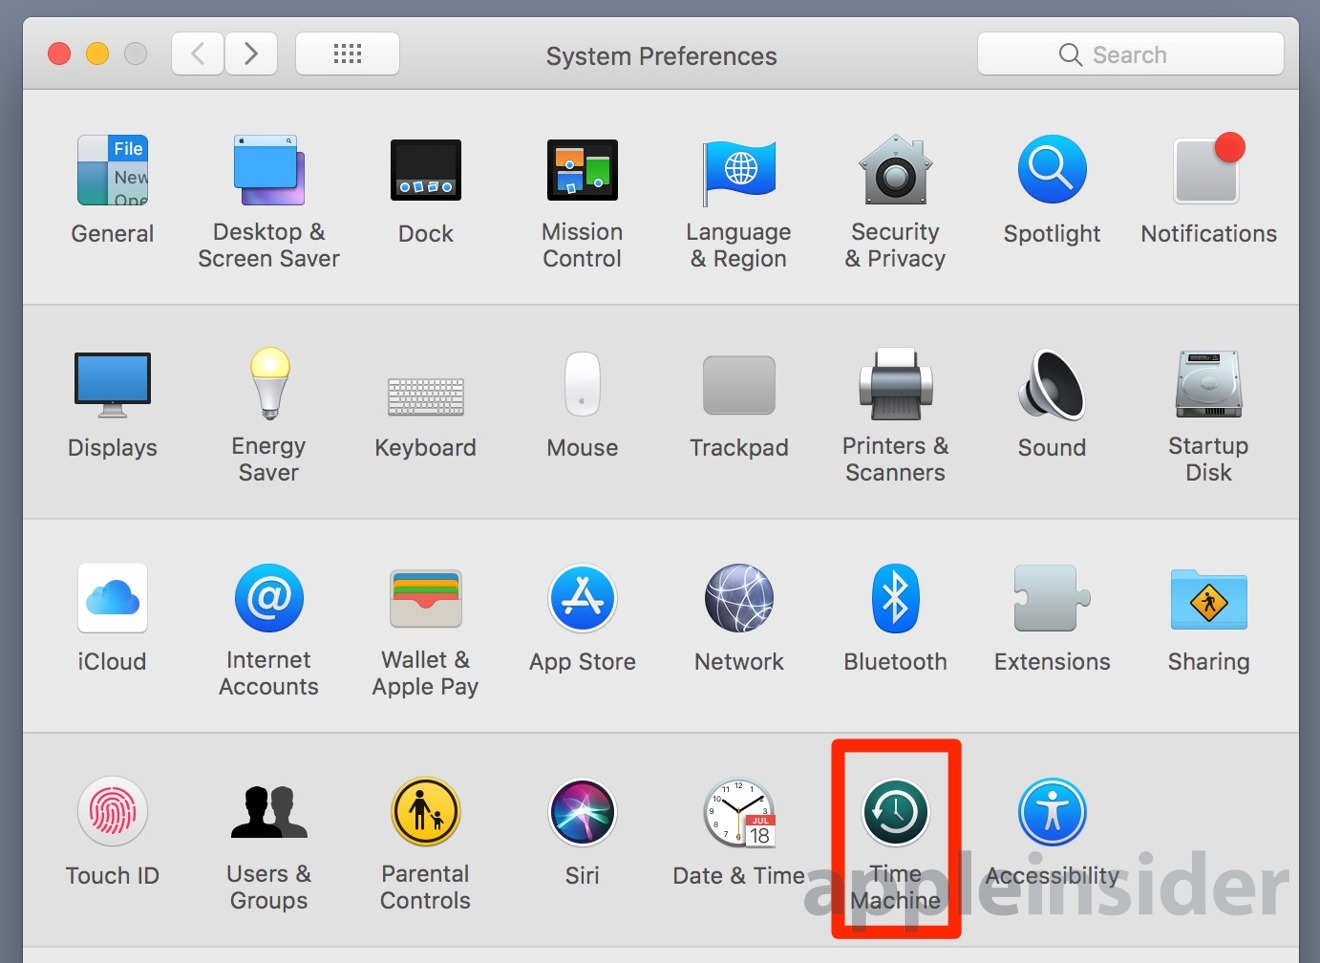
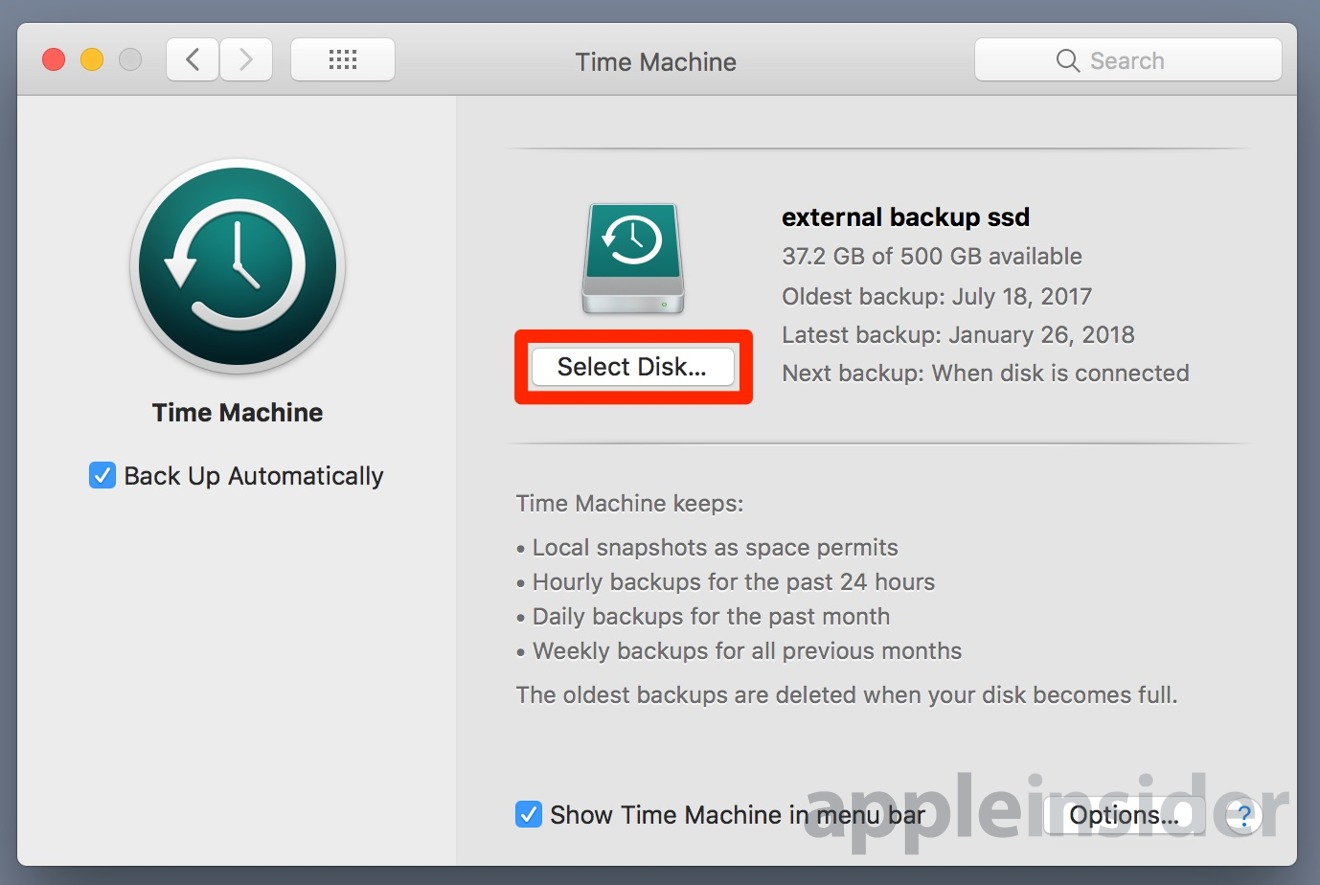
First, disassociate any backup drives with Time Machine. Select System Preferences, and click Time Machine.
Click Select Disk
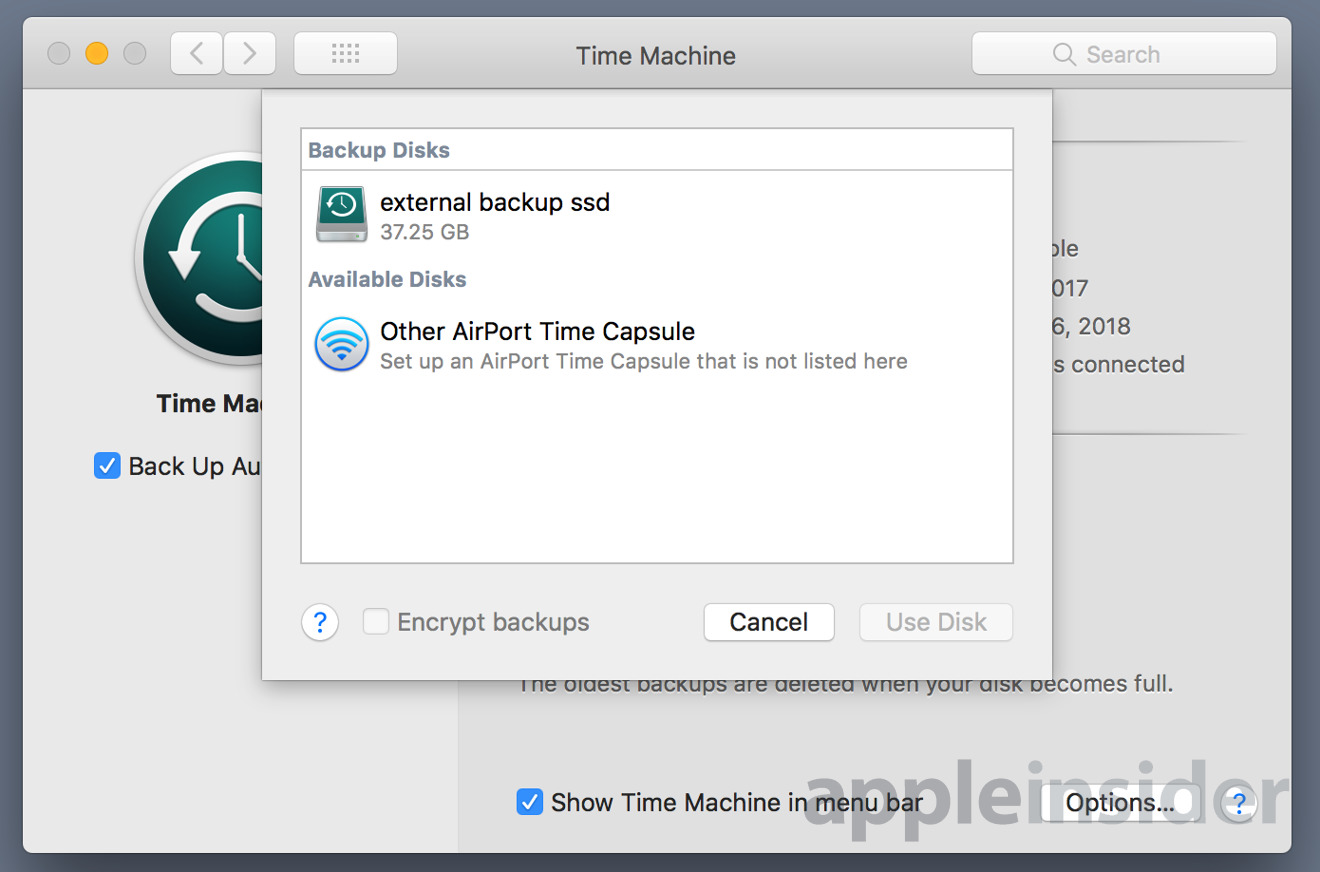
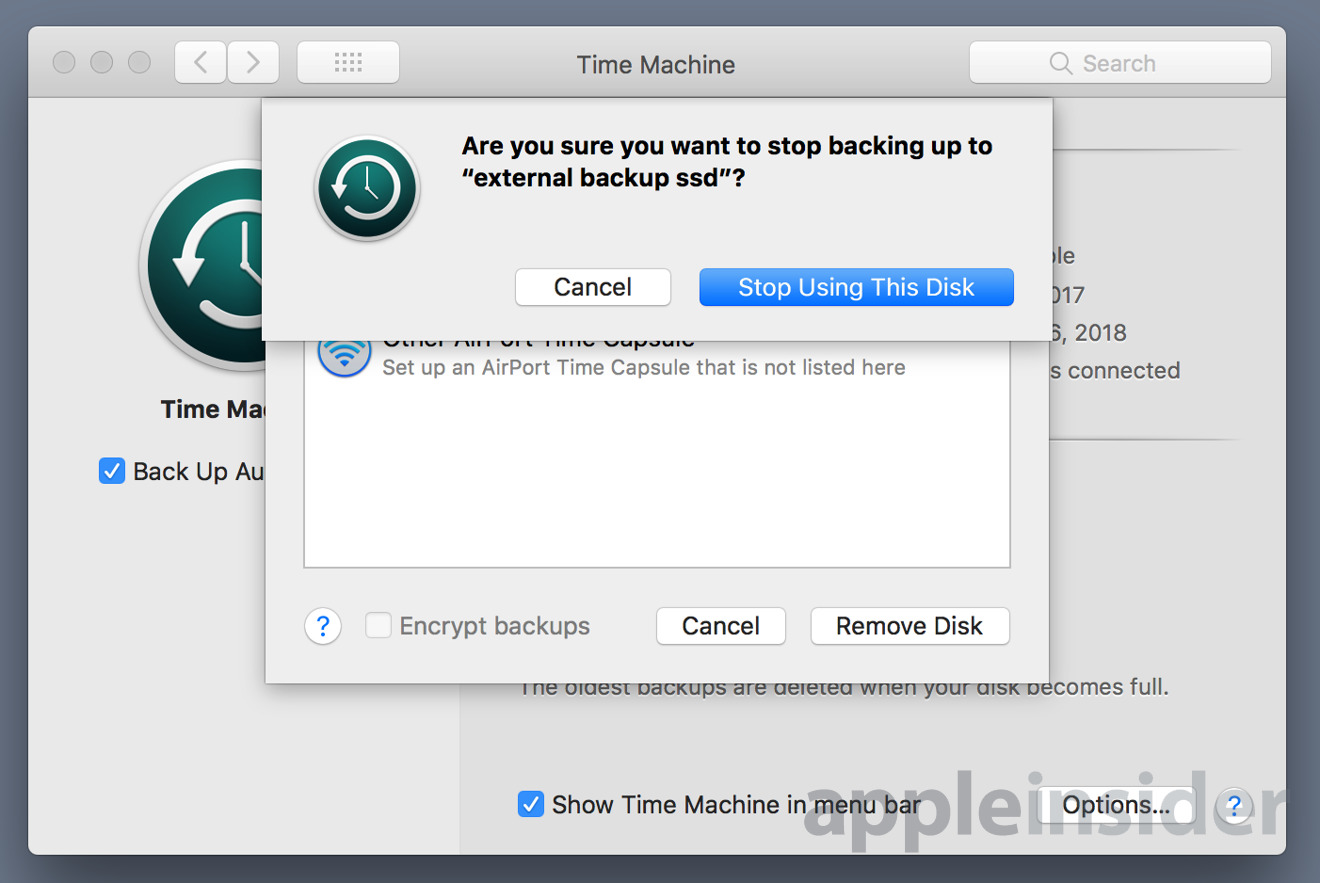
Click on the drive being used as your Time Machine backup, and click Remove Disk. The Mac will pop up a dialog asking you to confirm that you want to do so.
Try to use Boot Camp assistant to partition the drive again. Should it still fail, you may need to remove Time Machine local snapshots as well.
Purge Time Machine local snapshots
For the tech saavy, the procedure to do this is different in High Sierra than it used to be. Apple killed a one-step, easy, Terminal process to turn off the feature, and automatically delete all local snapshots.
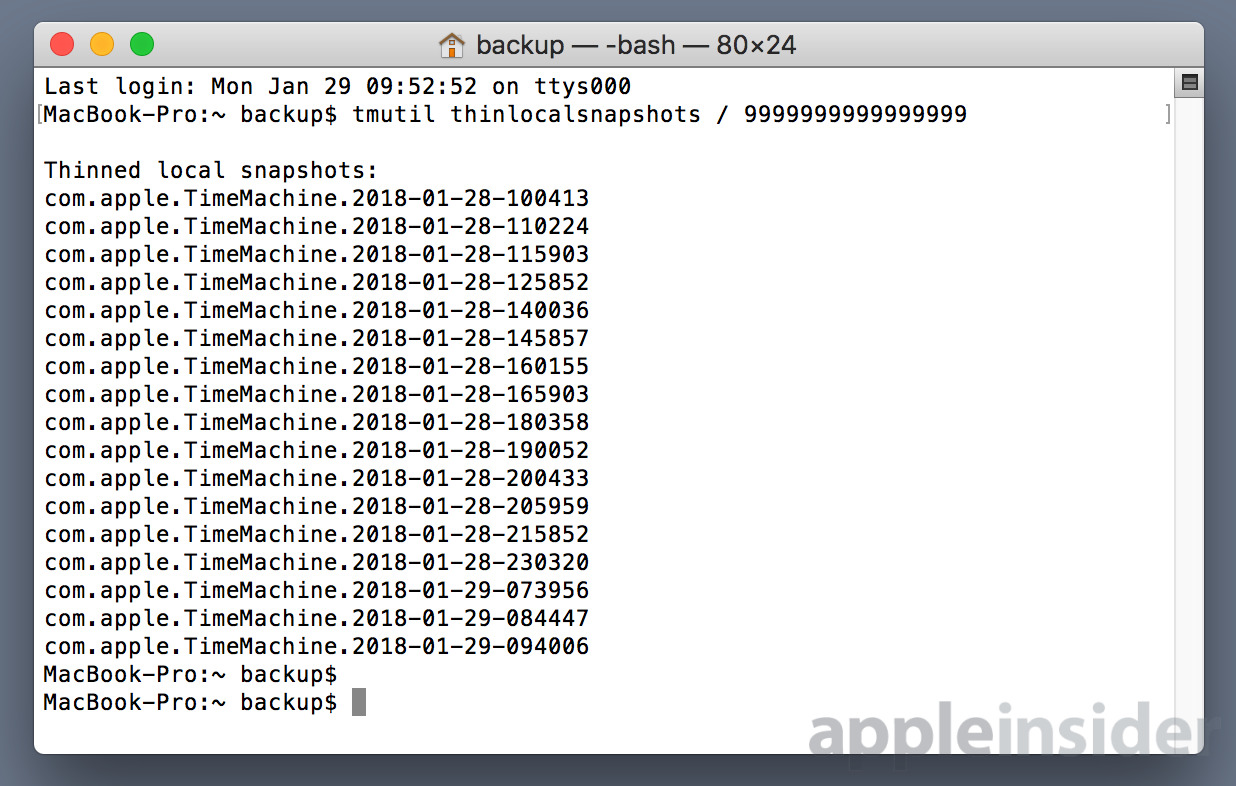
The procedure is still in the Terminal, though. Open the Terminal.
Enter tmutil thinlocalsnapshots / 9999999999999999
Depending on how many you have, and the speed of your drive, it may take a few moments to eradicate all the snapshots.
The above steps deal with most of the obstacles to a successful Boot Camp Assistant partitioning of your system drive. Once more, try to use Boot Camp Assistant to make the partition.
If all that still doesn't allow the partition to be created, then...
Format your hard drive
If you've gotten this far, we're pretty confident of your ability to do this step. First, make sure you have a backup! Reformat your drive either by booting from your restore clone, or rebooting in recovery mode, and set up an APFS partition for your macOS install, and a macOS Extended (journaled) partition for what will become your Boot Camp partition later in the process.
Restore your backup to the APFS partition, run the Boot Camp Assistant again, and all should be well.