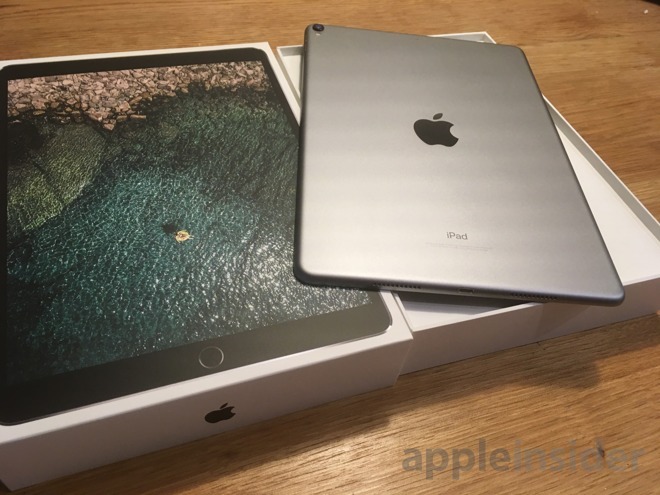
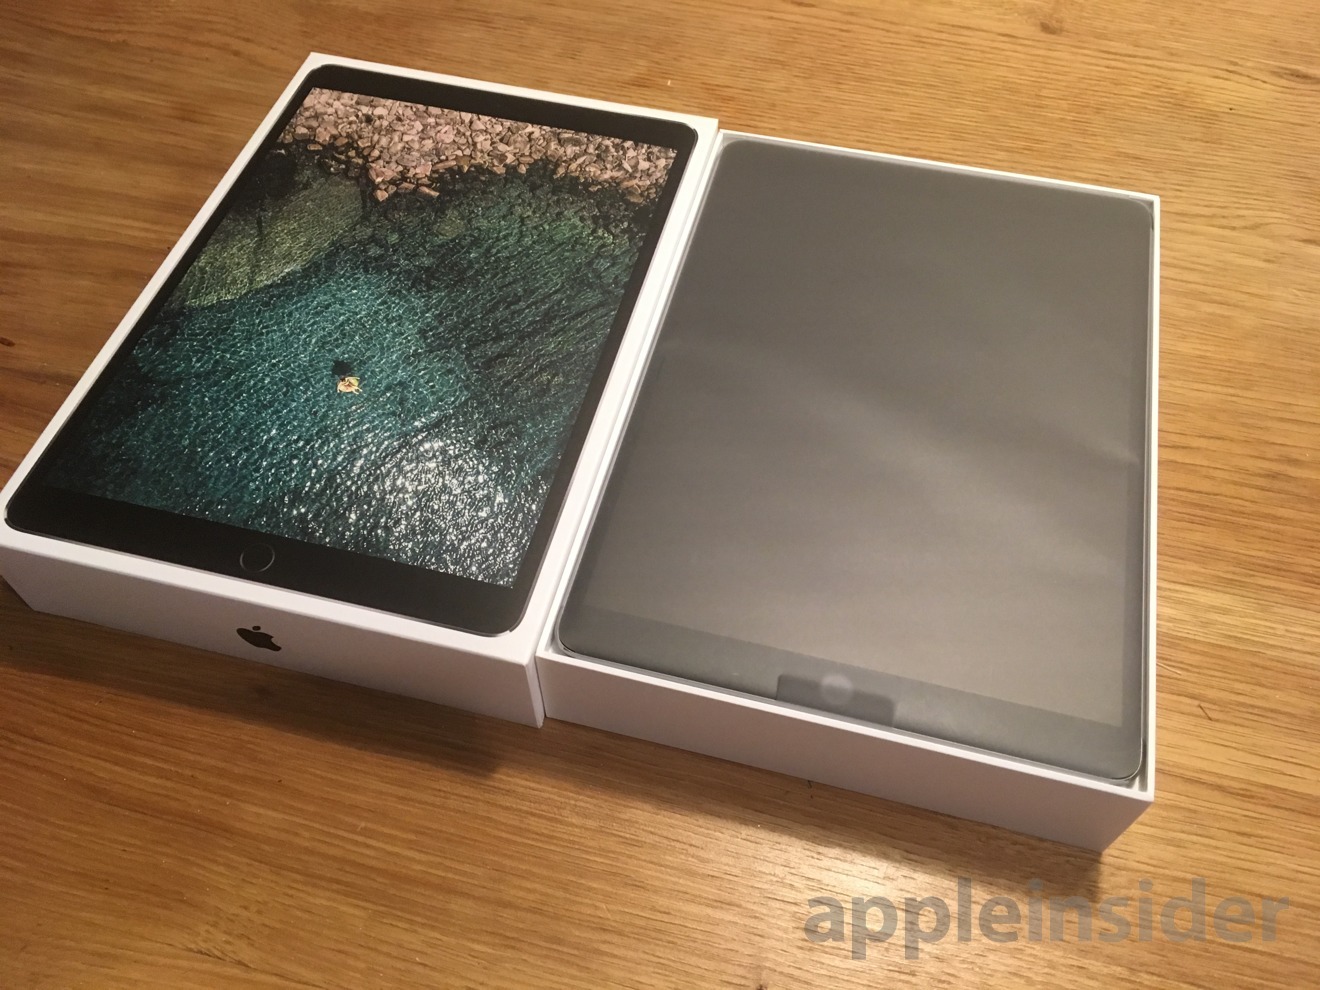
It's easy to say that iPads are easy to use: it is certainly possible to get one out of its shrink-wrapped box and be working on it in a few minutes. Yet you begin by having to make a lot of decisions and you end being able to make a lot of choices. You get it out of the box, we'll take it from there.
Editor's note: If you're a grizzled AppleInsider veteran, there is probably nothing new for you here. But, there are a lot of things that we can all take for granted when helping somebody else out. So, if you're not there for the de-boxing or just want to help somebody out, show them this, or print out our guide for them.
We really are starting at the beginning. If you've ignored iPads up to now or if you have a family member who doesn't know where to begin, this is for you and them.
Then, when we've got you up and running as quickly as possible, we'll take you through the basics of getting started on your iPad — and we'll do so while pointing out issues and problems that you may encounter. Apple doesn't tend to do that last bit, bless them. Fortunately there is very little to trip you up, but there's even less when you know what's coming.
Switching on and off
If you're new to iPads, and especially if you come from desktop and laptop computers, you'll find this hard to get used to: you aren't meant to switch iPads off. You switch them on and you leave them on. All the time. When that screen is dark, it isn't really powered down, per se.
They don't use up much power, and they are secure, and the advantage of them being always on is crucial. You already know that — worst case scenario here — if you have to go to your office and start up your PC whenever you want to check something online, you'll never do it.
With iPads that are always on, you have a thought, pick it up, and you're checking immediately that website, you're sending that email, writing that note, sketching that drawing, working out your agenda, everything. Immediately.
You'll sometimes need to switch it on and off if there's a problem, and if you should let the battery go down far enough, the iPad will power itself off.
Note that if that happens, though, you may have run the battery down so low that it takes time for the iPad to have enough juice to even give you the bleep that says it's recharging. Also, when you get your iPad straight from the box, you can be certain that it will have come with at least some battery life. You'll need to charge it soon, but you can work with it right away.
You can carry on working while the iPad charges, and you can also leave it charging overnight without concern. It takes a few hours to really fully charge an iPad, but when it's done, the iPad knows it is, and stops drawing current.
You had me at Bonjour
Switch on your new iPad by pressing the Sleep/Wake button and keeping it pressed. Even the new iPad Pro models that have abandoned the old Home button still have a Sleep/Wake one around the edge.
When the iPad powers up, you'll get an Apple logo for a few moments, and then a welcome screen that says Hello and asks you to swipe at the bottom to get started. If you wait a moment, Hello turns to Bonjour, and it says the same thing in French. Keep waiting and it cycles through many languages, all of their greetings shown in a gorgeous plain font.
Swipe at the screen and it will offer you a Quick Start. Frankly, setting up an iPad from scratch is not arduous, but if you do already have an old one or an iPhone near by, use it. So long as that device is on iOS 11 or later, you can just hold it near your new iPad.
When you do that, the other iOS device pops up a screen asking if you want to use it to set up your new machine. Tap continue and then you get a security check.
The new iPad will display a moving, shifting, rather nebulous glob of a graphic. Your old device will open up a new dialog box that has a circular area in the middle. Hold the old device so that this circular area shows the graphic on the new one.
Every setting you had on the old machine to do with, for instance, whether you want location services on or not, will be transferred to the new iPad.
Along the way, though, you will be asked to confirm that you're happy with Apple's policy on data and privacy. You can really only tap on Continue, there isn't a button that says Well, It's Better Than Anyone Else's.
Face it
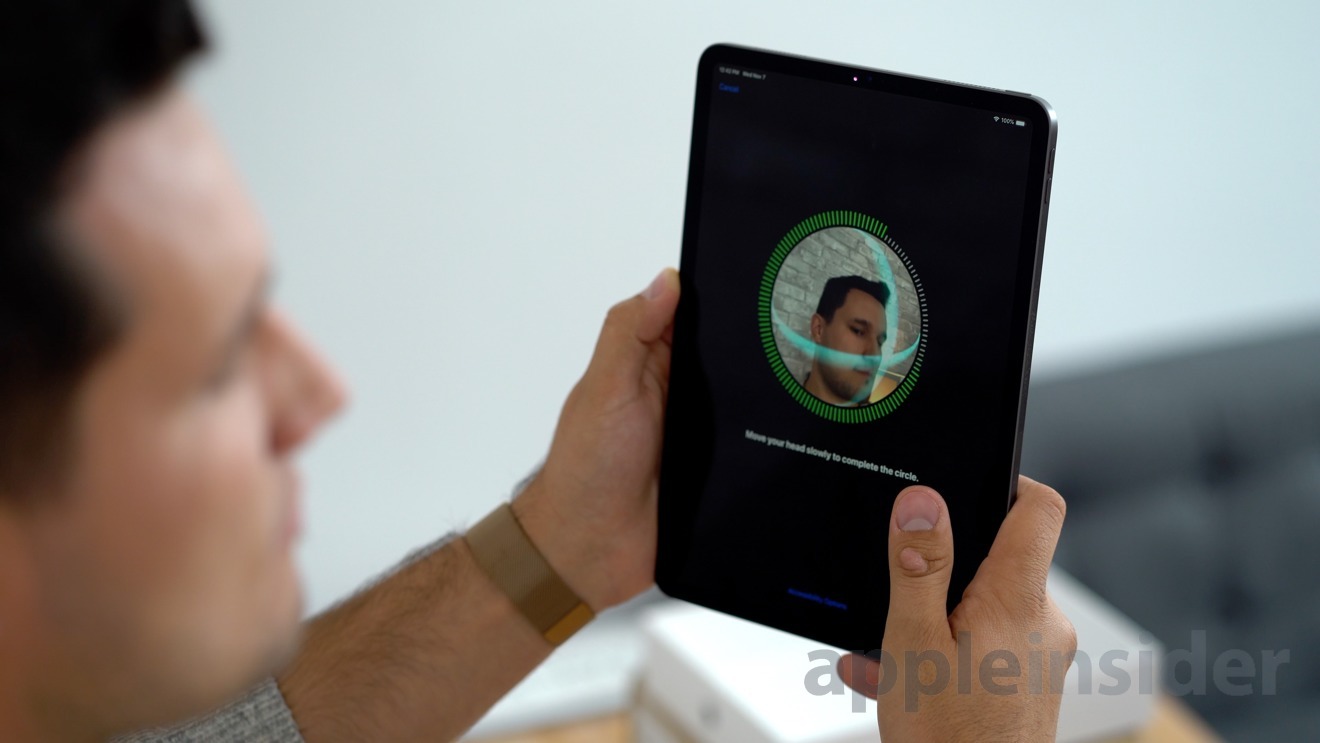
Now you have to set up Face ID if you're using one of the new iPad Pro models or Touch ID if you're on the latest 9.7-inch iPad. It is possible to use your iPad without Face ID or Touch ID but do it and do it now so that you can forget about it.
It is one or the other. If you have Face ID then you don't have Touch ID and vice versa.
Setting up Touch ID requires being guided through a process of pressing your thumb or fingers against the Home button. Setting up Face ID is much the same in that with both cases you get on-screen graphics showing you where to place your finger or your face.
There is one significant difference, though, in that with Face ID you have to hold the iPad Pro in vertical or portrait rather than landscape. This is only for when you're setting up Face ID. When you've done this, you'll be able to pick up the iPad Pro from any angle and it will know it's you.
Restoring from a backup
If you do have an older iPad that you're moving from then as well as the basic settings, you probably have a lot of apps and data. You should also have a backup of all that in iCloud, too, and after the setting up of Face or Touch ID, the new iPad asks you about that.
You get the option to restore the backup onto this new iPad, so effectively cloning or at least closely reproducing what you had before. Even today, this backup option gives you a choice of doing so from iCloud or from iTunes but there's now little difference.
If you do want the new iPad to have all you had on your old one, pick Restore from iCloud Backup.
Alternatively, you could choose to set this up as a new iPad or even copy data from an Android device.
Apple Pay
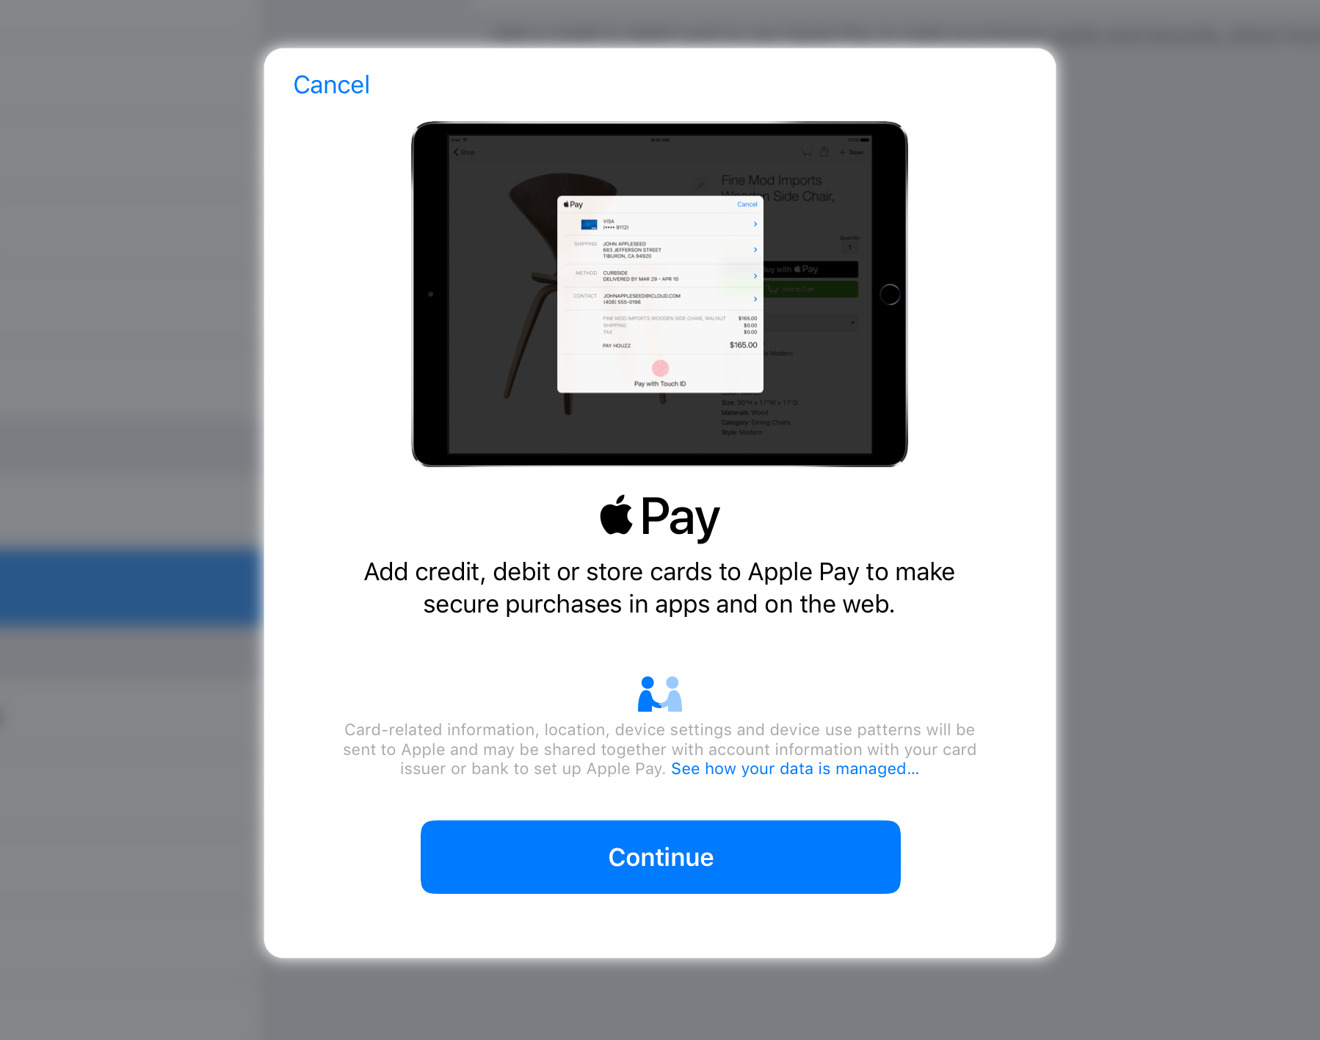
Here's another case where you need to make a choice. After the backup or the setting up as a new device, you do get asked a couple more questions about sending Apple data but then you reach this point. You're asked to set up Apple Pay.
If you never use it then you can just skip this. If you are an Apple Pay user, though, you have the issue that you may not want to set it up on an iPad. It's never going to be as convenient to wave your 12.9-inch iPad Pro over a card reader in a restaurant as it is to wave your Apple Watch.
However, set it up anyway. For even if you don't then use it outside the house, you're still going to be able to pay for things online with just a look at Face ID or a press with Touch ID.
Regardless of whether you've got Face ID or Touch ID, you will next be asked to create a passcode. Do it. Six digits and you're done.
By this point, your family member could be getting a bit ticked off at waiting to use their new device. If that's the case, you can skip all of this and do it again later in Settings. You just might find it hard to get the device back out of their hands by then.
Siri and other stories
We have no idea why Apple asks whether you want to use Siri or not. You do. People knock Siri but the ability to just call across the room and have your iPad answer you with useful information is too good to leave switched off.
Again you can skip this but take the time to say yes, to click the Continue button and step through training Siri to recognize your voice.
You can then fly through a question about app analytics — it's asking whether you're okay with your iPad telling developers when their apps have crashed. You are.
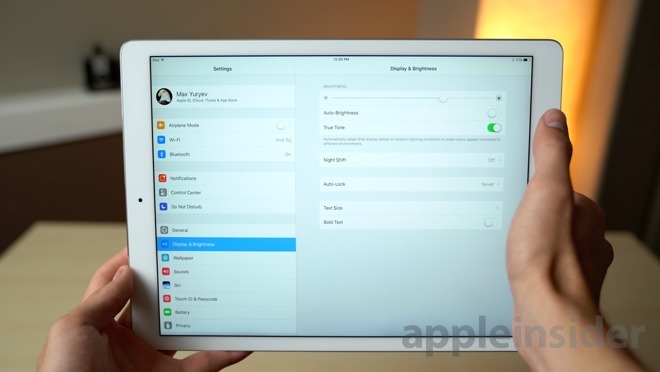
Next, depending on your iPad, there's the True Tone option. This is the feature that changes the lighting on your iPad to suit where you are and what time of day it is. The idea is that with this switched on, the iPad will be brighter in the day, cooler in the night and all parts of the spectrum in between.
You're going to be seeing a pattern now, but we say yes, you want this on.
Put the kettle on
You've done all you can, now it's time for the iPad to sort itself out. Walk away while it restores the backup from iCloud and be aware that this could take quite a time.
There's no way to even usefully guess how long, though. It depends on how big your backup is and how fast your internet connection is.
So it's a good idea to plug the iPad into the mains for this.
Eventually it will complete and you will get a white screen with the words Swipe Up to Open written on it. Do that and you're going to be asked for your passcode.
You will always be asked for the passcode when the iPad first switches on and that's regardless of whether you have Face ID or Touch ID. You'll also be asked if you've left the iPad on but asleep for long enough.
You're still not done, by the way. Next, the iPad wants you to know about certain things in iOS 12.
Go home
All iPads will now tell you about Screen Time next. It's the feature that monitors your usage and at the end of the week scares you with a figure of how many hours you've been on this machine.
Then if you have an iPad Pro, this is where Apple explains about the missing home button. It tells you that you need to swipe up from the bottom of the screen to go home and it demonstrates just how you do that.
Similarly, all iPads then go through how you can call up Siri with your voice and then it's one more swipe up to open.
All set up
That's it. You've got your iPad set up and you're at the home screen where you'll see at least Apple's many app icons but if you've restored from a backup then also your own purchased apps.
That's not quite it. You can indeed now get on with working and using the iPad. Or you can indeed now hand it over to a family member to use. However, you can choose to set up further niceties such as wallpaper background.
We'd rather get you going on the apps that come pre-loaded. We'd rather do that and also how to move apps, how to choose some new ones.
Apps to go
When you first get it, the iPad has many apps installed, and they are all from Apple — but they are not all that there is from Apple.
Look for the blue circular app icon with an A in it. Tap on that, and you'll go into the App Store, where later you can buy new apps. When you go into it now, though, Apple will tell you that there are all these free apps that you should download. Short answer: do. Just do it.
They're apps like the word processor Pages, the spreadsheet Numbers, the e-reading and management program iBooks, Garageband for music, Keynote for presentations, and more. These are all world-class apps, they're not the usual stuff you get for free on computers, so why Apple doesn't just install them for you, like it does Mail and Safari, is beyond us.
One thing about the Apple apps that did come pre-installed. It used to be that you couldn't delete them. Now it's that you can delete most of them. The exceptions are the Camera, Photos, App Store, Find iPhone, Messages, Clock and Safari.
Even if you can't delete an app, though, you can move them.
Move it
The apps on your front screen don't have to stay there: you can put any you like, that you buy from the App Store, and you can change the order. Press and hold on any app and all of them will start wiggling. Aside from those few ones of Apple's that can't be deleted, they will also all have a black circle badge with an X. Tap on that and you delete the app.
Tap and hold on any app's icon and you can drag it around the screen. Drag it to the very right of the screen too: this is sometimes tricky to get used to but if you drag it just so, you move the app onto another page. When you let go, that's where it stays. So you can have page after page of apps. That's only a problem when you want to find one.
To find an app you know you've got, consider asking for it. Press and hold the home button, then say aloud "Open Keynote." Siri will find the Keynote application, and launch it for you.
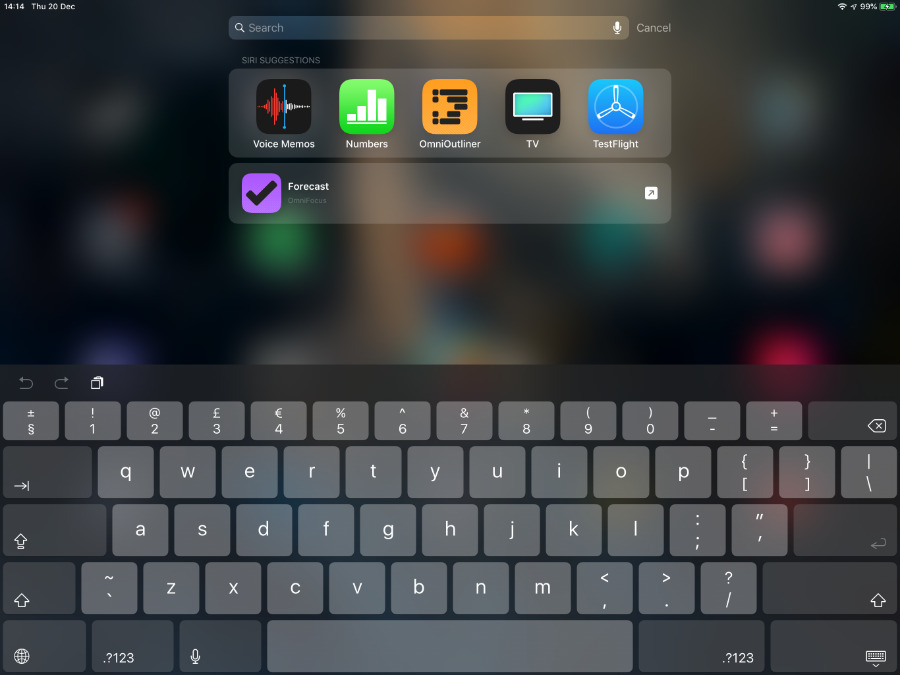
Or if you prefer, look for it: swipe down in the middle of the screen and you'll get a search box plus suggestions of what you might be looking for.
When you're doing this for the first time, those suggestions won't be much use. Over time, though, the iPad learns what you tend to look for, and even when. If you always update your bank balances at 15:00, then if you search for an app around that time, the iPad will always offer you Numbers or Excel or whatever it is you tend to use.
This same search view may also offer you actions that you tend to do, rather than just apps. So in this example, for instance, it's offering one tap to take us into the main view of our OmniFocus To Do app.
None of this works when you're in an app, however. You've got to be at the home screen.
It used to be that you could tell anyone to press the Home button when they weren't certain what they'd got themselves into. That would take them out of apps but if they'd swiped to a second home screen, pressing Home would take them back to the first.
Now you need to show them at least one gesture. We recommend that if you can only get people to learn one, the five-finger pinch is the best.
It's not the one Apple recommends. Apple says you should swipe up from the bottom of the screen whenever you want to go back to the home screen.
However, if you instead place five fingers of one hand on the screen and pinch them together, you get so much more. One quick pinch and you're out of the app, back on the home screen. Do exactly the same thing again there and the same movement will now jump you back to the first of your homescreens.
A slower pinch with the five fingers gets you to the application switcher instead, though that's going to be most useful when you have a lot of apps.
Getting a lot of apps
We wanted you to know first about moving apps around, because we are so used to it that we might forget. The technique for moving apps has remained the same since even the iPhone was released, and so have the reasons for moving anything. You won't move any app until you know that you do or don't want it around. You can put your most-used apps on the front home screen — and your very most-used ones in the shelf-like dock at the bottom of the screen — but you need to know what they are first.
Open one. Tap on it. If you or your family member are familiar with PCs and Macs, note that you just have to tap once, not twice. If you're brand new to anything like this, especially note that you can be very gentle. We do see people really banging their fingers against the glass and this is good for no one. Touch the app, and it opens.
If you just want to see what you've got, to see what your iPad can do, we recommend opening Maps first. Open Maps, tap on the "i" button in the bottom right of the screen, and switch on 3D Maps plus Satellite view. Then tap on the location arrow on the bottom far left. Maps will leap to where you are, and show you the single most gorgeous view of your home street. Drag the image around, twist it back and forth, then type in somewhere else in the top bar.
Or you could try Safari: tap on that, and go to a website you're familiar with. You'll see it displayed quickly and so crisply that you feel you could touch it. You can. So do. Touch it. Drag the page around, touch links, pinch out to make images bigger.
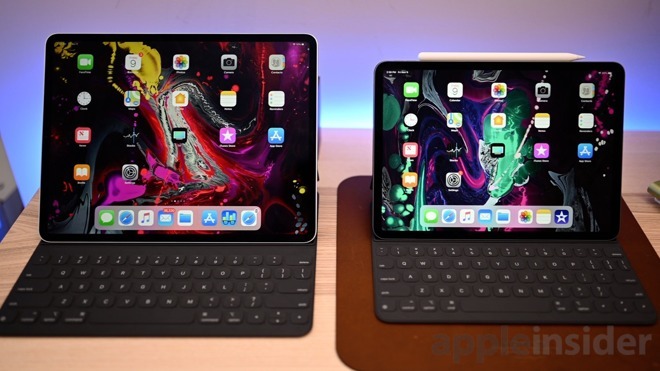
If you have an iPad Pro, open Safari, and then swipe across from the right. The first time you try this, you'll find it hard to see where to begin swiping, but try putting your finger on the black or white bezel around the display and then keep it pressed against the glass as you swipe in. First you'll get Slide Over, a way to give about a fifth of your screen to a second app, and this is very useful — but keep going, keep swiping. When you've dragged the screen to about half way, let go, and you'll have started Split Screen.
But now, some work
Set up Mail. You need this, and the great thing is that you may already have it. If you're an iCloud user (also known as an Apple Mail user, previously MobileMe or .Mac) then you've got this. When you entered your iCloud account details during the setup, the iPad used them to set up Mail too. Open Mail and if you see some messages, you're done.
If you don't, or if you need to add a different email account — such as a company Gmail one — get to the home screen and choose Settings.
There are an awful lot of settings you could get lost in, but scroll down to a setting called Passwords & Accounts.
Under the Accounts heading, there is an option to Add Account. Tap on that, and work through the prompts: you'll need your email address and password.
You're good to go now. Go watch a film — you can buy them from the iTunes Store: tap on Videos, and then Store. Or read a book via Books. Do some writing in Pages.
Or just buckle down to answering those emails, and take some satisfaction how — unless you go to Settings, Mail, Signature and delete what's there — your iPad will sign off every email with the words "Sent from my iPad."
 William Gallagher




-m.jpg)




 Malcolm Owen

 Thomas Sibilly
 Wesley Hilliard

 Marko Zivkovic





8 Comments
Step 1.
Place iPad on a clean, flat surface and press firmly to straighten chassis.
Sorry, couldn’t resist. Merry Christmas everyone!
While the new Pro is a small step forward, my 10.5” model will be more than sufficient to handle my needs for years to come.