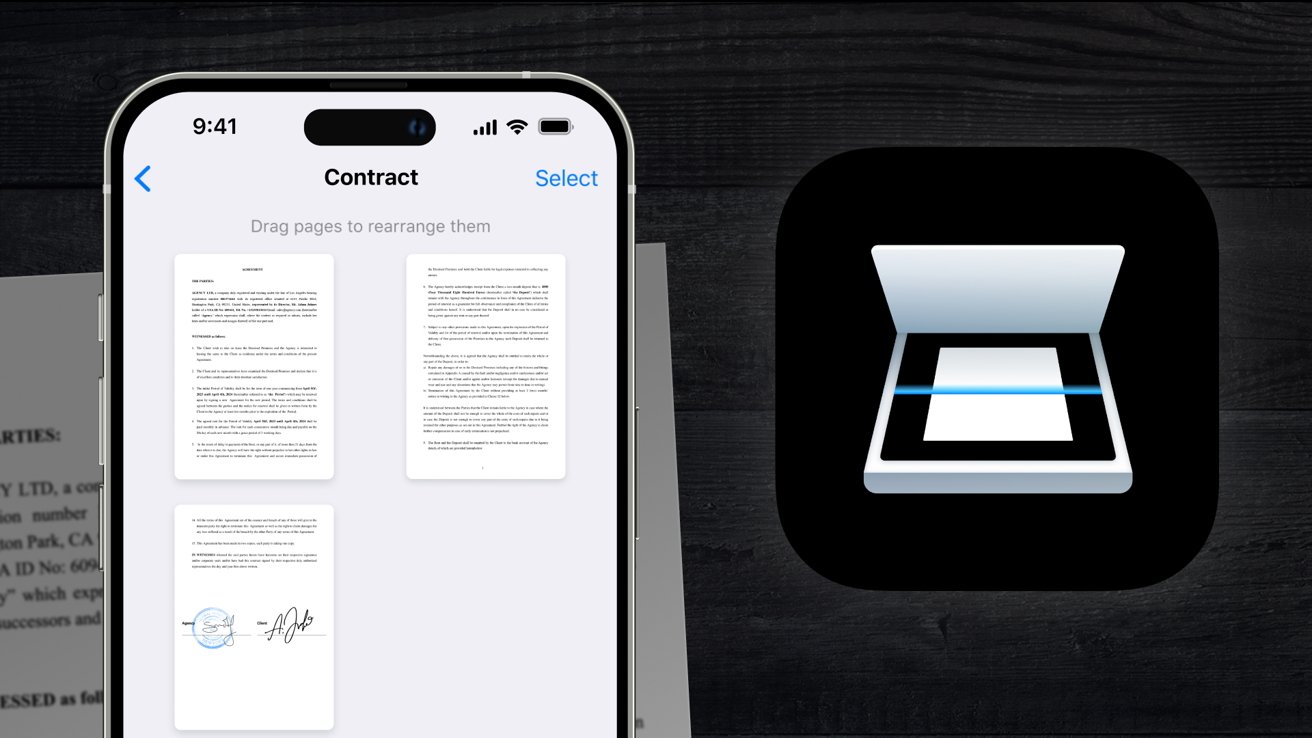
If Apple's native document scanning and management features aren't enough, Scanner for iPhone can help by bringing all the necessary tools and features into a single, simple interface.
Scanner for iPhone works as a single location to scan, annotate, sign, edit, and export documents. Unlike Apple's implementation, which is spread out and hidden behind menus, Scanner brings all the features to the forefront.
If you're running your business or managing personal documents with your iPhone, a document scanner is critical to your workflow. Scanning a document, applying a useful filter, and signing it are all needed to produce a useful digital document.
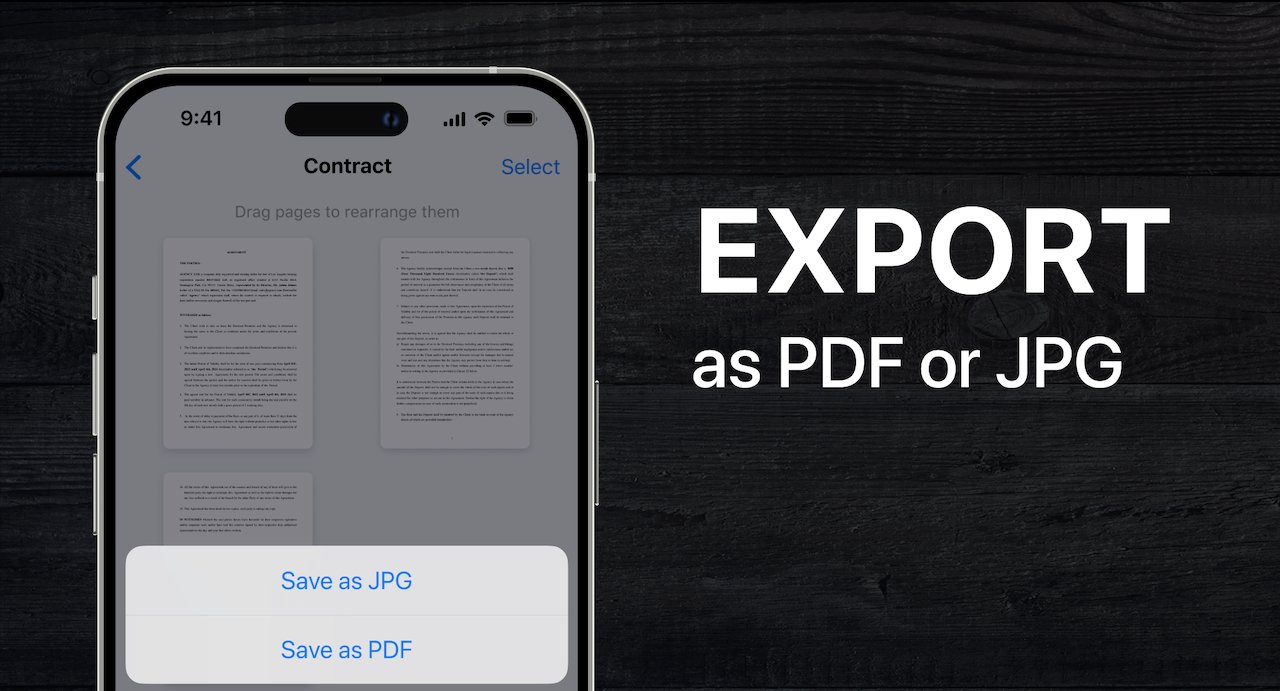
Scanner for iPhone gets everything done in one app. After scanning a document, it can be saved as a PDF or image.
When scanning documents, automatic edge detection previews what is about to be captured. Multiple pages can be captured, and filters can be applied before saving the document.
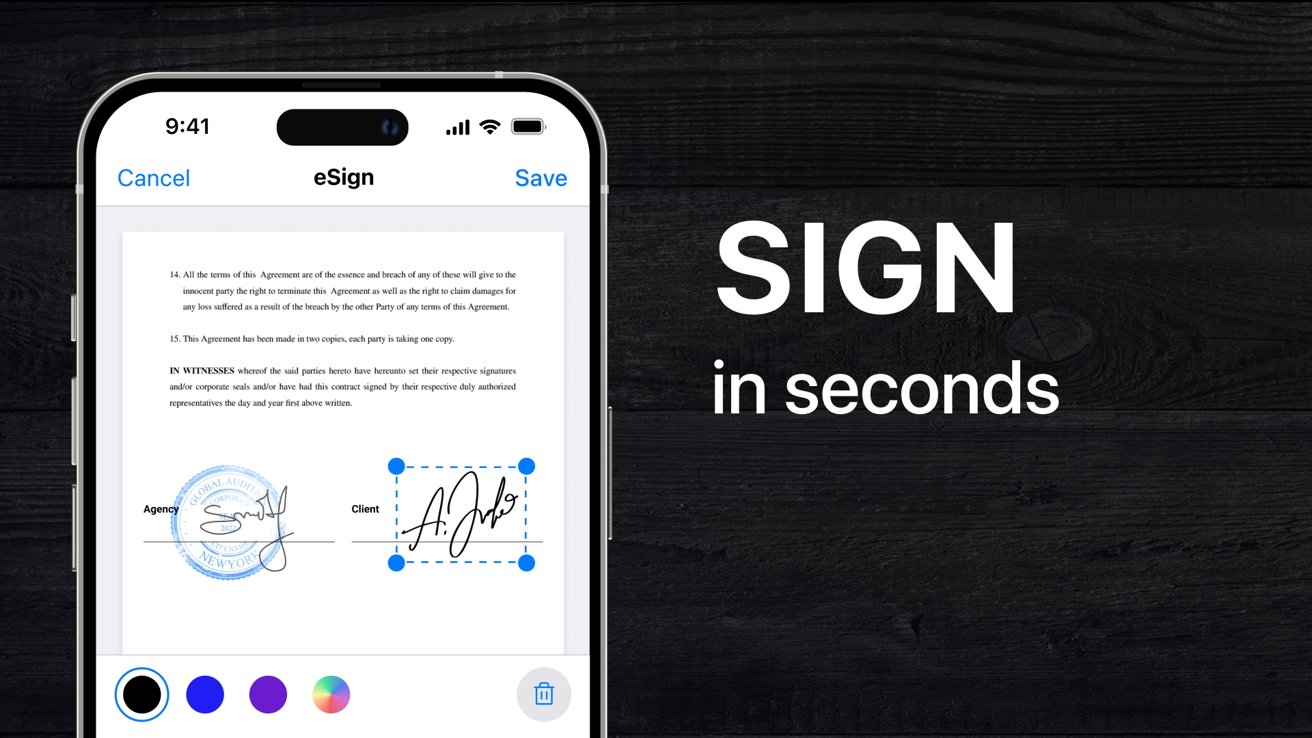
Scanner for iPhone also offers optical character recognition (OCR) and handwriting recognition. Documents can be synced across cloud systems like iCloud and Dropbox, and you can sign documents directly within the app, simplifying the e-signing process.
The quick and easy software offered by Scanner for iPhone ensures your digital document work is completed in a timely and safe manner. Not only are your documents easy to find in one place, they are more secure on your iPhone and more easily located and shared.
Users that manage a lot of documents might find themselves inundated with paperwork that is difficult to sort and find again later. Cut down on real-world clutter and sensitive information being easily found about your physical space by scanning essential documents into Scanner for iPhone then discarding the physical ones.
How to scan a document with Scanner for iPhone
- Open the Scanner for iPhone app.
- Tap the "Scan Document" button.
- Select if you'd like to scan a physical document or add it from the photo library or Files app.
- Align the iPhone camera with the document so the edge detection finds all the edges of the document.
- After scanning all the needed pages, tap the preview in the bottom right corner.
- Select the filter, adjust the crop, and rotate the documents as needed.
- Tap "Save" in the top right corner.
Get the Scanner for iPhone app from Apple's App Store. It offers a 3-day trial for the weekly $5.99 subscription, a one-month subscription for $9.99, and a 12-month subscription for $39.99.
 Sponsored Content


 Amber Neely
 Marko Zivkovic and Mike Wuerthele


 Andrew Orr
 Malcolm Owen


 Wesley Hilliard
-m.jpg)
