Apple's addition of Sandboxing in macOS added predefined app folders to the operating system. Here's how to remove some of those folders that you probably don't need and get some drive space back.
Over a decade ago, Apple introduced Sandboxing to macOS. Sandboxing is essentially a security measure that restricts which parts of the macOS filesystem an app can access.
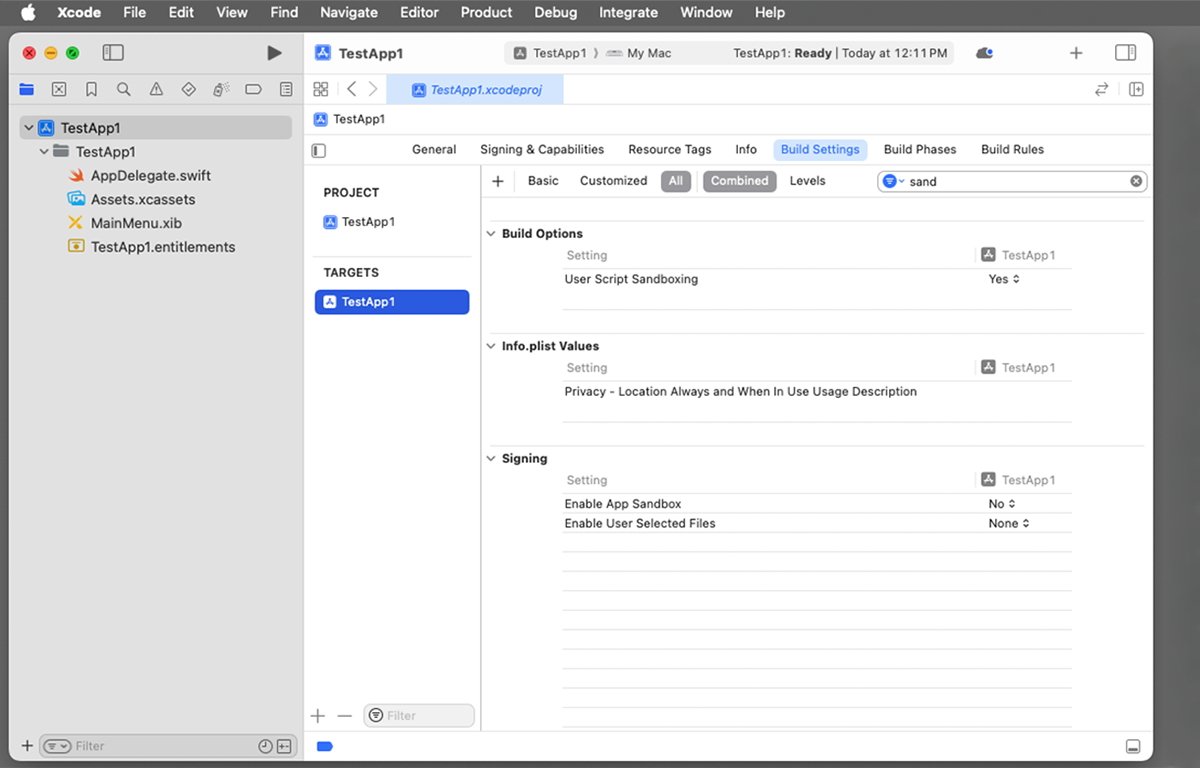
When developers build apps with Apple's Xcode for macOS, they can set sandbox permissions for each app by changing settings in Xcode.
Depending on the permission levels set in an Xcode project's Target build settings, an app built with Xcode can access the entire file system, only certain defined files and folders, the network, or nothing.
Targets in Xcode
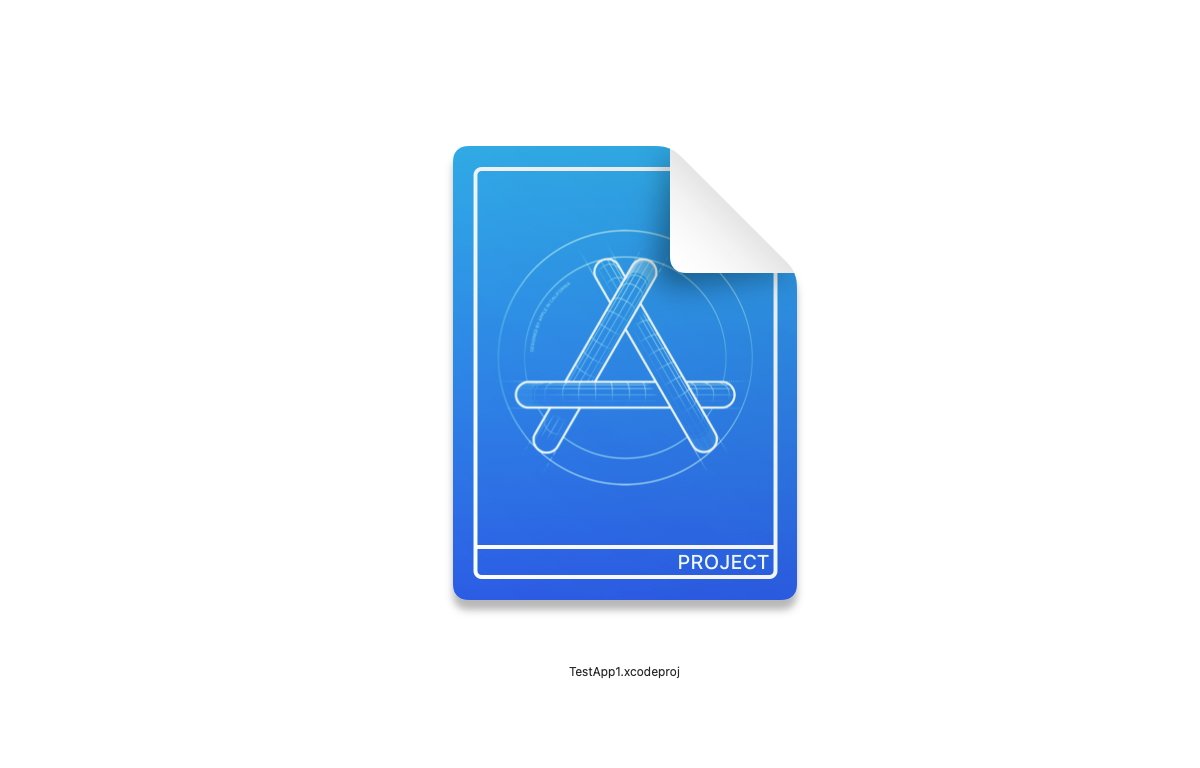
An Xcode target is simply a defined set of values inside an Xcode project representing one piece of software to be built. An Xcode project can have one or more targets.
Some targets are empty and contain only rules for building other targets. You can add new targets to an Xcode project by selecting New then Target from Xcode's File menu in the menu bar.
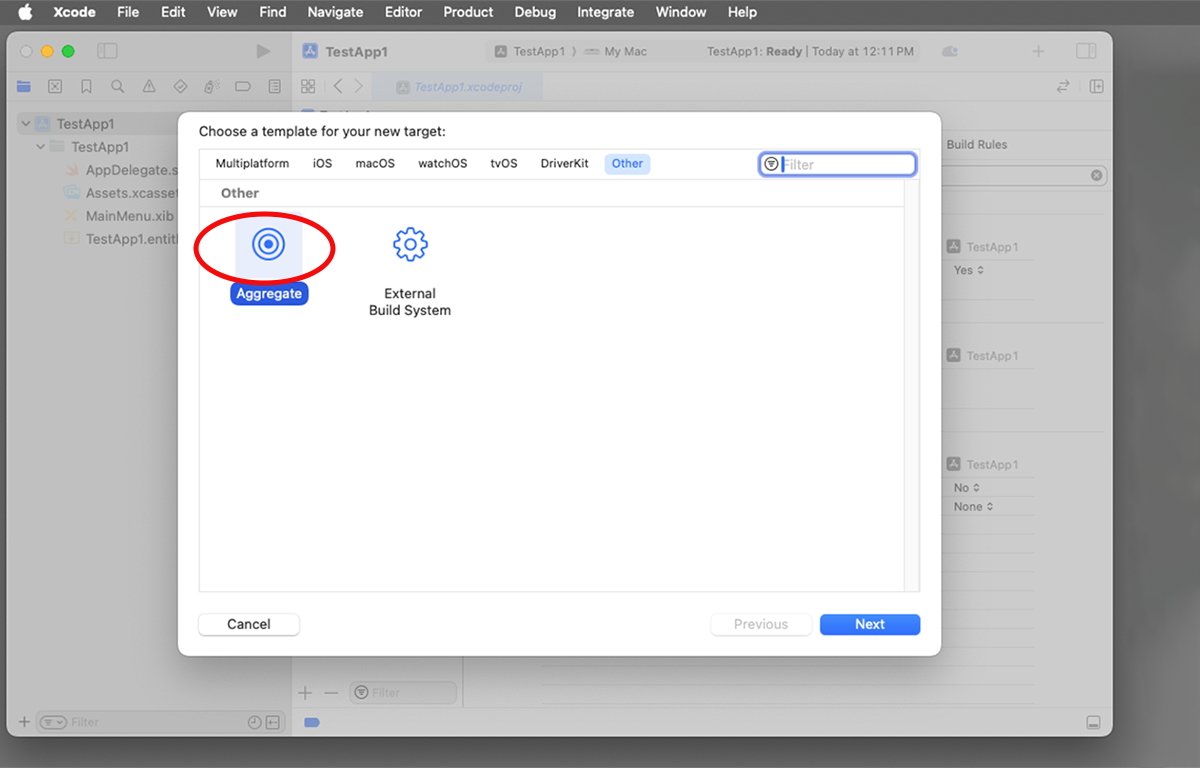
If you then click on Other in the new target template sheet in Xcode, you'll see two possible meta-targets: Aggregate and External Build System. Selecting Aggregate creates a new target for building all the other existing targets in the Xcode project.
Sandbox Entitlements
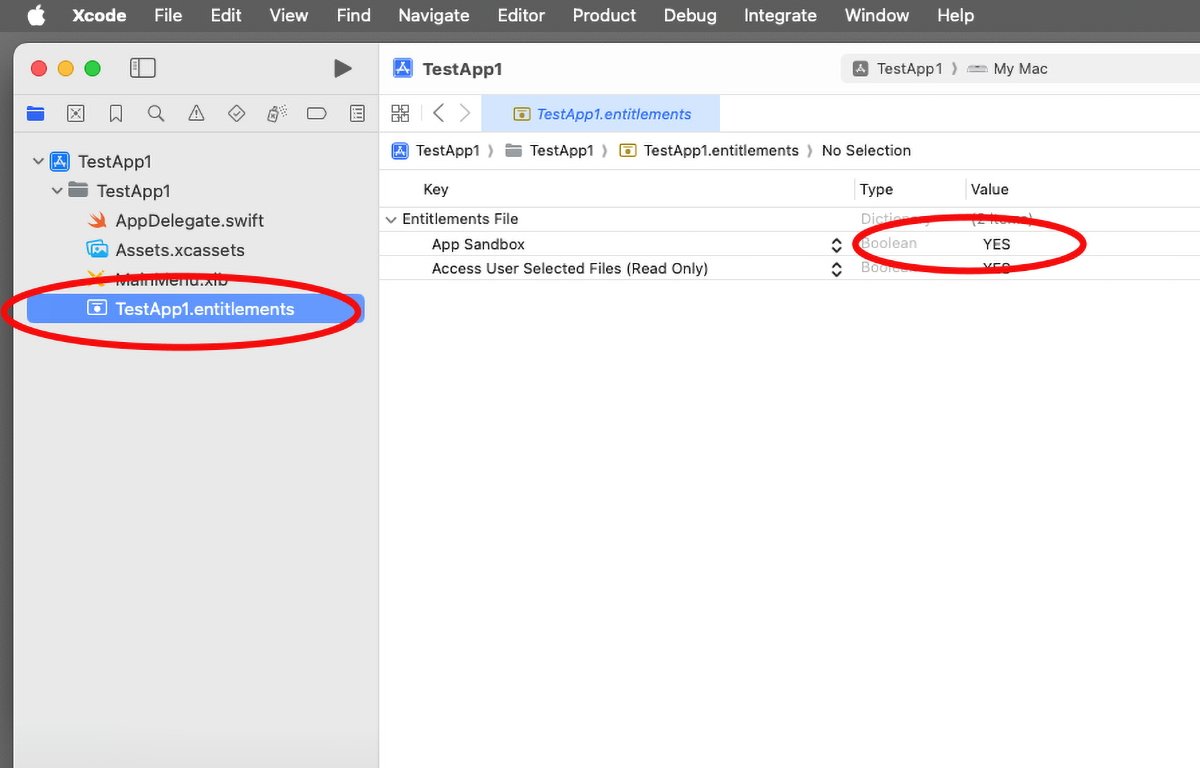
When a macOS app is built, Xcode stores these settings, called entitlements in a file inside the app's bundle with an extension of ".entitlements". You can open a .entitlements file in Xcode and view its settings as a hierarchical list with fields you can click on - or you can view a .entitlements file in any text editor to display its contents as an XML file.
The contents of .entitlements files are stored as key-value pairs which represent settings (keys), and each of their values.
A bundle is just a special folder with markers set so macOS knows it contains code, resources, or files to be used at runtime. Most Mac apps are bundles, and so are many code frameworks.
You can Control-click any bundle in the macOS Finder and select Show Package Contents from the popup menu to open it as a folder.
You can also still build macOS apps without any sandboxing at all by turning a target's sandboxing switch off in an Xcode project's settings under the Build Settings tab, or by editing the Entitlements file directly.
Some additional app sandboxing info is stored inside another file called Info.plist inside an app's bundle at build time. A file with an extension of ".plist" is a property list file - which is also just an XML file filled with app settings, or properties - and their corresponding values.
When you build an app in Xcode, it generates the Info.plist file from the project's settings then stores the file in your built app's bundle. It also copies the .entitlements file into the app's bundle.
When you launch a macOS app in the Finder, macOS reads the Info.plist and .entitlements files to determine how to run the app and what permissions it has.
Sandbox Containers
Now that you know how sandboxing works at an app level in macOS, it's time to talk about containers.
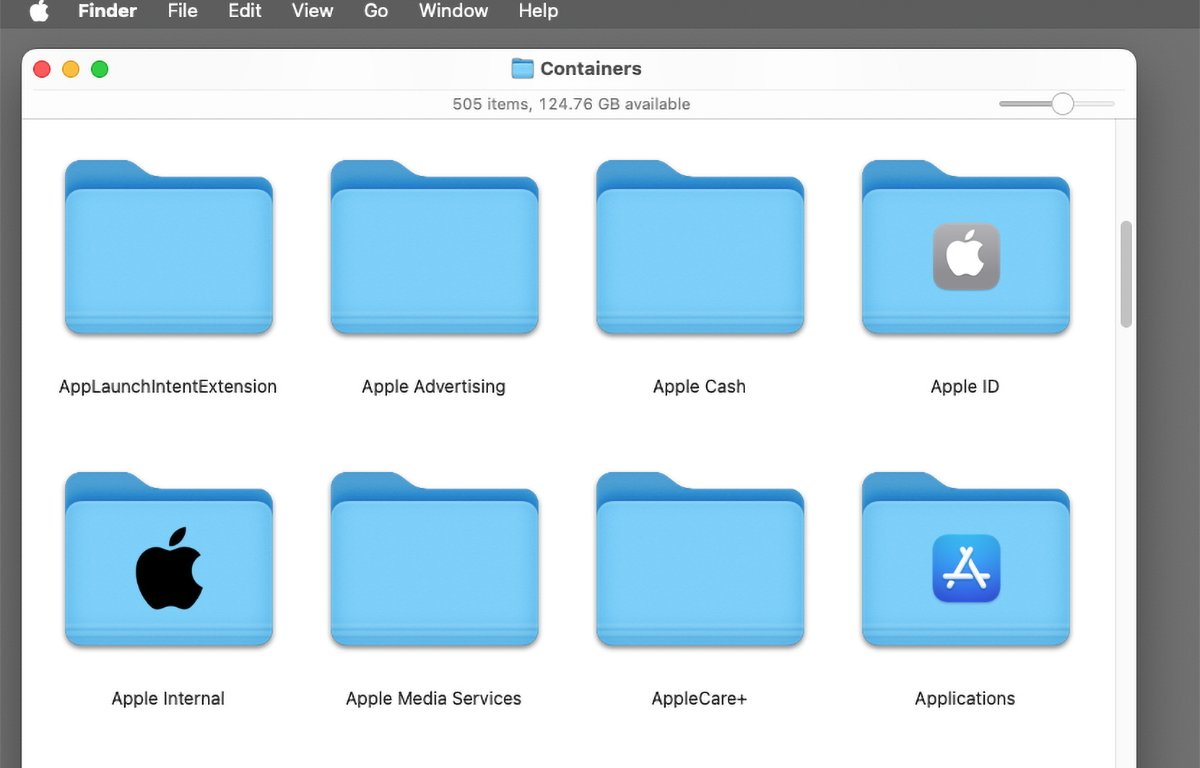
Since the idea behind sandboxing is to restrict what parts of the macOS filesystem applications have access to, Apple also created a new system folder in the user's /Library folder on the Mac called Containers. When a sandboxed app runs, macOS silently creates an app-specific folder inside the ~/Library/Containers folder for that app.
The user's folder is usually designated in UNIX with '~'.
There is also a "ContainerManager" folder in the ~/Library/ folder which you shouldn't touch - it is used by macOS to manage the Containers folder. Changing the ContainerManager folder may cause undefined behavior or cause data loss on your Mac.
Each folder inside the ~/Library/Containers is a folder designed for the use of one app only. If an app was built with sandboxing turned on, it can store all its own data inside its folder in the ~/Library/Containers directory.
Each app container folder usually contains a .plist file and a "Data" folder.
Containers bloat
Over time as an app runs, container folders can grow to a fairly large size. If you don't use a particular app any longer, you can safely delete its app folder in the Containers folder.
But in general, you shouldn't delete any container app folders for Apple Software - unless it belongs to an additional Apple app you will never use. For example, GarageBand, Logic, or Final Cut Pro.
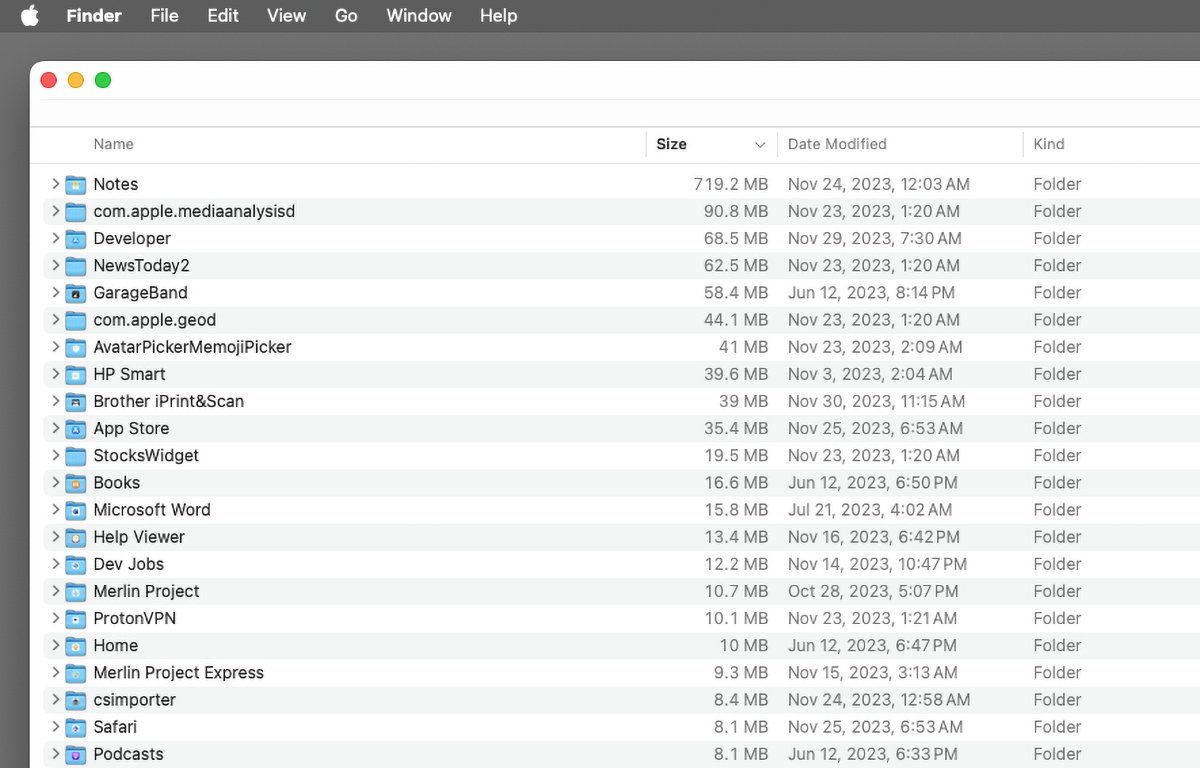
You can view the size of all app container folders in the Containers directory by clicking the Size header column label at the top of the Containers window. Clicking the Size header label a second time will sort the container app folders by size in descending order - from largest to smallest.
Once you've determined which apps you don't use, and which app container folders you no longer need, you can remove them from your Mac by moving them to the Trash and then choosing Finder then Empty Trash from the menu bar.
This can free up a fair amount of disk space if you use a lot of apps or apps that store a lot of data.
Be aware that once you delete an app's container folder, any data stored for that app may be gone from your Mac. If you reinstall and re-run the app you'll be starting with a clean slate.
You may want to back up any app container folders that you intend to delete first, so you can restore them later if need be.
The entire ~/Library/Containers folder can grow to several gigabytes in size after a while - so periodically deleting app container folders can free up a bit of disk space.
You'll want to check the Containers folder periodically and remove any app container folders you don't need.
 Chip Loder







 Christine McKee

 Charles Martin
 Mike Wuerthele
 Marko Zivkovic

 Malcolm Owen


 William Gallagher



-m.jpg)
