Chip Loder
The macOS Finder provides a variety of easy server connection options. Here's how to use the Connect to Server window in Finder to easily mount and use remote network volumes as if they were local drives.
Apple's macOS offers one of the easiest server connection interfaces of any major operating system. You can connect to LAN servers, VPN servers, FTP/SFTP, SFTP over HTTP, web servers, Windows SMB shares, NAS, some cloud servers, WebDAV, and others. The Connect to Sever window even lets you view remote desktops using the VNC protocol.
In most cases, once connected to a server, the Finder displays a new window with its contents just as if it was a local storage volume.
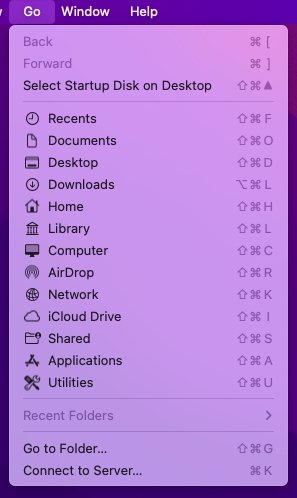
In all cases to get started, in Finder click the Go menu and select "Connect to Server..." at the bottom of the menu. This opens the Connect to Server window. You enter the server address to connect to in the top field in this window.
Connecting
The simplest and first example is to connect to a LAN server on your local network. The server must be using one of the protocols mentioned above.
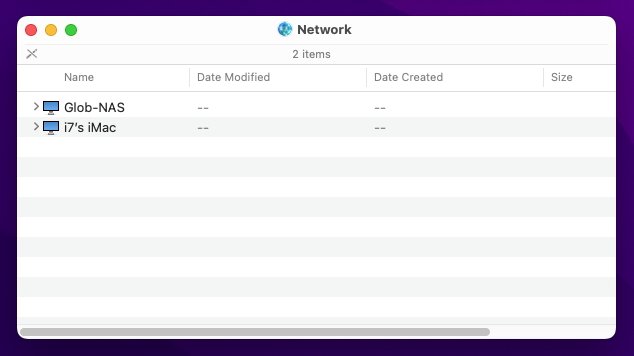
Click the Browse button in the Connect to Server window. This opens a Finder window called "Network" which displays all known local servers the Mac can connect to on your network. Your own Mac is also listed - known as localhost in networking parlance. Double-clicking your Mac's name in the window will show a list of all mounted storage volumes and any shared folders on your Mac.
You can also open the Network window directly by selecting "Network" from the Go menu or pressing Command-Shift K
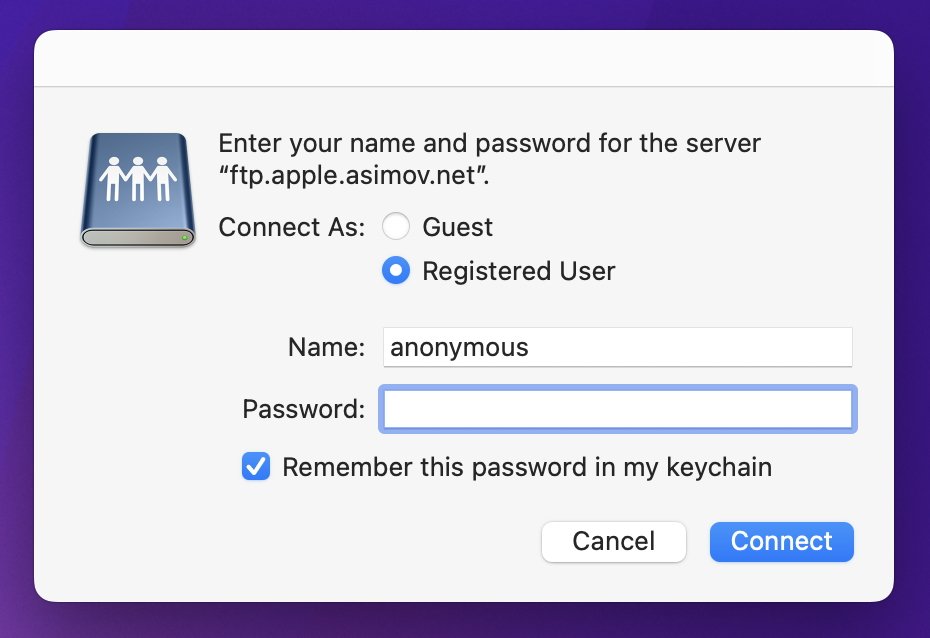
For all other local networked servers, you will be presented next with a login window asking for the username and password of an account on that server, or Guest. You can also save your password locally by checking the Remember this password in my keychain" checkbox so you won't have to enter the password next time.
In the case of anonymous FTP servers, you don't need to enter a password.
Once authenticated, a Finder network volume icon will appear on the desktop, and a new window will open displaying the server's file system or volume as if it was a local drive. You can perform most operations on the network as if they were a local storage device — assuming you have the correct access permissions.
There's also a "Disconnect" button which unmounts the server volume from the desktop when clicked. You can also unmount the server volume by right-clicking or Control-clicking on it and selecting Eject from the Finder's popup menu, or by dragging it to the Trash in the Dock.
For remote servers you can use any of the network protocols mentioned above. To do so, enter the protocol abbreviation followed by "://" in the top field in the Connect to Server window followed by the name or IP address of the remote server, then click the Connect button.
If the server uses a custom port for a particular protocol, enter it at the end of the server's address preceded by a colon. Here are a few examples:
- ftp://ftp.apple.asimov.net - Standard FTP connection.
- https://ftp.apple.asimov.net/ - Same as above but FTP over secure HTTP using Secure Sockets Layer.
- https://sampleserver.somenetwork.com:20821 - A fictional web server at domain somenetwork.com which listens on port 20821 for incoming HTTP connection requests.
- smb://192.68.0.1 - Address of a local Windows SMB share on a local networked Windows computer.
- vnc://192.68.0.76 - Address of a local computer using any OS running the standard VNC screen-sharing protocol.
- https://download.info.apple.com - A standard HTTP+SSL web connection, assuming the server has some kind of file sharing enabled - or a WebDAV collaborative server.
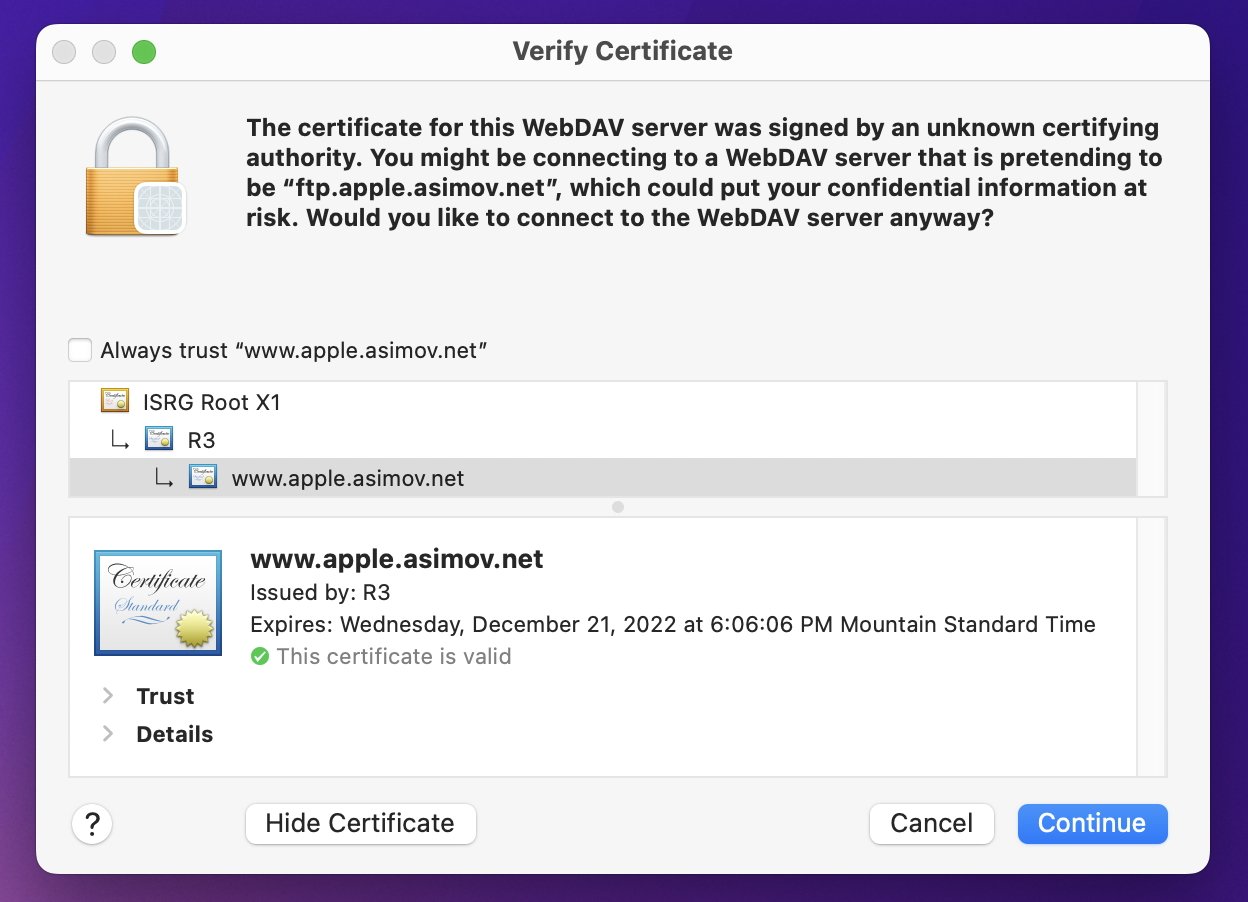
In the case of HTTP servers also running WebDAV, you may get a certificate warning informing you your Mac thinks the server may be fake or masquerading as a WebDAV server. If you're sure the server's legit, click the Continue button.
You can also view details of the server certificate and always trust it in the future by clicking the "Always trust" checkbox after clicking the "Show Certificate" button.
Once a server login succeeds, a new volume and Finder window will appear on your desktop. In the case of our ftp://ftp.apple.asimov.net example:
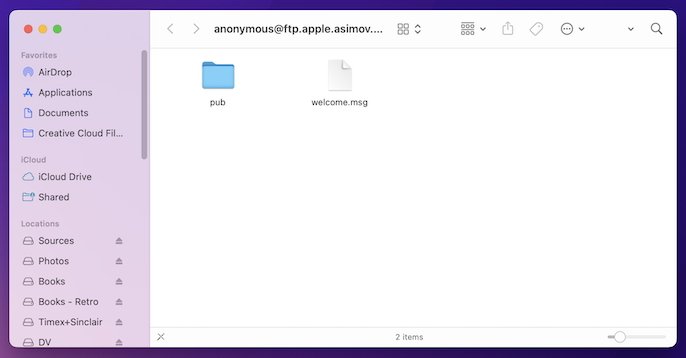
For a cleaner, easier-to-read list view in the new server window, press Command-T, then Command-2 on your keyboard. This switches to list view and hides the window's toolbar. You now have a window into the remote server's file system. You can perform most Finder operations on the server's volume just as you would on any local drive's volume. But permissions may or may not be restricted.
Another quick tip to save time: once a server volume is mounted, you can make an alias to it on your Desktop or to any disk or folder by selecting the server volume on the Desktop, holding down Command-Option, and then dragging to the Desktop or other drive location. This produces an alias file with the same name as the server volume. To remount the volume later, simply double-click the alias.
In the case of a server running VNC, once connected, the hidden macOS Screen Sharing app will launch displaying the remote computer's desktop. You can switch in and out of the Screen Sharing app to other Mac apps just as you would any other Mac app. To connect to another Mac via VNC it must have Screen Sharing turned on in System Settings.
Window redraw speed will be dependent on the speed of your network connection.
To terminate the VNC connection, simply click the Screen Sharing windows' close button.
VNC servers can be configured in a variety of ways and may or may not be configured to require a password - in which case you'll first be prompted to enter it as you did in the above FTP examples.
Corporate or VPN Connections
Remote connections into corporate VPNs aren't much different from above, unless your company uses a custom firewall appliance and/or a custom network protocol. In most cases, once your Mac's VPN connection has been established, all other standard protocol connections should be the same as local or internet connections.
The one usual difference, if it exists at all, is a custom port number, which we covered above, or in some cases a radio or satellite-controlled remote key token. VPNs provide the added advantage of encrypting most network communications.
Favorites
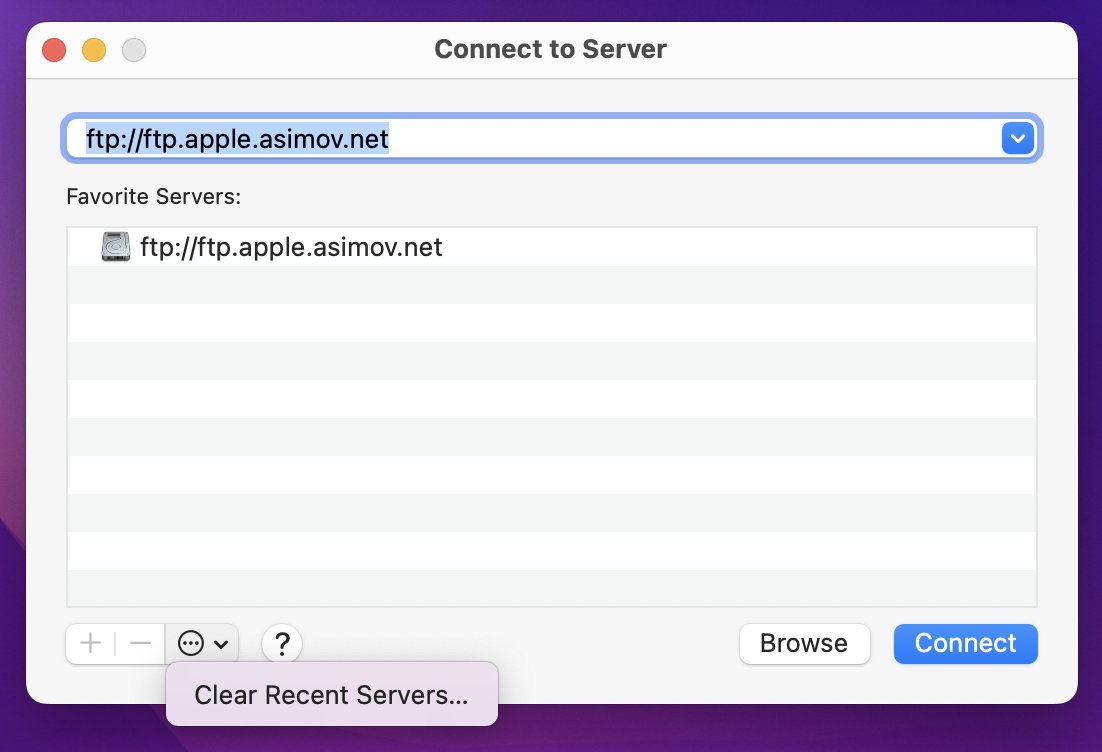
For any server you enter in the Connect to Server window, click the small "+" button in the window's lower left corner to add it to the Favorites list. The next time you open the window, Favorites are displayed in the list. Simply double-click one to start a new connection.
To remove servers from the Favorites list, select which servers you want to remove, then click the "-" button.
You can also view all recent servers by clicking the small popup menu arrow icon on the right side of the server address field. To clear the recent servers list, click the small "..." with a circle icon next to the "-" button and select "Clear Recent Servers" from the popup.
Apple has a basic support article Connect Your Mac to shared computers and servers in the macOS User Guide which clarifies some connection details.
It is possible to connect to servers that use foreign file systems which MacOS doesn't understand — assuming you have the right 3rd-party Mac networking software and extensions installed. But, we'll tackle that in a later article.


 Charles Martin
 Marko Zivkovic
 Andrew Orr
 Amber Neely

 William Gallagher and Mike Wuerthele