Chip Loder
There are a few final useful utilities in Apple's Disk Utility you may not be aware of. Here's how to use them the continued exploration of the macOS tool.
In the previous three installments of this series, we looked in-depth at how to use the macOS Disk Utility app, and how to use it to manage devices, volumes, RAID, and images - and how to repair disks.
In this final segment, we take a look at a few of the lesser-known Disk Utility capabilities: how to repair hybrid Apple Fusion Drives, and how to use macOS command line disk utilities in Terminal.
How to fix a split Fusion Drive
About a decade ago, hard drive makers began shipping hybrid drives - disk drives that had both small SSD chips and traditional spinning platter drives in them. Apple began shipping hybrid drives in some Macs, calling them Fusion drives.
Fusion drives are largely obsolete now, being replaced by SSDs. Sometimes your Fusion Drive can get into a state where it erroneously appears as two volumes on the Mac Desktop instead of one.
You can check this in the Apple menu under System Settings->General->Storage. If you see two drives listed and your Mac has an internal Fusion Drive, then the drives have been split and can be repaired to work again as a single drive.
To fix this problem, you'll need to back all your data on the Fusion Drive up to an external volume.
When you repair it all data on the drive will be lost. This includes all data on all volumes on the device.
Once backed up, Restart your Mac and hold down Command-R to enter Recovery Mode in the Mac's firmware. Once Recovery Mode's Utilities window appears, select Utilities->Terminal to launch the Terminal.
In Terminal type diskutil resetFusion then press Return.
When prompted for a confirmation, type Yes (with a capital 'Y'), and press Return.
Once the repair completes, quit Terminal to return to the Utilities window.
Now select Reinstall macOS and press Return.
Follow the onscreen instructions to reinstall the Mac operating system. Your Mac will restart from your Fusion Drive when the installation finishes. Once booted into the restored Fusion drive, copy your backed-up data to it.
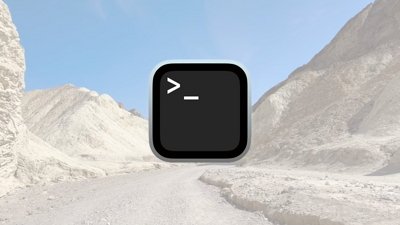
Command-line disk utilities
There are several command-line disk utilities in Terminal you can use to manipulate disks, volumes, and disk images. We won't cover every utility or every detail here. For in-depth usage of each utility, see its man page in Terminal.
The main command-line disk utilities for macOS currently are:
- fsck - filesystem consistency check and interactive repair
- dd - convert and copy a file
- diskutil - modify, verify and repair local disks
We've covered fsck previously so we won't cover it here. For a full list of fsck features, in Terminal type:
man fsck and press Return.
Essentially fsck is a file system integrity checker which can scan and repair drives and files. It's been around in UNIX for decades.
To exit the man system in Terminal, press Control-Z on your keyboard.
dd
dd is a simple command-line disk duplicator. Using it, you can copy volumes, devices, and restore disk images to volumes. See man dd in Terminal for usage.
One nice thing about dd is that it is smart enough to copy all permissions, ownership, and other drive and volume details when you use it to copy disks. This eliminates any need to manually set or re-verify metadata once a copy finishes.
diskutil
diskutil is macOS's main command-line disk utility which provides a host of disk-related features. Using it you can mount and unmount volumes, list drives and volumes, check disk sizes, list all filesystems on a disk, rename volumes, change journalling parameters, repair disks, format and partition disks, and create disk images.
In fact, most of Disk Utility's main functions are driven by diskutil command-line utilities. We won't cover every feature here. For a full list of diskutil features, in Terminal type:
man diskutil and press Return.
To exit the man system press Control-Z on your keyboard.
One powerful feature of diskutil is the ability to view all storage devices and volumes attached to your Mac in macOS's BSD core subsystem. BSD mounts all devices in a mount point directory, and it mounts all storage volumes on your Mac in a hidden folder called /Volumes at the root of your Startup Disk.
To view all storage devices and volumes on your Mac in Terminal, simply type:
diskutil list and press Return.
diskutil will list all devices in the /dev folder, with each volume on each device indented slightly to the right. For example:
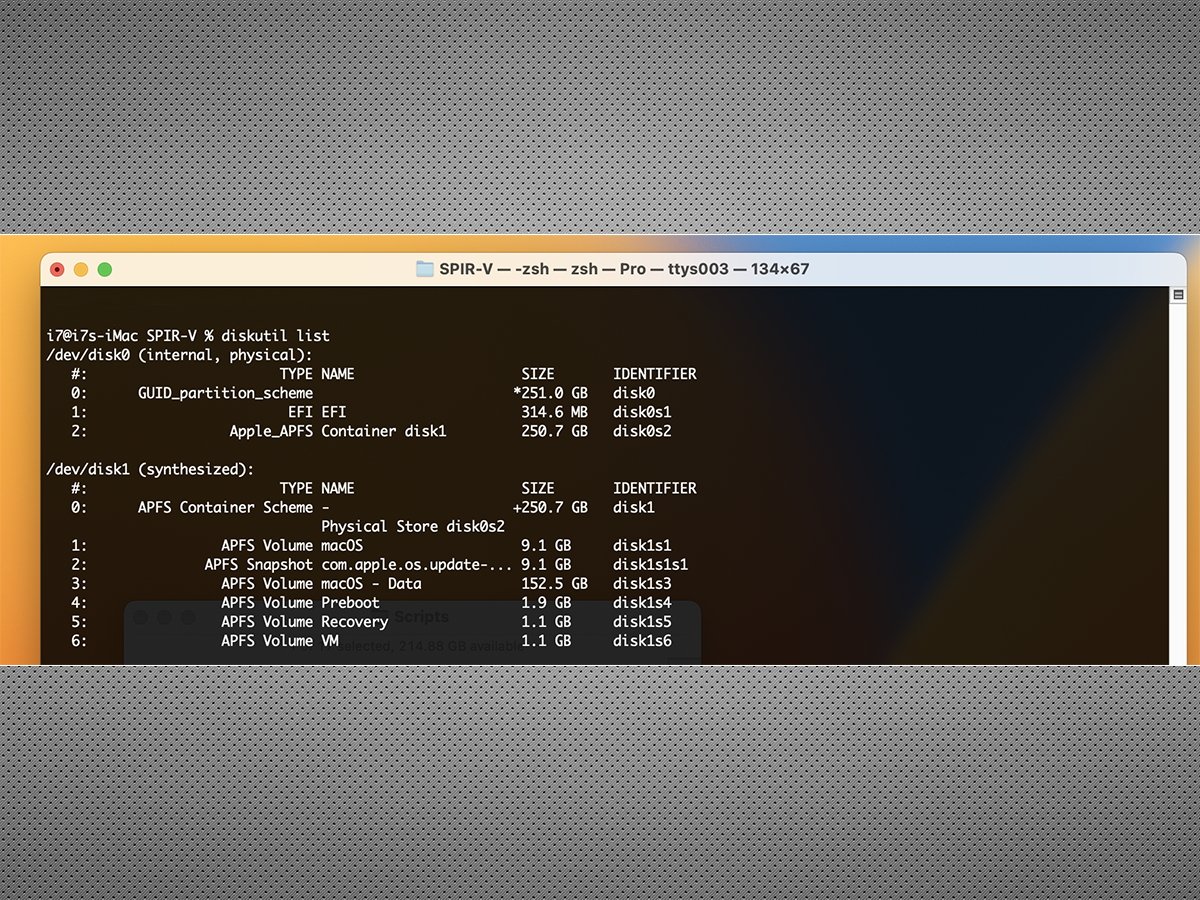 diskutil list in Terminal.
There are many other disk-related Terminal commands which you can use on your Mac. We'll explore these further in a future article.


 Mike Wuerthele
 Malcolm Owen

 Amber Neely
 William Gallagher


-m.jpg)