Whether you've got a new Mac for yourself or you're giving one to someone, you've heard that "it just works". That's actually true, for the most part, but it's still going to take you or your lucky gift recipient a while to get used to the Mac. Let AppleInsider show you how to get going.
Editor's note: If you're a grizzled AppleInsider veteran, there is probably nothing new for you here. But, there are a lot of things that we can all take for granted when helping somebody else out. So, if you're not there or just want to help somebody out, show them this, or print out our guide for them.
Whether you're on an iMac, a Mac mini, MacBook, you are going to see how it's the ease of use that makes people so passionate about Apple. Macs are certainly gorgeously designed machines but that extends far deeper than the metal shell and into a sense of just getting on with what you want to do rather than fiddling all the time.
Apple doesn't do that peculiar thing that many companies do of congratulating you for getting their product, but we will. Well done, you've got yourself a great thing here. And if you're giving one to someone, you are a star.
Getting it out of the box
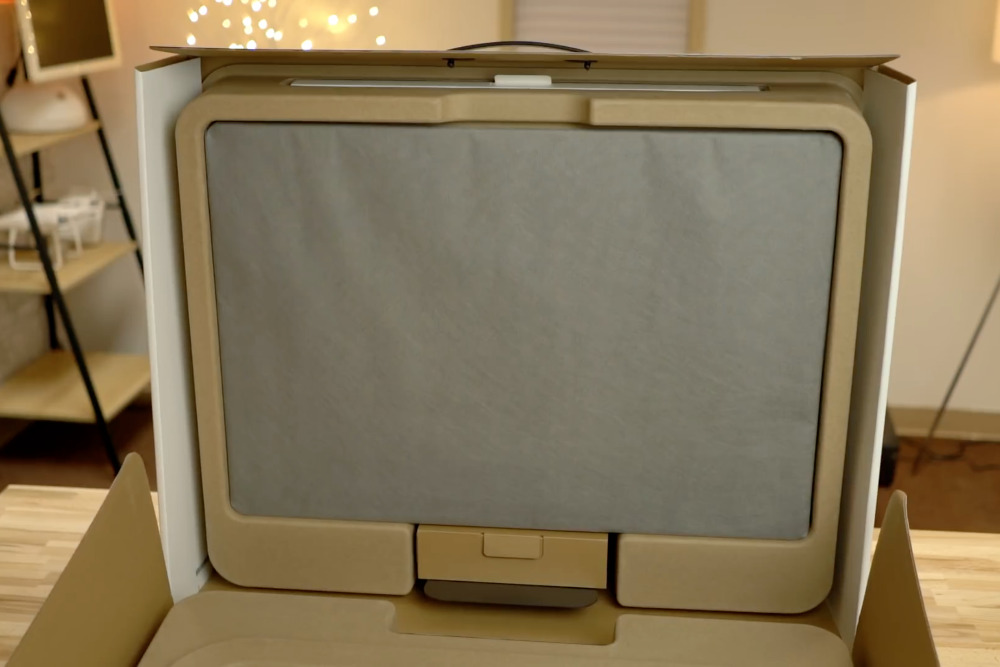
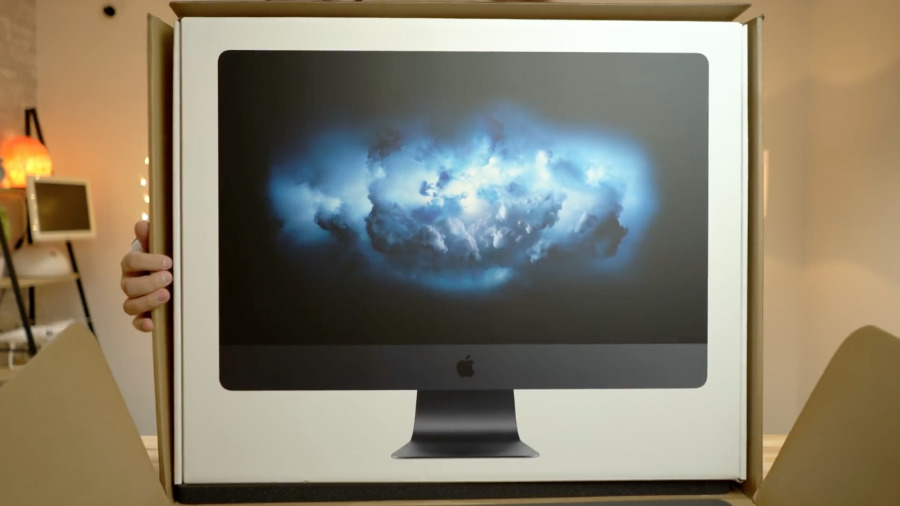
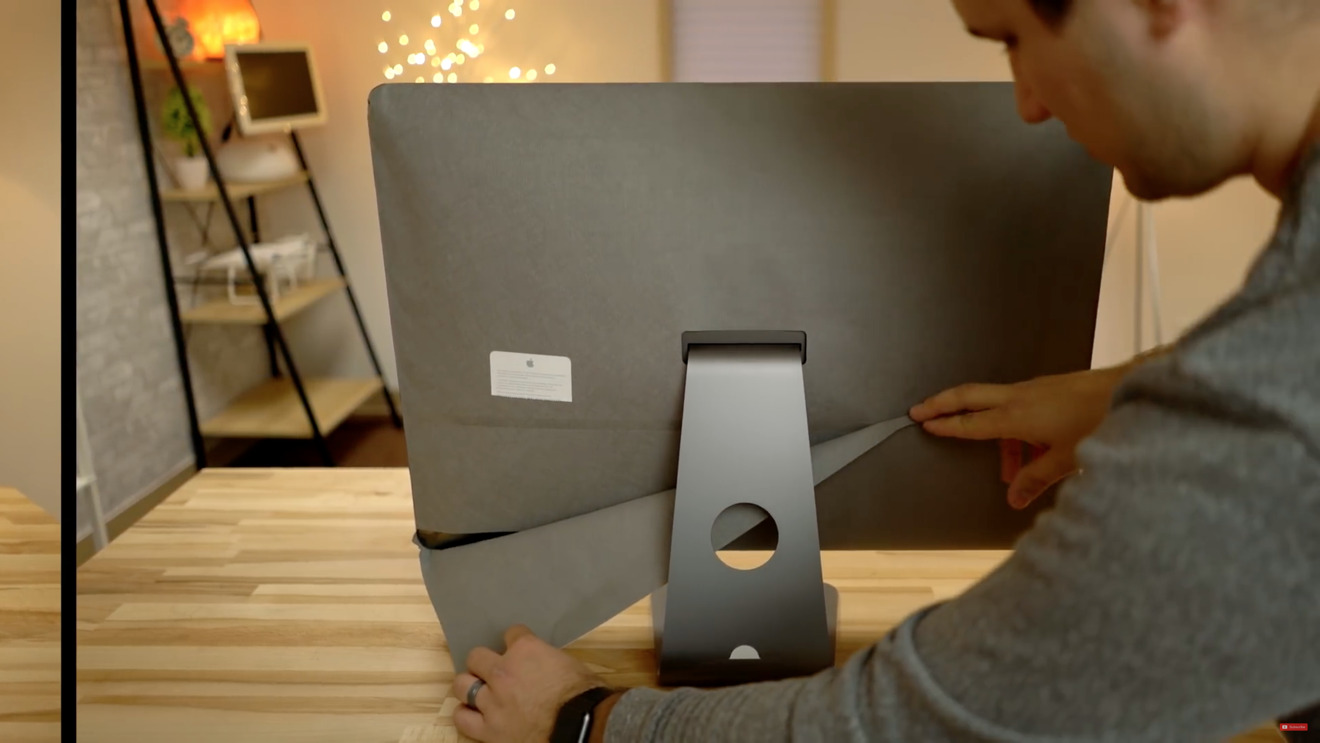
There are countless unboxing videos on YouTube and it's not like you really needed any to figure out how to open up the packaging. Once you get beyond that, once the device is in your hands, that's when everything really starts.
There was a TV ad once for Apple that said the three steps to getting a Mac onto the internet were 1) plug it into the mains, 2) plug it into the internet and 3 - there's no step 3. It was a funny ad at the time and a huge contrast to the fiddling you had to do with PCs plus it's still true. Except step 2 is a bit more involved now.
Back then you had a phone line and you plugged it into the wall; now we have Wi-Fi and that takes a touch more setting up.
We also have iPhones, iPads, portable Macs, Apple Watches, Touch ID, data privacy settings, iCloud — we just have a lot of stuff and your Mac plugs into all of it. So step 2 now involves setting up things about you such as what language you want to use plus what your wifi network is.
It is a little frustrating: you switch on your Mac for the first time and have to go through a fair few questions before you can do anything. They each make sense, they're each important and you can't believe how gorgeous the text type design is along the way. This isn't your parents' dialog boxes, this is as close to aesthetically pleasing as filling out a form will ever be.
The differences
Every Mac takes you through the same steps as you set it up — except for two things. The first is that if you bought any MacBook model then just opening the lid starts the setup process. It can do that because the machine ships with a charged battery but that will have depleted since it left the factory. Even though you've got a portable, plug it into power anyway.
The other difference is also with MacBooks but specifically the MacBook Pro with Touch ID and that's what is different — you need to set up Touch ID. If you've got one of these MacBooks, you'll be prompted to add Touch ID toward the end of the setup process.
This is something you can skip during the initial setup process and add later through System Preferences, Touch ID. Whether you do it right away or after you've got everything else set up, do go through this process.
The ability to unlock your MacBook by pressing your finger or thumb on the Touch Bar is what sells this to us but you can also use it with Apple Pay when you're buying online.
Back to the regular setup
Excluding Touch ID, the setup procedure for a Mac takes ten steps and if that seems a lot, it is doubtlessly the very fewest that Apple could make it. The aim is to get you through to working on your Mac in the fastest way but also while making it clear what you're doing.
There's also the case that you might be entirely new to a Mac and need to understand more about the steps. Equally, you could be coming from an older Mac and so need to know about moving your old data.
To cover all of the possibilities in the most efficient way, each new Mac begins with a Setup Assistant.
Getting started with Setup Assistant
The very first thing your Mac does after starting up is to ask you what country you're in. You'll see a map of the world: click on your country. Then you'll be asked about your preferred language.
Apple is a US company so if you live in the States you can practically click through all the defaults but if you prefer to write in French or British English, for instance, you may need to click on Show All to see every possible option.
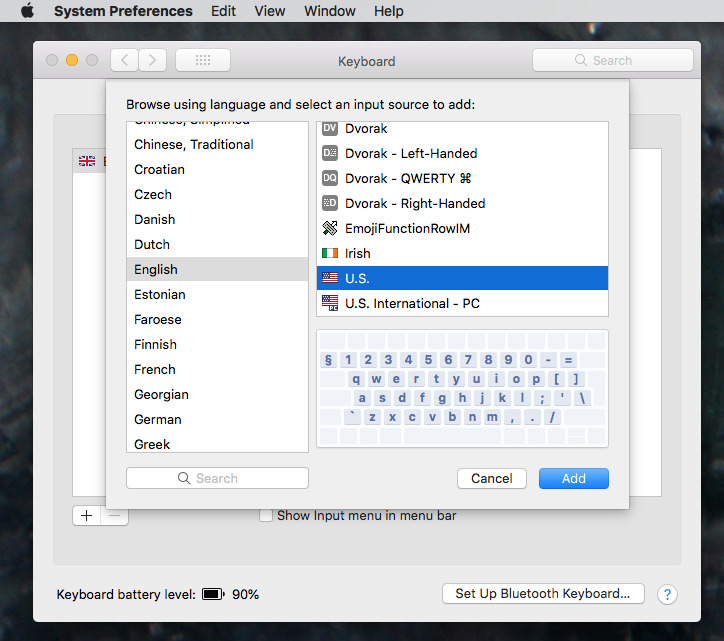
Choosing this now sets up many things and you'll see one of them next because after you've clicked on Continue, your Mac will ask you about your keyboard.
Even if you have a MacBook or MacBook Pro which obviously comes with a keyboard built in, you'll be asked this because your answer changes how that or any other keyboard is treated by the Mac.
If you've said that you're in the States, the Mac will default to offering you US QWERTY and if that's what you want, you just click Continue again. However, here's where you can say you prefer France's AZERTY layout.
It obviously won't physically change, for instance, the Q key on your keyboard to an A, but it will change what you get the keys on your keyboard but it will change what you get when you press that Q.
Next, Wi-Fi
Next you're asked about your Wi-Fi network. This is the same network you've already got — if you've already got one. If you haven't then you can skip this step and worry about it later but otherwise get your Wi-Fi username and password from the back of your router and type that in.
Now you're asked about that old Mac you might have. It is unquestionably a superb thing that Apple includes this: you can just say yes, you've got an old Mac and Apple will connect to it over WiFi or a cable and take your files and documents for you. Brilliant and superb. Just very, very slow.
That's not unreasonable: you could have gigantic numbers of documents, photos and movies. Yet you've got this Mac, you're getting fidgety answering these few questions, the Migration Assistant as its called could take so long that Christmas Day will be over before it's finished. So between us, even if you do have an old Mac, skip this step for now. Later tonight you can run Migration Assistant and leave it doing its stuff while you sleep. For now, skip.
Having got you online to your Wi-Fi network and also asked you what country you're in, your Mac wants to go a touch further and asks you to enable location services. This is your saying okay, yes, apps I use can know where my Mac is. Do it. Later when you open Maps to find a route somewhere or to eye up a friend's fancy new house, Maps will start at your place instead of a general view of the world.
Apple ID and iCloud
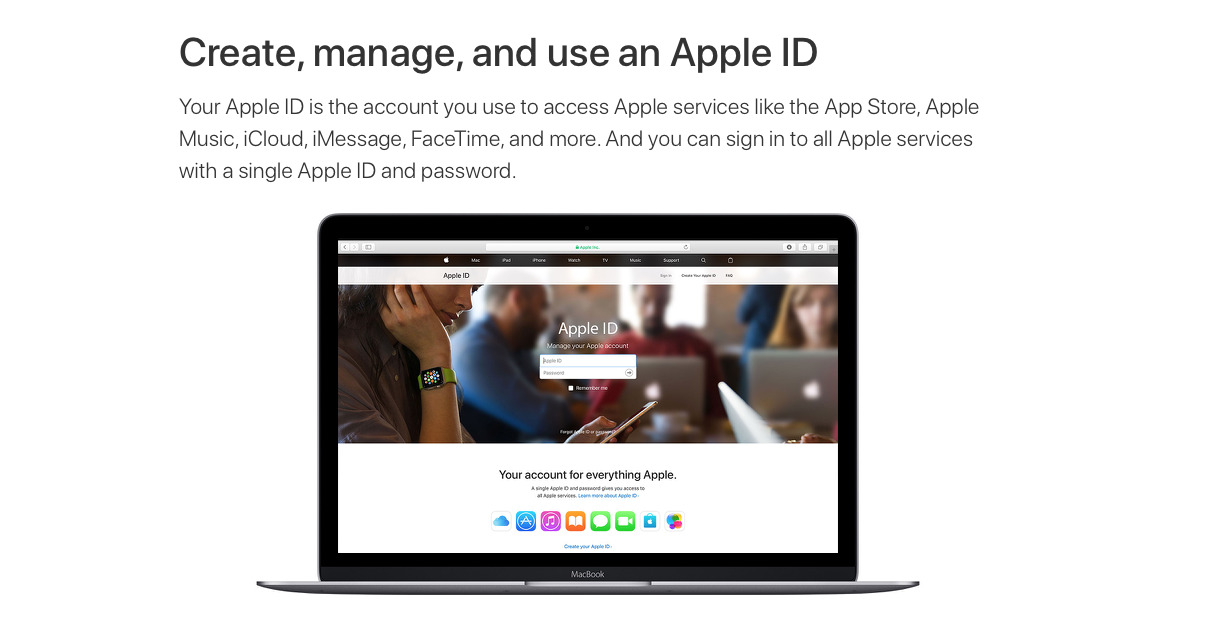
You need an Apple ID. It's how you sign in to your Mac, it's how you sign in to iCloud. So it's part of what means your documents are safe from anyone else who happens by your computer and it's how you identify yourself so that you can buy apps or music and know that it's your credit card that gets dinged instead of someone else's.
Apple ID is a can of worms, though: if you're starting out fresh and this is not only your first Mac but your first Apple device, we rather envy you. Choose Create a Free Apple ID and set one up here.
If you're already an iPhone or iPad user, though, you've already got an Apple ID. You could create a new one and many, many Mac users have somehow ended up with several of these things but that is precisely why we say it's
a can with worms in. You can't believe how endlessly confusing it can be having multiple Apple IDs. So if you have one from your iPhone, use that. If you haven't, create a new free one and let us never speak of this again.
Terms and Conditions
We should caution you that the terms and conditions are important and that you should always read them — but you won't do it and we've only done it a few times.
User account
You've got an Apple ID and you have the Mac in front of you, that should be enough to be getting on with but macOS needs more. Any one Mac can be used by many people and each one gets their own account. It's so that they can open up the Mac, log in and do their work, see their documents, without seeing anyone else's.
Only, even if you are the sole person who will ever work on this one, you still have to setup an account. It means providing a username and a password. By default, macOS will suggest a username that it derives from the full name you have registered in your Apple ID.
You can change that, though, and you can set any password you like. Similarly, you can also change the image that's associated with your new user account. By default, macOS assigns a brightly colored symbol but you can later change it to a photograph of yourself.
It's not for ego. It's for when two or more people are using the Mac. Having a photo of you both makes it that much quicker to see which account you want to log in to.
Diagnostics, Siri and that could be it
You're into the home stretch now and the next question is particularly easy and simple. Apple asks if you are okay with your Mac automatically sending bug reports to Apple itself and to the developers of software you use. Just say yes to both by ticking the two boxes.
It's not as if Microsoft will be sent your Great American Novel every time Word crashes. It's that the apps can report more technical of what was happening when something goes wrong and it is just in all ways a good thing.
Next, you need to tick to say that yes, you want Siri. Even if we could argue for an age about how Siri is infinitely more useful on an iOS device or the Apple Watch, it is at least a little useful everywhere. So this is another one where we recommend that you switch it on now.
If you have a MacBook Pro with Touch ID, now is the time you're prompted through setting it up. It's very similar to the process you had on iPhones plus if you're in a hurry, you can add one fingerprint now and leave others to later.
Then there is just one more choice and it's a new one. The last thing you're asked is to Choose Your Look. You're given a choice between a Light or a Dark appearance to your Mac.
The Light one is how Macs have always looked. The Dark mode is a recent addition that changes all the bright white parts of your screen to a more subdued dark or black.
The choice is entirely aesthetic and if you already know which one appeals to you the most, choose it. Otherwise, just accept Light as the default.
Finder and macOS
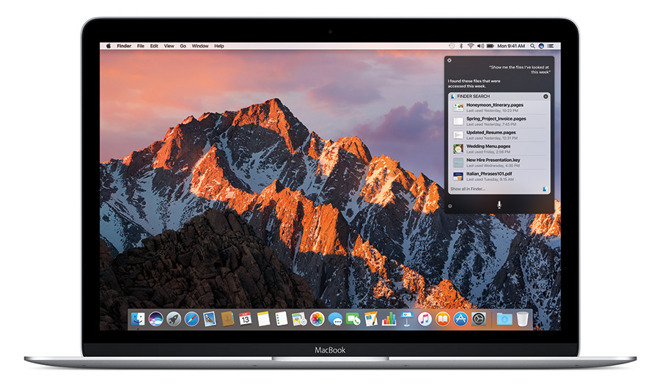
At last, your Mac is on and waiting for you. The first thing you see is called the Finder: it's the part of the Mac you use to start applications like Excel that you want to work with, it's where you store and move documents around. The line at the very top of your screen is called the menubar and the bigger, more colorful one at the very bottom is called the Dock.
While you can hide either of these if you want to, usually they are there and fairly unchanging. The Dock is a collection of shortcuts to applications and Apple has put a few in there but you can add your own — and you will.
The menubar is different in every application but it always has an Apple menu at the far left and a clock plus your name toward the right. On the very furthest right it's got a magnifying glass called Spotlight and an icon of what looks like a list and is called Notification Center.
We'd say Notification Center is where you get notified of things like events in your calendar, the local weather, the most recent emails you've received, but in practice you're likely to forget it's even there. Maybe that's just us: it's a useful feature and well worth your looking at, but we don't tend to use it.
What we use constantly is the Dock. Click on Pages in the Dock and you'll see the icon bounce a little as the application starts up, then you're out of the Finder and into the word processor. The menubar has changed to give you tools for writing in Pages but you've still got the Dock. Unless you hunt that Dock down and hide it, you've always got it and can always click on any icon to launch another app or switch to one.
Working on the Dock of the Mac
The Dock is more useful than just being a collection of shortcuts. Look at the far right of it and you'll see icons for the latest apps you've opened or the latest documents you've downloaded.
Look instead at the far left of the Dock and you'll see a happy Mac icon which is your Finder. Any time you're doing anything in any application, you can click on that to go back to the Finder to look for documents.
You just might not realize you've done it: you'll click on the Finder and it will come to the fore but you'll still see all the documents and windows from Pages or whatever your app is. Click again on the Finder and it will pop open a folder of documents. Or under the Apple menu, choose Hide Others and every other app you're running will appear to disappear, leaving you to concentrate on the Finder.
Next to the happy Mac face in the Dock you get a Siri icon. Click on this to get Siri to listen to your voice commands. If you've got one of the 2018 MacBook Pro with Touch Bar models, you can just say "Hey, Siri" and forget this button is here.
Later you can go into System Preferences, Siri and set up a keyboard shortcut to start Siri listening.
If you have any other Mac, well, you might also forget that it's here but it's useful when you remember.
After Siri, there's what looks like a rocket in a circle. This is another way to launch applications: think of the Dock as holding the things you use and like the most but this rocket, called Launch Center, contains everything. If you have an iPhone, you'll recognise that Launch Center is trying to look like iOS's home screens with applications arranged in rows.
You get all these apps, by the way, either from the makers' websites or from the Mac App Store and that's what the next icon along is. The "A" in a circle is the App Store and is convenient for buying and down- loading tools. It's like the iPhone App Store except not as essential, really just not as good.
We won't take you through every icon in your Dock because you have a life and you will also have a different set to us because everyone does. It's quite fascinating how over time your Dock comes to reflect you and your interests. However, scoot back over to the far right of it where you'll see a trashcan icon.
The trashcan is where you'll delete things: drag something into that and the icon will change to show you it's got files in there. Right-click (or hold down the Ctrl key and click) and you get a menu that includes Empty Trash. When you chose that, that's when you really delete whatever you've thrown away.
Now it's up to you
If you do nothing else, your Mac is now ready for serious work. It's got the Pages word processor, for instance, and the Numbers spreadsheet. Unlike PCs, you could never need to add anything else to your Mac.
There is just one last thing we recommend, though.
Take a moment to relish the screen on your Mac. If you got a Mac mini or a Mac Pro and added a rubbish monitor then you're on your own. However, if you have any iMac or any MacBook, just look at how gorgeous that display is.
You've spent a lot of money on this Mac but there won't be a minute that you regret it.
Keep up with AppleInsider by downloading the AppleInsider app for iOS, and follow us on YouTube, Twitter @appleinsider and Facebook for live, late-breaking coverage. You can also check out our official Instagram account for exclusive photos.
 William Gallagher
-xl.jpg)



-m.jpg)




 Marko Zivkovic
 Christine McKee
 Andrew Orr
 Andrew O'Hara

 Mike Wuerthele
 Bon Adamson
-m.jpg)

5 Comments
Merry Christmas all,
I would add a couple of things.
@ Safari/Preferences/General
there is a check box that says "open "safe" files after downloading". I would strongly suggest you turn it off as a security precaution.
@ Safari/Preferences/Extensions
you can add extensions that can enhance Safari and security. I recommend you consider the free Ghostery Lite as it keeps a lot of ad cruft off your browsing experience.
@ System Preferences/Security & Privacy/Firewall
there is a built in Firewall but by default it is turned off. If you want to use it, this is where you turn it on.
@ System Preferences/Security & Privacy/Privacy
there is a check box to enable/disable location services. Below it is a box where you can fine tune if you want to use location services and what you wish to block.
@ System Preferences/Sharing
this is where you can turn on or off screen sharing, file sharing, printer sharing and other such stuff.
And finally, make sure your new Mac is protected with a decent surge suppressor. It is cheap insurance for your expensive new computer. Most good brands include insurance that will cover your equipment. Some now also include a number of USB jacks that can come in handy to charge or power accessories. It does happen, especially during severe weather.
I think your article and comments are excellent but.... I think you need to discuss Firevault Encryption vs no encryption. This can be a major issue for many people. Passwords are a huge problem for people. If you do not have your encryption password, you are totally messed up!
I wouldn't install Ghostery, they're now owned by an advertising support company.
1Blocker for Mac and iOS is the most reliable and fastest content blocker at this point, notably for site ad trackers.