Apple's refresh to the Mac mini may have caused some owners of earlier generations to be envious of the performance compared to their existing Mac. One potential upgrade to give the older models a speed boost is to switch out the mechanical hard drive for an SSD, a task that isn't as hard to do as people may think.
Apple introduced a new model of the Mac mini in late 2018, bringing the compact Mac up to date with new processor options and a more environmentally friendly casing, among other changes. One important shift for the line is the move away from offering the Mac mini with a hard drive, as all new models eschew the spinning storage medium for solid state versions, even in the cheapest models.
Owners of earlier models may look at the new versions with a tinge of envy, especially if their Mac mini uses a mechanical hard drive. Replacing that very drive with an SSD makes for a relatively sensible upgrade, offering faster accessing of applications and files, as well as potentially helping alleviate constrained memory issues by offering faster swap file usage.
Switching to an SSD could give a Mac mini a new lease of life, but at the same time it seems like a daunting prospect. The Mac mini is so small, and the drive buried under so many components in a hard-to-access location, that most will be turned off from the idea completely.
The speed boost an SSD provides over a hard drive is certainly worth the effort for some people, with data transfers taking place at a multiple-times faster speed than with the mechanical spinning drive.
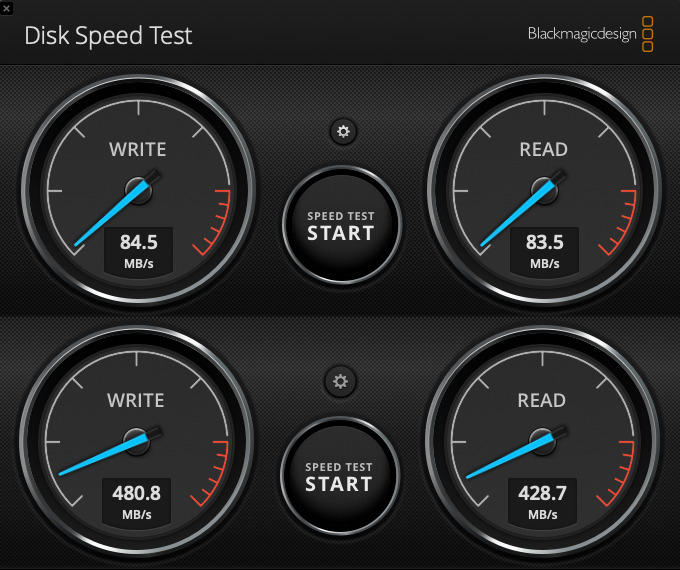
Blackmagicdesign's Disk Speed Tool on one writer's old Mac mini drive (above) then with the SSD (below)
Recently, two AppleInsider writers went through that very same process on the 2012 and 2014 models of Mac mini. While it can take a few hours for the uninitiated, it isn't too difficult for the average user to perform, and requires relatively few tools to accomplish.
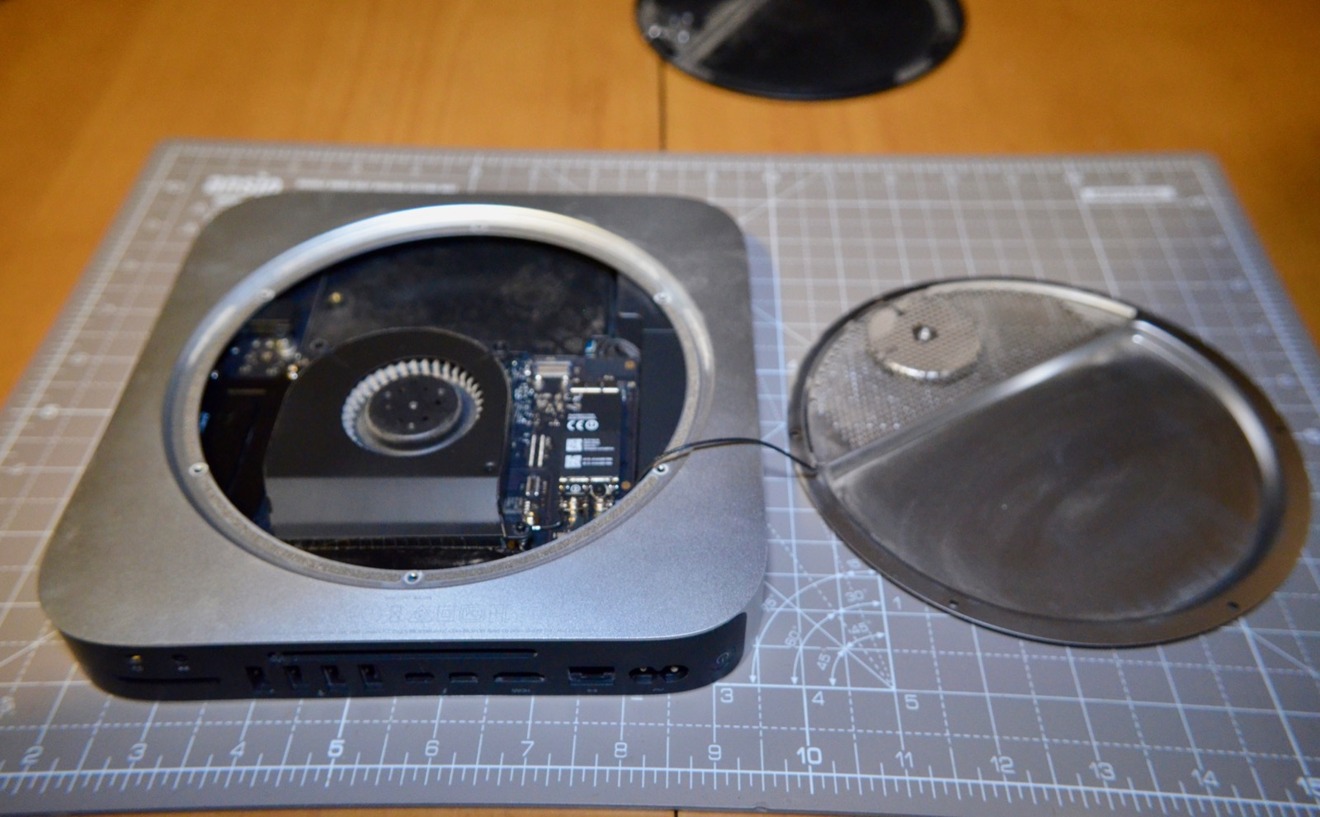
Before disassembly
Ensure that you wish to perform the process before you actually proceed, as the last thing you want to do is have an unusable Mac mini after a few hours of work. If you are uncomfortable with taking your Mac apart, consider enlisting someone more technically minded to make the change on your behalf.
Also, in the event that you acquired a Mac mini just before the new models were announced, be wary that there may be existing guarantees and warranties, such as AppleCare, which may still apply to the device. If extra warranty coverage still applies to the Mac mini in question, consider avoiding the upgrade until after it runs out.
Cloning the drive
Before anyone picks up a screwdriver and takes apart their Mac mini, the first main task is to make a copy of the drive, cloning its contents over to the new SSD. Regardless of model, it is advised to do this in advance to make sure the new drive is actually fit for purpose before it is installed.
If you want to, this is also an opportunity to start with a fresh installation of macOS, but given the hassle of getting everything set up again after reinstallation, it's probably worth avoiding this if possible.
For this, you need your new SSD, a USB enclosure or a USB-to-SATA cable, and an application called Carbon Copy Cloner. You should pay for Carbon Copy Cloner, as it is an invaluable tool. But, it is also possible to accomplish what you need to do with the free version.
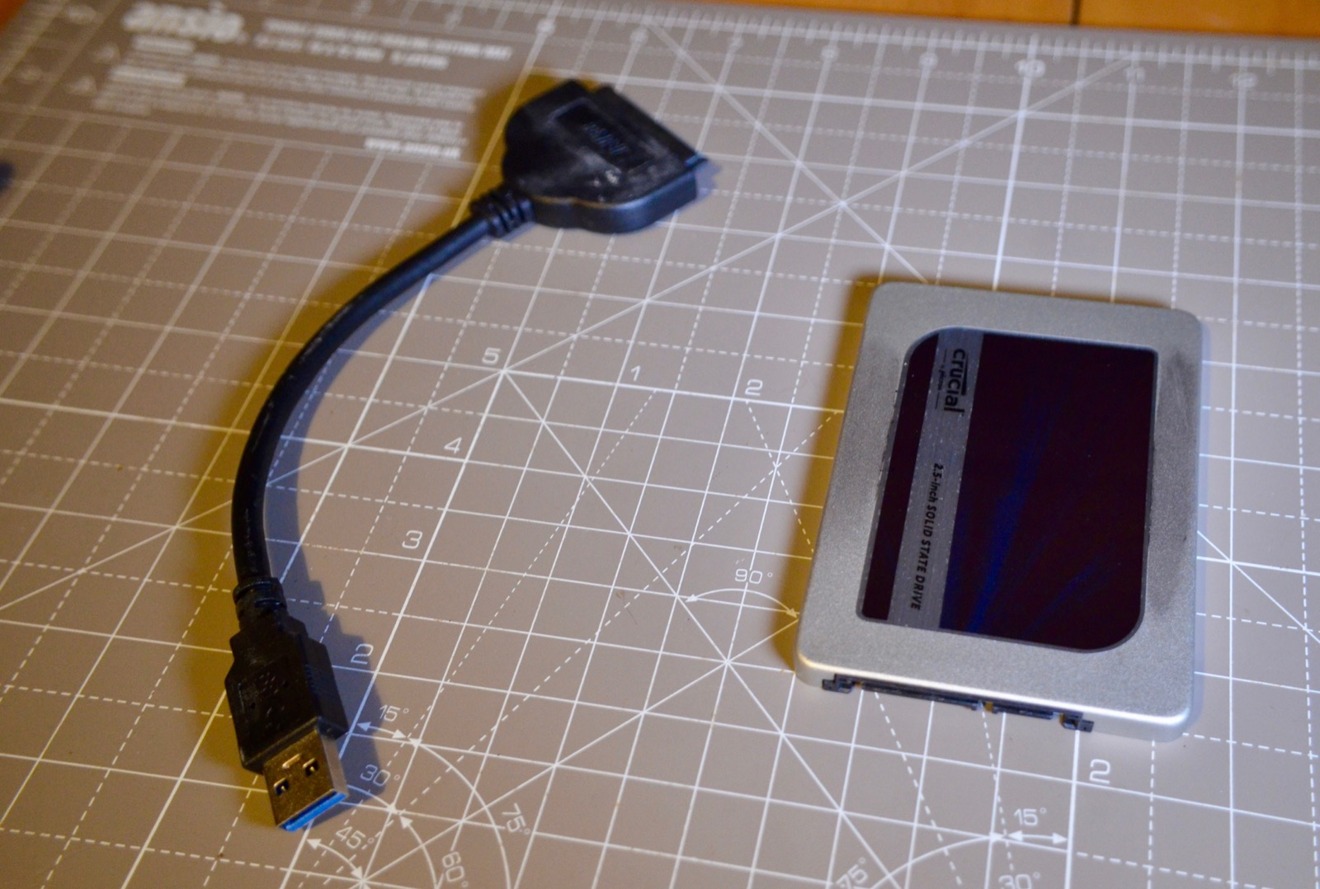
The new SSD and the USB-to-SATA cable for data transfers
Install Carbon Copy Cloner on your Mac mini. Attach the enclosure or cable-connected SSD to the Mac mini, via USB. Once connected, open up Disk Utility located in the Utilities folder within the Applications folder.
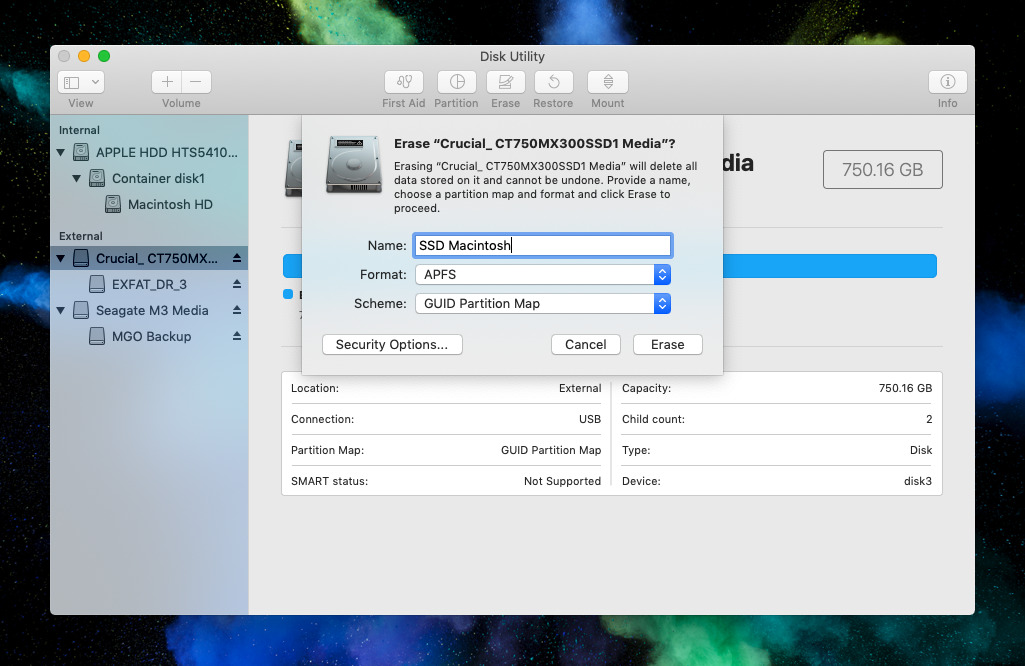
Select the external drive in the left-hand column, right click, and select Erase. This is being performed just in case there are any files left on the SSD if it isn't brand new and unused.
In the window, enter a new appropriate name for the drive, preferably one that is slightly different from your Mac's existing drive for the purposes of telling them apart, select APFS as the format, and the Scheme as GUID Partition Map. Click Erase then Done.

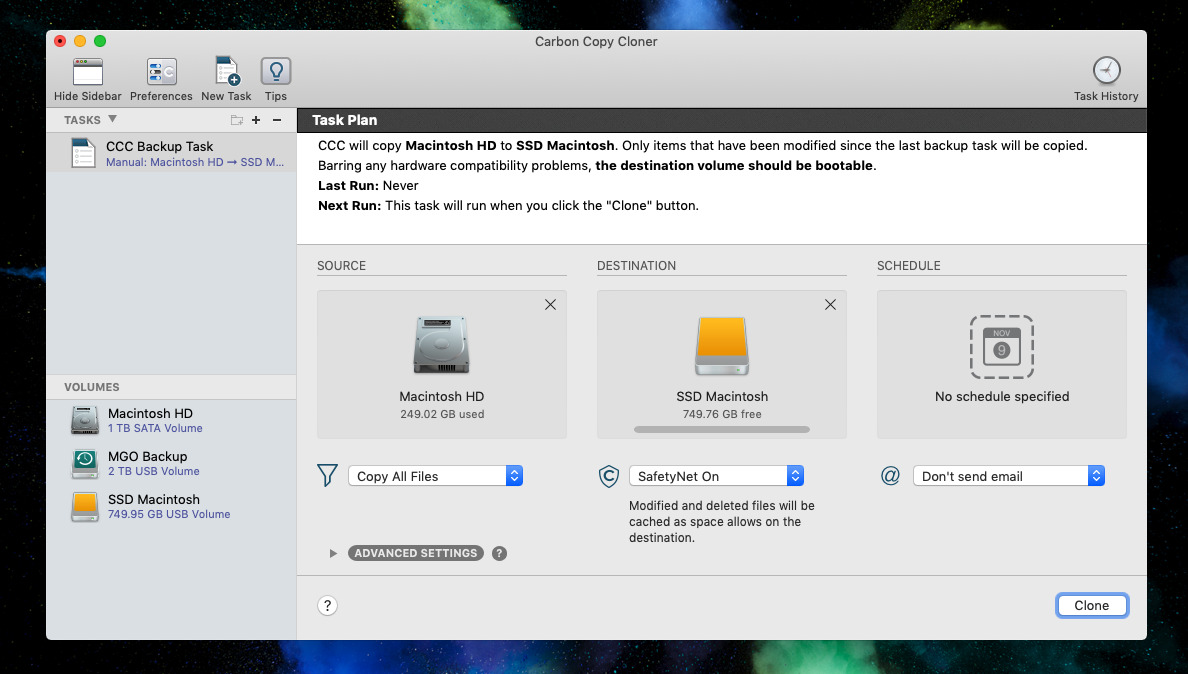
Open up Carbon Copy Cloner, and set a new task up to copy data from one drive to the other. For the source, select your Mac's hard drive, while for the destination, select the externally-connected SSD. Click Clone.

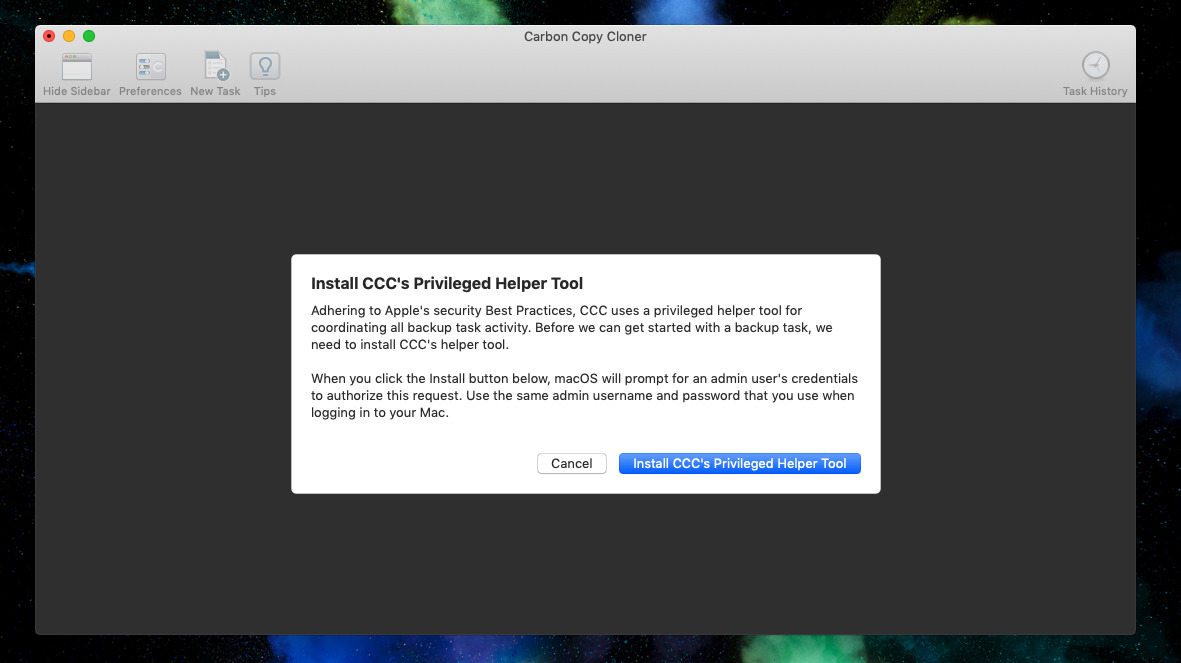
A prompt to install "CCC's Privileged Helper Tool" will appear. Accept it to start the process, which could take a few hours depending on the amount of data that needs to be transferred.
Once the clone is completed, test that it works by restarting your Mac mini and hold the Option key on the keyboard. You will see a list of connected drives that macOS thinks it can boot from.
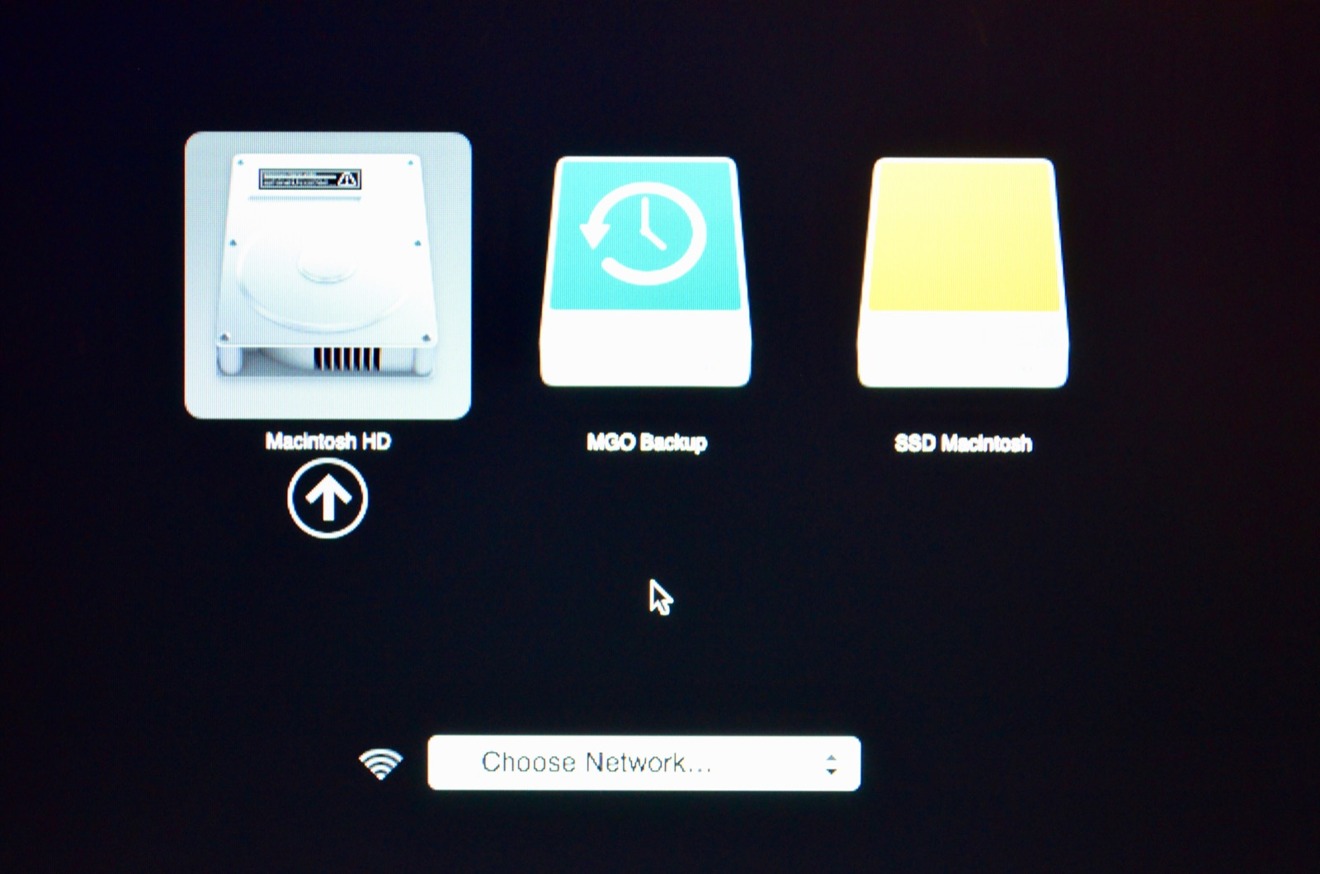
The boot drive selection screen of the Mac mini, showing the original drive, a Time Machine drive, and the replacement SSD
Select the external SSD to continue the booting process from the new drive. After you have verified macOS loads fine and everything is working from the new drive, shut down macOS and disconnect the Mac mini from power and all other connected items.
Disassembly - Late 2014 Mac Mini
The tools you will need to take apart the Late 2014 Mac mini are: TR6 Torx Security and T8 Torx screwdrivers, a logic board removal tool, guitar picks or a plastic disassembly tool known as a "spudger," and a pair of tweezers. You may also want some other non-conductive items for poking and prying, such as chopsticks, depending on how you would prefer to work.
Have a way of collecting together the screws and tiny components you will be pulling from the Mac mini. This could be a container, such as an icecube tray, or an upturned strip of duct tape attached to the table could be used as a sticky storage point.
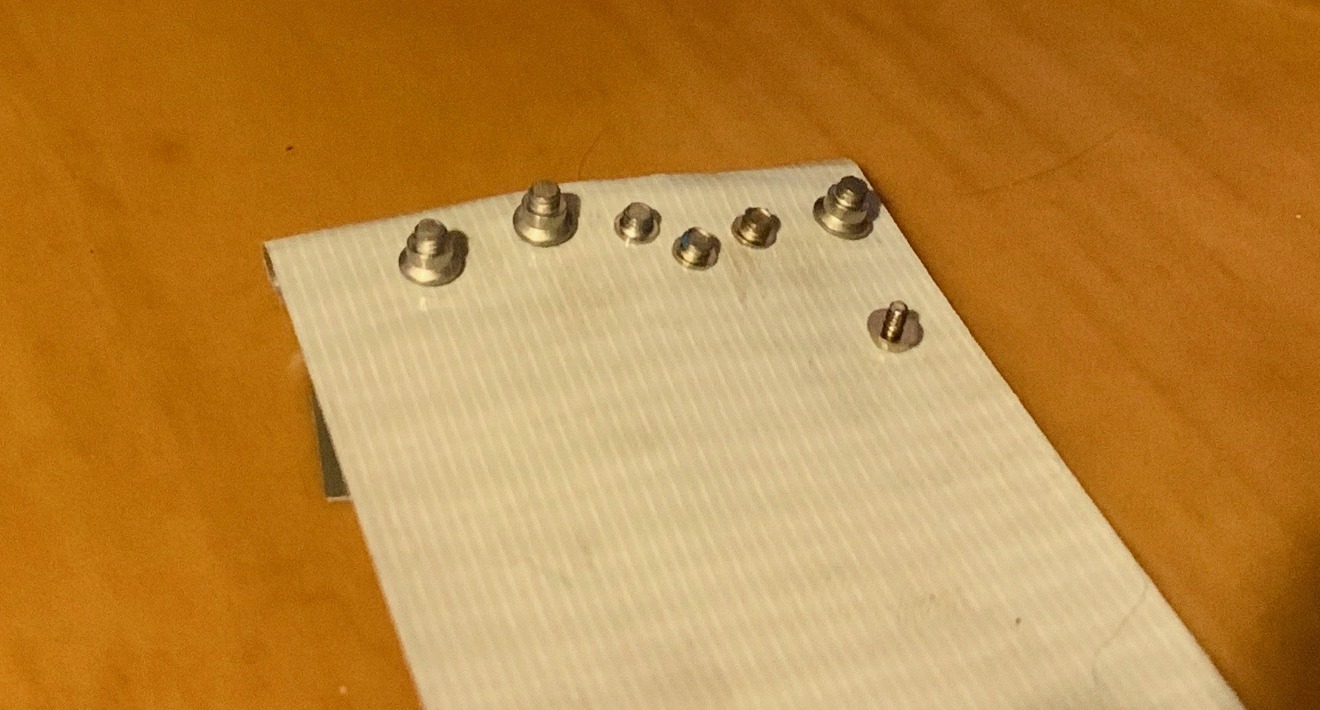
Stick the screws in rows to an upturned strip of duct tape allows you to know what's next to use when reassembling your Mac mini
As discovered in the process of deconstruction, there is likely to be dust inside the Mac mini, Have tissues, canned air, or other cleaning supplies safe for use on hardware on standby.
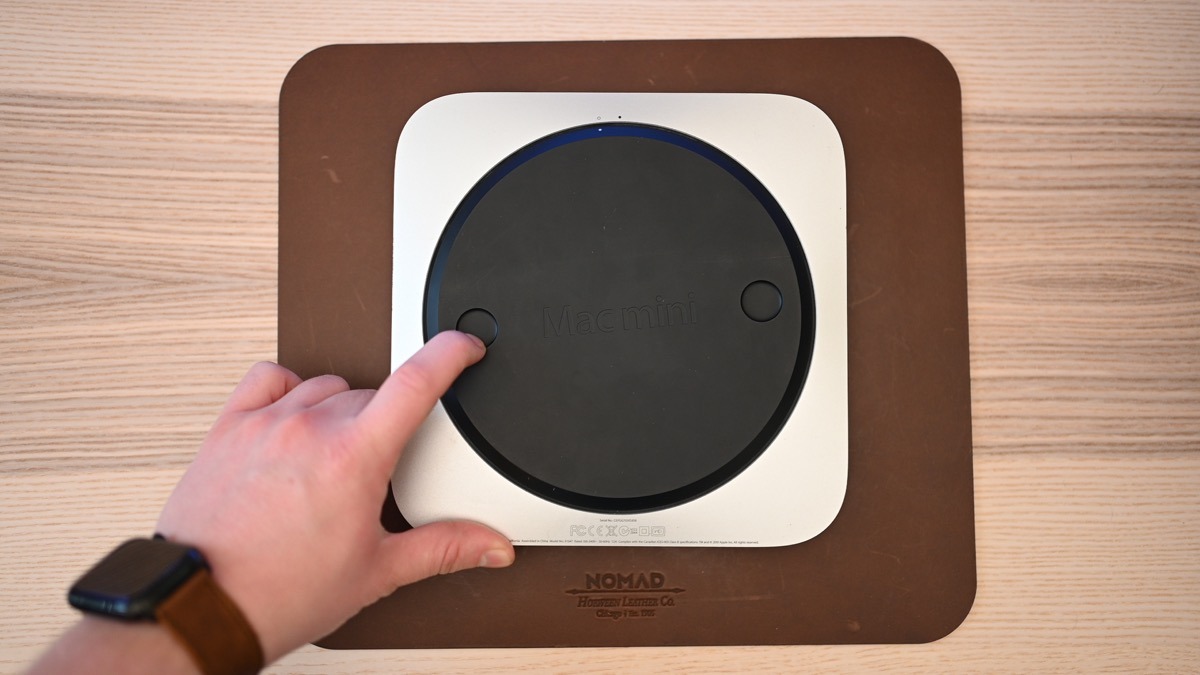
First, turn the Mac mini upside down, preferably on a towel or a surface that won't scratch its finish. Use a prying tool to gently lift up the bottom cover, until it can be lifted clean off.
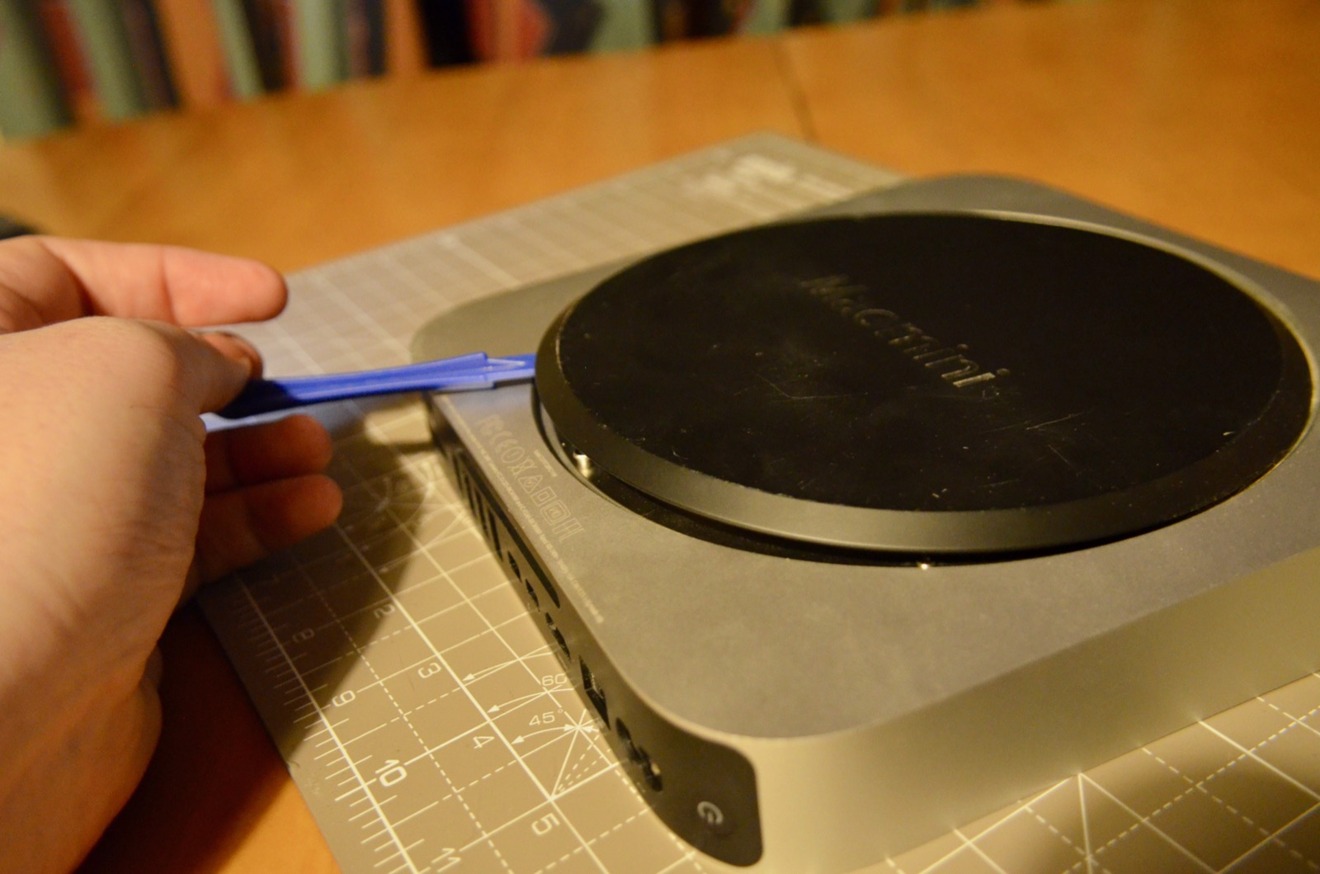
Popping the bottom cover off the Mac mini
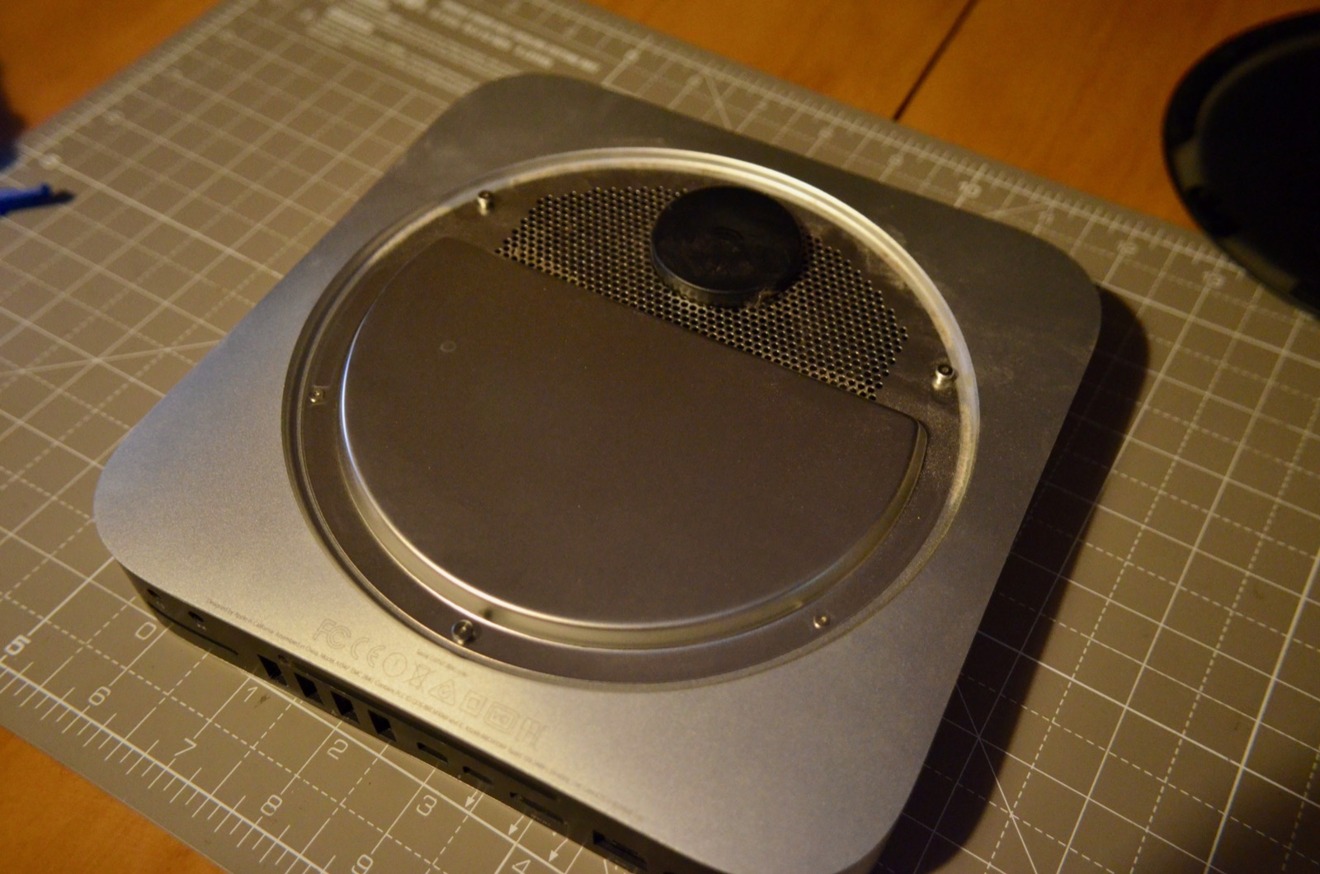
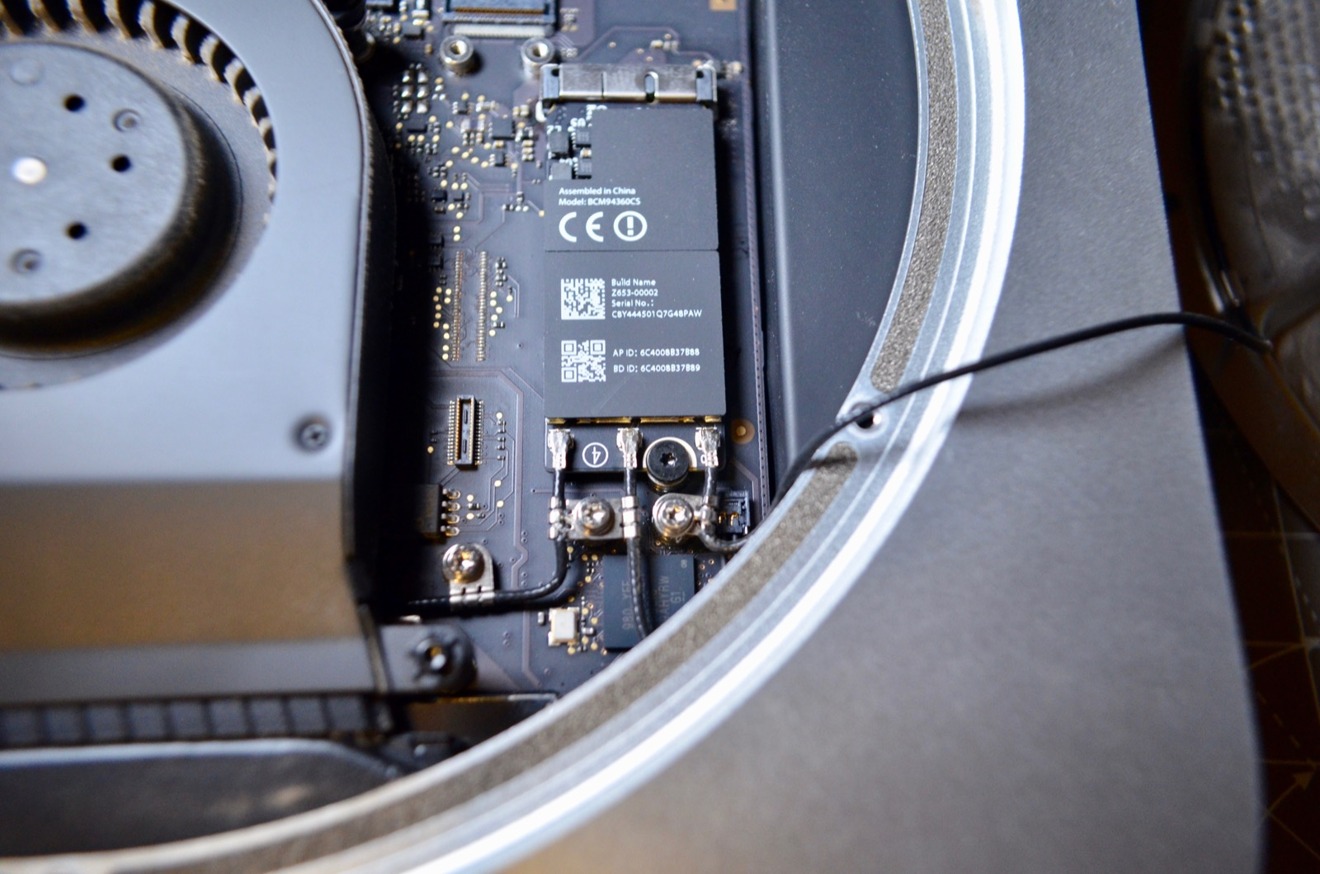
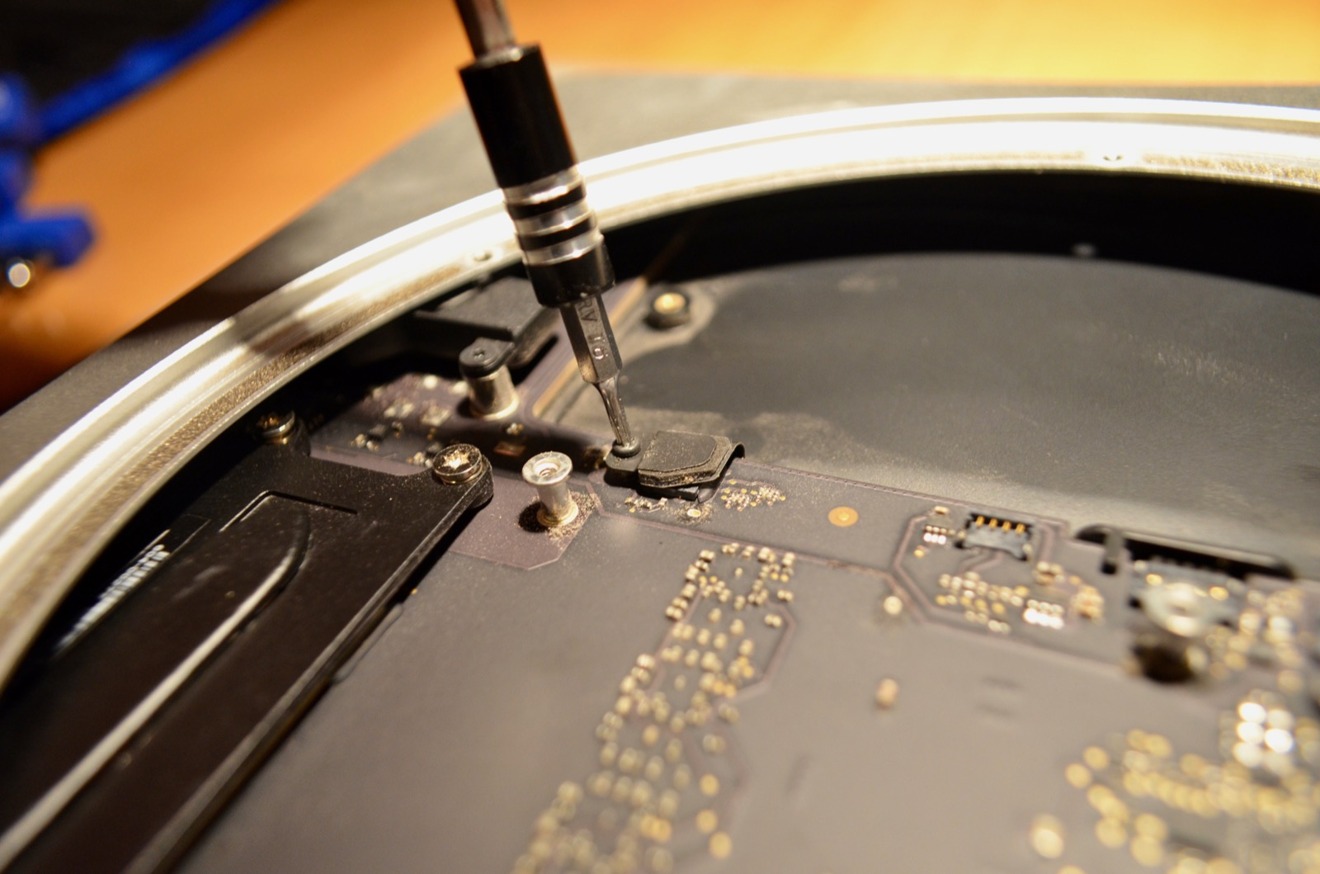
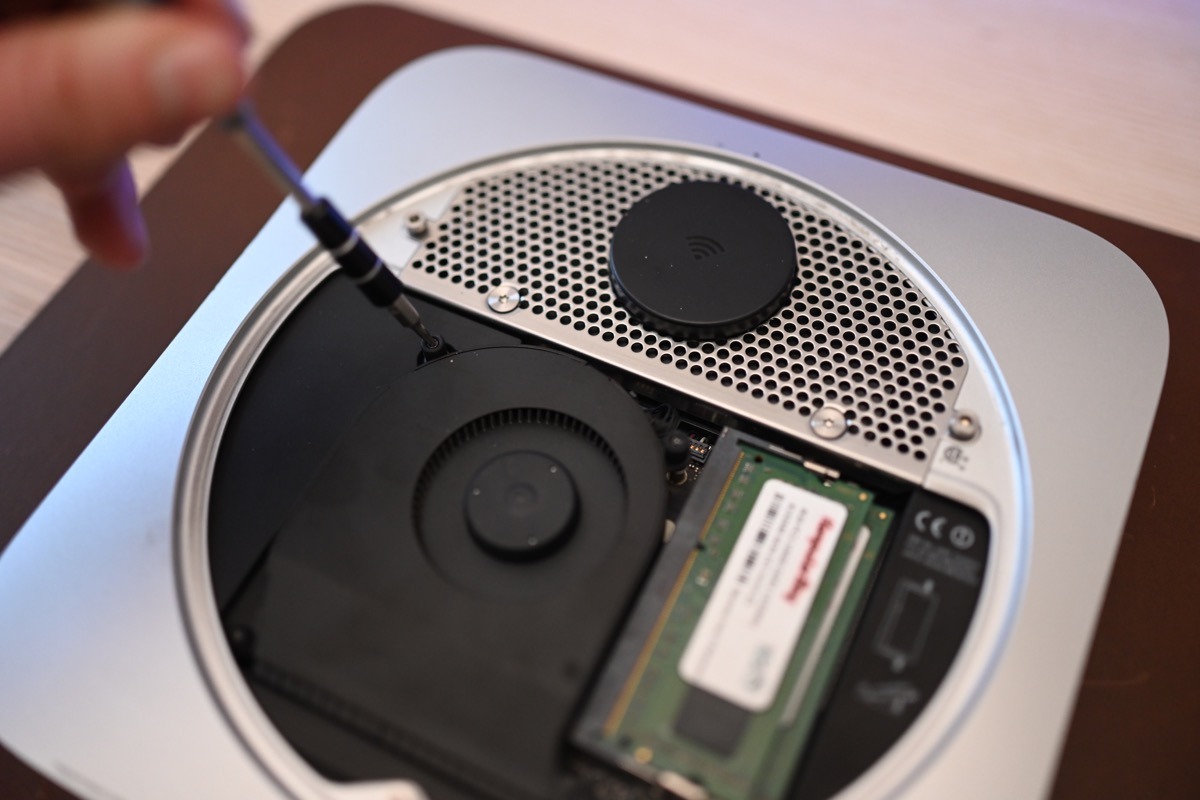
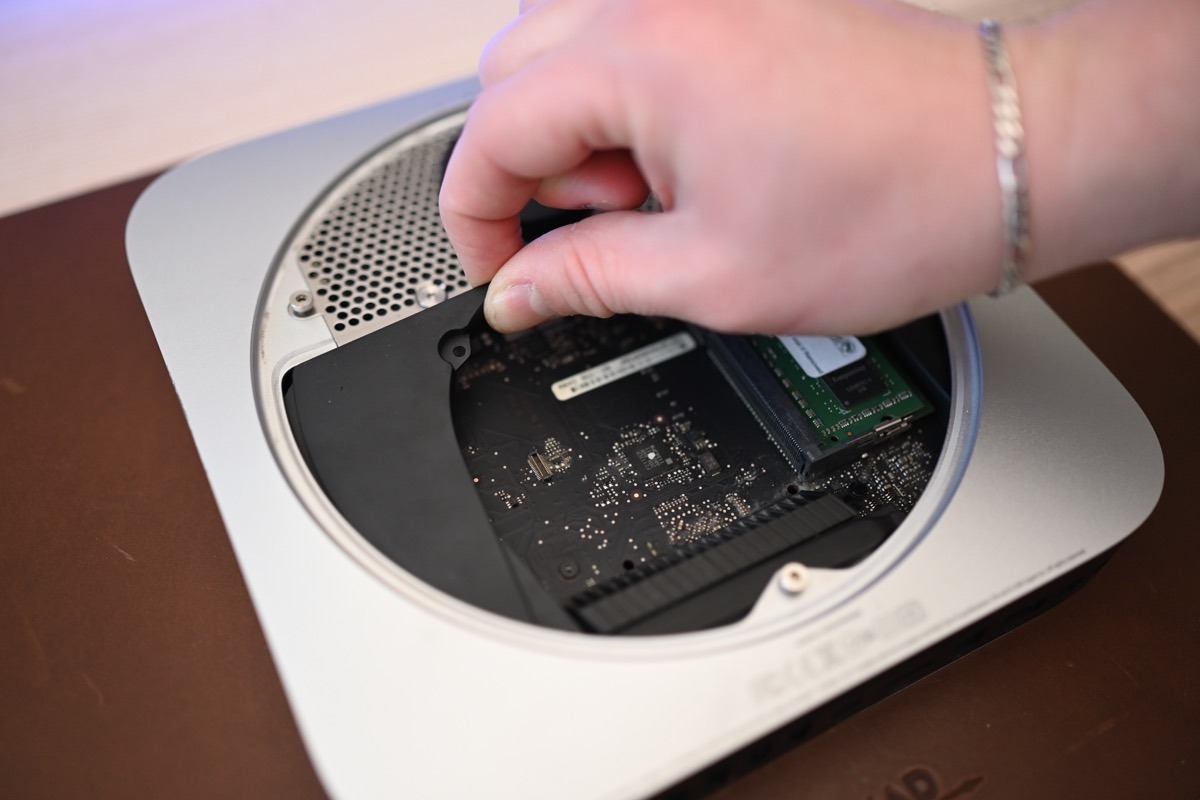
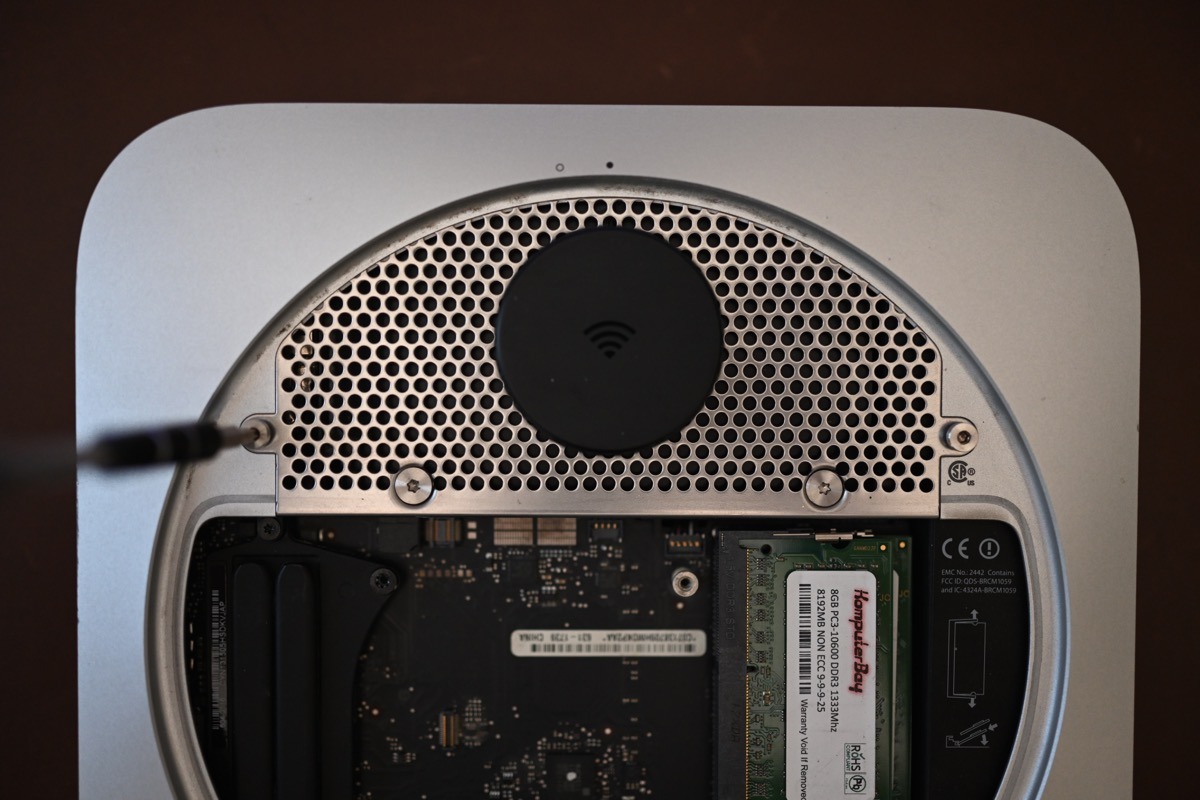
Use the TR6 driver to take out the six screws holding the metal antenna plate to the rest of the chassis. Once unfastened, carefully lift it off but keep it nearby as there is a cable attached. Follow the cable to the Airport card, use the T6 driver on the screw and washer to free the cable, and use a prying tool to lift the connector straight off the card. Leave the other cables in place.
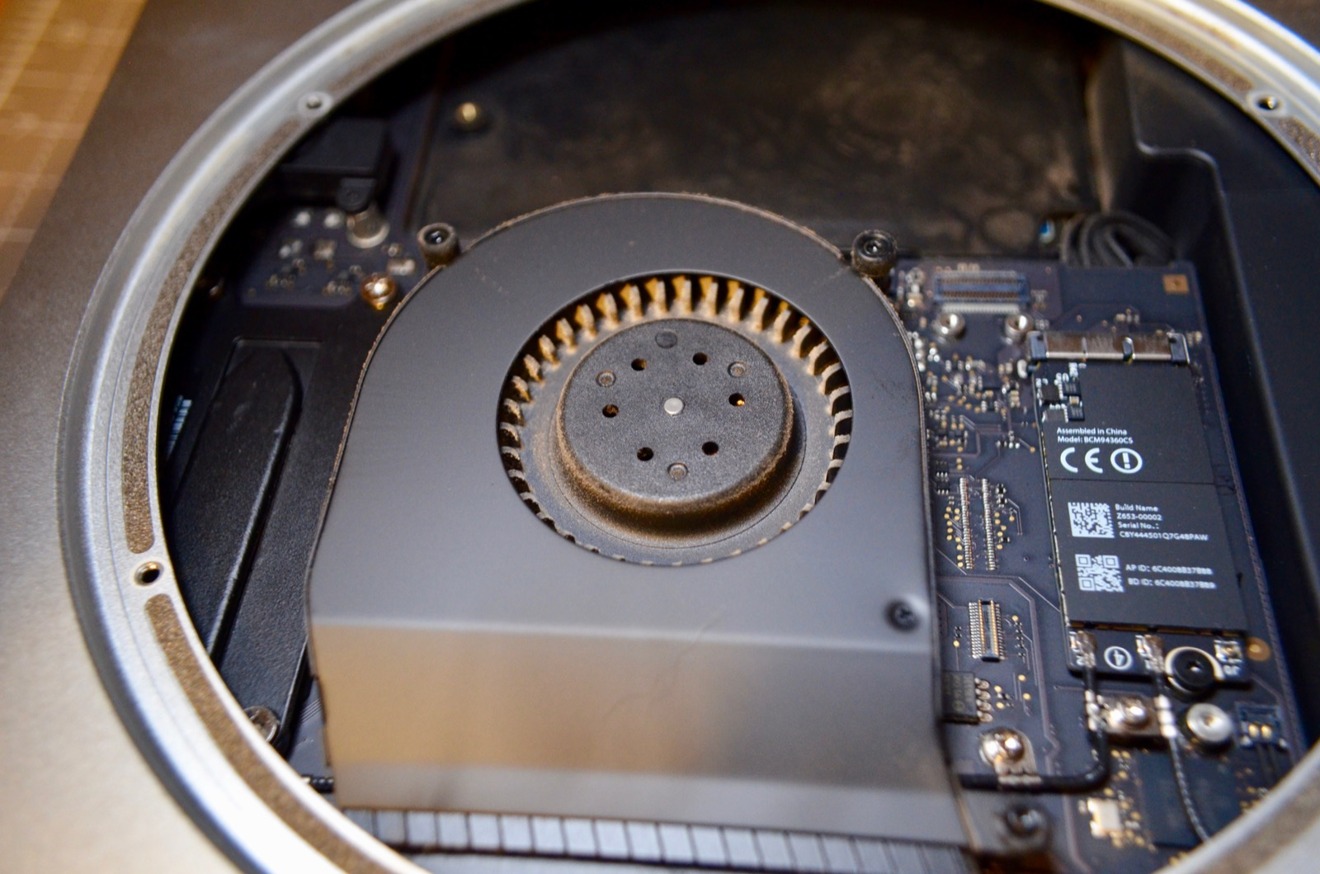
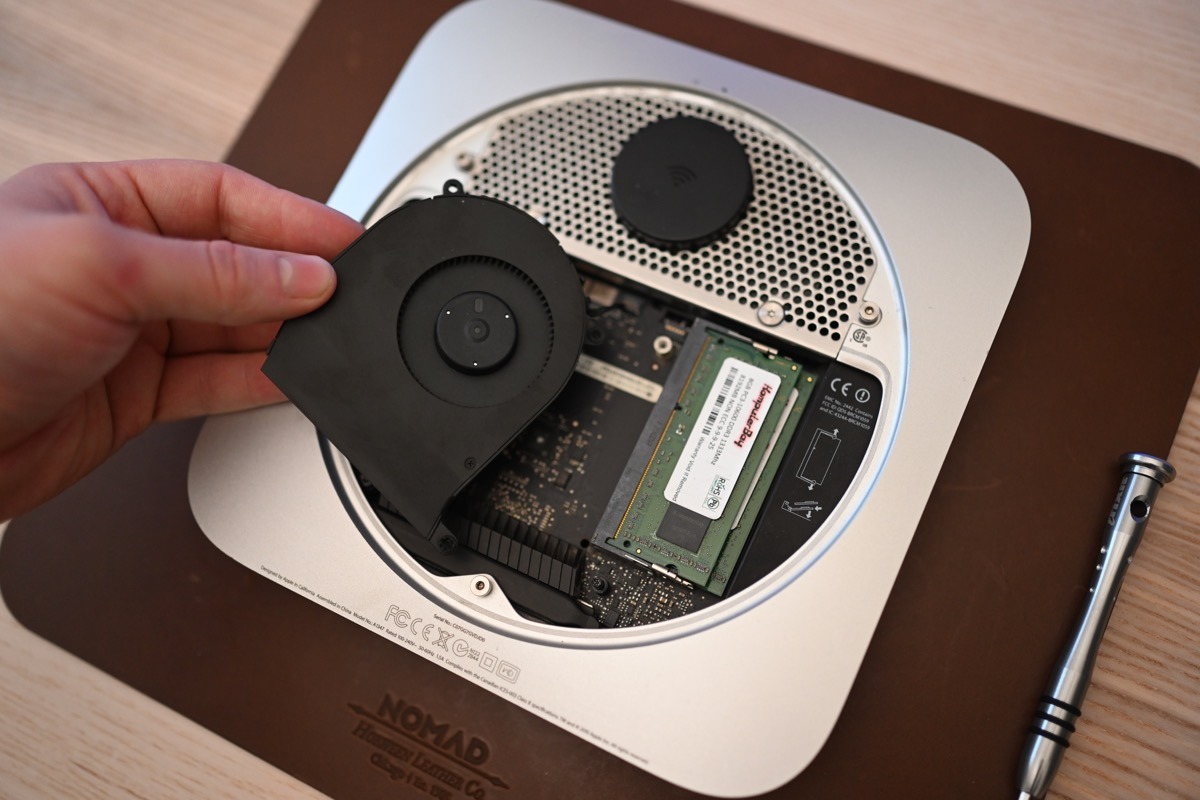
Move attention to the fan assembly, and unfasten the three T6 screws holding it to the casing. Lift the fan straight up to remove the captive screw, but don't take the fan completely off, as again it is connected by wires.
Find the small connector for the fan and lift it straight out of its socket. You may have to apply a little pressure to the cables from underneath using a prying tool. Once free, remove the fan from the casing completely.

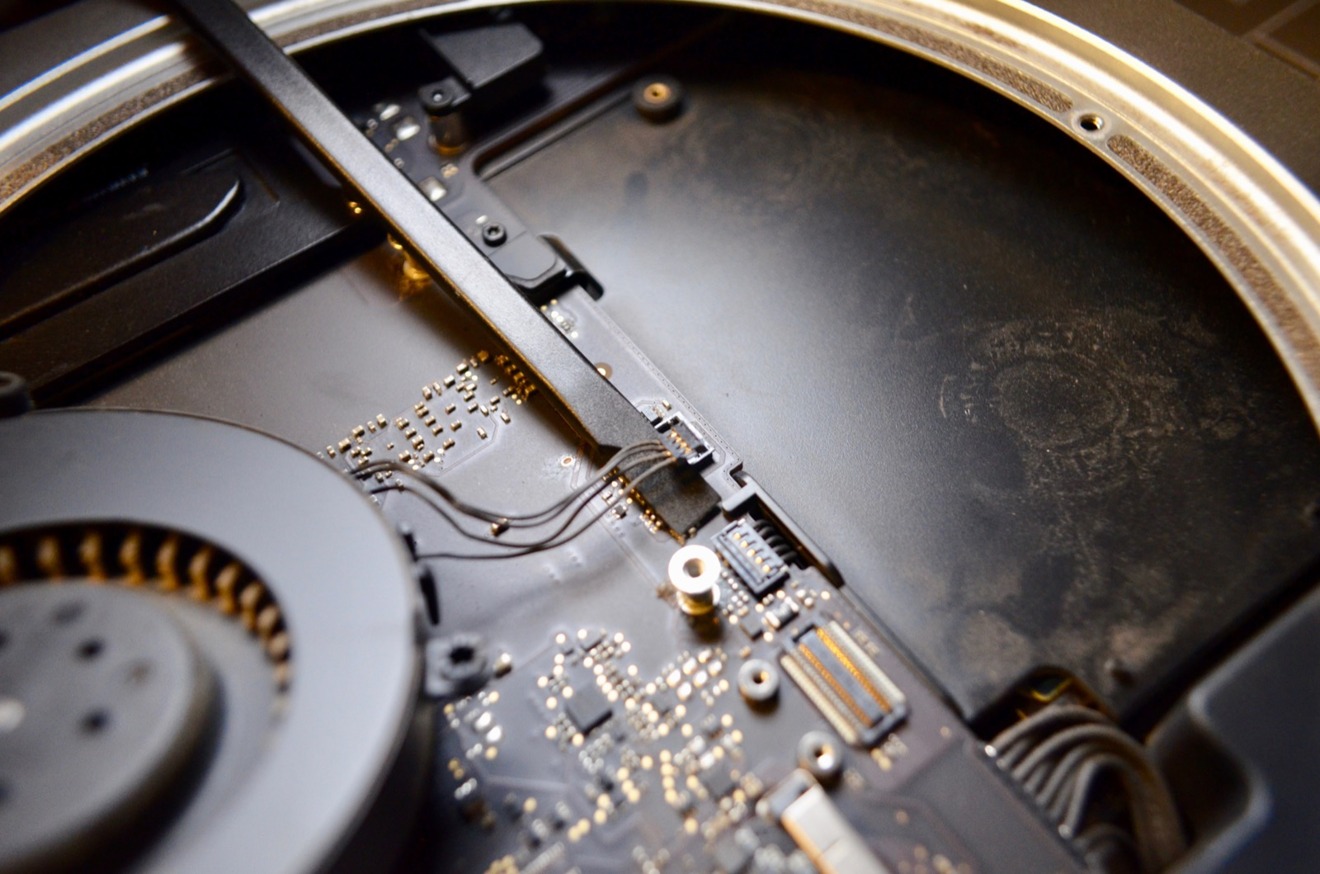
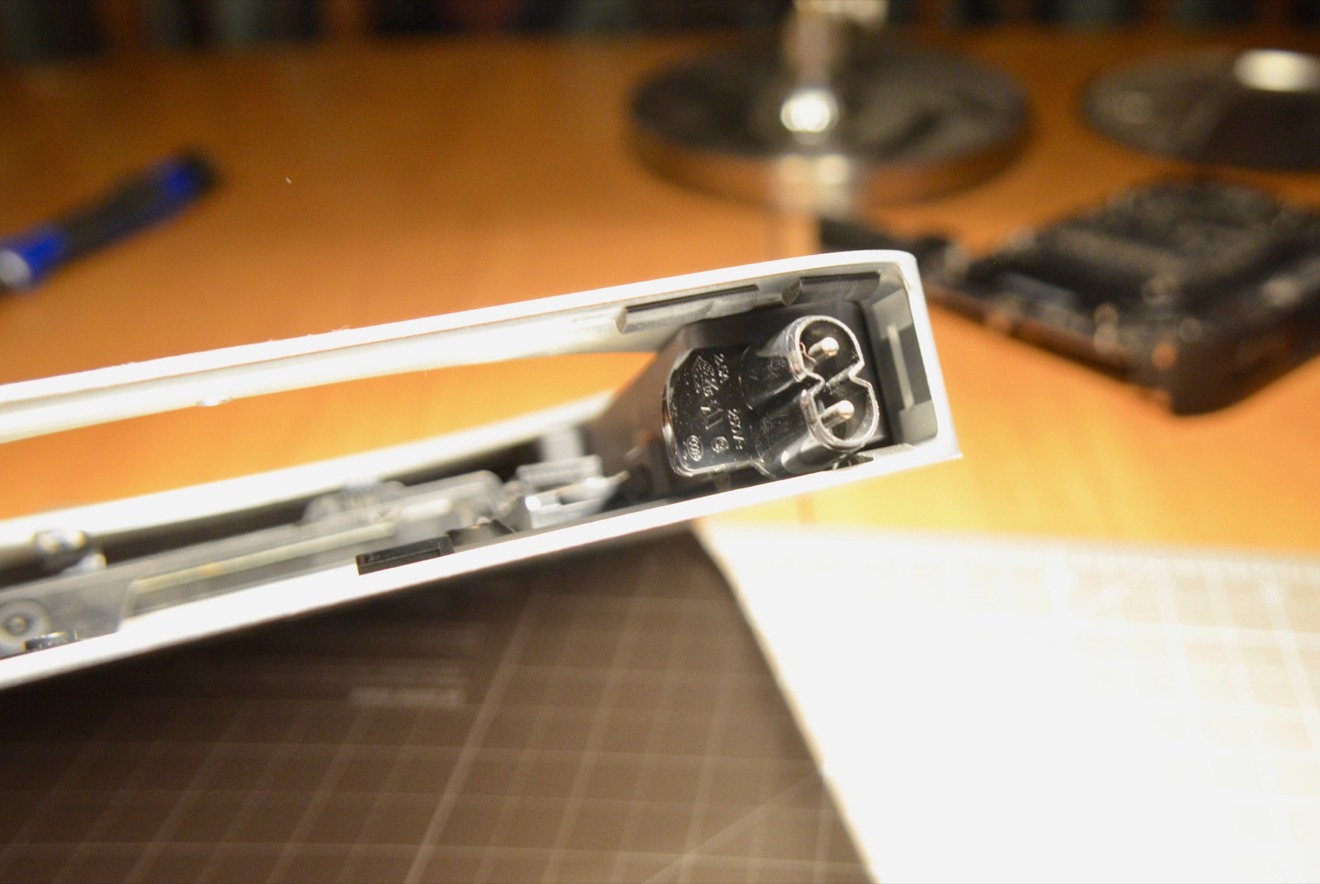
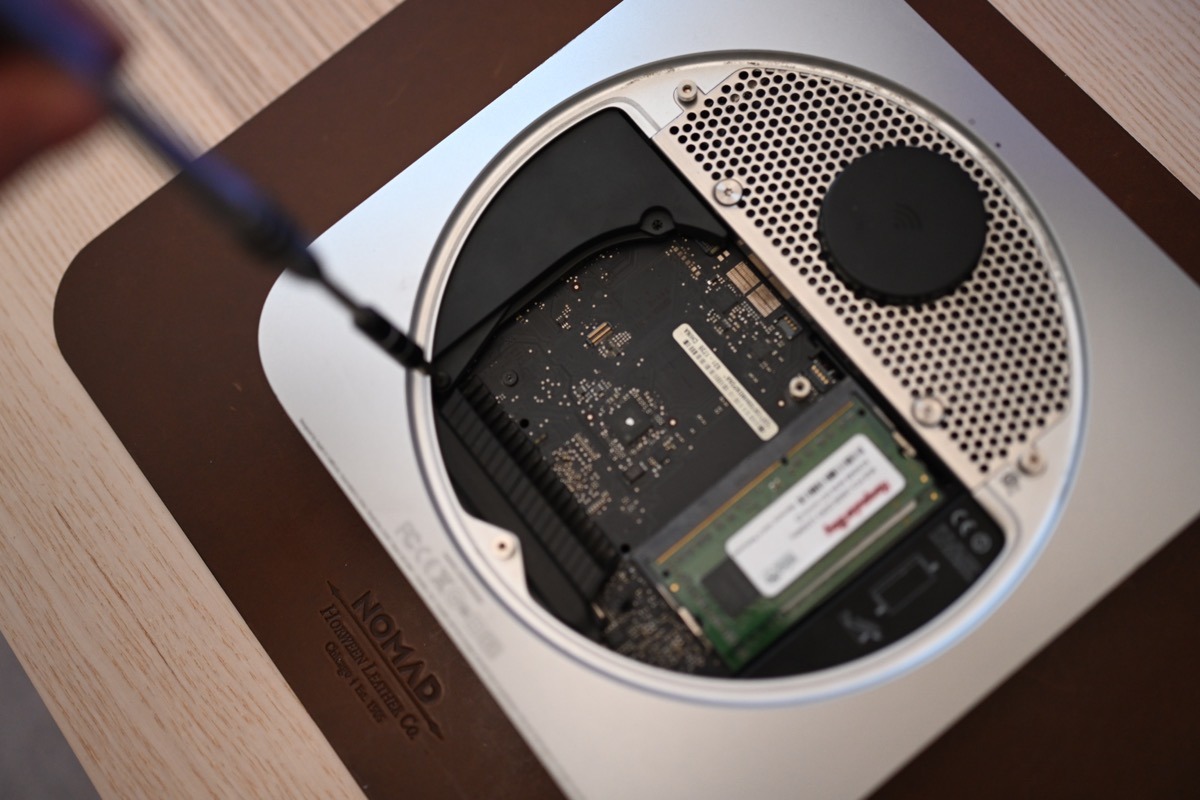
Next, take out a T6 screw near to the SATA cable connector, close to the front of the Mac mini, which is used to hold a bracket securing the cable in the connector. Once the bracket is removed, use a prying tool again to gently lift the cable off the socket.
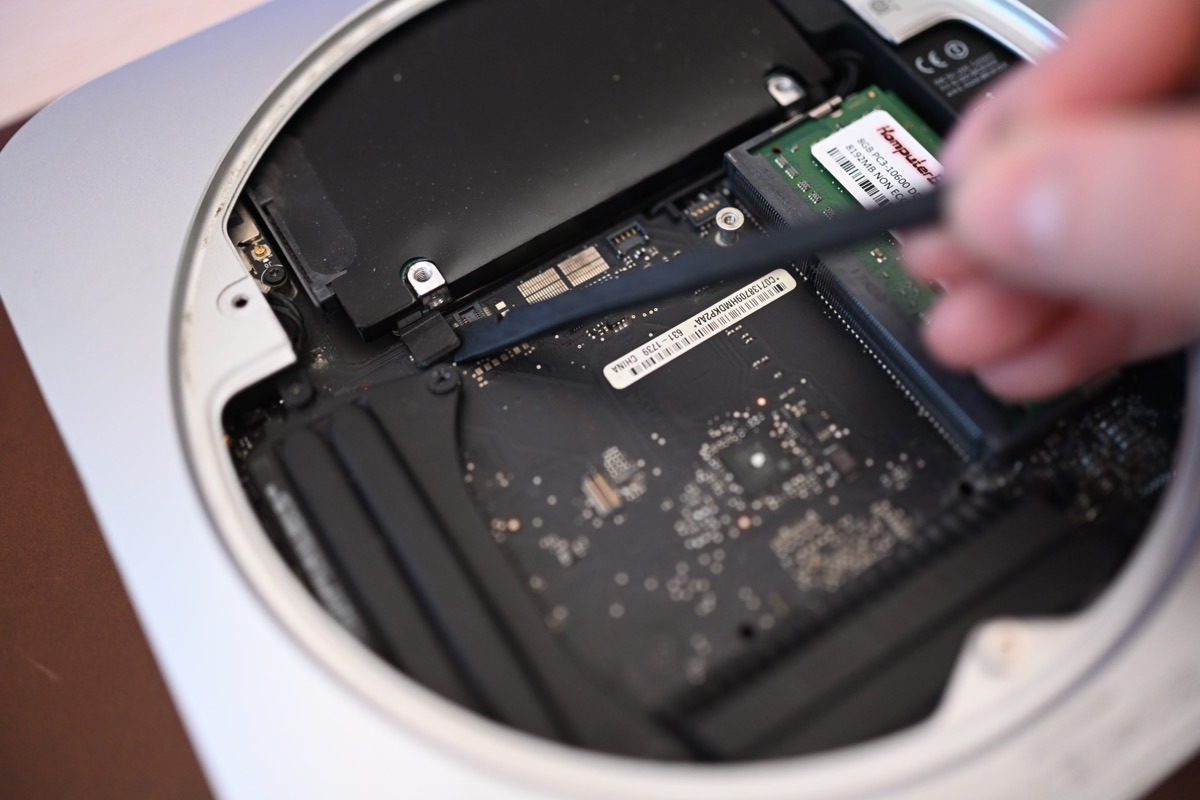
Moving right (if the rear of the Mac mini is facing you), find the IR sensor cable connector and remove it using a prying tool to lift it straight up.
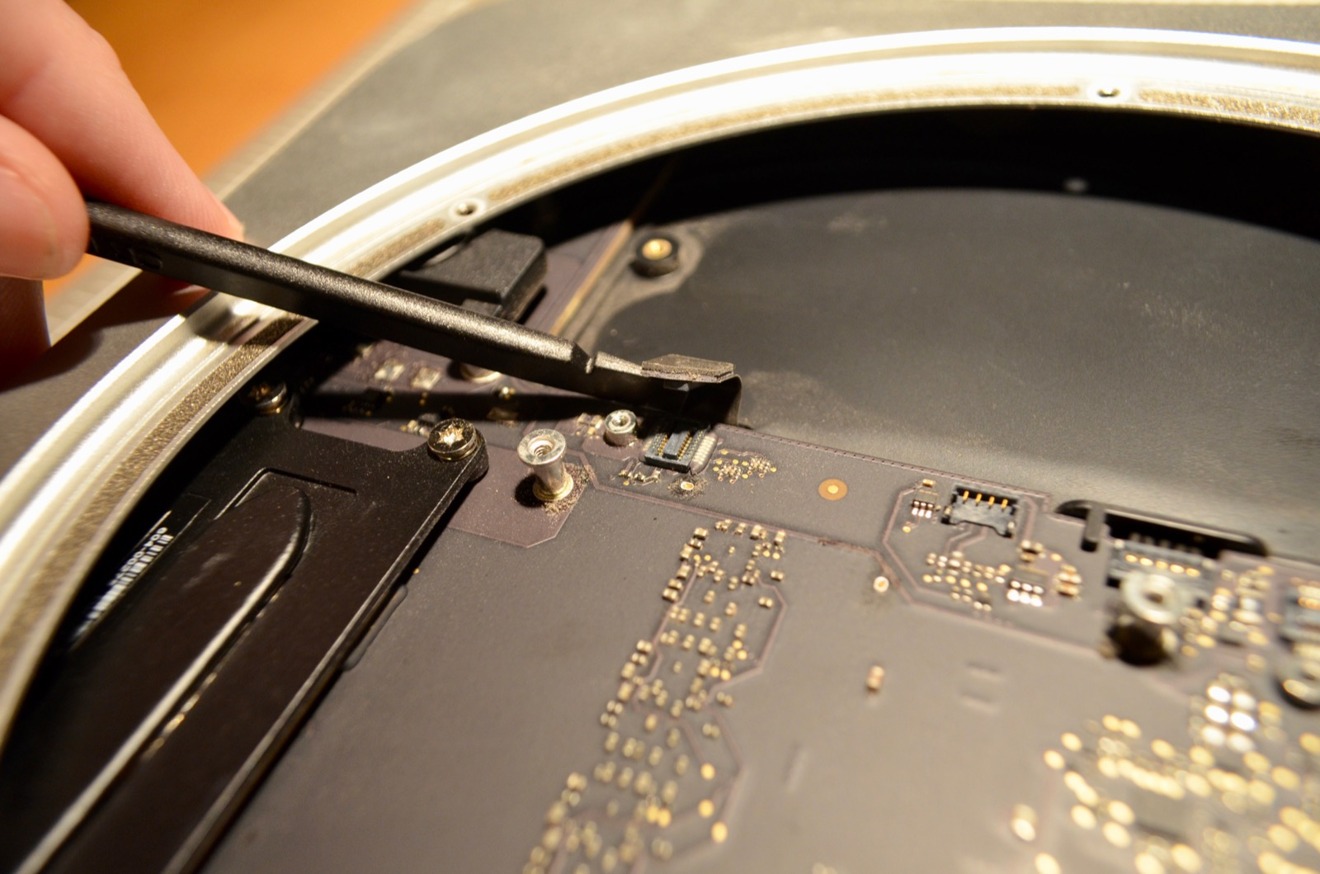
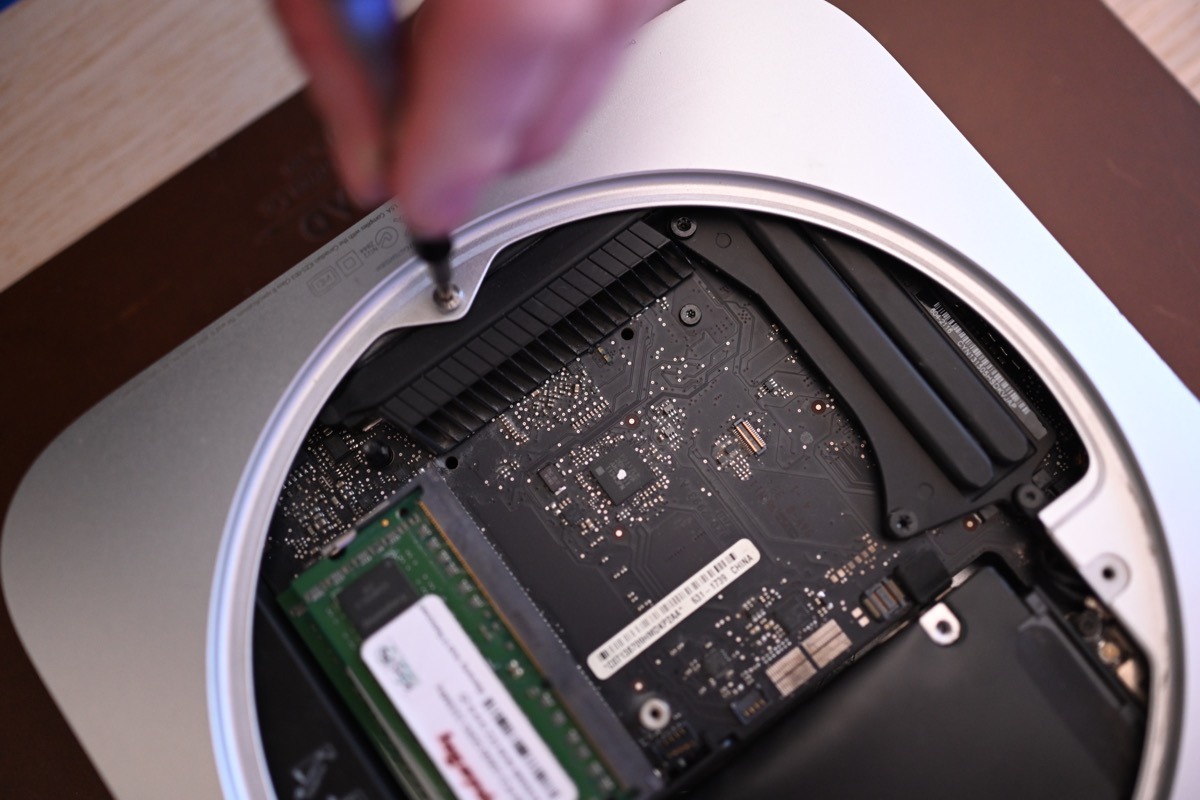
There is one more T6 screw to remove, and it is located on the bottom left of the logic board, close to the rear of the casing.
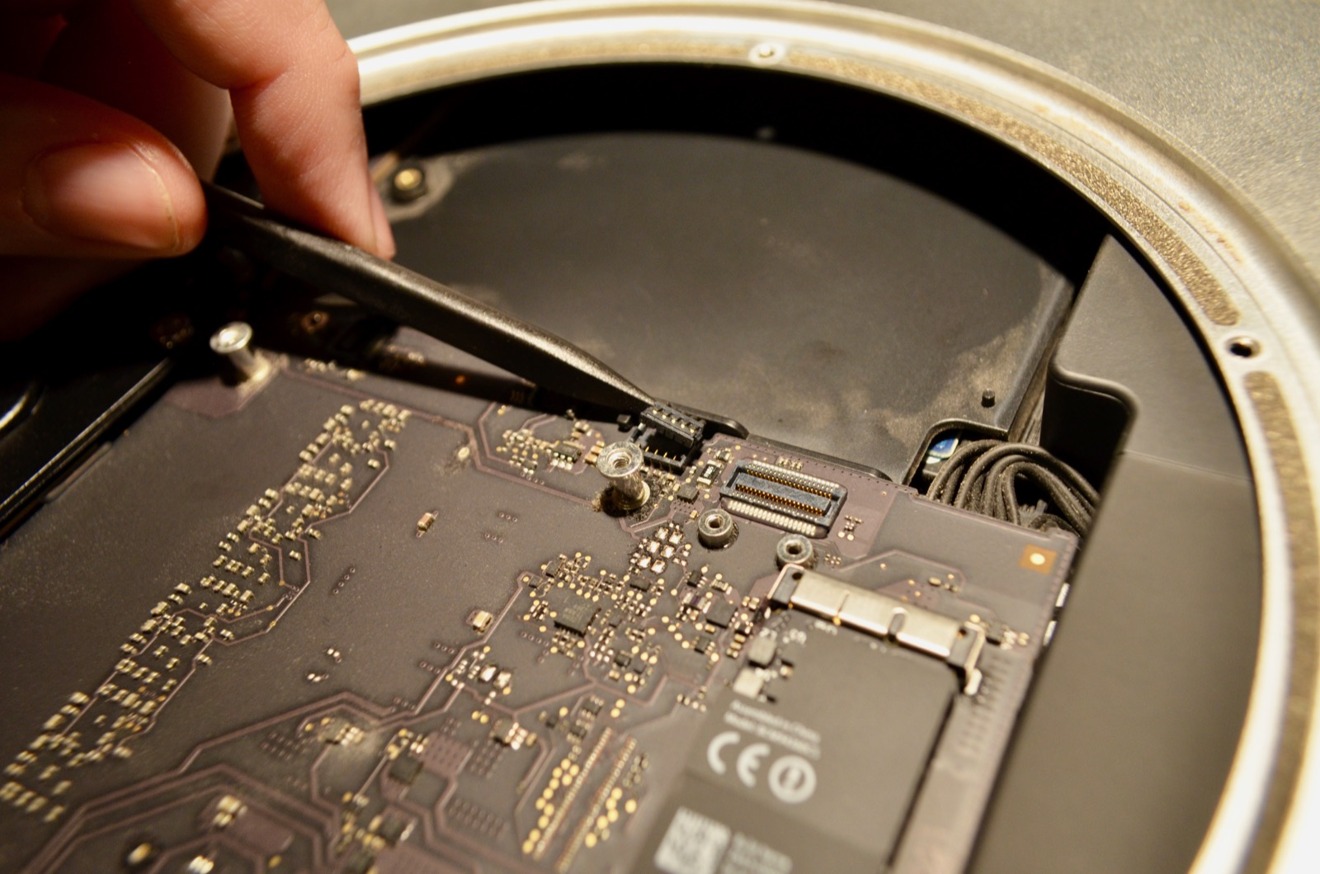
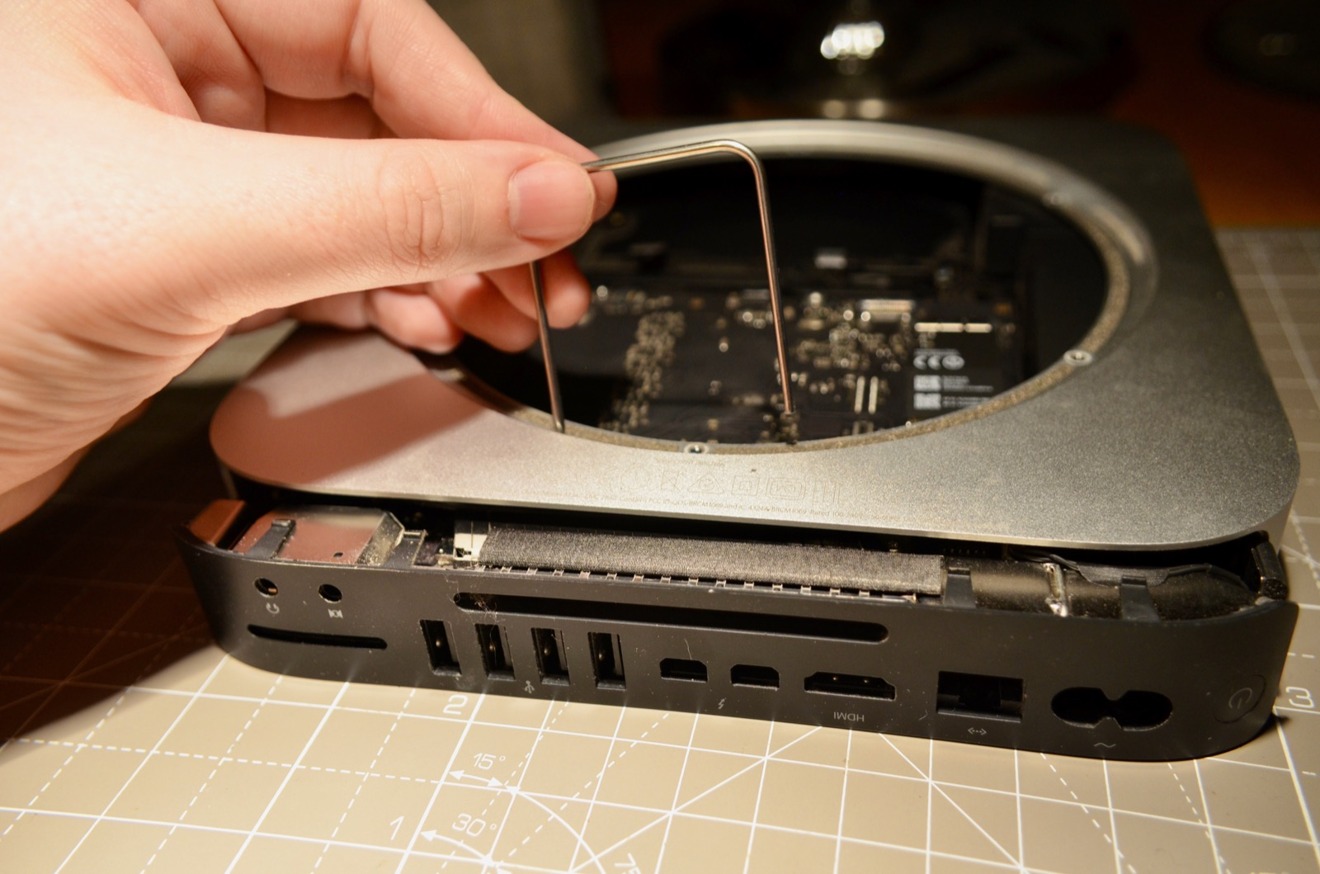
Now for a major point: separating the logic board assembly from the rest of the case. For this, insert the logic board removal tool which is little more than a bent metal rod into the two holes as far down as it can go, then gently pull the top "handle" section towards you. Stop when the prying tool comes into contact with the case, and remove the tool.
On the right-hand side of the logic board is the power cables, which need to be pulled out from the socket. Once disconnected, carefully slide the logic board assembly out of the Mac mini's rear side.


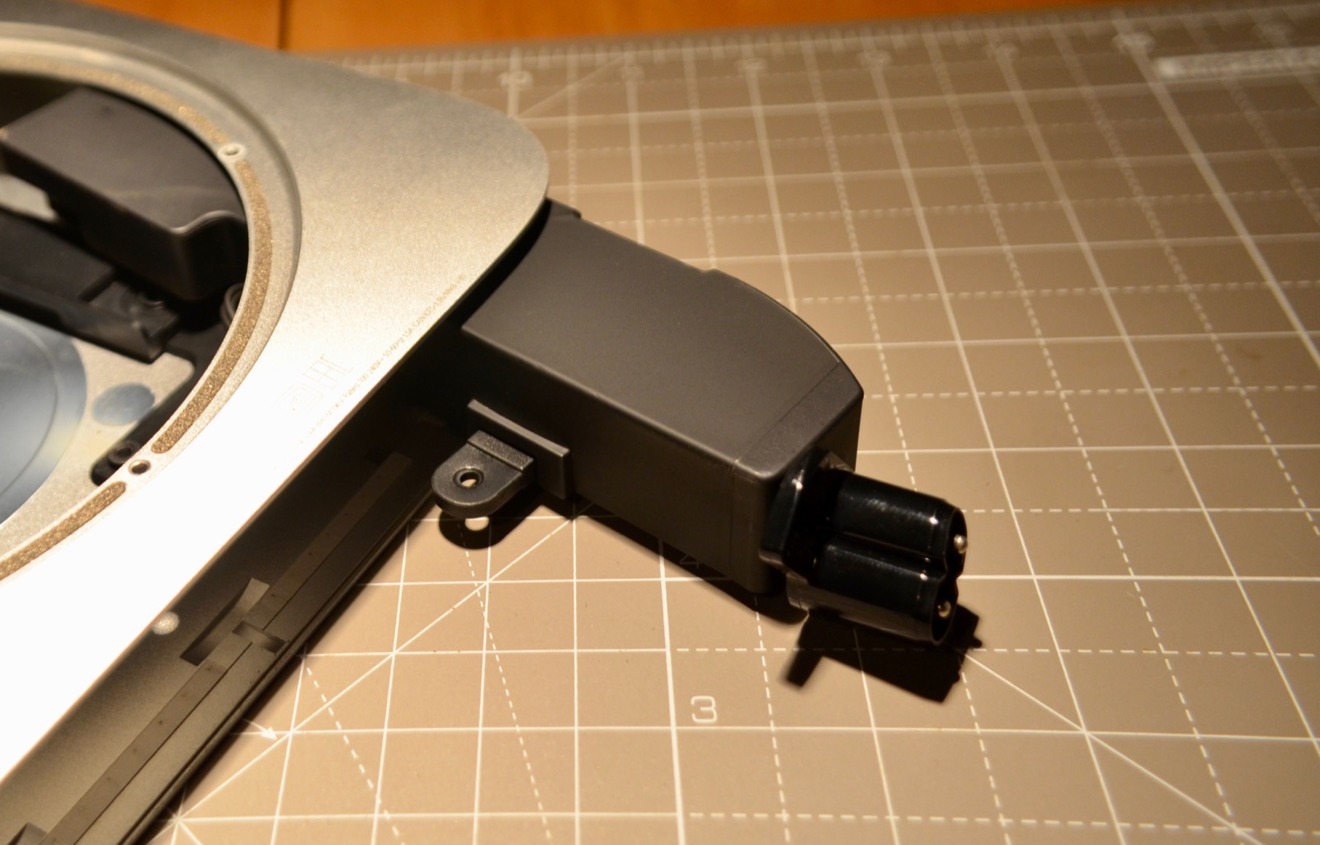
To remove the power supply, extract the metal clip holding the AC connection in place, then rotate the AC connection roughly 90 degrees counterclockwise to make it come out of its slot. Remove one more T6 screw holding the power supply in place, then slide the entire power supply out.

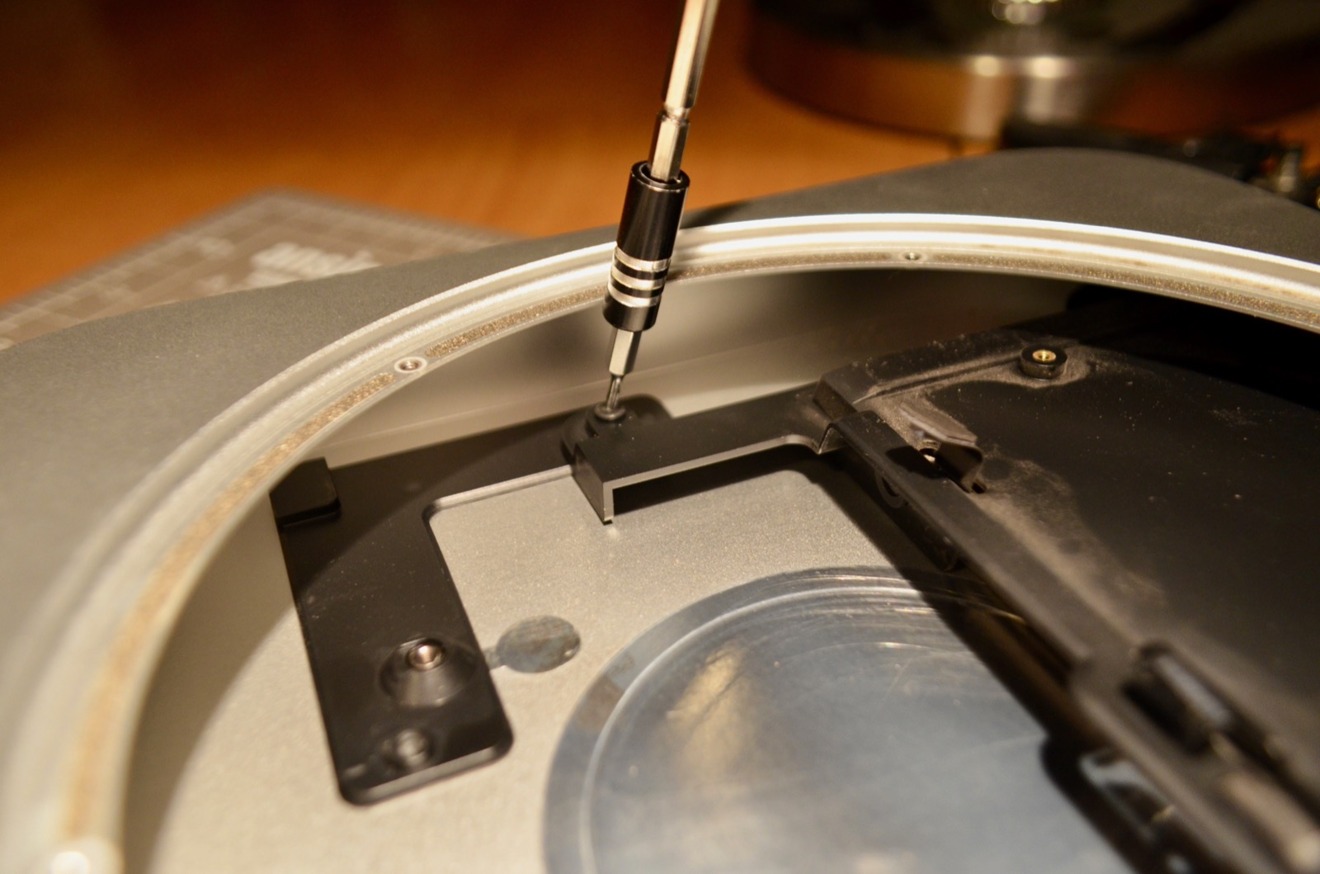
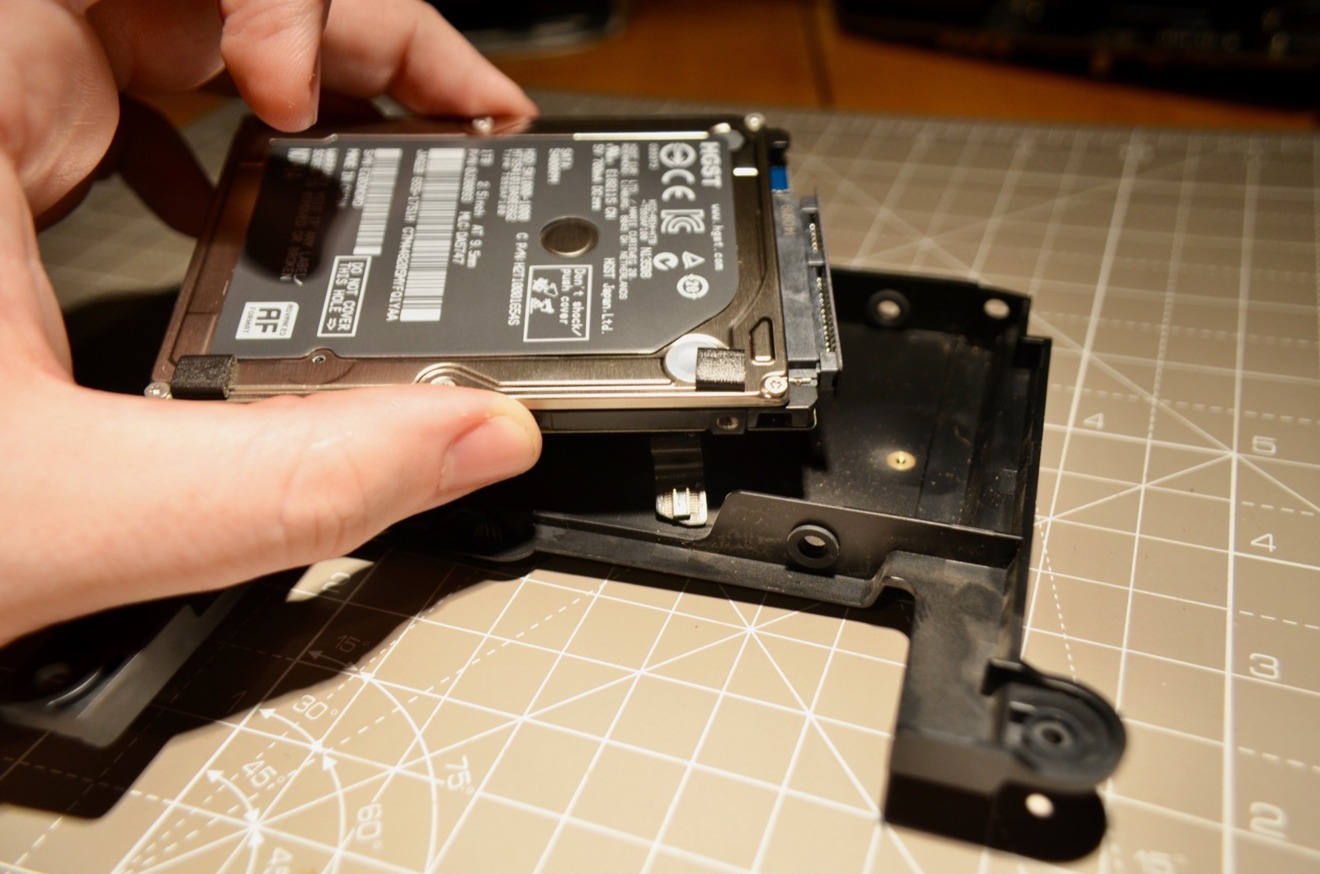
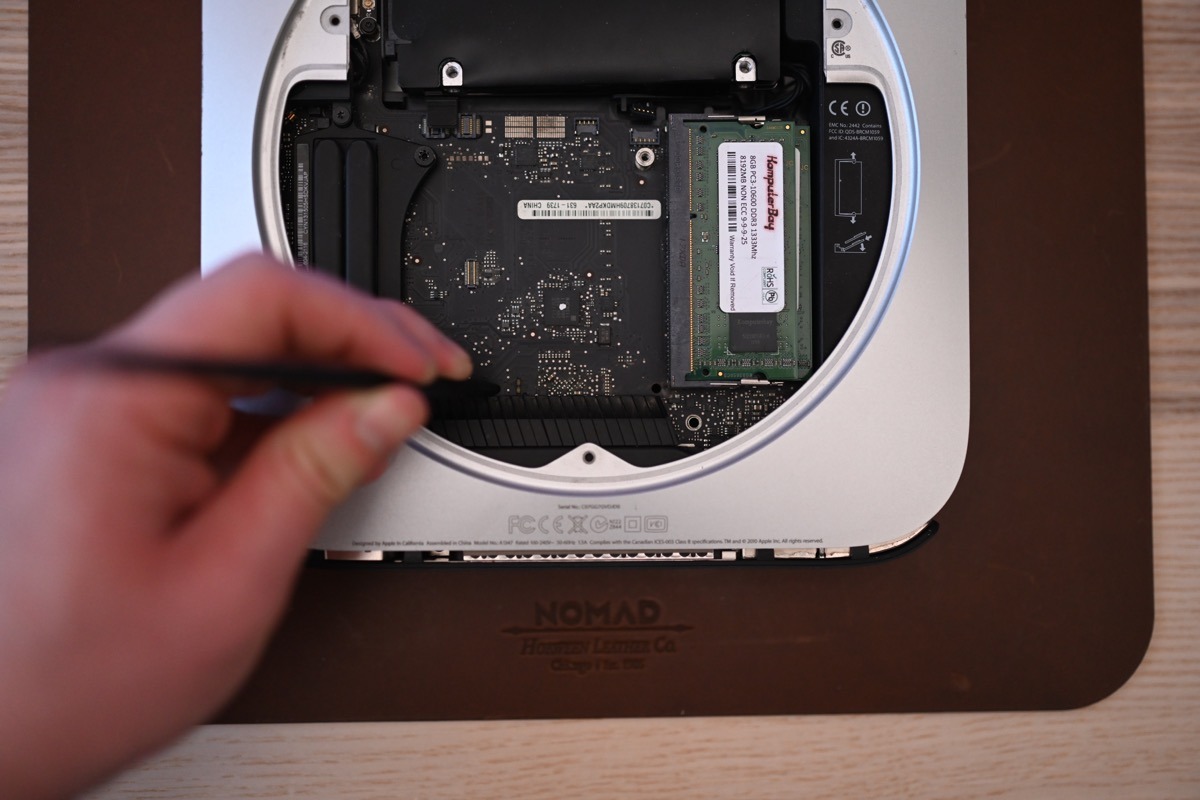
We have now reached the drive assembly. Take out the T6 screw from the left-hand side and pull the drive tray out.
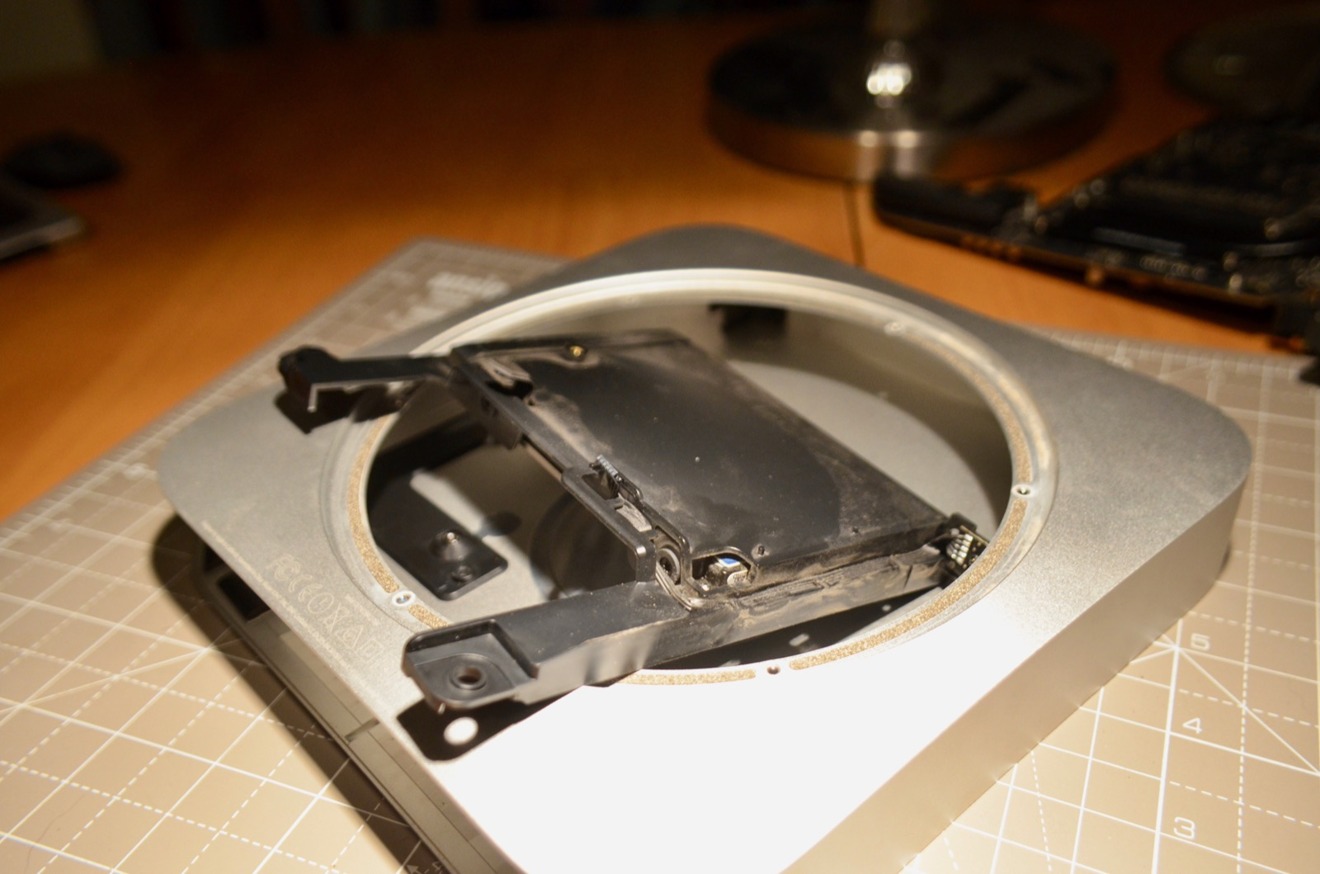
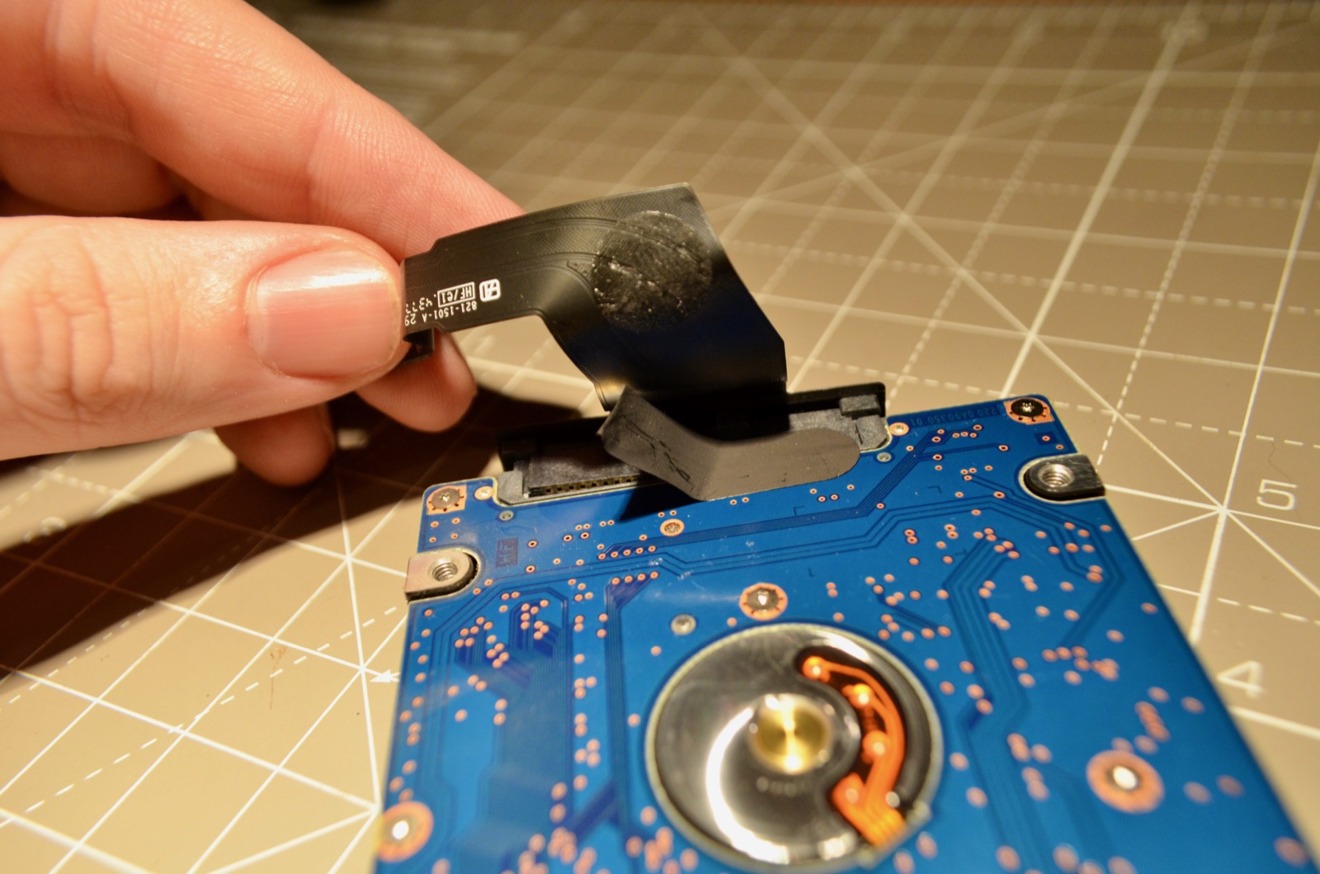
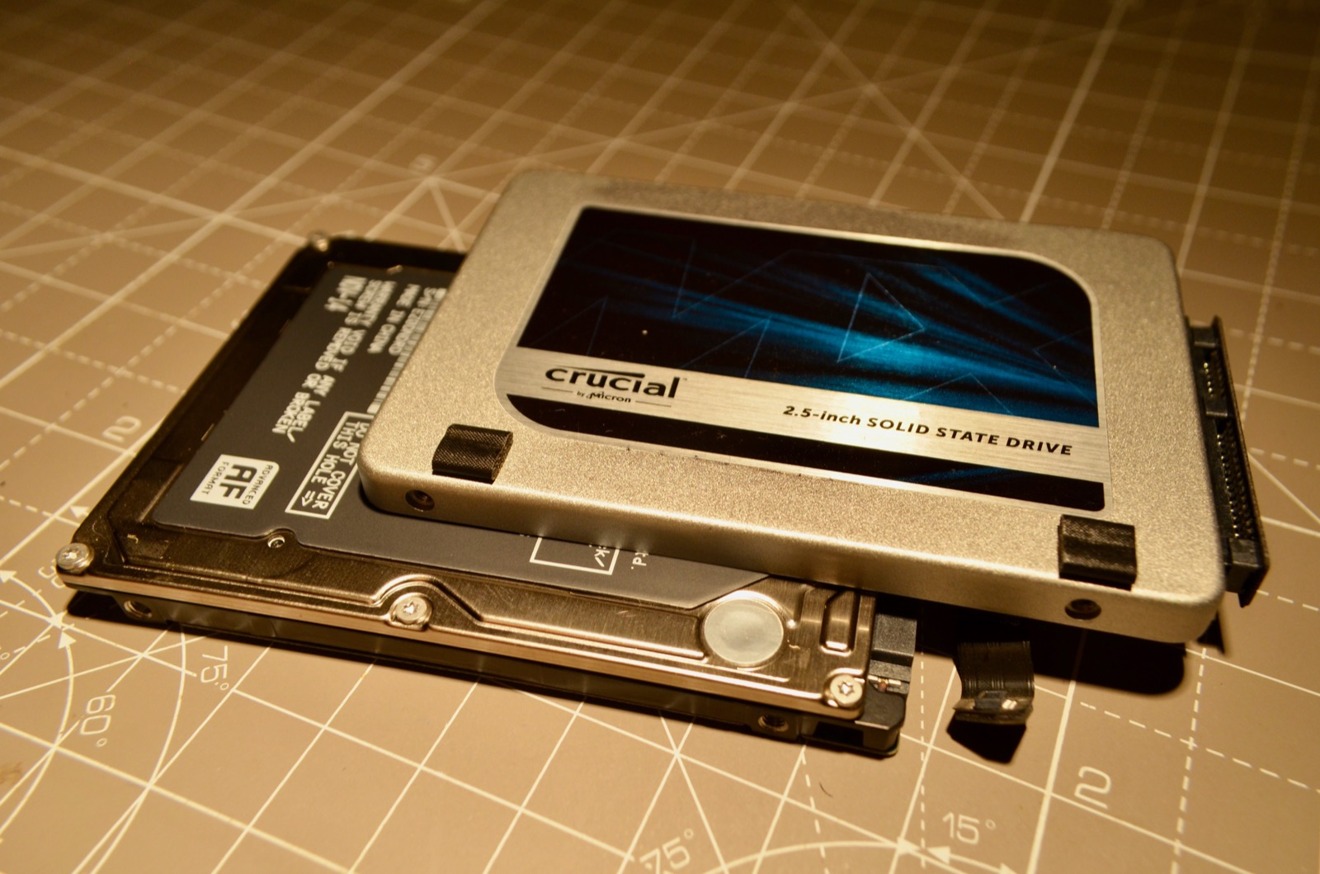
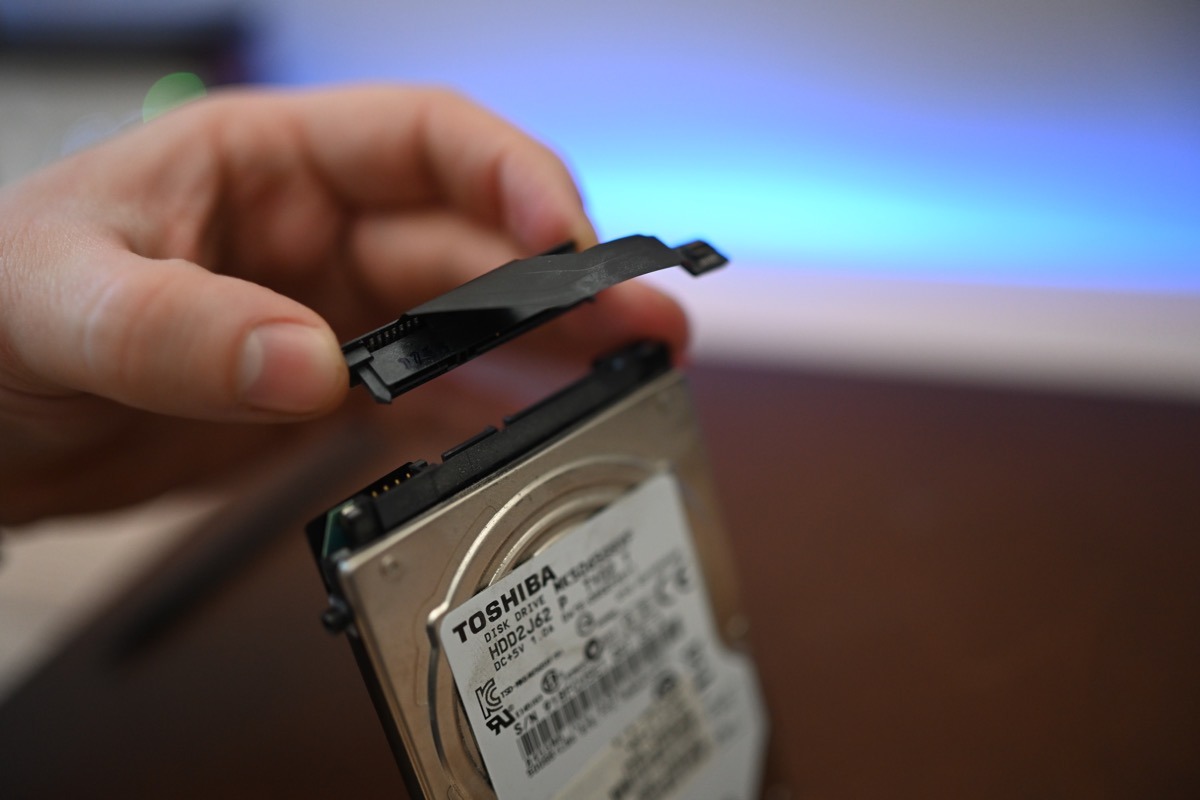
Remove the four T8 screws on each side of the hard drive, then lift it up from the tray. Raise the ribbon cable of the SATA connector, take off the black tape, and pull the connector off completely. Finally, take off the two black square pads off the old drive and place them in the same locations on the SSD.
Reassembly
For the most part, this process is effectively the reverse of disassembly, but there are a few points worth noting.
First, don't worry about placing the black tape to hold the SATA connector in place. You could add new tape of your own, but it isn't really necessary considering the tray's construction.
When placing the drive and SATA connector into the tray, make sure to slot the ribbon through the small hole in the tray beforehand. Also, be wary of the rubber seals where each of the four drive screws are located, as they can fall out if pressure is applied.
You will be able to tell the power supply is reinserted correctly because the AC connector has a large notch that slides into a groove inside the case, acting as an extra locking point when the connector is twisted back into its correct orientation.
Sliding the logic board back into the casing does not require the tool used for extraction, but don't push it all the way in until you reconnect the power to it.
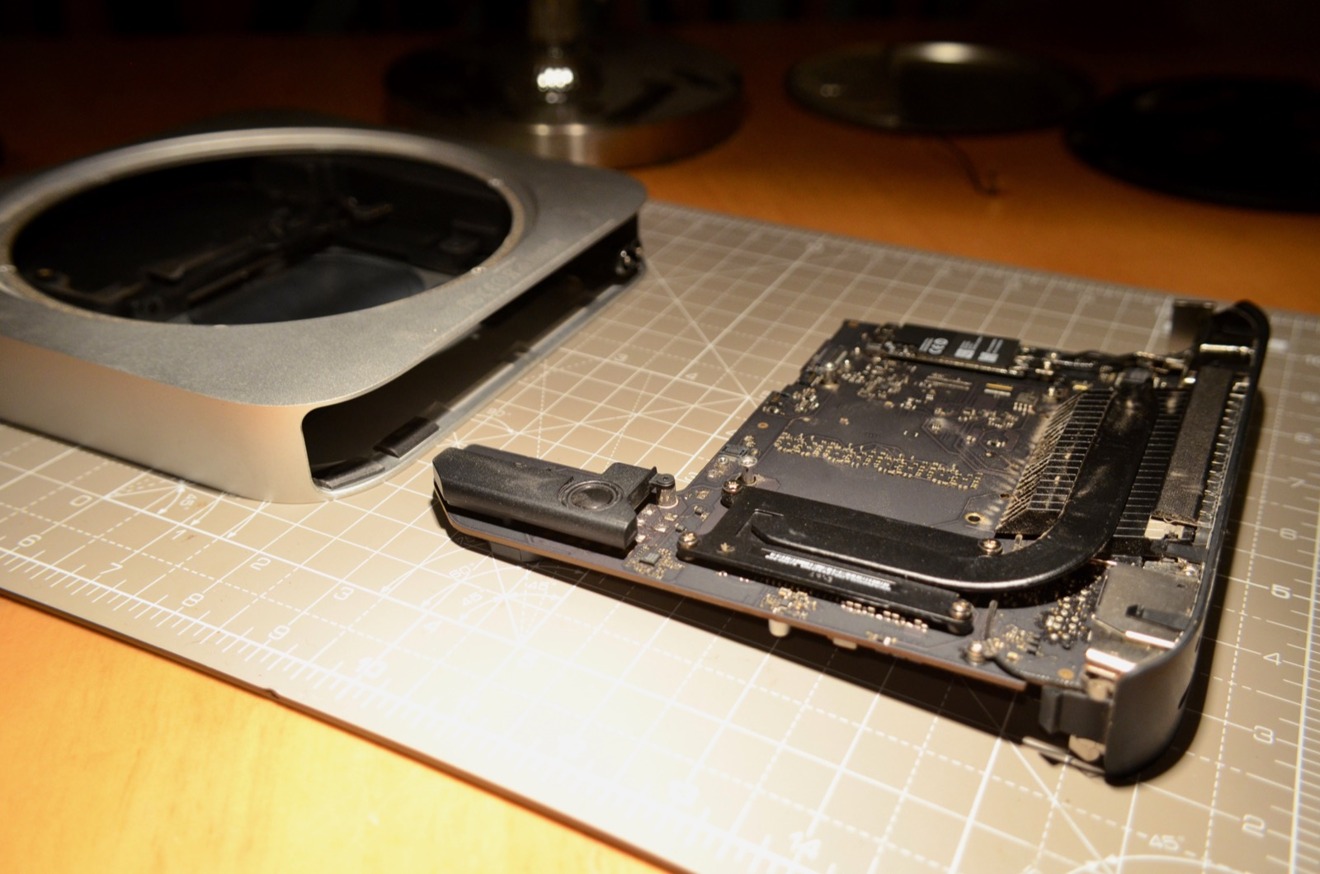
The logic board assembly, outside the Mac mini
It is much easier to reconnect things like the IR sensor cable and the fan connections, as they can only go one way into the socket, and can easily be pressed in with a finger once seated.
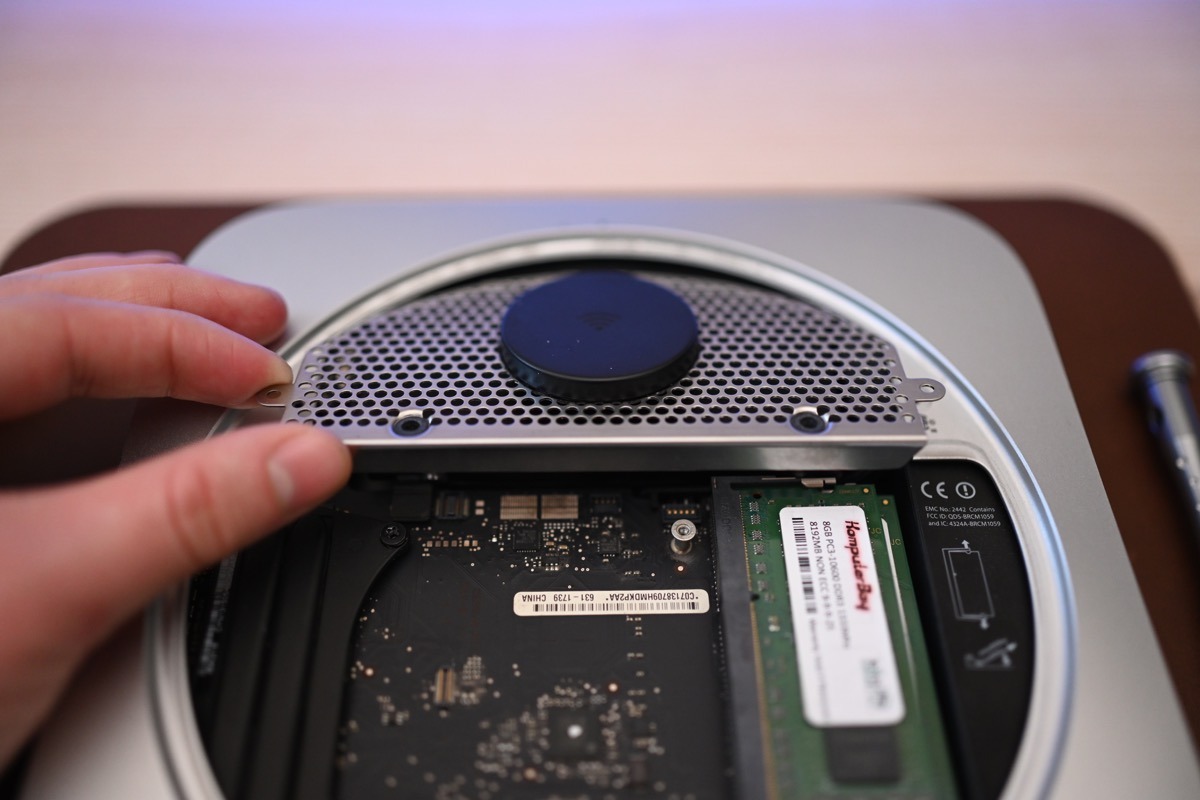
When getting the antenna cable put back into place, it is far easier to attach it to the Airport card before screwing the bracket into place. There is also less of a need to try and fit the cable in tidily when placing the plate on, though it may be worth tucking it in a bit beforehand.
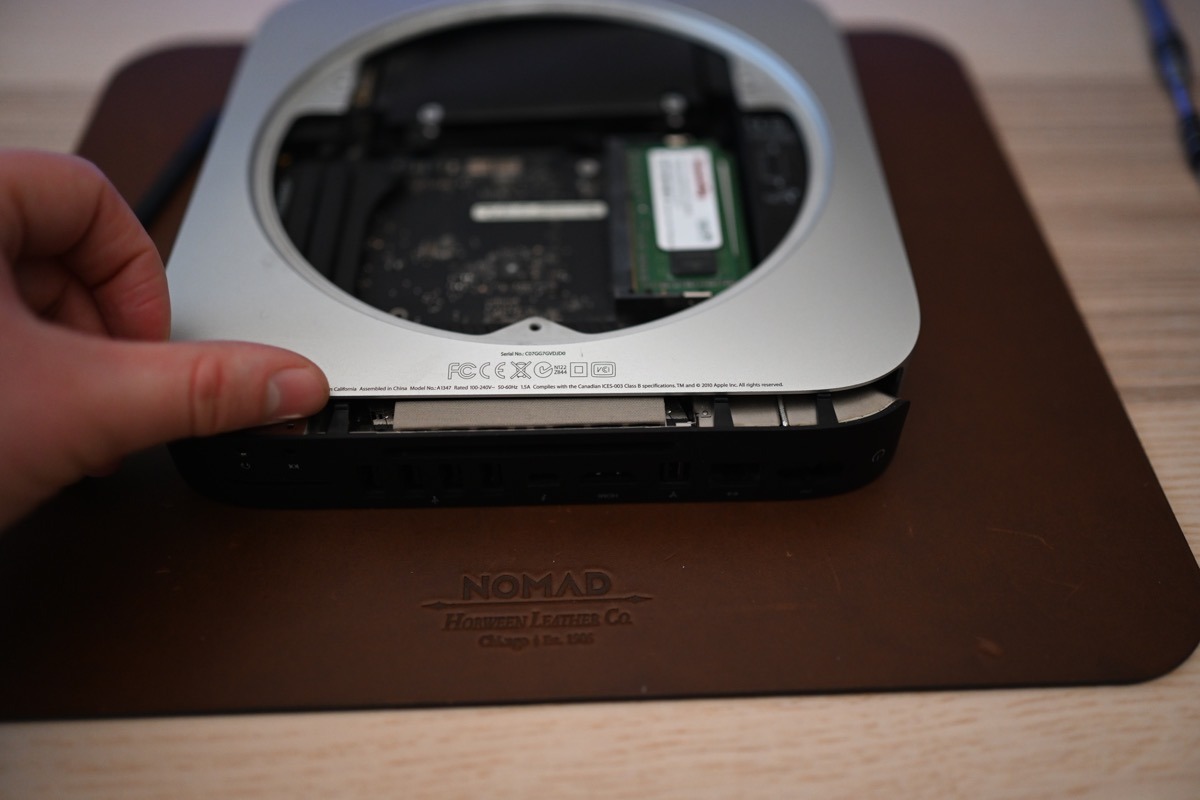
Lastly, the plastic base can be reapplied, but notably placement is important otherwise it won't fit correctly. An easy way to line it up is to have the back of the Mac mini towards you and to orient the base so the words Mac mini are easily readable from left to right.
Disassembly - 2012 Mac Mini
The process to take apart the earlier 2012 generation of the Mac mini is largely similar to that of the Late 2014 version, and uses practically the same collection of tools.
To start with, remove the bottom panel, though this time it can be done without extra tools. Place your thumbs in the depressed thumb holes on the panel and apply opposing pressure to rotate the panel counter-clockwise, until the white dot aligns with the outlined dot on the enclosure, then lift the panel off.
Removing the bottom panel is easier with the two thumb holes
Using a T6 Torx screwdriver, remove the two screws holding the fan in place, located on the top two corners, near the antenna plate. Lift the fan carefully, and pull the connector for the attached cable free from the rest of the assembly. Remove the Fan.
Assuming the ports are pointed towards you, on the bottom left is a single T6 screw holding a curved piece of cowling. Remove the screw, then rotate the cowling towards the end nearest the antenna plate.
Next, to remove the metal antenna plate, take out the four T8 screws as well as the connector on the left-hand side, below the plate. Use a spudger or another prying tool to disconnect the connector, then remove the plate itself.

Again, it is time to disconnect both the IR sensor and hard drive connections from the logic board. Just as earlier, use a prying tool to carefully release the connections, with special attention due for the IR sensor connector.
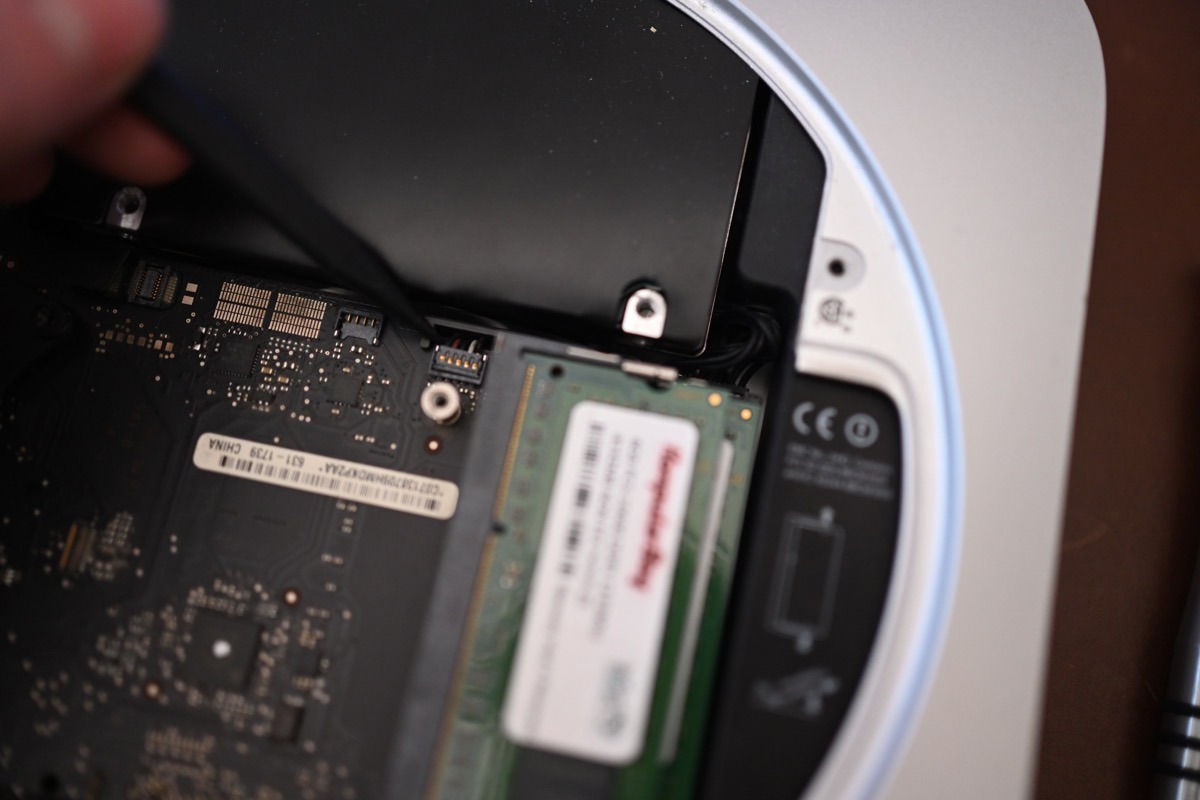
Another three more screws, a T8 and two T6 screws towards the bottom of the housing, can be removed from the logic board. At this point, you can use the logic board removal tool to slide out the board from the enclosure, but in this instance, don't pull it all the way, as there are cables still attached.
The hard drive should now be accessible from the front area of the Mac mini's cavity, which can be slid towards you then up to be freed.
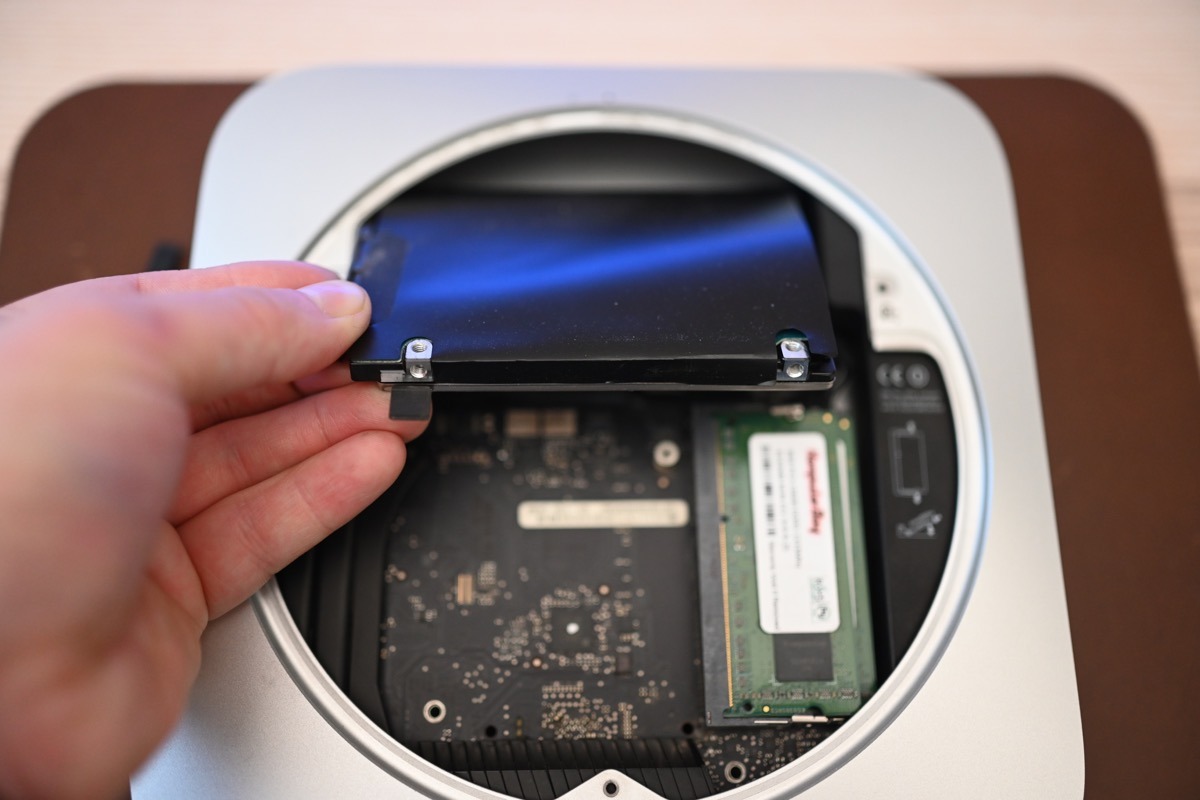
Pulling the drive out is possible after sliding the logic board assembly out a small amount
Remove the tape holding the connector in place, detach it, and attach it to the new drive. At the same time, transfer any other items across to the new drive, including the cover and the mounting screws.

As with the 2014 Mac mini, now is the time to reassemble your Mac by reversing the disassembly steps.
Shopping list
Ready to tackle a drive switch? Here's a quick shopping list to get you started:
- TR6 Torx Security and T8 Torx screwdrivers
- Logic board removal tool
- Guitar picks or a plastic disassembly tool known as a "spudger"
- Pair of tweezers
- Carbon Copy Cloner software
- 2.5" SATA SSD
Prefer to opt for a new Mac mini with an SSD already installed? Apple authorized resellers are knocking up to $50 off 2018 Mac mini models with free shipping.