Here's a comprehensive guide to the surprising number of ways you can take a screenshot on Apple's iOS and watchOS devices — plus how to annotate those shots and share them, too.
You thought it was just you who takes screengrabs or screen shots of what's on your iPhone, iPad and Apple Watch. Yet Apple has both provided and refined ways you can do it so much that presumably very many people are demanding it. Which only makes it odder that the methods might as well be hidden, because there is nothing on your device to tell you how to do it.
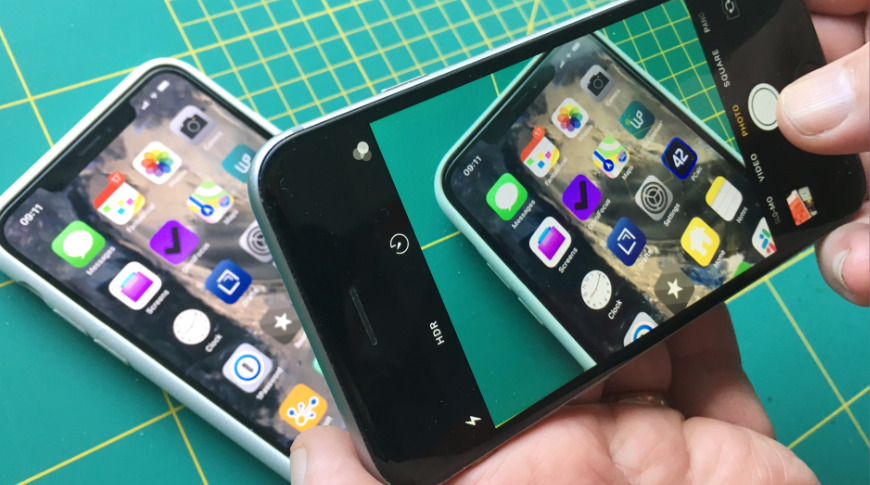
On an iPhone or iPad with Face ID, you take a screenshot or grab by simultaneously pressing the Sleep/Wake and Volume Up buttons. On older iPhones, you need to press both the Home button and the Sleep/Wake one together.
In all cases, you'll know that you've taken the shot because the screen will flash white and you'll hear the sound of a camera shutter clicking.
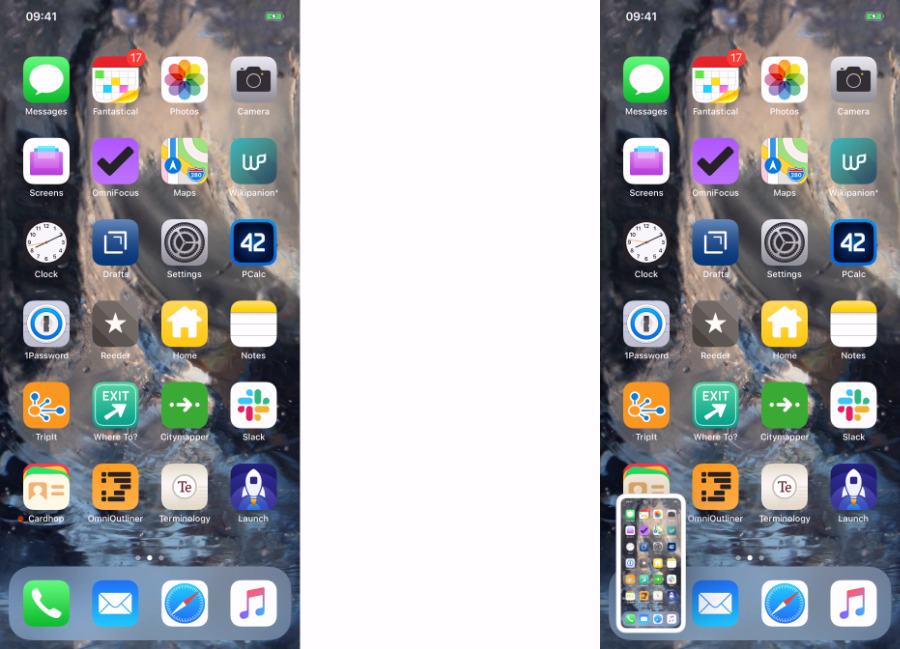
You'll also now briefly see a thumbnail version of the image you've taken. It appears at the bottom left of your iOS screen for a few moments, and then slides away off the screen.
Very, very nicely, if you take another screenshot while that thumbnail is on the screen, iOS still gives you a perfect, uninterrupted screenshot just as if the thumbnail weren't there. That's a smart touch, and one that we wish macOS would copy.
Other than the new thumbnail, though, that's it. You take the shot as you've always been able to take it. We've got screenshots of our iPhone home screens going back to 2007, and every one was taken in exactly this way.
However, some things have changed. They've changed considerably and they've changed for the better. Apple has recognized that very often we're taking a screenshot to use for one quick job and then forget.
You know you've taken the shot when the screen flashes white and there's a camera-click sound
Instead of building an archive of iOS home screens over the years, we're just on the phone to someone trying to tell them which button to tap in Settings.
What we want to do is take that shot and ideally mark it up in some way to be sure we're clear which button we're talking about. We want to then send that shot over to whoever it is we're helping, and then we want rid of both them and the shot, please.
All of that can now be done and very easily.
Annotate Now
Do exactly the same thing to take a shot but now when the thumbnail appears at bottom left, tap on it.
That opens the shot up into an editor. In that editor, you can mark up the image by drawing on it, you can crop out the bits you don't want, and you can annotate with text. So in this one spot you can circle a crucial element and then write "Press Here" next to it.
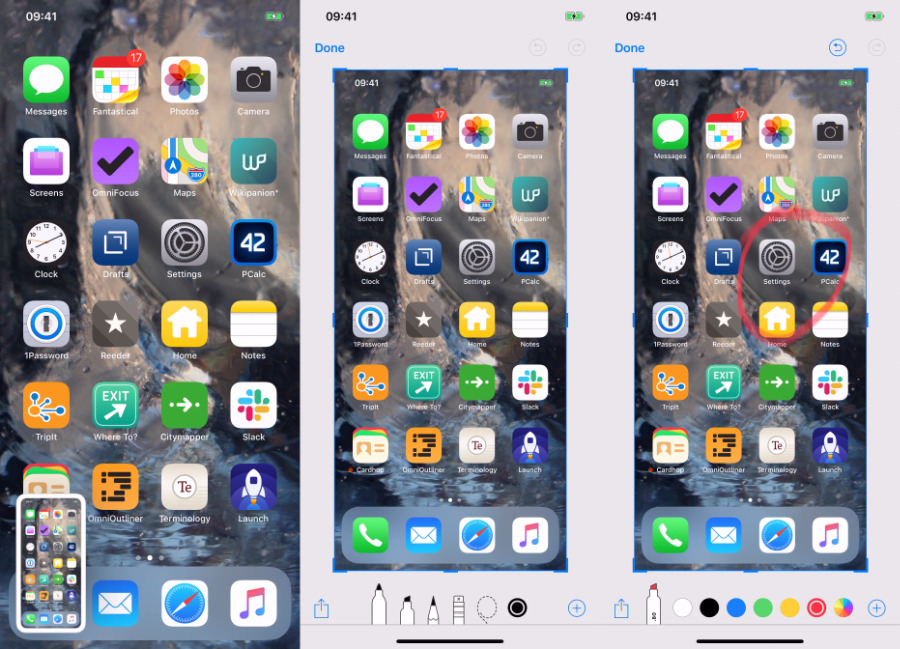
Tap on the thumbnail to open it and make annotations
Now that you've got it ready to show someone, send it to them right from here. Tap on the Share icon at bottom left, and you'll get the regular Share sheet. You can email from here, send a message, AirDrop or save it an app, all with one tap.
If you're doing this a lot, or you're always sending these shots to many people at the same time, you can create a Shortcut that takes the image and then automatically emails it out to them all.
Clogging up your camera roll
The trouble with doing this often is that you end up with a lot of images. Your Camera Roll can be clogged with screenshots you no longer want.
That will still happen to you, but it should happen less than before. That's because when you've tapped an image and edited it, you end by then tapping on a Done button. When you do, iOS asks if you want to Save to Photos or Delete. Make your choice right there and you need never have redundant screenshots taking up space on your Camera Roll.
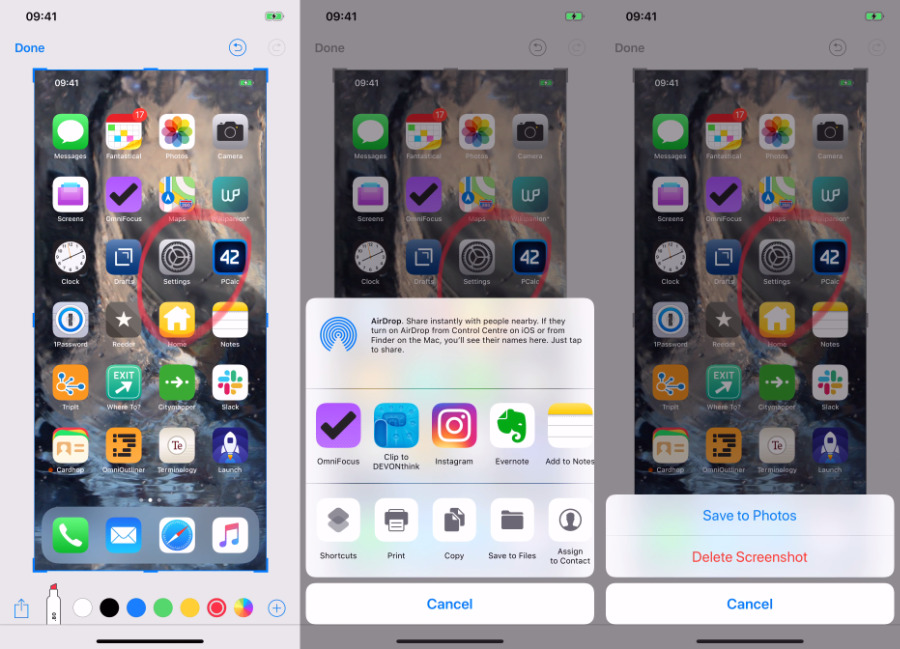
Share the marked-up image and then delete it without saving to your Camera Roll
En masse
If you are taking many screenshots, there's a chance you're going to be taking many of them at the same time. You might need to take a whole series in one rapid-fire go, and here it's fantastic that iOS knows to hide the thumbnail.
What's also fantastic is that when you do take a lot of shots one after another, that thumbnail shows you them all. It's really just a fatter icon with more layers peeking out, you can't see more than the front image clearly. Yet it tells you that you have a whole bunch of them — and you can do something with the lot.
Tap on the thumbnail icon and you go into the editor again, but this time with all of the images open in a row.
You can make any edits or annotations you want to any of them by working on one and then swiping to the next. You do have to watch that you actually swipe to the next image, though, as depending on quite where your finger is, you can end up dragging a vertical crop on the current image instead. If you start to do that, tap away from the image and swipe again.
When you're done, you have the same ability to share all of these images at once, and you have the same option to delete them right there and then.
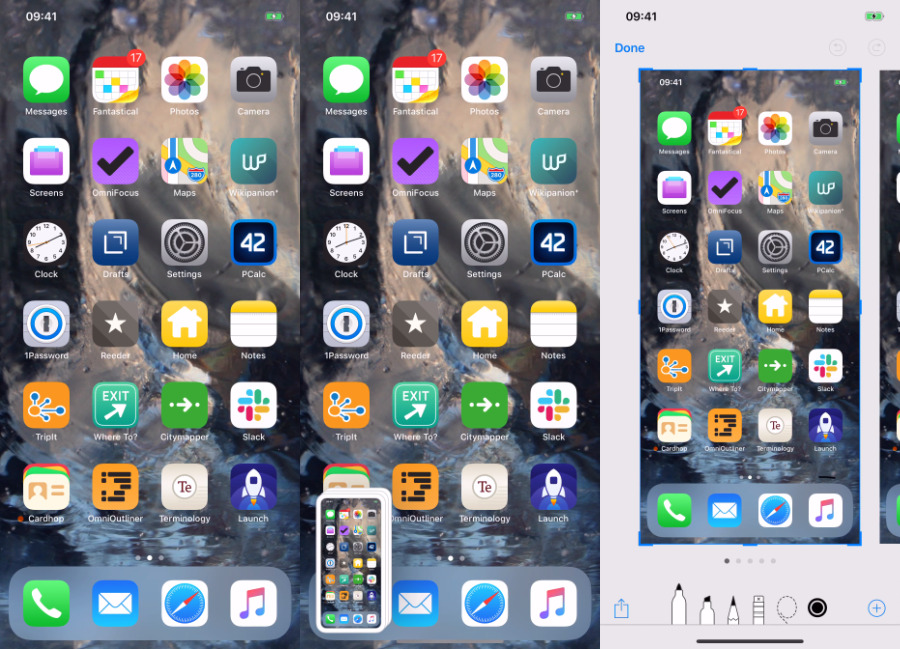
Take several shots in quick succession and you can mark up or send all of them together
Apple Watch
For some reason, Apple Watch is the only device where you have to positively choose that you are going to take screenshots. It isn't just a case of learning the peculiar key presses you need.
On your iPhone, open the Watch app and tap on General. Scroll down to Enable Screenshots and tap that to On.
After that, you can take a screenshot at any time on your Apple Watch. You take it by simultaneously pressing the side button and the Digital Crown.
Then, as with the iPhone screenshots, the Watch face will flash white and you've taken the shot — but it doesn't appear on your Watch.
Instead, the screengrab of the Apple Watch face has been saved to your iPhone's Camera Roll.
Third-party apps
Perhaps surprisingly, there are apps that you can buy which will take screenshots of your iPhone or iPad. The sole difference between them and Apple's built-in solutions, though, is that they will automatically stitch together multiple shots.
The idea is that if you want to take a grab of a web page, for instance, you're unlikely to get everything on one shot. You'll have to scroll and take another one of the next part and the next.
Many third-party apps will let you do that and then composite the images together into one. Others will let you take one shot and, by themselves, grab the rest of the screen.
So they're useful if, for instance, it's a long web page you're trying to capture, but otherwise they offer nothing that Apple's options don't. Check out one of the best ones, Picsew, to see if it's going to be of use to you.
Hang on a moment
Apple's screen-grabbing tools have this brilliant feature that they don't take a shot of the thumbnails that appear on screen. Yet you've just seen many screengrabs with those thumbnails prominently featured.
To do that, you don't take a screenshot, you take a movie. As well as single images, you can take screen recordings of your IOS devices, your Mac and your Apple TV, which we'll cover next.
Keep up with AppleInsider by downloading the AppleInsider app for iOS, and follow us on YouTube, Twitter @appleinsider and Facebook for live, late-breaking coverage. You can also check out our official Instagram account for exclusive photos.