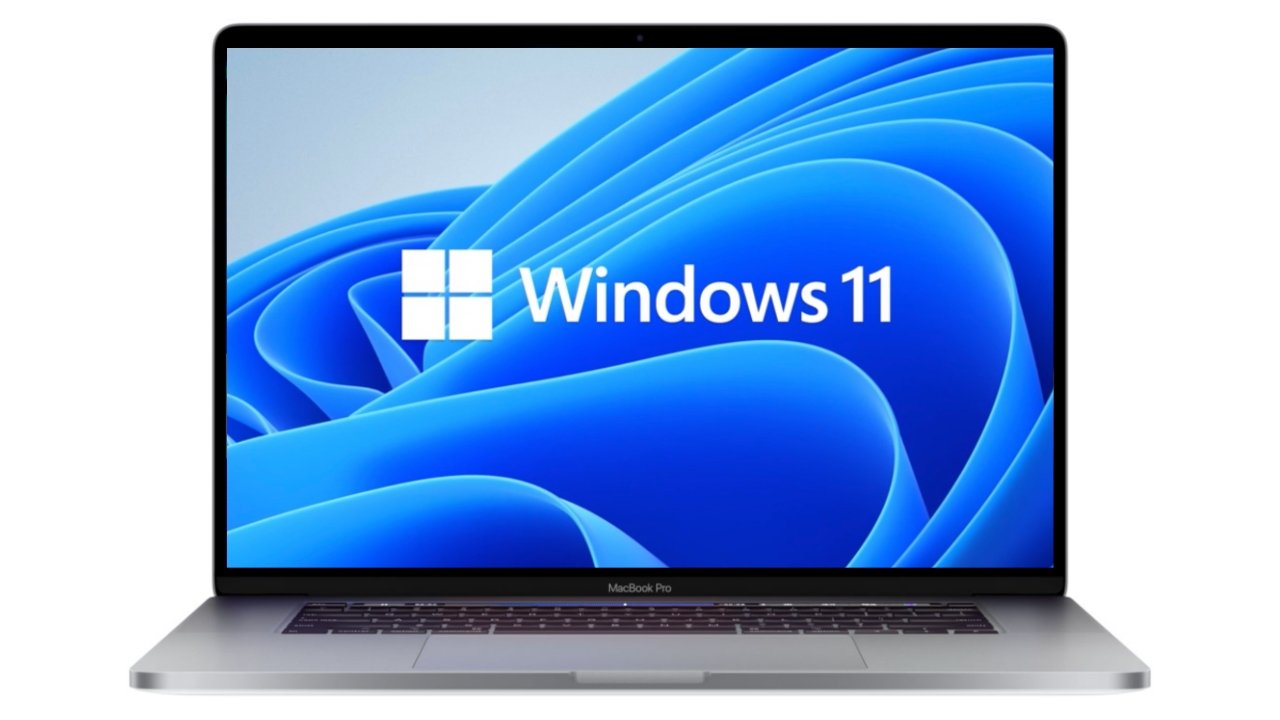
When it's finally released, Windows 11 will require a processor with TPM 2.0 support and a compatible motherboard to install, but this isn't fully available in Macs at present. But — there are workarounds.
Microsoft announced Windows 11 on Thursday with an all-new UI and better multitasking features. One requirement — the need for support for TPM 2.0 — may keep Macs from ever officially running the OS.
Some Macs have TPM 2.0 support in the processor, but as it stands, none of them support it on the motherboard. It may not be possible to do in software, but in order for an Intel Mac to run Windows 11 officially, Apple will have to update Macs for that compatibility, or Microsoft will have to remove that requirement.
So, in short, as of now there is no official support for running Windows 11 on a Mac.
Minimum system requirements for Windows 11
Before users attempt to install Windows 11 verify compatibility first. Regardless of workarounds used, the minimum specs must be met in order to run the operating system.
The system requirements for Windows 11 are:
- A "modern 64-bit processor" according to Microsoft
- 1Ghz clock speed
- 2 cores
- 64GB storage
- 4GB RAM
- UEFI, Secure Book capable & TPM 2.0
- 9-inch display with 1366x768 resolution
- DirectX 12 compatible graphics / WDDM 2.x
Microsoft's requirement of TPM 2.0 and other requirements limit support of processors to ones delivered in approximately the last six years. Apple's Mac lineup meet most of these specs in their default configuration going back several years, but the TPM 2.0 cutoff makes determining compatibility difficult.
The following Macs are the first models with TPM 2.0 in the CPU.
- MacBook (Retina, 12-inch, 2017)
- MacBook Air (13-inch, 2017)
- MacBook Pro (15-inch, 2016)
- MacBook Pro (13-inch, 2016, Four Thunderbolt 3 ports)
- MacBook Pro (13-inch, 2016, Two Thunderbolt 3 ports)
- Mac mini (2018)
- iMac Pro (2017)
- iMac (Retina 5K, 27-inch, 2017)
- iMac (Retina 4K, 21.5-inch, 2017)
- iMac (21.5-inch, 2017)
- Mac Pro (2019)
Any Mac in the lineup released before the models mentioned will never officially support Windows 11. Any Mac released after these models still running Intel-based processors will have the necessary requirements to run the operating system, but official support hasn't been provided, and we're not expecting it.
But, using a workaround, users can bypass the TPM 2.0 requirement. This means that, with the workaround, Windows 11 will work on any Mac capable of running Windows 10 that meets the other minimum specs.
How to install Windows 11 on Mac with a custom ISO file
Create a custom ISO file to install Windows 11 on Mac
What you need
- A Mac that meets the minimum system requirements for Windows 11
- Windows 10 ISO
- Windows 11 ISO
- Any ISO file maker app
Note that the Mac must meet the minimum system requirements to run Windows 11 like 64GB of storage and a dual-core processor. However, the workaround bypasses the TPM 2.0 requirement, so that can be ignored.
How to create a custom ISO file to bypass the Windows 11 TPM 2.0 requirement
- Mount the Windows 11 ISO file using DiskImageMounter
- Copy contents of the install media into a new folder on the desktop
- Unmount the Windows 11 image file
- Open the Windows 10 install image using DiskImageMounter
- Open the "sources" folder
- Copy "Install.wim" onto the desktop
- Unmount the Windows 10 ISO file
- Edit the "Install.wim" file extension using "Get Info" in the right click menu
- Select "Name & Extension" and rename the file to "Install.esd"
- Open the new folder containing the Windows 11 ISO contents from earlier
- Open the "sources" folder
- Delete the "Install.esd" file located there
- Move the new "Install.esd" file you modified into the "source" folder
- Use an ISO file maker app to convert the Windows 11 folder into an ISO file
Install Windows 11 from a custom ISO file in Boot Camp
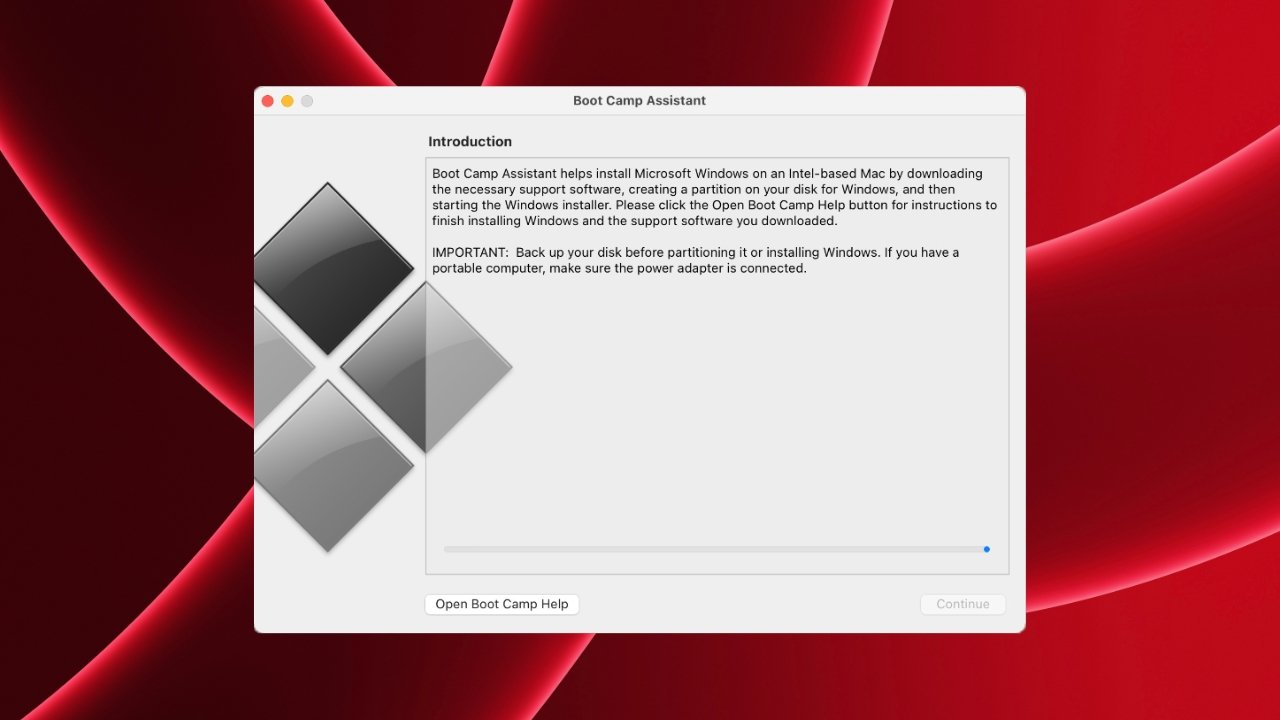
- Open Boot Camp
- Choose the custom ISO file for the "ISO Image"
- Click "Install"
The Windows 11 installer should run via Boot Camp from here. Follow the on-screen prompts to get Windows 11 up and running.
The Windows 11 Boot Camp installer will be open when the operating system boots for the first time. Follow the prompts to get the compatibility drivers installed and finish the installation.
We do not recommend this procedure for most. There are no guarantees that the updates between reveal and release will not break the installation, and it remains to be seen if Microsoft will implement more robust TPM 2.0 checks prior to launch.