If you have an extensive movie collection, you may want to share it with other devices on your home network instead of paying for loads of streaming services. Here's how you can use Plex to create your own mini Netflix.
Streaming services have become popular over the years, providing heaps of content to view whenever you want, all streamed over the Internet. While many people bought DVDs and Blu-rays, streaming services like Netflix, Amazon's Prime Instant Video, and even Apple TV offers content without needing to buy the physical media in the first place.
However, while streaming services can have extensive content catalogs, they are not limitless. Even if you signed up for many different streaming apps to get as much variety of content as possible, there might still be gaps in what they offer.
Some of a person's DVD and Blu-ray collections may not even exist on any streaming service due to licensing or other legal reasons. Indeed, it may seem like a waste of money to subscribe to many streaming services if you already own a copy of the TV shows or films you want to watch, if only for the ability to watch them wherever and whenever you want.
The solution to this may well be a software platform that has been around for quite a few years: Plex.
Plex streaming
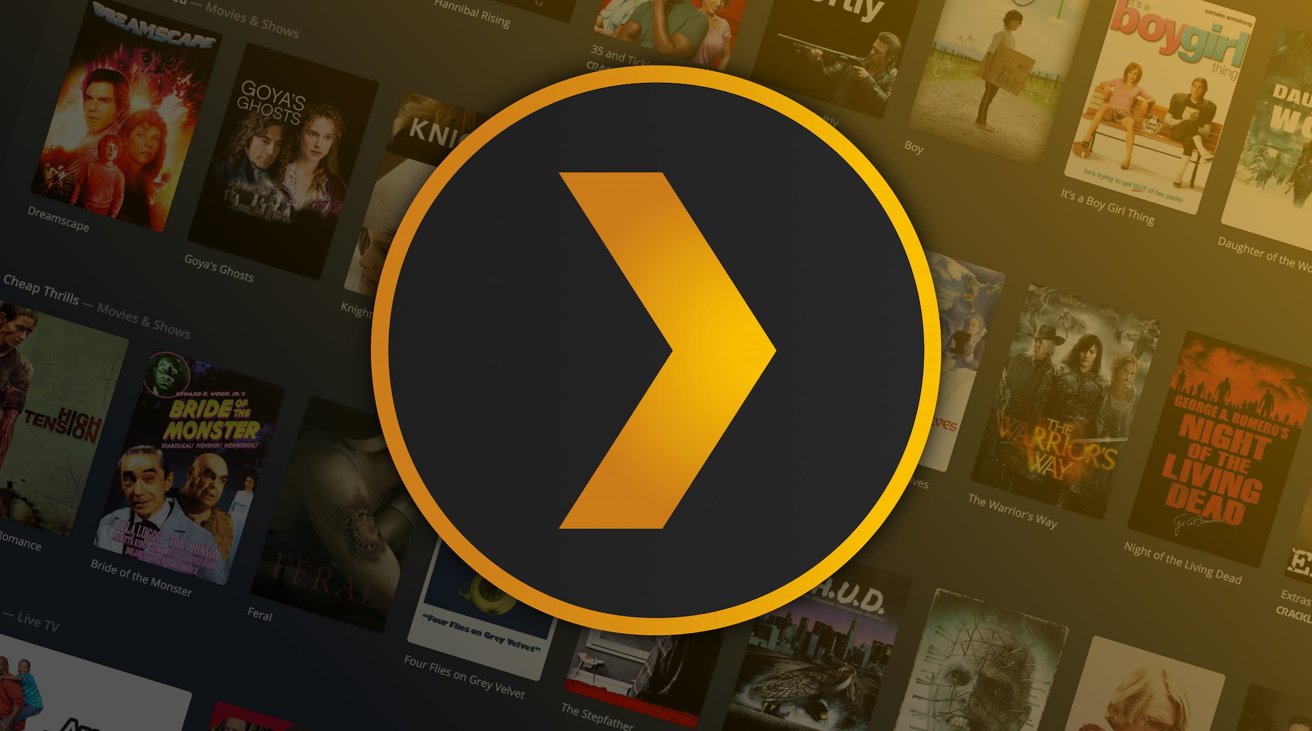
Plex has grown over the years to become a one-stop shop for streaming content, providing users with a wide variety of free shows and movies to stream on their devices. However, it is probably better known for its other capability of enabling users to create their own private streaming service.
On a much smaller scale than the major players, Plex users can create a server from their computer, a network-attached storage device, or another data store on their network. Then, using apps for the iPhone, iPad, and other devices, you can then stream content you store on that server to your local screen on demand.
This content includes video but also music and images.

You certainly can stream your own locally-stored content, but Plex does offer a lot to stream for free.
Streaming is usually handled across the local network, but if you're on vacation or out of the home and far from the network, you could also stream from the server to your device.
That multi-device support is essential to Plex, as it means you can use it on more hardware than a more restrictive feature like Apple's Home Sharing. Transcoding can ensure that the stream is as optimal as possible for the device you want to use for viewing.
While setting up the Plex server could take a lot of effort initially, especially if you have a vast media collection, it could become the entertainment oasis you need.
Plex is (mostly) free
Plex is largely free for most of the service, but there are two passes available to go beyond the basics.
The Plex Pass is available for a monthly fee of $6.99 per month, annually at $69.99 or $249.99 for a lifetime pass.
However, there is a lot you can use without paying for anything.
That includes setting up the Plex Media Server, using the Plex web app, and ad-supported on-demand movies and shows hosted by Plex. With a compatible tuner and antenna attached to the server, you can also watch live TV broadcasts.
You can also use all non-mobile versions of the Plex apps, including versions for set-top boxes like the Apple TV, game consoles, and Windows PCs and Macs, within your home network.
If you want to stream content outside of your home network, the Remote Watch Pass will allow it. At $1.99 per month or $19.99 per year, it will let you stream media from any Plex server you have access to, from anywhere in the world.
But the Remote Watch Pass is not necessary if the server owner you're trying to stream from has any of the tiers of Plex Pass. Read on a bit for more on how that all relates.
This is what you will need to get, at a minimum, if you want to watch your home collection from your iPhone while away from home. In-home streaming is still free, but following the March 2025 price increases, remote streaming is now a paid feature, one way or another.
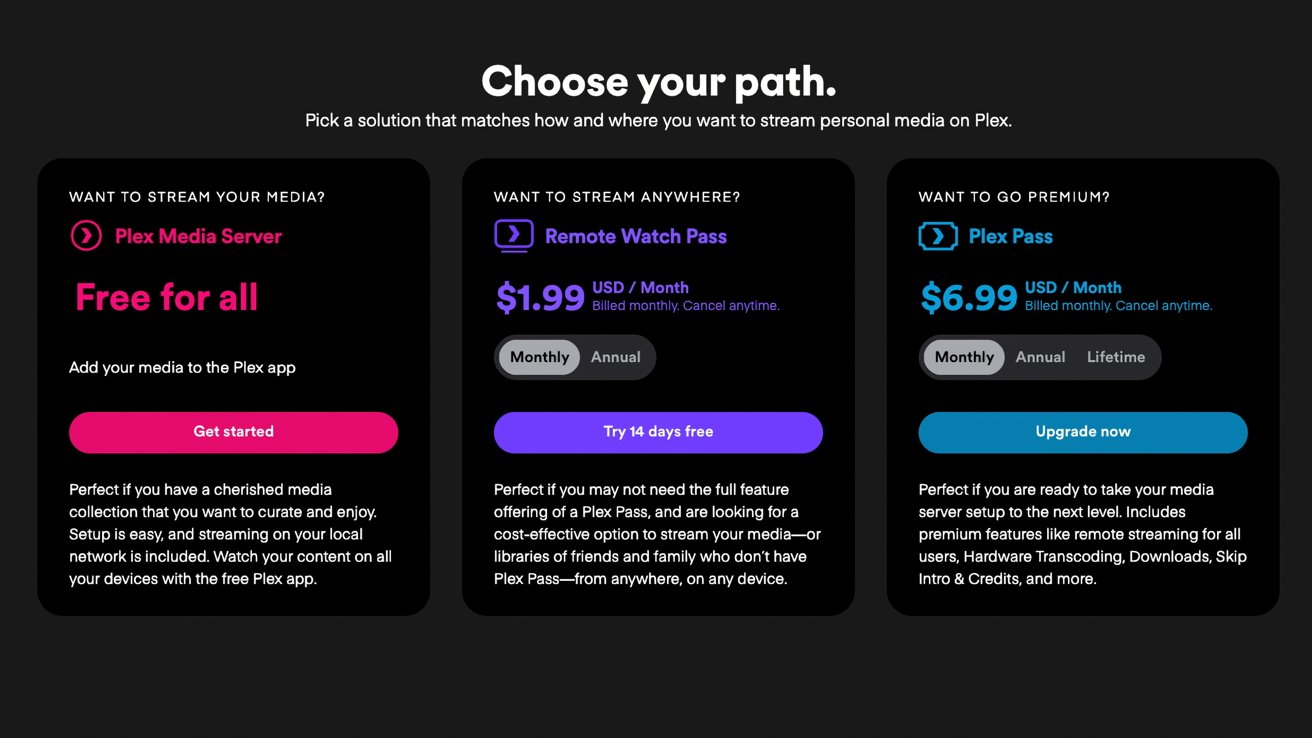
There are two paid tiers of Plex beyond the free option.
The Plex Pass itself adds more hosting functionality, including accessing the Plex Dash app to remotely manage the Plex Media Server on a mobile device.
On top of being able to stream remotely from any other Plex server you have access too, you can also grant access to your server to any other user for remote streaming. All without them needing to have an active Remote Watch pass.
Plex Pass users can also expand the content that can be streamed from the server, including trailers and extras like behind-the-scenes clips. They can also skip the credits and intros of TV shows in their personal library, like you can with other fully-fledged streaming services.
You also get the ability to record over-the-air broadcasts, not just watch live from an installed tuner. Music Libraries can be enhanced by lyrics from LyricFind, Sonic Analysis, Sonic Sage, and other tools.
It also enables advanced features like hardware-accelerated streaming and transcoding. This is an essential item to include since your designated server or NAS device handles the processing of converting content into something that can be optimally streamed to your chosen device, potentially saving bandwidth.
There's also HDR to SDR tone mapping and music elements like loudness leveling and sonic analysis.
Those who want to lean heavily into Plex may wish to pay for the package. But, if all you want is basic streaming to your iPhone and iPad, you may be better off going down the Remote Watch Pass route.
Legal stuff
Generally speaking, if you have created a piece of content that you want to share with others, laws around the world typically allow you to do that. The key is to own the content, such as by filming or creating it yourself.
When it comes to other mass-produced content by media companies, such as movies and TV shows bought on physical discs, the legality of taking the content and serving it to yourself via a different medium becomes ambiguous. Indeed, the process of ripping the content alone can be legally problematic, depending on the country you're in, even for personal use.
Part of the problem is that preparing something like a Plex server by loading it with content requires acquiring that content in the first place. Piracy is obviously not legally an option for this, leaving the grey area of ripping as your main legitimate option.
That is, so long as it's used on the home network and not shared with others. Likewise, you can't rent or borrow physical discs for the same purpose, as you're effectively pirating for your own platform without compensating rights-holders.
However, there is the legal argument that, like other areas of computing, users are entitled to a "backup" of their data and content and that ripping for use on a user's Plex server would be considered grey enough to be reasonable. So long as a copy of the media was legitimately bought and retained in some way, it's generally thought to be okay.
AppleInsider strongly recommends readers check out their local laws concerning home media storage and backups to ensure they are on the right side of the law before creating a Plex server.
Obviously, due to the legal implications of doing so, AppleInsider won't be covering the actual concept of creating the backups and will assume that the topic is covered via Google-Fu.
Plex Media Servers
To create your Plex system, you need to have two main things to set up: a server and clients.
A Plex Media Server is the software Plex uses to host the content on your chosen computer. Since it is a cross-platform system, the physical server can take many different forms, but typically it needs to be a computer with enough processing capability to handle transcoding and enough storage to hold whatever content you intend to stream.
That means you could use an old Windows PC loaded up with spare drives, a cobbled-together Linux box, a left-over Mac mini, or many other devices.
In the case of Macs, you need one that runs macOS 10.13 High Sierra or newer, and running an Intel Core i3 or equivalent as a minimum. Yes, this means you can get some more use out of an Intel Mac mini that you've replaced with an Apple Silicon model.
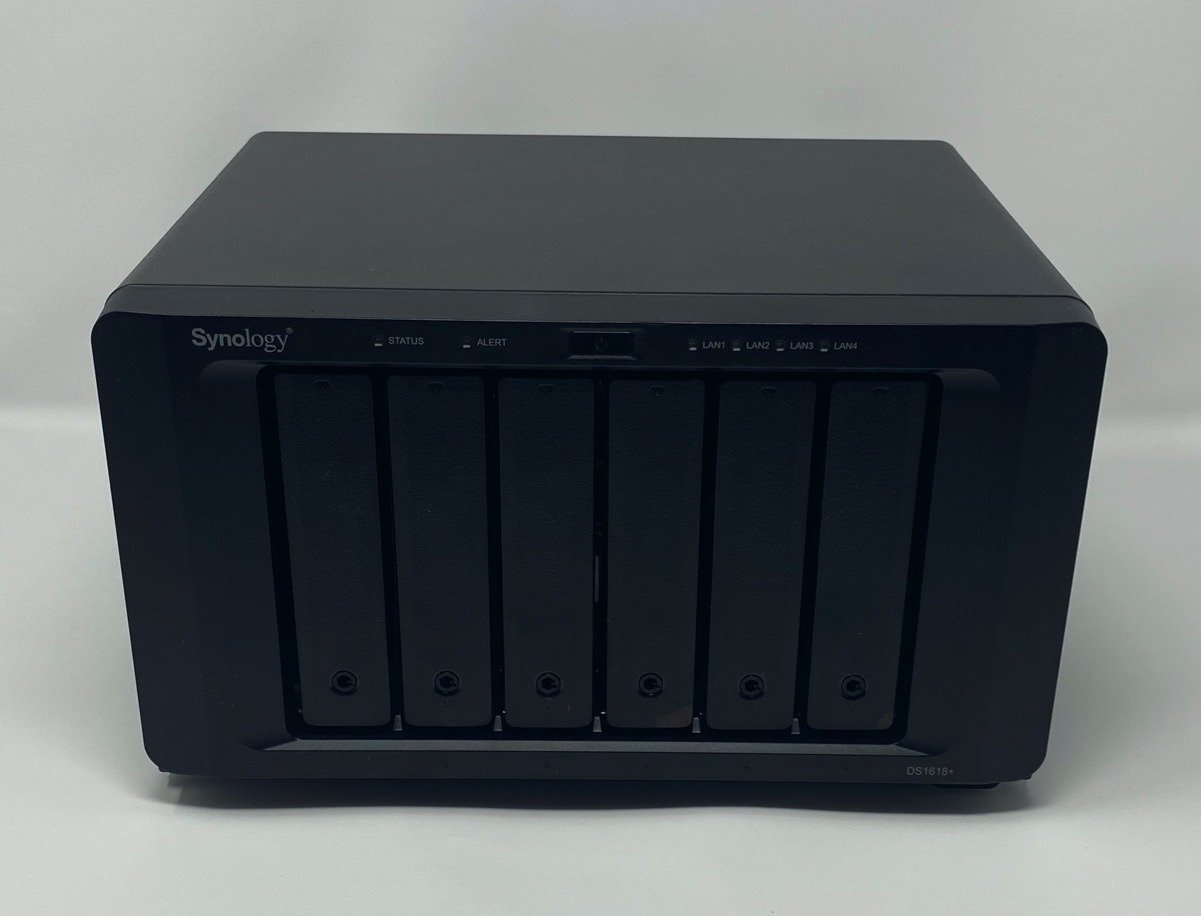
A NAS is ideal for a Plex server, if you have one available to use.
If you have a more extensive home networking setup, you may have a network-attached storage (NAS) device available. This may be the best option if you have mountains of media to store or don't want to occupy any background runtime of your desktops for streaming.
However, be aware when selecting a NAS for this purpose. Not all NAS devices have transcoding capabilities, which puts more of the video processing onto the device you're using to view it.
For this article, we will assume you're setting up Plex on your Mac.
How to set up Plex Media Server on macOS
- Create a free Plex account via the Plex website, as it will be required for managing your Plex Media Server and for streaming. Follow the process through the website.
- Download Plex Media Server to your Mac. Extract the archive, and place Plex Media Server in your Applications folder.
- Run the application. It will add a new icon to the Menu bar. If you haven't moved it to the Applications folder, it will offer to move itself for you.
- Plex will open a new browser tab on the first run and start its Basic Setup Wizard. It will first ask you to authenticate your Plex account.
- The Basic Setup will ask you to set some essential details about the server, including giving it a memorable name and if you want to "access my media outside my home." Enter these, then click Next.
- Manage the libraries to match the content you want to view, such as "Movie," "TV Show," and "Music."
- If a library type you want isn't initially set up, click Add Library, select the type, name it, click Next, click Add Folder, select the folder containing the media, click Add, then Add Library.
- Once all libraries are listed, click Next, Next, then Done to complete.
Once finished, the server will scan the selected library folders for content and add them as viewable items for any users accessing it. Don't worry if you haven't put content into the folders, as you can do that at a later time since Plex will periodically rescan for new content.
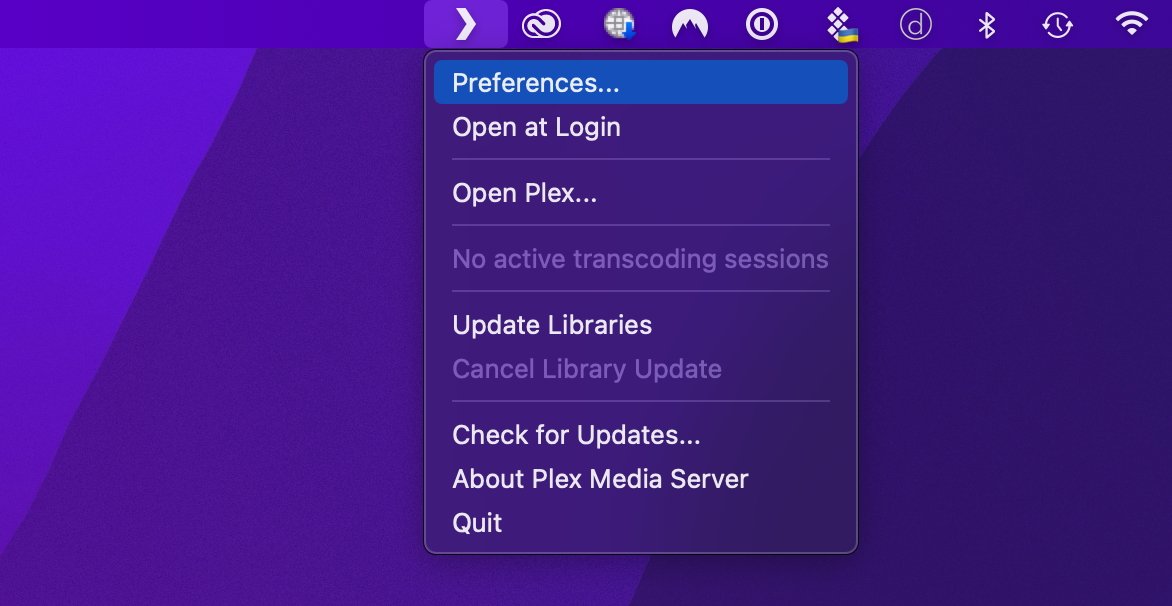
The Plex Media Server icon in the Menu bar, a good way to quickly tell if the server is running.
At this point, you are mostly done, so long as you have items in the library folders and they have been scanned. All you have to do is download the Plex client app on the device you want to watch from, log in, select your server and the correct library, then select and start enjoying the content.
Still more work to do
Getting the server set up is only part of the equation. The other and probably more intensive and tedious element is to get the content into a state that Plex can understand.
While Plex can take advantage of metadata to display your media perfectly in the app, and can do so automatically in some cases, it still needs to know what content it is before it can view it. That means you have to rename and archive each file in a specific way and with a certain name format in the libraries, in order for the metadata magic to begin.
Doing so will eliminate any confusing problems when viewing the collection, such as showing the correct name and movie poster. For example, you can't simply name a Batman film "Batman" and hope that Plex knows you mean "Batman Begins" instead of "Batman And Robin."
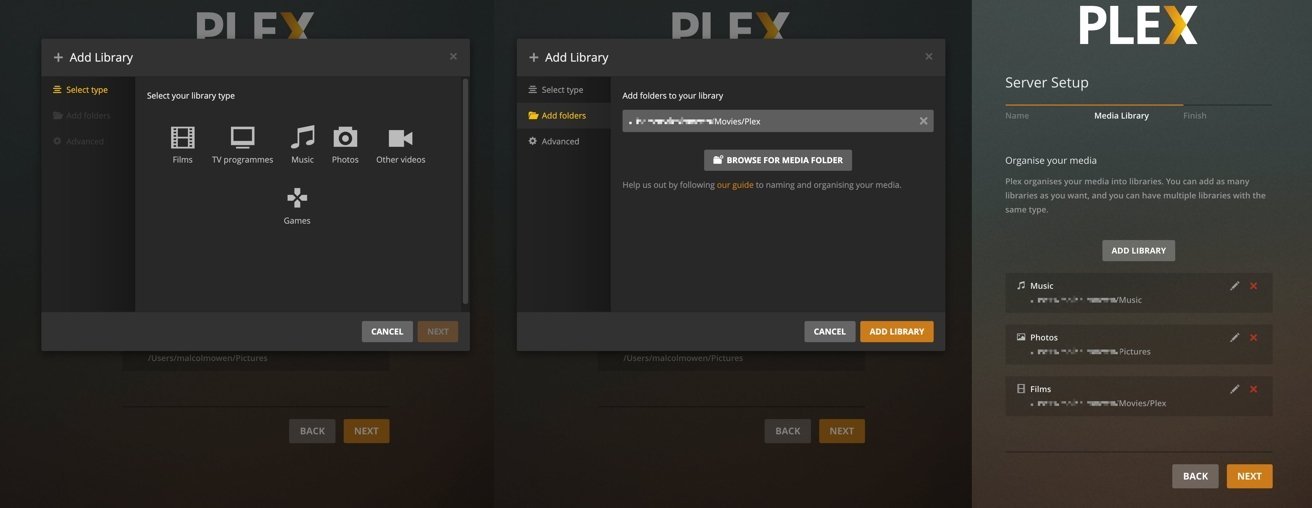
Setting up a media library in Plex.
Plex has support pages that explain how to name and organize your content optimally. This primarily means placing your movies and TV shows into separate folders, and then using a specific format that includes IMDB numbers for movies, and season and episode numbers or dates for TV shows.
This is a largely manual process, but there are applications available through a quick Google search that tout the ability to automatically rename content appropriately on your behalf.
You could also manage other things on the server, including setting the server to Open at Login so you don't have to manually run it all the time on a spare computer. Other elements can be tweaked to a high degree, such as transcoder settings, enabling plugins, or scheduling tasks to occur at low-usage times, but this is an exercise for the reader to explore further.
Once set up, you'll have a space to store your favorite media, and to access it at will within your home from practically any video-viewing device you want.