Quick Actions first appeared for Apple's macOS Mojave back in 2018, and got a big update in Ventura. Here's how to add and customize this handy workflow automation to streamline your life.
Ensuring you know how to add Quick Actions to your Finder window will make it easy to return to your workflows time and again without the need for opening apps and files to get your job done.
Adding Quick Actions to macOS Ventura
Quick Actions allow you to interact with files and complete vital tasks without opening resource-heavy apps. You can remove image backgrounds, convert files to PDF, or markup documents right from the Finder window.
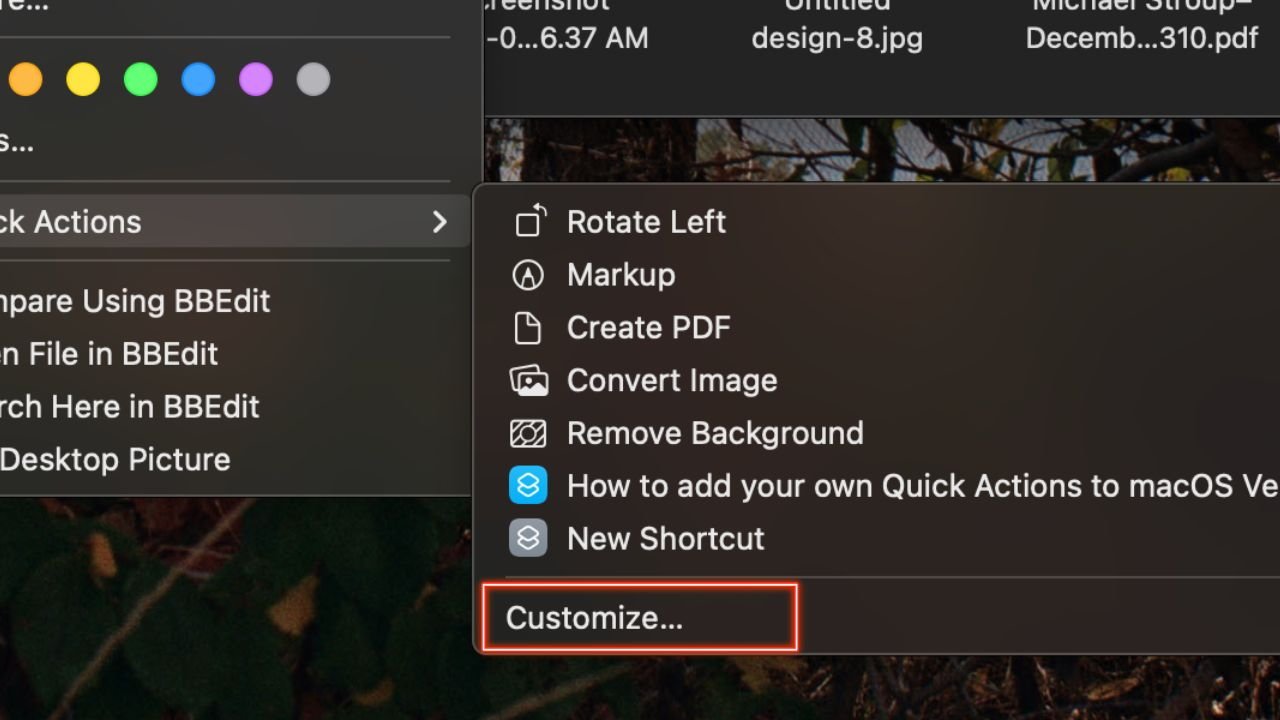
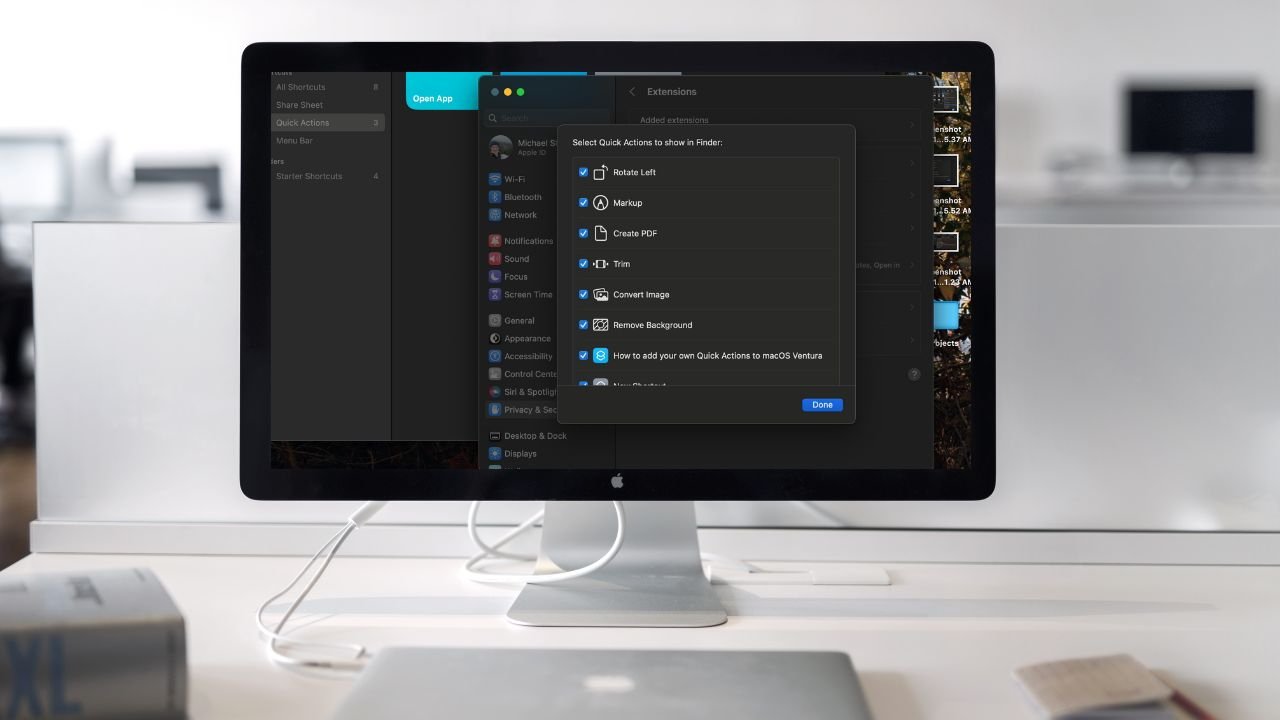
Selecting "Customize" will launch system settings for editing Quick Actions.
However, sometimes these functions aren't available. To add Quick Actions to macOS Ventura's Finder window, follow these simple steps:
- Open a Finder window by selecting the Finder app in your dock.
- On any file in your Finder window, right-click and scroll down to Quick Actions. This menu will display all the Quick Actions currently enabled on your device.
- Click on Customize, which will bring up your system settings and right to the Quick Actions options.
From this page, you'll be able to select and deselect which Quick Action functions you want to include when you access them through your Finder window.
Customizing Quick Actions to build workflows
Now, you may notice there are options to select "New Shortcuts." Enabling these shortcuts in your Quick Actions unlocks workflow automation you can access without opening apps.
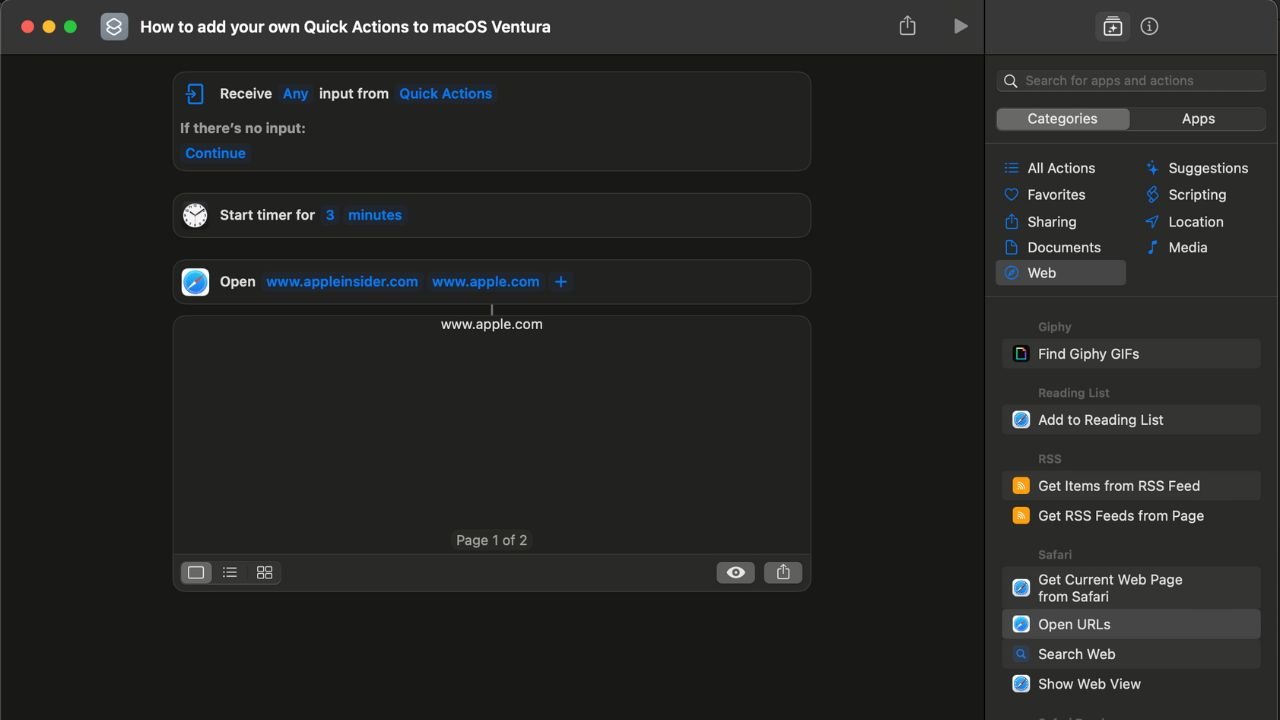
Build your own Quick Action workflows from the Shortcuts app.
In fact, customizing and enabling these shortcuts through Quick Actions can streamline everything from which apps open on your Mac to the most complex behaviors like running code.
- Start with opening the Shortcuts app.
- On the lefthand side, select Quick Actions from the list.
- You may already have some blank shortcuts already waiting for customization. If not, hit the + button on the top of the window.
- From this page, you'll be able to build your workflow shortcuts using pre-built functions on the right. Drag and drop these into the window to build your shortcut.
- After you build your workflow, test it to make sure it works how you'd like. If not, just drag each step to rearrange the workflow.
- Once you have everything perfect, give your shortcut a name by clicking the space titled Shortcut Name. You can further customize the icon color, and graphic by clicking on the button to the left of the name.
Selecting the i button will bring up options for how to access your shortcuts. You can establish keyboard shortcuts, touchbar options, or pin the shortcut to your dock.
Of course, you can also access these shortcuts in your Finder window, which is especially helpful for workflows that involve working directly with individual or multiple files.