You've heard the recommendations from cyber experts that a VPN (virtual private network) is the best way to reduce your risk by keeping your devices secure. Here's the ultimate guide for how you can install a Surfshark VPN app on your iOS device, like the iPhone and iPad.
Surfshark stands out as one of the best VPN providers due to its award-winning service, unlimited simultaneous connections, and advanced VPN features. From WireGuard and IKEv2 to Open VPN protocols, Surfshark has the features everyone needs to create the ultimate digital defense network.
Although Apple created a robust private architecture, adding a VPN on iPhone or iPad adds extra protection.
Why is an iPhone VPN needed?
The rise of cybercrime threatens your mobile data as you use your devices out in public. The warning to never connect to a public Wi-Fi network rings in our ears, but with an iPhone VPN app you can put those fears to bed.
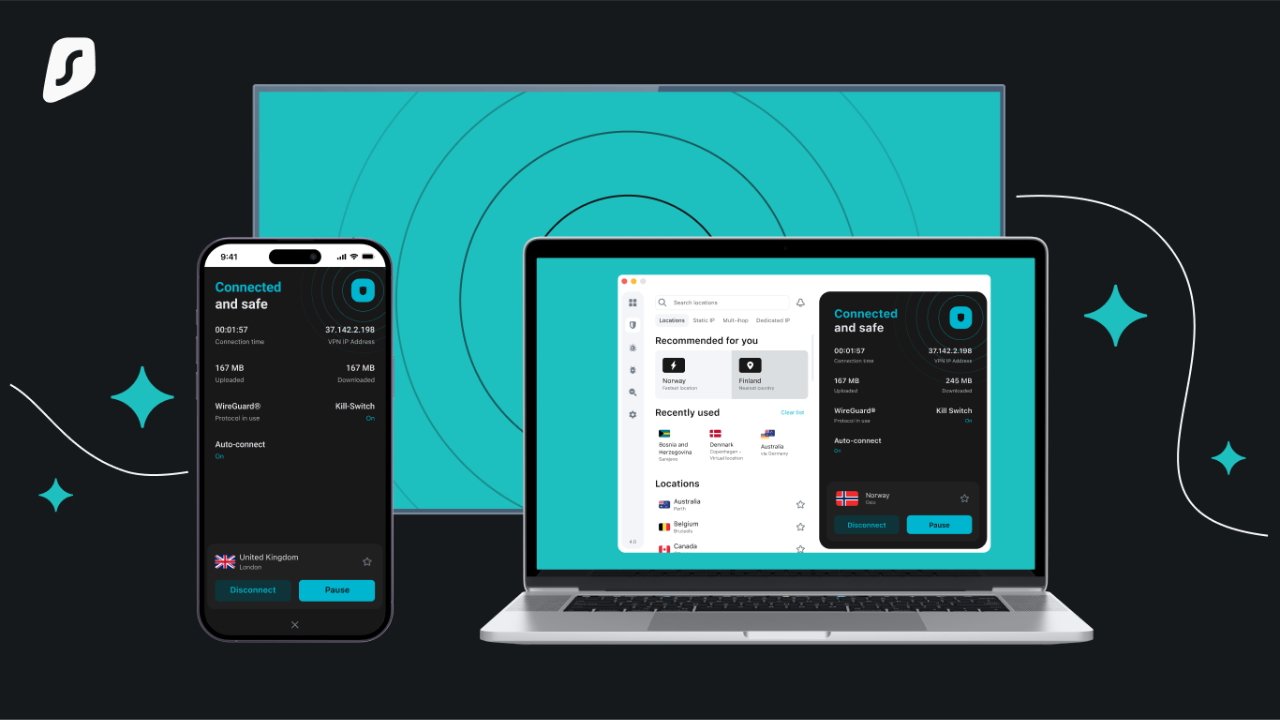
Surfshark VPN - available on all of your devices.
A VPN is the best way to encrypt your internet traffic, allowing you to stay secure while roaming the internet on unprotected networks. Using a VPN also allows you to access geo-restricted content, like TV shows and sporting events.
A VPN is also a must-have when traveling, as you never know when you might encounter censored websites. Plus, avoid price hikes based on your browsing history by using a VPN that masks that activity.
How to set up a VPN configuration on iPhone
Now that you know why an iOS VPN app is so valuable, let's cover how to get one installed on your iPhone. First, you want to buy a Surfshark VPN subscription from their website. You could go with a monthly plan, but those are pretty pricey.
Surfshark VPN - connect unlimited devices to a secure VPN.
Instead, we recommend you go with a longer-term option, like the 12-month or 24-month options. These longer terms make it as little as $2.39 per month, and the most popular option, Surfshark One, is only $3.06 per month at the 24-month level, which also gives you 79% off and 2 months free (check current VPN deals).
With your Surfshark subscription purchased, let's go through the steps to get your VPN app for iPhone activated and your browsing traffic protected.
5 easy steps
- Download the Surfshark iOS app from the App Store.
- Log into your account (or purchase a subscription from inside the app, then log in).
- Once logged in, you can connect for the first time. You will get a pop-up that tells you VPN configurations must be downloaded to your device. Tap allow for your iPhone or iPad to receive these configurations necessary for a successful connection.
- Tap Quick Connect to automatically connect to the fastest Surfshark server, which is usually the closest one to your real location. However, you can manually select a server based on your needs.
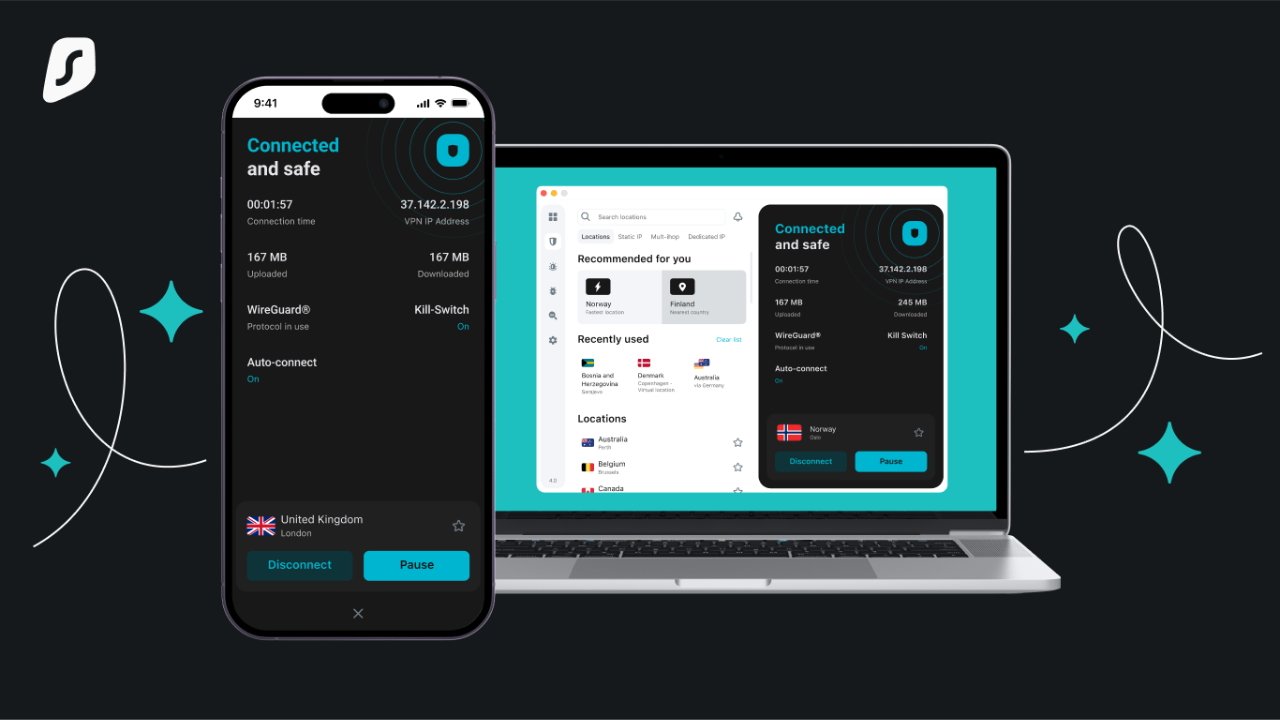
- You will receive a notification once the connection to the server is successful. On the dashboard, you'll also see a Connected and Safe banner to signify the connection is live.
The steps for setting up the Surfshark VPN are the same on the iPad, making it straightforward to set up a secure connection on Apple devices. Likewise, once the connection is active, you can manage server locations and access additional features.
Pick from 3,200 server locations worldwide
With 3,200 servers worldwide, Surfshark users can find the VPN server that's right for them based on their location and content desires. Flag your favorite locations with the star icon to the right of the server location for quick access whenever you need it.
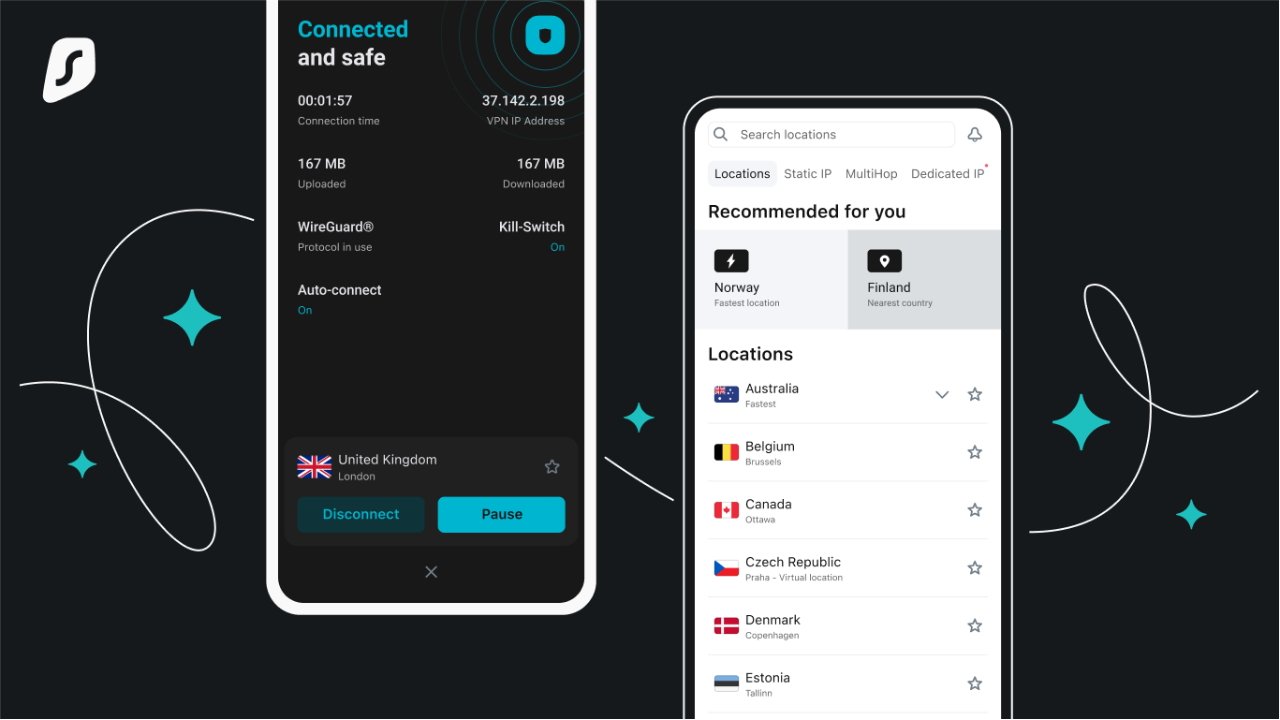
Surfshark VPN - find the perfect server to keep you safe.
Once connected to your desired VPN server, you can adjust your IP address settings. For example, selecting Static IP will give you the same IP address each time you connect, while Multi-Hop connections will route traffic through two servers.
You can also choose Dedicated IP, which is a separately purchased dedicated IP address unique to you as a user. Finally, a Surfshark One subscription provides additional features to keep you safe.
Other security tools include:
- Surfshark Alert - Receive alerts when personal information gets leaked.
- Alternative ID - Generate a new identity and email to use online.
- Surfshark Search - Free yourself from the Google Search tyranny.
The Surfshark app is the centralized hub to access and change any of these settings, making it easy for everyday users to customize their VPN connection.
How to test if a VPN connection is working on iPhone
While using a VPN for iPhone is a practical solution for hiding your browsing traffic or accessing blacked-out content, there are times when it doesn't work properly. You might also need reassurance that the VPN connection is secure and working so credit card or personal information remains encrypted.
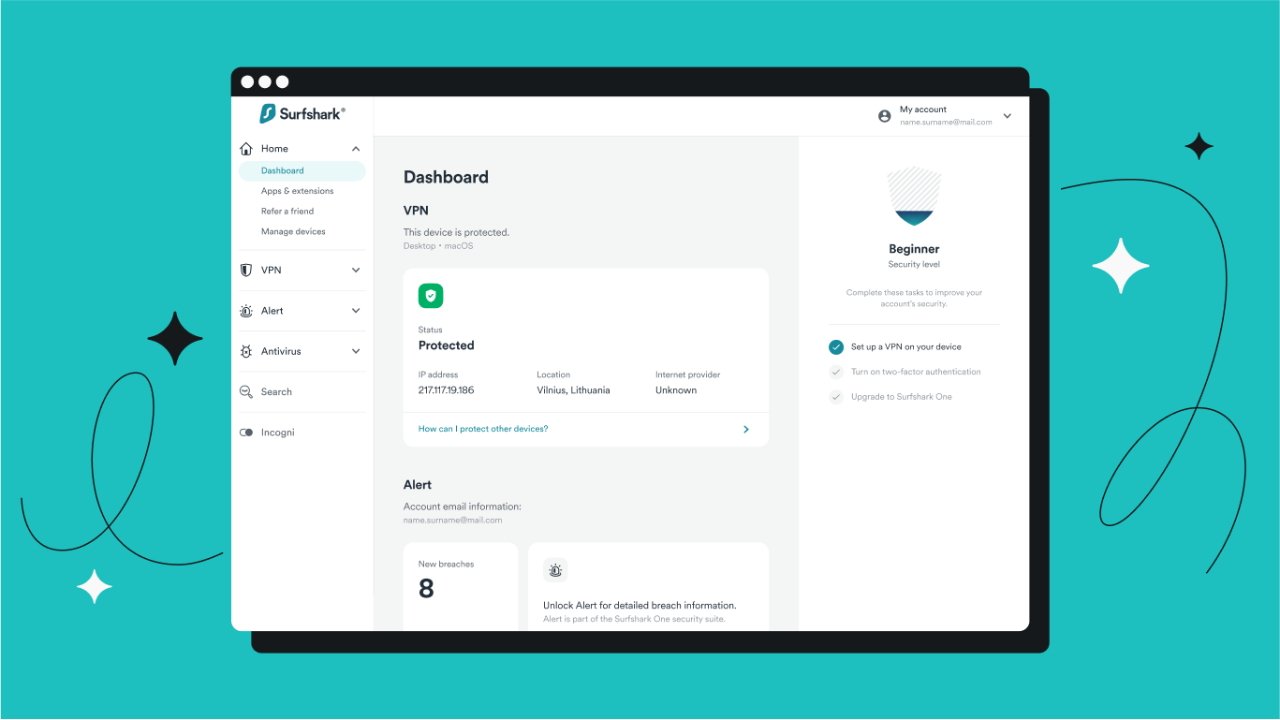
Surfshark VPN - the dashboard verifies protection.
Luckily, there are a few tests you can run to ensure everything is secure from end to end. These tests include IP address leak testing, DNS leak testing, and WebRTC leak testing. The first indicator that everything is secure is the Surfshark app's homepage, which will say Connected and safe at the top.
Test your IP address for leaks
Your IP address traces your web activity back to you as a user. To perform an IP leak test, follow these steps:
- Navigate to the Surfshark IP leak test page.
- Under the IP address checker, you'll see a box with details on your connection. A protected connection will show a protected status, along with the Surfshark logo, IP address info, and server location.
Verify your DNS numbers are free from leaks
DNS numbers further identify users and devices, leading your traffic right to your private data. A DNS leak test is similar to the IP leak test:
- Switch the tab from the IP leak test to the DNS leak checker from the previous testing page.
- The DNS tester will also signal protected, along with your IP address and server location.
WebRTC leaks revealing your IP addresses
Finally, on the same Surfshark test page, you can test for WebRTC leaks. A WebRTC leak is when your browser connects to chatrooms or other live information transfers, creating an environment that exposes your IP address. Here's how to check for a WebRTC leak:
- Switch tabs once more to the WebRTC leak checker.
- You will see once more a protected status indicator, an IP address, and status.
However, you can take your testing one step further to confirm a WebRTC leak. To do this, follow these steps:
- Disconnect from your VPN.
- Go to Google and search "What is my IP address?"
- Write down the IP address listed.
- Close the webpage and reconnect your VPN.
- Search Google again. If your IP address is the same as it was previously, you have a leak. Otherwise, you're good to go.
If you have a leak, that means your VPN isn't protecting you completely. You should troubleshoot your VPN settings, ensure that you connect to a Surfshark server, or restart your device to prevent any precious data from landing in the hands of cyber thieves.
Surfshark VPN service keeps you protected regardless of which network you use

Surfshark's VPN service offers an intuitive user interface.
An iPhone VPN should be a necessary piece of network protection everyone should use regardless of the types of networks they connect to. Additionally, a premium VPN provider guides iPhone users on how to set up a VPN via step-by-step instructions to make the process easy.
The best iPhone VPN services unlock blacked-out content, skirt website censorship, and protect your browsing data. While it seems like it would be a challenging tool to use, in reality, setting up a VPN is pretty straightforward.
Likewise, verifying that your VPN is working requires you to visit only one website, and you can check between IP address, DNS, and WebRTC leaks. When you use Surfshark, you can rest easy knowing your data is secure and your VPN iPhone app has your back.
VPN for iPhone FAQs
When using a VPN on your iPhone mobile device, there are often some questions that pop up. Here are a few common ones and their answers.
Should I keep a VPN provider on?
While your home Wi-Fi internet connection is likely secure, it's a best practice to keep your VPN on whenever you use your computer. A VPN adds extra layers of security to ensure your private information and browsing data remain secure.
Does the iPhone have a built-in VPN server?
iOS devices, like the iPhone and iPad, have built-in VPN support. However, without the help of premium VPN mobile apps like Surfshark, you'll need to know the manual details of the server you want to connect to.
Unfortunately, when you connect to a server using manual native support, you miss out on the other great functionality the best VPN iOS apps can provide, like instant server switching capability, a kill switch feature, and customer support.
Are VPNs dangerous for iPhones?
The entire point of deploying a VPN service for iPhone is to make the device more secure. The only way it would be dangerous to utilize a VPN provider is if you work with a shady, untrustworthy entity or an unknown free VPN service.
When you use Surfshark, you don't have to worry about harmful changes to the network settings on your device. Plus, Surfshark has a robust Help site and guides to answer any issues you come across.