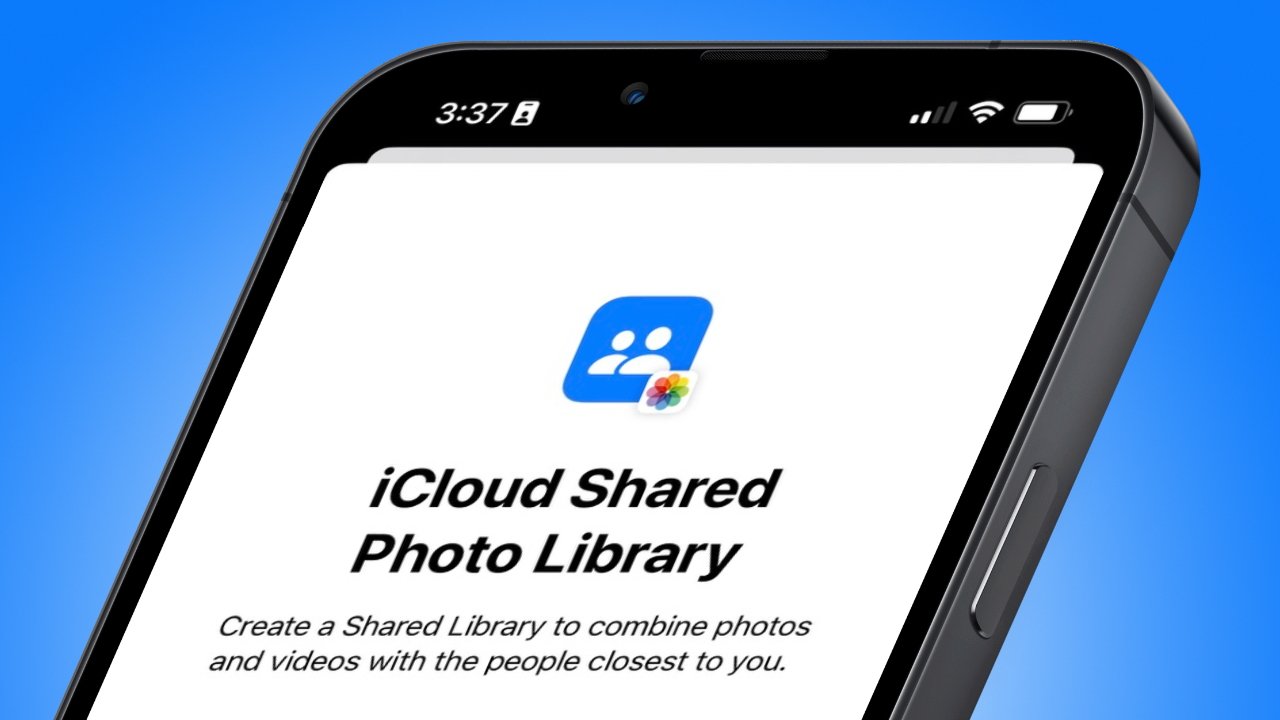
A group of six people can share a single, unified photo library thanks to iCloud Shared Photo Library in iOS 16. Here's how it works.
Apple is finally allowing people to share photos and videos over iCloud without any distinction from the classic Photos app experience. Media shared in the iCloud Shared Photo Library is presented to all users in its full resolution, with metadata, edit history, and tags available for everyone.
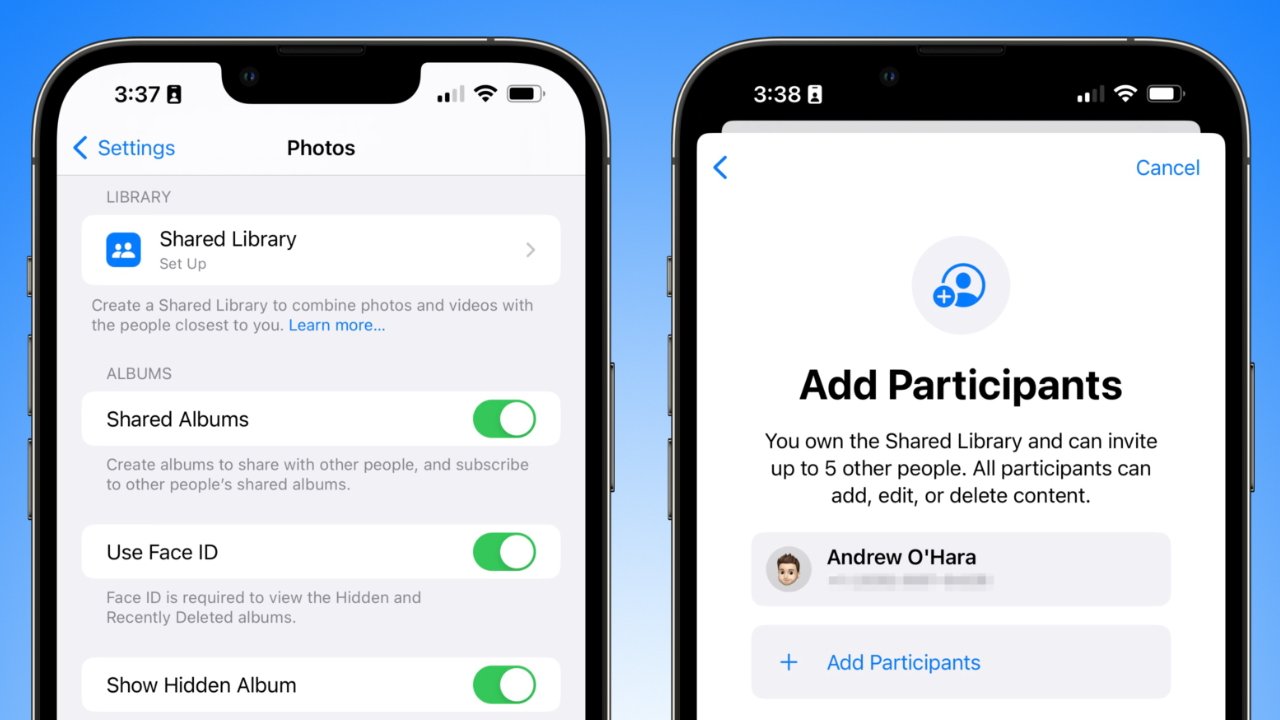
To get started, the primary user must set up the iCloud Shared Photo Library. This user will act as the host for all of the media, therefore, it will impact their iCloud storage alone. Five additional users can be invited to participate and do not have to belong to the existing iCloud Family.
How to set up iCloud Shared Photo Library
It doesn't matter who creates the iCloud Shared Photo Library beyond storage considerations. Whoever is willing to pay for more iCloud storage should start by creating the library and inviting the participants.
Participants can be invited via an iCloud email address or phone number tied to iMessage. Once the other people join, they will have full access to everything already placed in the library.
To create an iCloud Shared Photo Library:
- Open the Settings app.
- Scroll down and select "Photos."
- Tap "Shared Library Set Up."
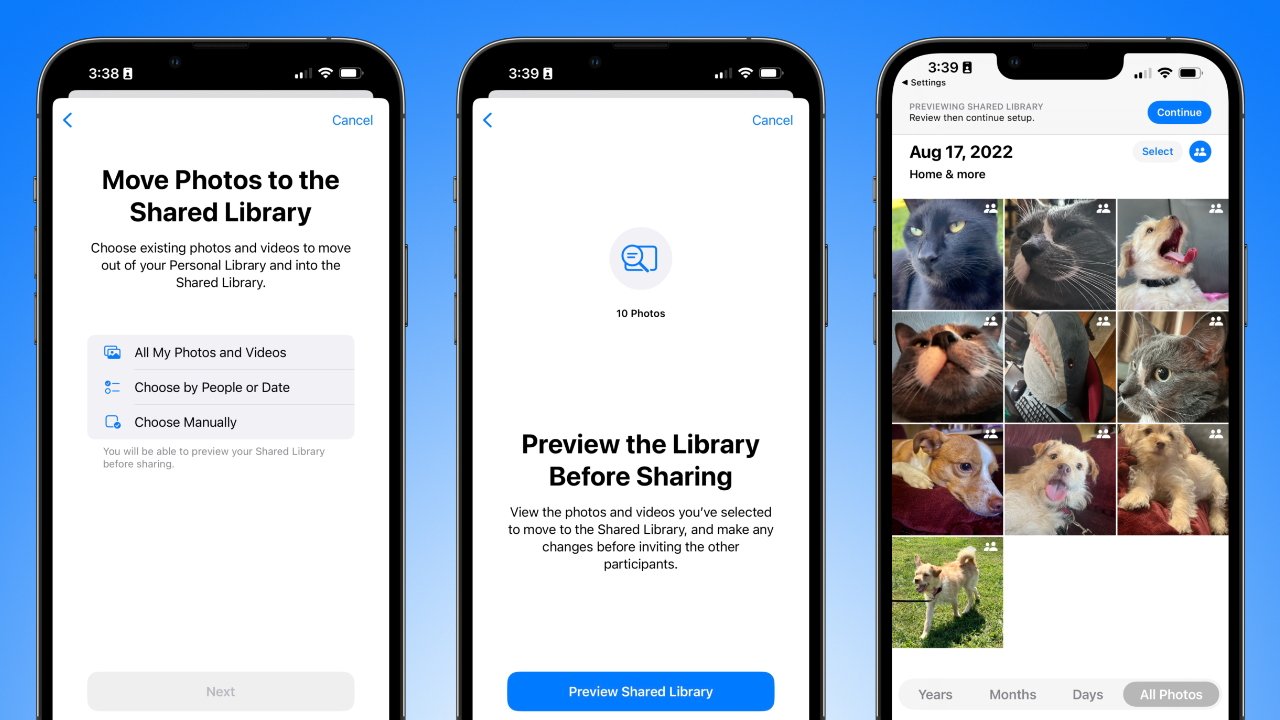
- Follow the prompts to create the library, invite participants, import an initial batch of photos, and toggle some settings.
- The shared library is now available in the Photos app.
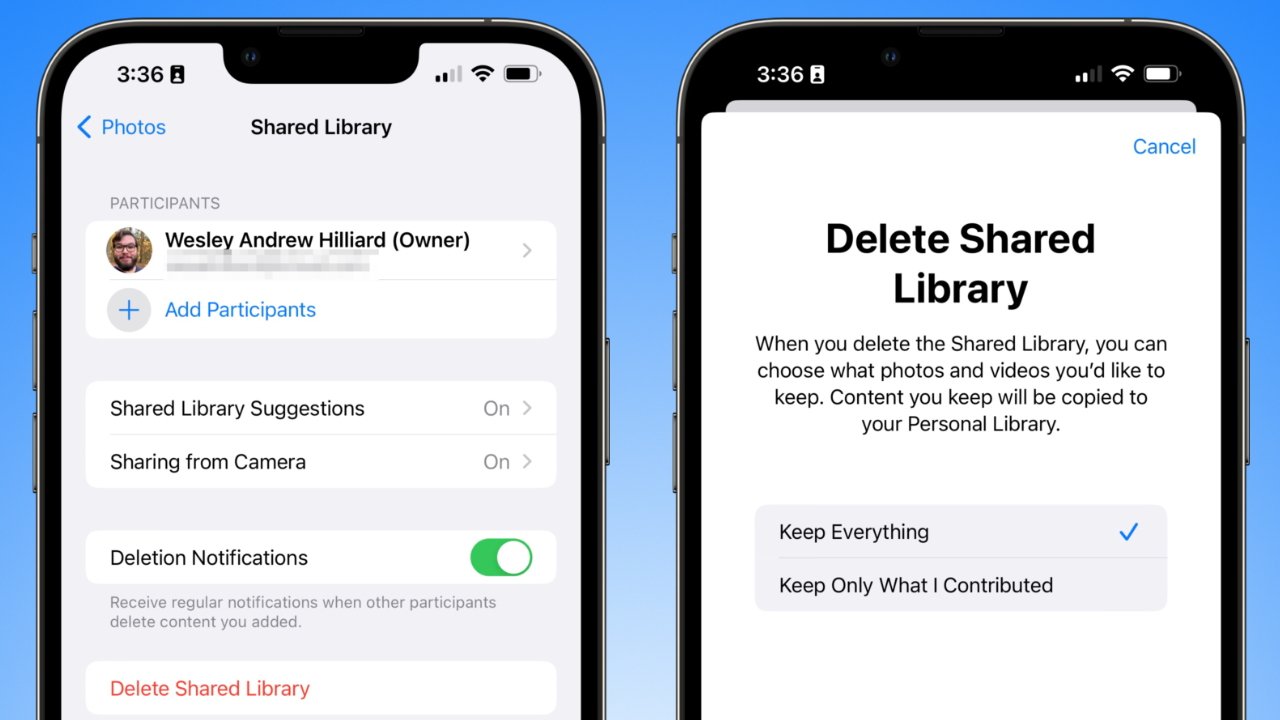
Return to the Settings app to manage the Shared Library, kick participants, or delete the library altogether. A toggle for image deletion notifications can also be found on this page.
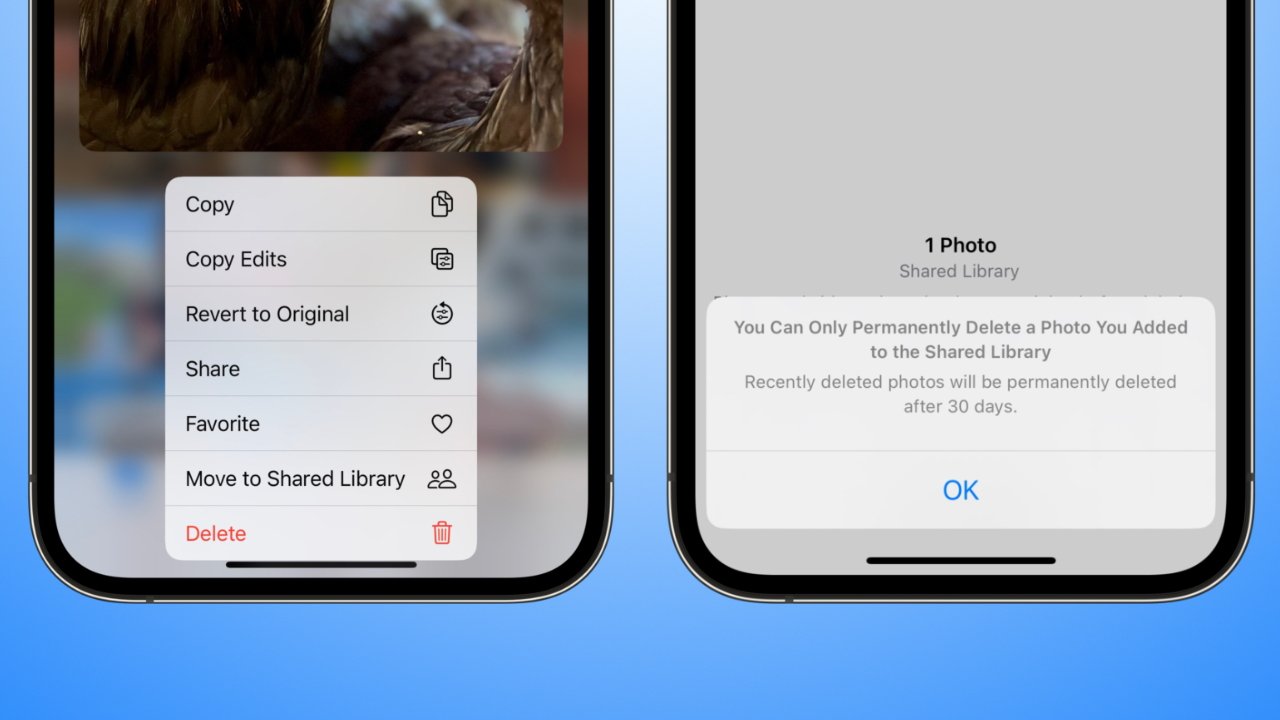
Any participant invited can edit, delete, or save images found in the library. However, deleted photos are sent to "Recently Deleted" and can only be permanently deleted by the person who added them.
Despite this, users should be cautious when using an iCloud Shared Library. While photos won't likely disappear from a Shared Library, edits and metadata can be tampered with by other users.
How to manage a personal and shared iCloud library at the same time
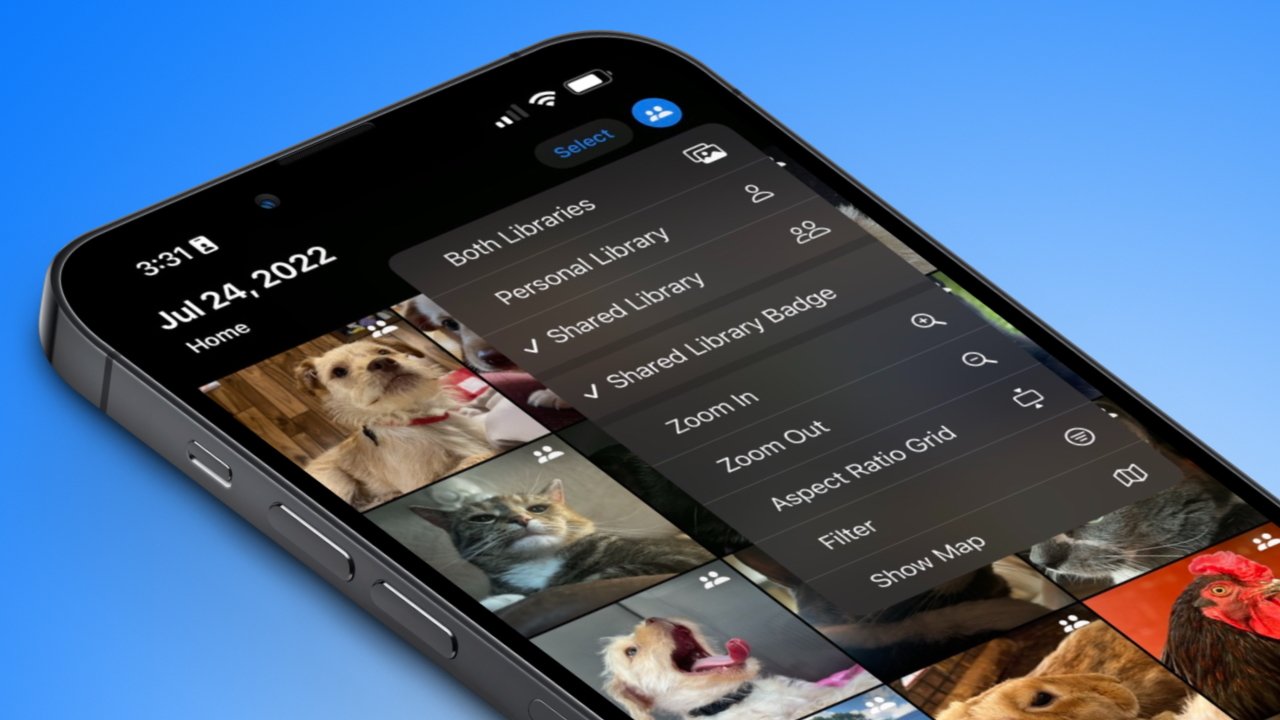
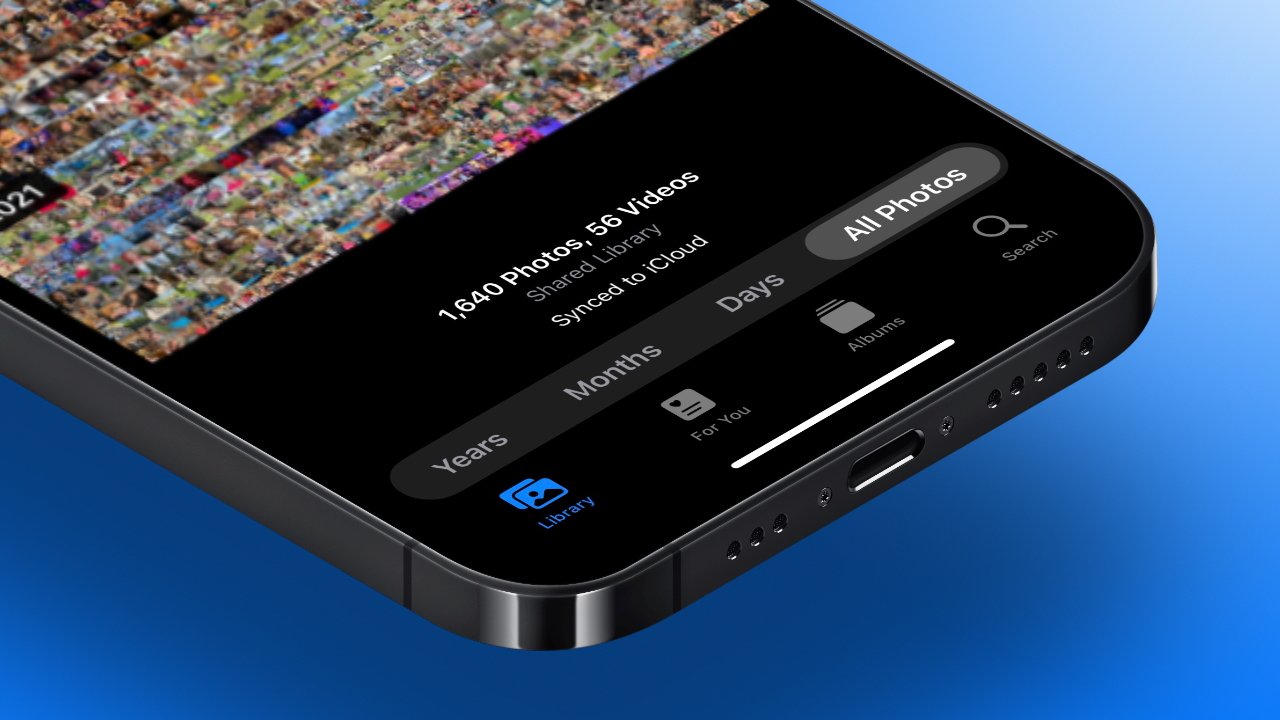
Before diving into photo management, it is key to understand how the Photos app displays multiple libraries. By default, Apple expects users to manage and view content in the "Both Libraries" view.
There is an option to toggle viewing only the Personal Library or Shared Library, but some Photos app features are not available in these views. For example, the People album for labeling faces is only accessible from the Both Libraries view.
Switch library views anytime using the menu in the app's top right corner. A blue icon will appear any time a single library is selected — one person in the icon for Personal, two for Shared.
This same menu offers several control and filter options for viewing photo library content. Hide Shared Library badges, change the grid layout aspect ratio, or filter out content from Shared with You.
How to import photos to the iCloud Shared Photo Library
The initial setup process allows users to import some or all photos to a Shared Library. After that, some automated imports can be set up, but most additions will likely be manual.
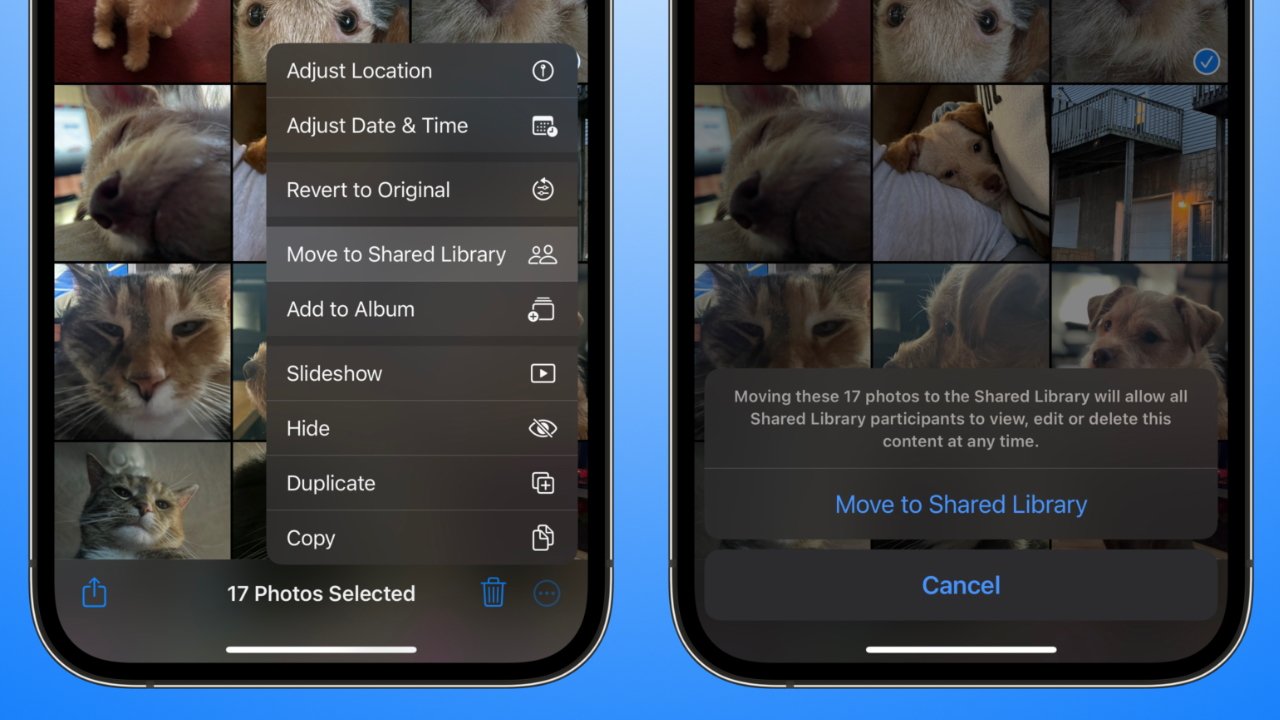
When in the Photos app, long press on a photo while in any library view to see options for moving the photo between libraries. Every photo shown is the sole copy, so moving it from Personal to Shared will remove it from Personal, so keep that in mind.
The Personal Library will work as it did before. Any photo saved from an app, Safari, or anywhere on the device is sent to the Personal Library. Photos taken in third-party apps or imported from an SD card will also go to the Personal Library.
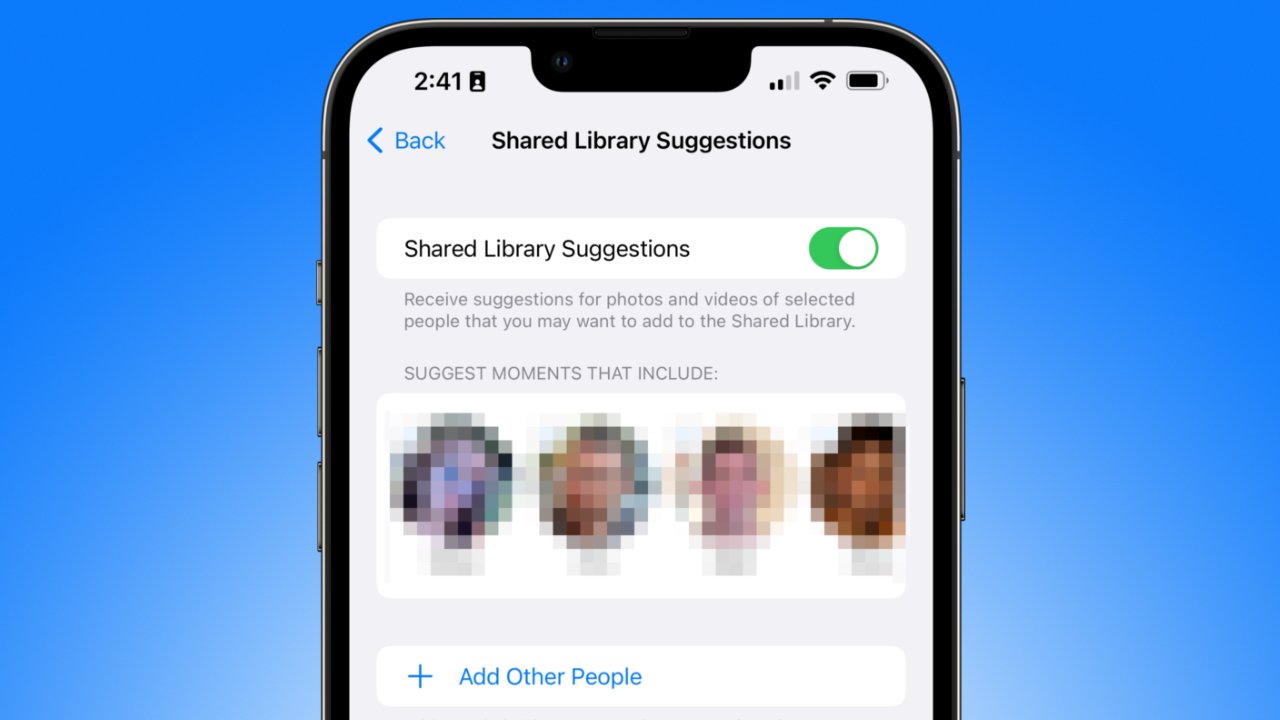
The iPhone will use machine learning and face data to make transfer suggestions in the For You tab in the Photos app. Toggle this setting and add new people to customize this suggestion feature further.
Apple wants photos going to the Shared Library to be a somewhat intentional experience. Only new photos taken in the Camera app can be set up for automatic import to the Shared Library.
Import directly from the Camera app
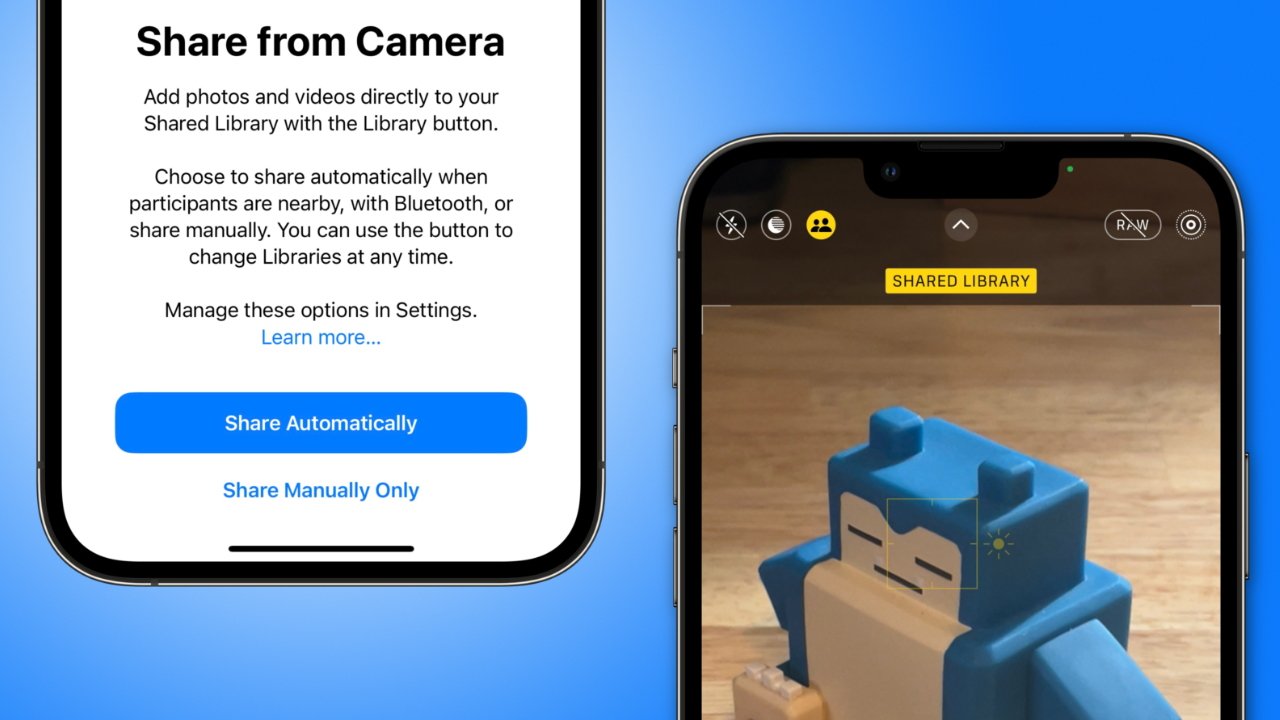
Adventurous users can rely on some machine learning tools and a toggle in the Camera app to import newly taken images to the Shared Library. From within the Settings app menu for the Shared Library, tap on "Sharing from Camera" to decide what automatic actions should be performed.
The following options are available:
- Share Automatically: if the iPhone detects you're with participants in the Shared Photo Library, photos captured will be added to the Shared Library without a prompt.
- Share Manually: users must toggle the camera control to select which library a new photo will be added to.
- Share When At Home: always add photos and videos to the Shared Library by default when at a registered home address.
Each of these functions toggles the share control in the Camera app. Users who want to play it safe can use Share Manually to select the target library each time a photo is taken.
Deleting photos from a shared library
Every participant in a Shared Library can delete photos. However, deleted photos will be sent to the Recently Deleted album. Only the person who initially added the photo can delete it permanently.
Even if a user is kicked from the Shared Library, their posted photos will remain. The photos can be sent to Recently Deleted, but they will take 30 days to disappear completely.
A toggle in Settings will give users the ability to receive notifications whenever a photo is deleted from the Shared Library. That way, if it is determined that the photo will stay out of the Shared Library, the original poster has 30 days to retrieve the photo and add it back to their Personal Library.
How to delete an iCloud Shared Photo Library
There are plenty of reasons why a Shared Library might be deleted entirely. If this is done, users do not need to be concerned with what happens to their photos.
As soon as the Shared Library is deleted, all participants will be notified, and the photos posted by each member will be added back to their respective libraries. Only the Shared iCloud Photo Library owner will be presented with the option to save all photos.
To delete an iCloud Shared Photo Library:
- Open the Settings app.
- Scroll down and tap on Photos.
- Tap on Shared Library.
- Tap on "Delete Shared Library."
- A series of prompts will walk the user through the deletion process.
After a Shared Library is deleted, it will take a few moments for iCloud to transfer the photos and verify the library has been completely scrubbed. After a few minutes, the user can create a new Shared Library.
Getting kicked from a library as a participant
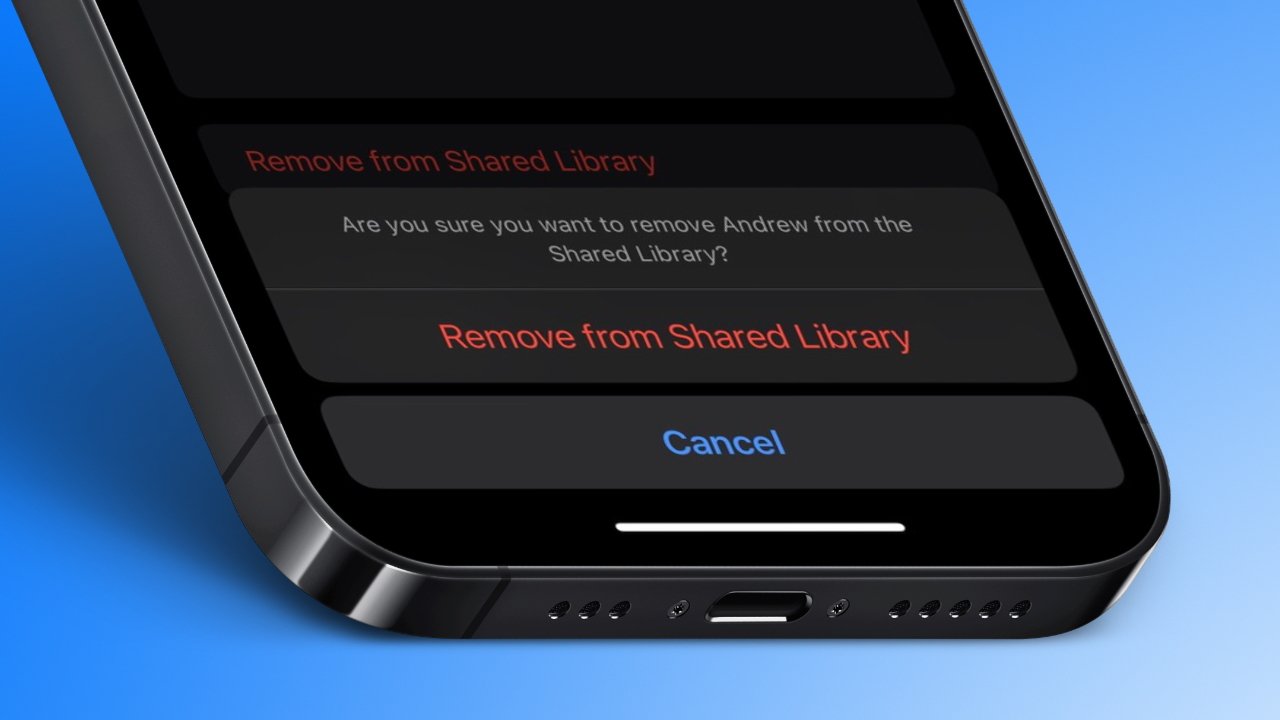
If a user needs to be removed from a Shared Library for any reason, it can be done without warning or data loss concerns. Simply remove the participant, and their added photos will be synced back to their respective Personal Library.
To remove someone from a Shared Library:
- Open the Settings app.
- Scroll down and tap on Photos.
- Tap on Shared Library.
- Tap on the person to be removed.
- Tap on "Remove from Shared Library."
All photos added by the removed participant will remain in the Shared Library. If the participant joins again, they will regain access to the same photos and deletion permissions for them.
Everything is reversible
Apple seems to have gone to elaborate lengths to ensure all photos in a Shared Library are safe from accidental deletion or loss. Users who have relied on iCloud Photo syncing for the past several years know that the service is reliable, but keeping a recent backup is still warranted.
When using iCloud Shared Photo Library, keep in mind that edits and metadata are freely editable by participants. Particularly important photos should be backed up by the user before sharing, or at least duplicated in place.
Consider who will be participating in the Shared Library carefully. Apple does not provide any moderation tools yet, nor any way to add someone as a "read-only" user.
 Wesley Hilliard




 Malcolm Owen
 William Gallagher


 Christine McKee