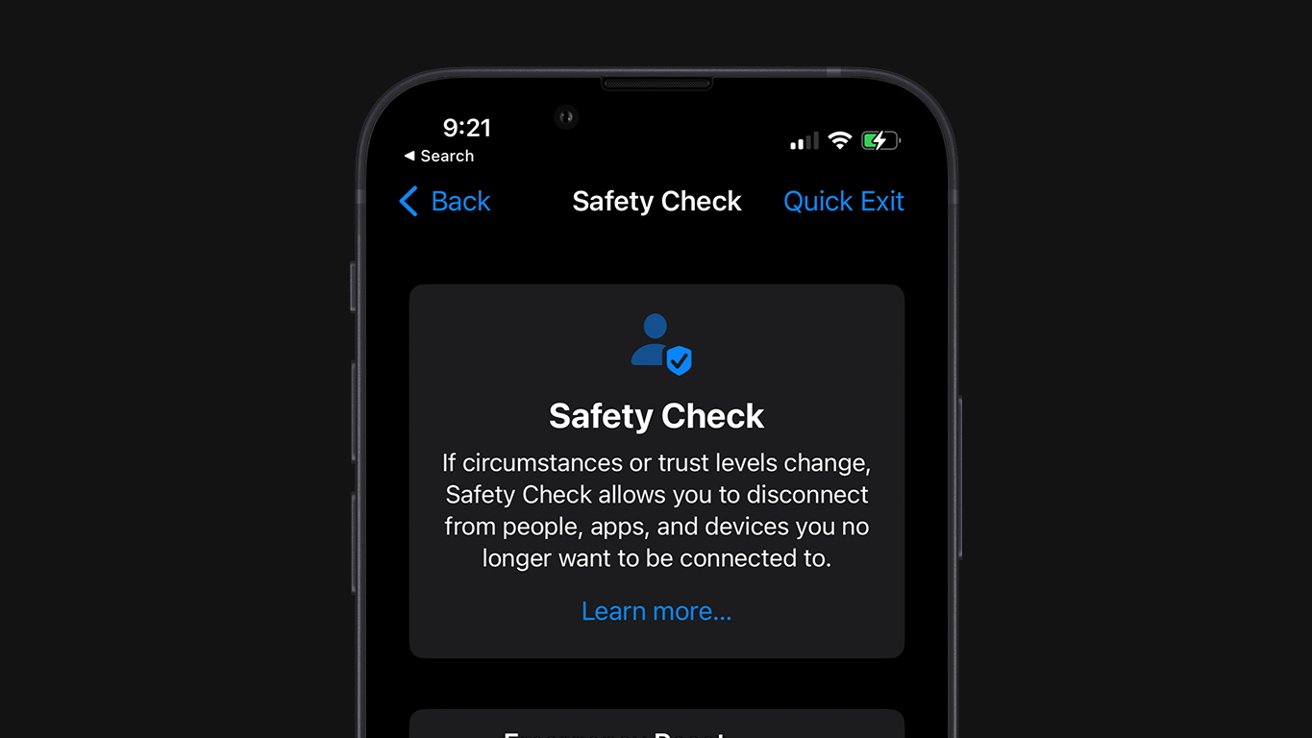
Apple's Safety Check feature in iOS 16 allows users to review and manage what information is being shared with other people and apps. Here's how to use it.
For as great as they are, smartphones can sometimes be used as tools of abuse. Apple's new Safety Check is designed to put the power back in iPhone owners' hands by allowing them to stop sharing information with abusers.
What Safety Check does
Safety Check allows you to quickly check who you've shared information with. The feature also allows you to restrict Messages and FaceTime to your iPhone, reset system privacy permissions, and change passcodes and passwords associated with your iPhone and Apple ID.
Important: Safety Check is an exclusive feature to iPhone and iOS 16. It can only be used with personal Apple IDs, not Managed Apple IDs.
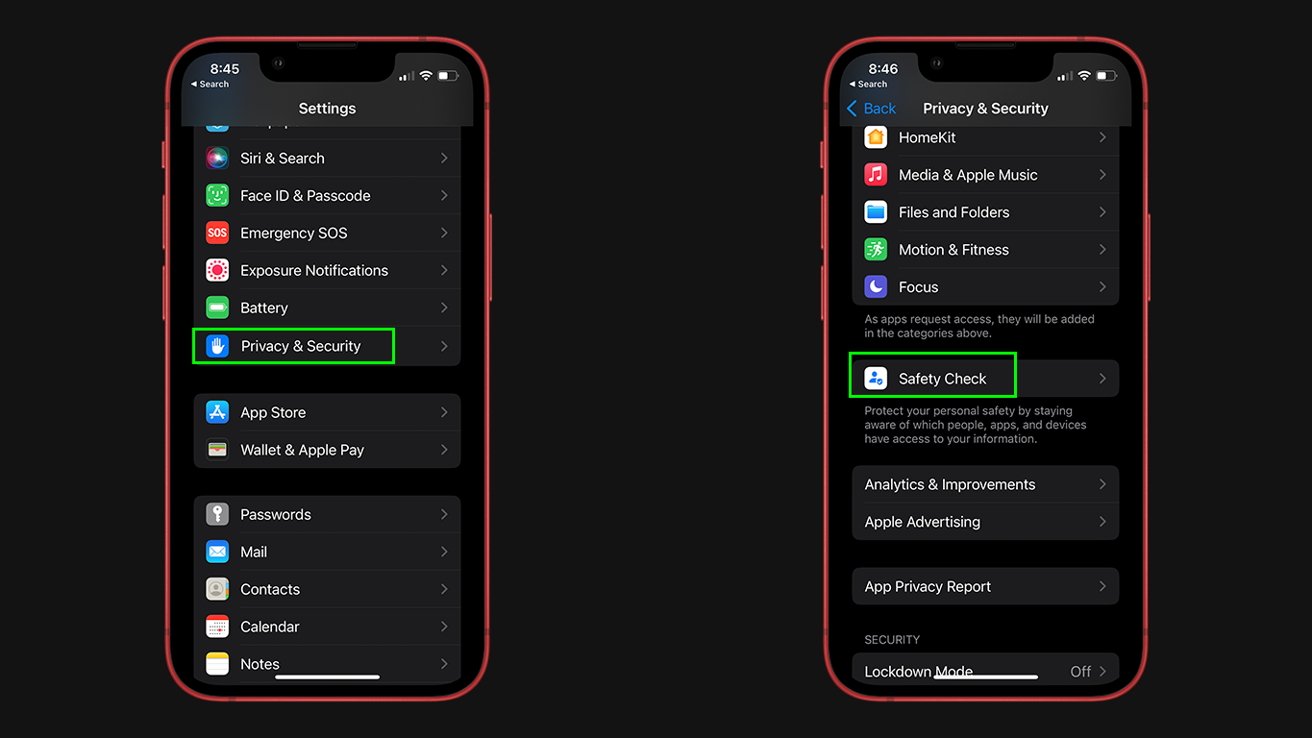
How to access Safety Check
You must be signed in to your Apple ID on your iPhone to use Safety Check.
- Open Settings
- Tap Privacy & Security
- Tap Safety Check
Which Apple apps you can control with Safety Check
Safety Check can quickly halt information sharing with others in the following apps:
- Health - shared health information
- Home
- Calendar - shared calendars
- Find My - shared location via Find My
- Notes - shared notes
- Photos - shared photos albums
Caution: When ceasing to share information with others, they may notice when you no longer share information with them. Proceed with caution.
Additionally, Safety Check removes all data gathered by the following apps and features:
- Bluetooth
- Camera
- Contacts
- Files & Folders
- Local Network
- Location Services
- Apple Music
- Motion and Fitness
- Reminders
- Research
- Speech Recognition
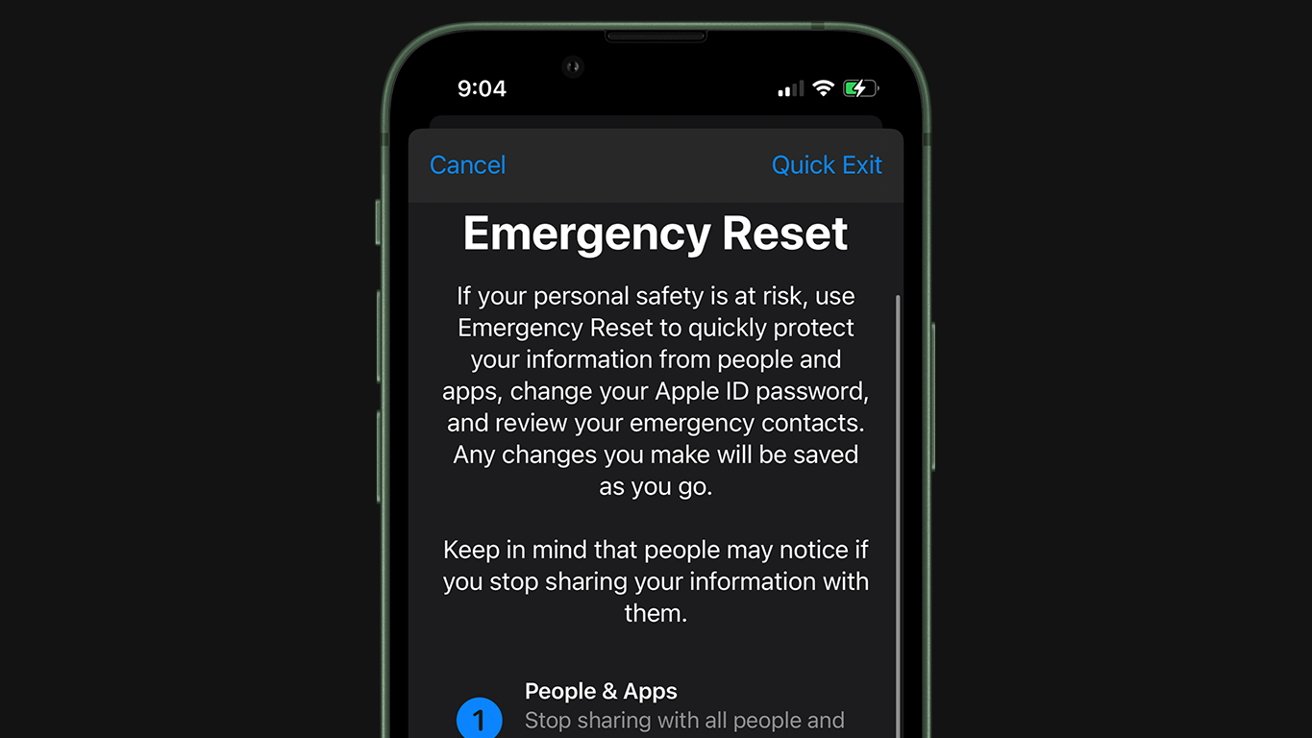
Emergency Reset
Should you need to stop sharing all information immediately, Emergency Reset can help you do it quickly. Here's how to perform an Emergency Reset on your iPhone with Safety Check.
- Open Settings
- Tap Privacy & Security
- Tap Safety Check
- Tap Emergency Reset
- Follow the onscreen instructions to perform an Emergency Reset
 Amber Neely



 Christine McKee

 Andrew Orr

 Sponsored Content

 William Gallagher


