Apple's high-fidelity video format ProRes was introduced with the iPhone 13, but Lightning's speed limitations prevented users from unleashing its video-creation potential to the fullest. Here's how to get the most out of ProRes, using software, tools, and drives you probably already have.
With the introduction of the USB-C connector on the iPhone 15 Pro, the creative possibility of ProRes has finally been realized. With the right external drive and cable, the iPhone transforms into a tool capable of capturing broadcast-quality video of virtually any duration.
And, Apple highlighted this capability early. Apple did so, by showcasing the creative power of the iPhone 15 during its "Scary Fast" product introduction event.
The multi-thousand-dollar cameras typically used to produce Apple's videos were replaced with the new iPhone 15 Pro Max, and viewers were none the wiser.
Understanding ProRes
ProRes is a recording format, also called a codec, developed by Apple for cinema and TV production. Most video formats, including the iPhone's default video recording, throw out many details to keep file sizes small, like a compressed JPEG, which has less detail than a high-res one.
By comparison, ProRes keeps all the recorded details intact, and while it results in larger files, these files maximize the power of a sensor like that of the iPhone 15 Pro.
While the iPhone inlcudes native ProRes support, it must be enabled to unlock the ability to use the USB-C port to record video footage to external drives. This, in turn, allows footage shot by the iPhone to be edited in programs like Final Cut Pro and DaVinci Resolve simply by plugging the drive into a Mac or Windows machine.
External drives also allow the iPad to be the hub of a powerful video editing process. Current iPads have USB-C connections, and a wide range of video editors are available on the iPad.
The resulting workflow is incredibly simple
- Plug an external USB-C drive into the iPhone
- Record ProRes footage to it
- Connect the drive to a computer or iPad
- Start editing.
How to set up ProRes on iPhone 15 Pro
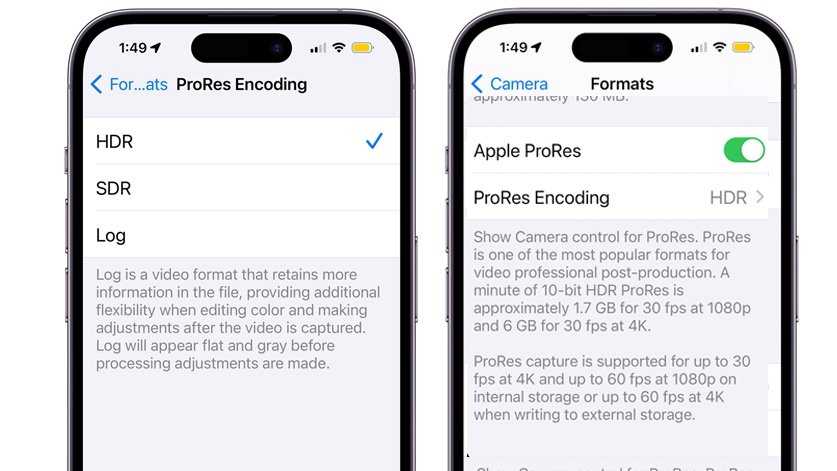
To get started, enable ProRes recording in the iPhone's Settings by navigating to Camera then Formats. Scroll down and select the setting to enable Apple ProRes.
Once ProRes is enabled, creators can choose between SDR (Standard Dynamic Range) and HDR (High Dynamic Range) from the ProRes Encoding option.
HDR records and displays footage with a wider range of colors. Still, for the beginning creator, SDR is recommended even though footage recorded in SDR lacks saturation and vibrancy compared to HDR.
Most displays on which people will consume content are SDR, while HDR requires specialized displays for editing and viewing. Without an HDR-capable display, a creator cannot know how the final footage will look.
The newest iPhone Pro models and many Mac laptops and tablets have HDR displays, so editing in HDR on some devices is possible. However, converting HDR footage to SDR is more complicated than working in SDR.
Creators can also choose between different resolutions not found under the Formats options. Instead, the video formats are on the screen in the main Camera settings.
Camera resolution formats are outside the scope of this tip, but most beginning creators work in HD due to the smaller file size and easier editing the smaller file sizes provide.
While 4K footage takes up more storage space, shooting in this higher resolution allows cropping footage without losing details when exported as HD. YouTube also seems to prioritize 4K videos on its homepage as it tries to encourage people to watch YouTube on their TVs.
How to shoot ProRes video on iPhone 15 Pro
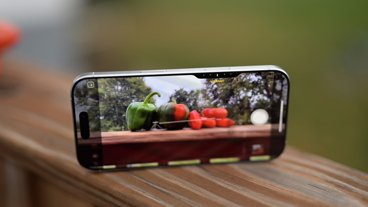
Once ProRes is turned on, a new option appears in the Camera app's video section, showing ProRes with a slash through the feature.
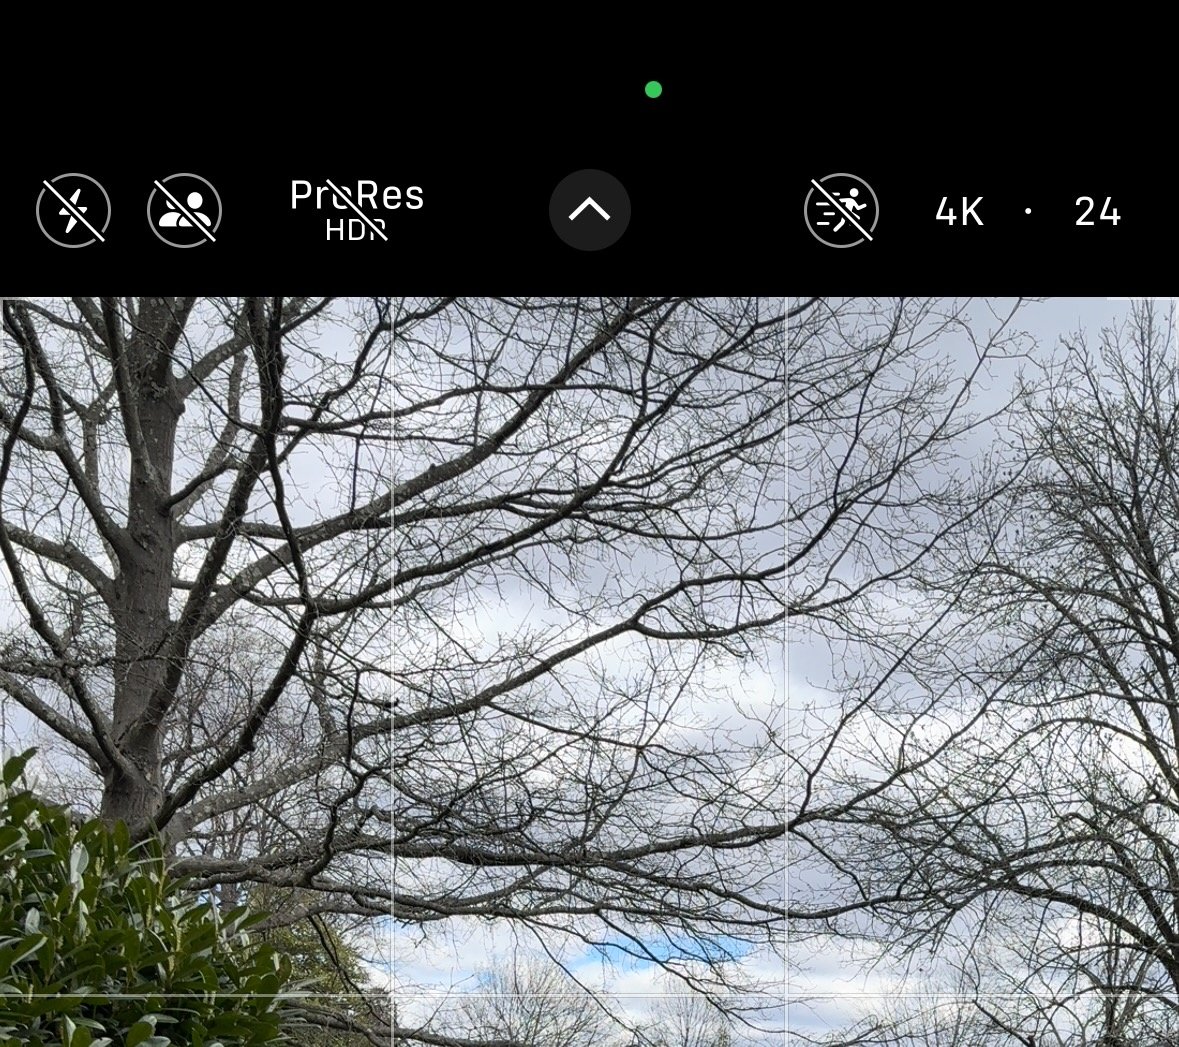 Activating ProRes adds a new icon to the top of the Camera interface, showing ProRes is off by default.
 ProRes has to be enabled on the phone and in the Camera app's video section. Once ProRes is turned on, a new option appears at the app's top, though it is crossed out.
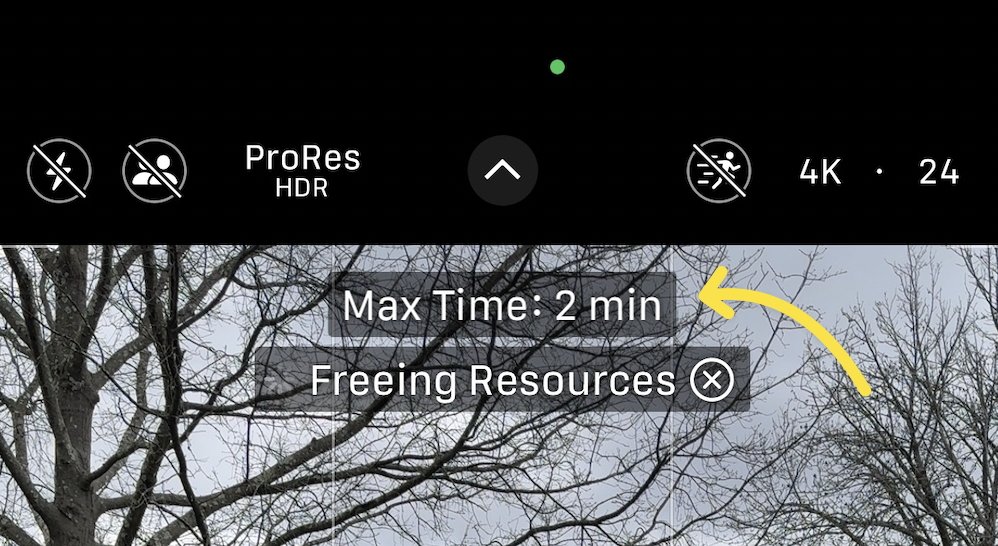
Clicking on the ProRes icon enables ProRes recording and shows how much space the iPhone has available to record the footage internally. Since most users will have incredibly limited space, the app also provides a tool to free up space.
ProRes video on iPhone 15 Pro — Hardware connections and limitations
One of the best things about recording ProRes footage to a drive is the seamless process. Once a drive is connected via USB, the ProRes recording capacity is updated, and captured footage is automatically recorded to that drive.
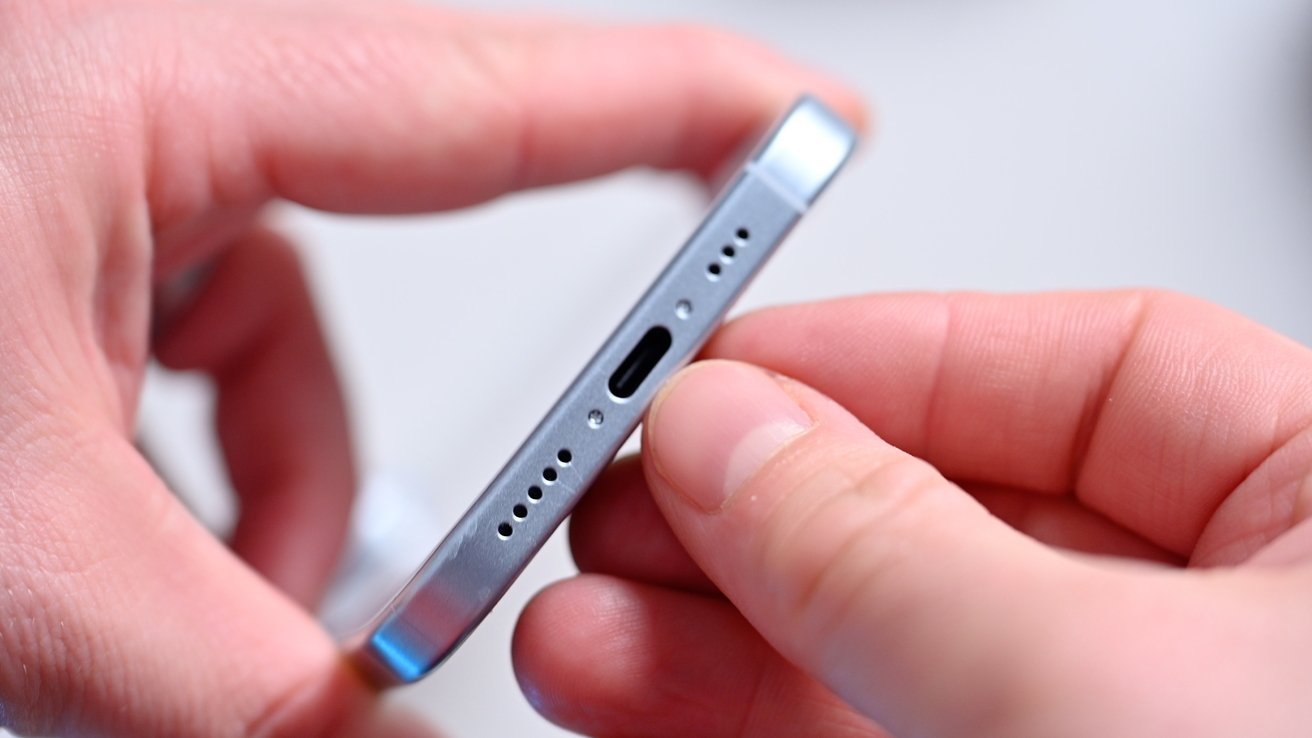
There are specific hardware requirements for both drives and cables to enable recording.
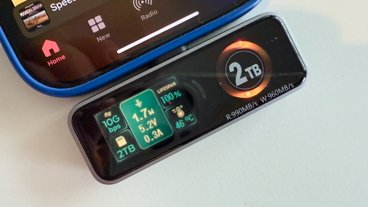
Drives must have recording and reading speeds of about 200MB/second, which precludes traditional hard drives from being used. USB-C Flash drives can use media that can't sustain the speeds that ProRes really needs.
Drives labeled as SSDs are the only real choice. Most SSDs, even inexpensive drives, record fast enough for ProRes use.
The choice of cables is more complicated, as the USB-C core standard doesn't allow users to easily distinguish between power-only USB-C cables, low-speed USB-C cables, and high-speed USB-C cables. We recommend using a cable designed for USB 4 as these have more than enough capacity for the 200MB/second requirements.
After recording footage, the drive can be plugged into a Mac or iPad, and the footage can be copied to that device. For more convenience, the footage can be edited directly on the drive.
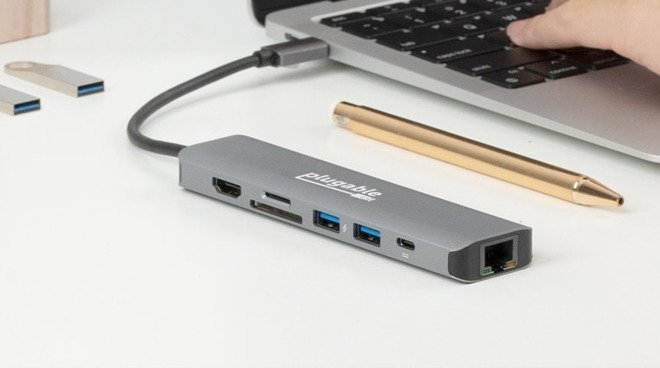
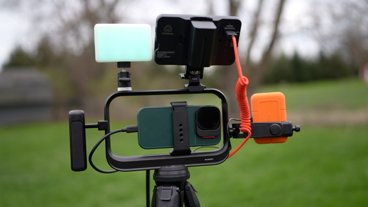
Many creators use external microphones and other tools to enhance the quality of their videos. A hub makes connecting drives and external audio gear easy and allows TVs with HDMI connectors to be used as monitors — and we've already talked about this at some length.
BlackMagic Camera
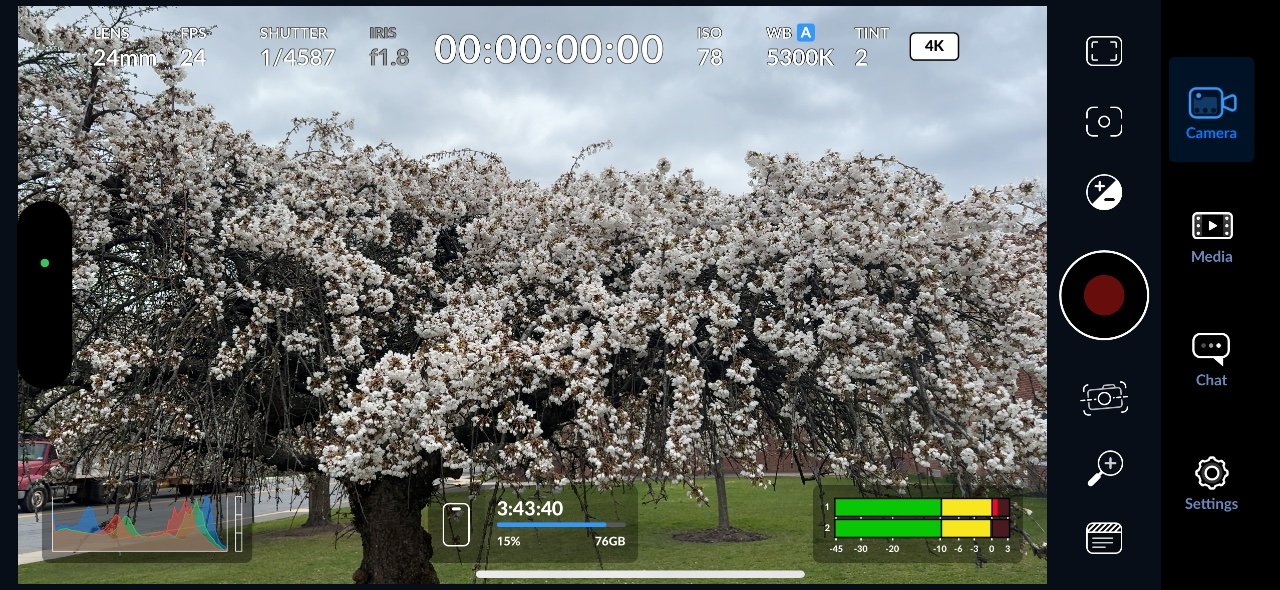
Apple's native Camera app is a good tool for recording video, as it's built-in and free. There's an even better option, also free, the Blackmagic Camera app from the same company that produces the DaVinci Resolve video editing software.
Unlike the Camera app, the Blackmagic Camera app includes standard professional tools, such as audio levels, adjustable shutter speed and ISO, focus indicators, and more. While not strictly needed by the YouTube creator (and possibly confusing to the video newcomer), the ability to precisely adjust the iPhone's settings makes the studio or field recording process simpler and more accurate.
DaVinci Resolve and the Blackmagic Cloud users can wirelessly transfer footage to the cloud for editing without connecting the drive, eliminating a step in the creative process.
Whether from the native Camera app or tools like Blackmagic Cloud, wired or wirelessly, the iPhone's ability to record ProRes video gives creators a powerful, professional tool right in their hands.
 David Schloss

 Andrew O'Hara
 Wesley Hilliard
 Malcolm Owen
 Marko Zivkovic
 Chip Loder
 Christine McKee
-m.jpg)

There are no Comments Here, Yet
Be "First!" to Reply on Our Forums ->