You don't need to use fiddly physical SIM cards anymore. Here's how to get started using the modern eSIM with your iPhone.
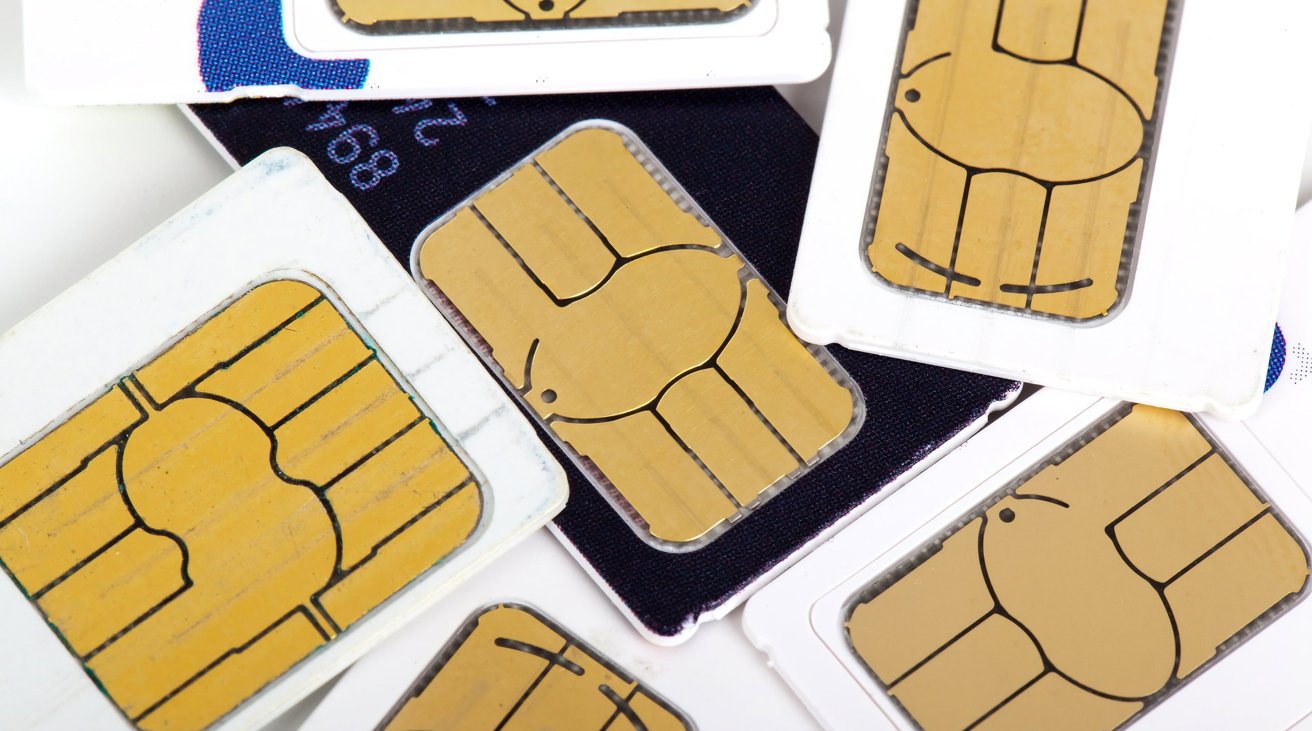
A SIM (Subscriber Identity Module) is that tiny contact-covered card your carrier provides so your iPhone and other devices work on their cellular network. However, in a constantly-evolving market, they, too, have been replaced by something newer.
The eSIM has been around for a few years and provides all of the benefits of a SIM without worrying about a physical item.
Naturally, Apple adopted the technology, and its iPhone lineup has used it effectively.
With the existence of eSIM, there's not much need to use a physical SIM card anymore. So, if this is your first time using eSIM, here's how to get going with the major communications change in recent years.
What is eSIM?
Just as email is to mail, eSIM is an electronic version of the SIM card. Specifically, it's a digital version that exists on your devices, not as a physical object.
Rather than inserting a SIM into a device, you can activate an eSIM on the iPhone, which you can use without further configuration.
Apple introduced its support for the eSIM in the iPhone XS, iPhone XS Max, and iPhone XR, as well as all later models. The support for eSIM and SIM cards varies between models and territories, with some variants offering Dual SIM with one of each type.
An example of an outlier would be mainland China, where you cannot get eSIM on an iPhone, only a model with support for dual nano-SIM cards. However, you can still get an eSIM for a prepaid data plan outside the country that will work within it.
The main benefit of eSIM is the flexibility of using the technology. For example, you can have up to eight eSIMs stored on an iPhone that you can switch between and use two of the phone numbers at the same time.
You can also use a function called eSIM Quick Transfer to shift the eSIM between an old and a new iPhone, so you can get up and running on a new model without needing to contact your carrier.
There are other benefits, too, such as minimizing the chance of physical SIM damage, loss, or theft.
While eSIM has its considerable benefits, such as being used to set up prepaid eSIMs quickly for travel without much fuss, there are still some benefits to using an old-fashioned SIM. With the physical version, you can more easily move a number and data plan between iPhone and Android, for example.
The eSIM is undoubtedly useful, and with the prospect of SIMs going out of fashion eventually, it's about time that everyone learns how to set their iPhone up with them.
There are a few ways to activate an eSIM on an iPhone, with two being the most common ways to do so.
Under eSIM Carrier Activation, you're activating a plan with your iPhone. For eSIM Quick Transfer, you're moving an already-active eSIM from one iPhone to another.
Activating New eSIMs
To use eSIM Carrier Activation, you will need to have an iPhone with eSIM support and use a carrier that supports eSIM. Apple has an up-to-date list of carriers worldwide supporting the technology on its website.
For the iPhone 14 generation, you will also need to have a Wi-Fi connection for activation to work at all.
If you have acquired your iPhone from your carrier, then it should be as simple as going through the initial setup of the iPhone:
How to activate an eSIM on an iPhone bought from a carrier
- Turn on the new iPhone and follow the setup prompts.
- Connect to a functional Wi-Fi network as part of this process, or it may not work.
- Wait for the plan to activate. Once it is complete, a cellular service icon will appear in the upper right corner of the display.
- Complete the iPhone setup process.
While this process may be this simple, some carriers won't do all the work for you. Sometimes, you have to scan a QR code they send.
Setting up a new eSIM on a fresh iPhone is ideal, but you can also convert a physical SIM to an eSIM.
How to activate an eSIM on an iPhone bought from a carrier using a supplied QR code
- Turn on the new iPhone and follow the setup prompts.
- Connect to a functional Wi-Fi network as part of this process, or it may not work.
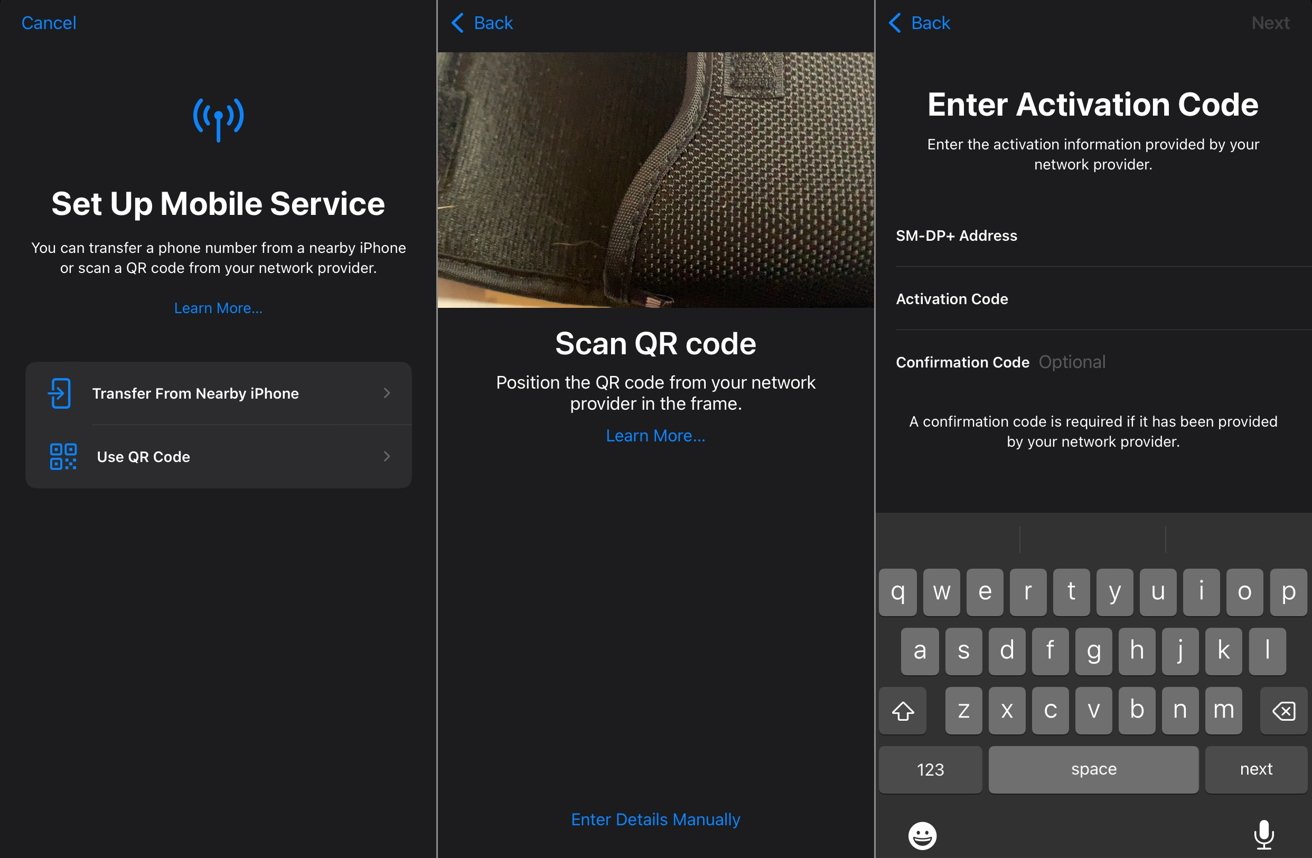
- On the Set Up Cellular screen, select Use QR Code.
- Follow the prompts to scan the QR code, then wait for the plan to activate.
- Complete the iPhone setup process.
You can also use a similar method to activate an eSIM on an iPhone that you've already set up.
How to activate an eSIM using a supplied QR code on an in-use iPhone
- Open the Camera app and scan the QR code.
- Tap the Mobile Data Plan Detected notification.
- Tap Continue.
- Tap Add Mobile Data Plan.
You can also enter the information manually if you don't have a QR code.
How to activate an eSIM manually
- Go to Settings.
- Tap Cellular or Mobile Data.
- Tap Add Mobile Data Plan.
- Tap Enter Details Manually.
- Follow the instructions to enter the data.
If your carrier offers an app, that too can be used to enable an eSIM on an iPhone. Check with your carrier for further details.
Transferring eSIMs
If you're moving from one iPhone to another, and the old model has an eSIM, you can take advantage of eSIM Quick Transfer. In some cases, you may be able to digitally transfer a physical SIM to the new iPhone as an eSIM, though this is carrier dependent.
How to perform an eSIM Quick Transfer on iPhone
- Turn on the new iPhone and follow the setup prompts. Make sure your old iPhone is nearby.
- On the Set Up Cellular screen, select Transfer from Nearby iPhone.
- Tap one line if you want to transfer from the old iPhone to the new one, then tap Continue.
- Follow the prompts on both the old and new iPhone to continue cellular setup, then complete setting up your new iPhone.
After the transfer, the eSIM will not be available on the old iPhone, only on the new unit. If the number attached to the physical SIM is transferred, the physical SIM will stop working.
Bear in mind you can only transfer one line using this method.
You can set up an eSIM after setting up an iPhone using a QR code or entering details manually.
If you have already set up your iPhone, you can still transfer an eSIM across post-setup. You can also use the method to transfer a physical SIM as an eSIM between devices.
How to transfer a physical SIM or eSIM from one iPhone to another after setup
- On the new iPhone, open Settings then Mobile Data, then Add Data Plan.
- Select a mobile plan to transfer from your old iPhone. If one doesn't appear, select Transfer from Another iPhone.
- Check the old iPhone for instructions to transfer the plan. Confirm by tapping Transfer, and if necessary, enter a verification code shown on the new iPhone's display.
- Transfers can take a while to complete, but you may see a message to Finish Setting Up Your Network Provider's Data Plan on the new iPhone. Tap it, and complete the instructions provided by the carrier.
Physical SIM to eSIM
Depending on whether or not your carrier supports it, you may be able to change the properties of your plan, so it works via an eSIM instead of a physical SIM, all on the same iPhone. While the previous explanation does just that as part of a transfer, you can do it from a single iPhone in some cases.
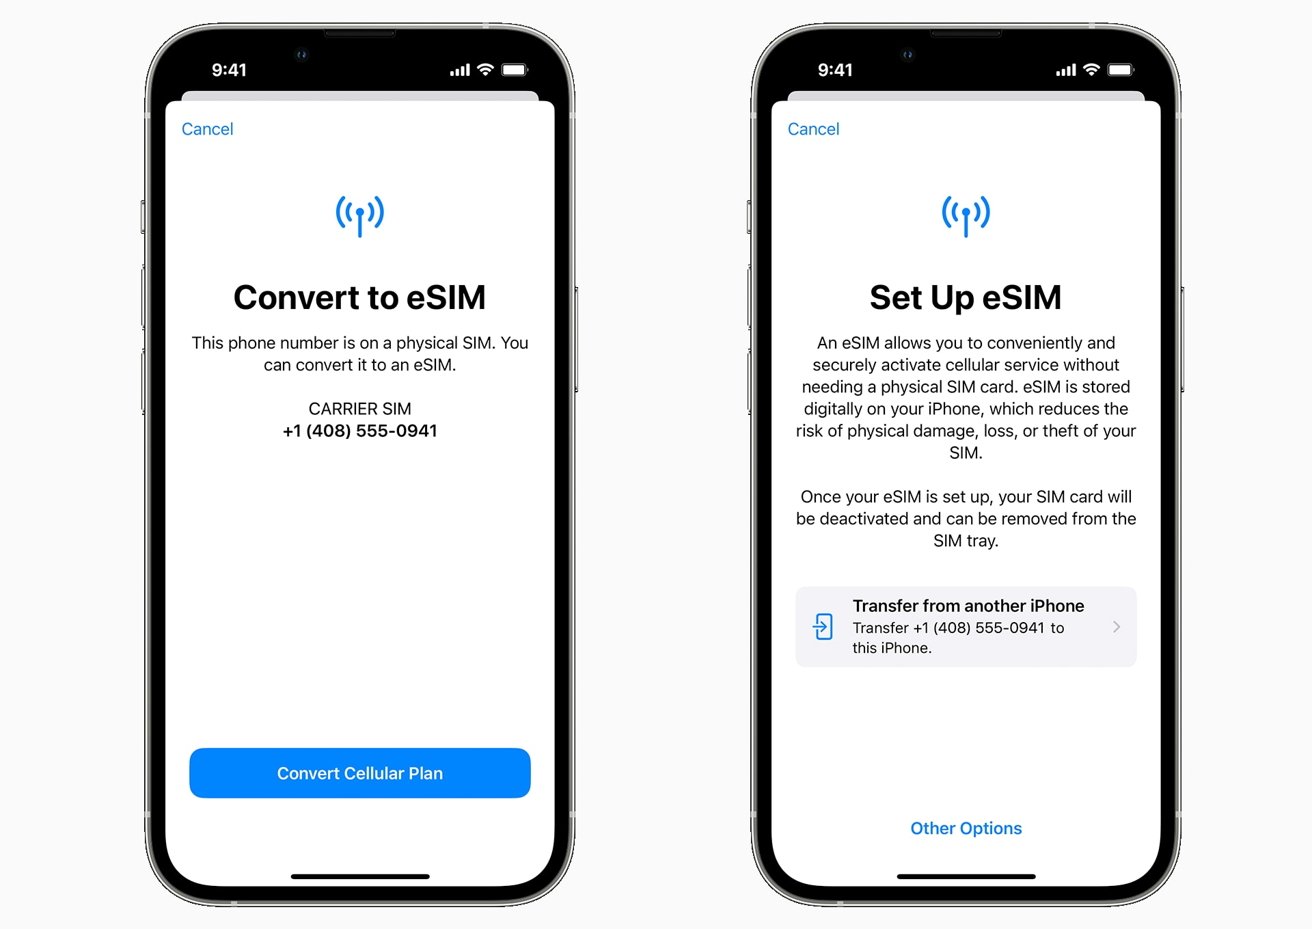
How to convert a physical SIM to an eSIM on the same iPhone
- Open Settings then Mobile Data.
- If your carrier does support the option, select Convert to eSIM.
- Tap Convert Mobile Data Plan.
- Tap Convert to eSIM.
- Once the transfer completes, remove the physical SIM.