Advanced configuration parameters control how your Mac stores cached Apple and iCloud content. Here's how to change the settings.
Content caching on macOS controls what iCloud and Apple content gets stored locally in macOS when you download Apple software or store data in iCloud. It also allows caching of other Apple software such as:
- Machine firmware and recovery updates
- macOS installers
- Rosetta updates
- Screensavers and wallpapers
- Screensavers and wallpapers
- Xcode components
The idea with macOS content caching is that if you download Apple software or data from iCloud, you can allow other Apple devices to access that content from the original Mac. All without having to download it again from the internet.
When you use iCloud or download software or data from Apple, some of the data (content) gets downloaded and stored locally on your Mac.
Enabling content caching
In order to use content caching on the Mac, you must first enable it in System Settings->General->Sharing->Content Caching.
When you do this, you'll get a sheet allowing you to set what content you want cached: All Content, Only Shared Content, or Only iCloud Content.
You can also select whether or not you want to share your internet connection and (if you click the Options button) where to store the content cache and how large it should be. After you turn content caching on, you'll be prompted to restart your Mac or other devices.
By sharing your network connection, you allow iOS devices to use your Mac's network connection to access cached content - as well as share content if those devices are tethered via USB.
You'll also get an alert when you activate content caching that your other Apple devices will "discover the cached content over time" - so don't expect the other devices to access the cache immediately.
It may take a few seconds for content caching to start up because macOS has to launch a background service to manage it.
To turn off content caching, simply flip the switch back to the off position in System Settings->Sharing.
Limitations
In Intro to content caching in the Apple Platform Deployment guide, Apple notes that there are a few limitations to content caching - namely that only certain types of network protocols and address types are allowed:
"You can use content caching on networks that use network address translation (NAT) for the content cache and all devices, on networks consisting of publicly routable IP addresses, and optionally for devices tethered to a Mac (for example, when provisioning many devices at once using Apple Configurator). Apple devices automatically contact a nearby content cache without any configuration by using a lookup service that maps client private and public IP addresses to configurations registered with Apple from Mac computers with content caching turned on"
Apple also recommends that the Mac doing the caching only has a single wired Ethernet connection to the network for performance reasons. If you use a WiFi connection for the caching Mac, performance may be affected.
By configuring a Mac in this way, you effectively set it up to be a content cache server. Your network is by no means limited to only one Mac running content caching, so you can have multiple cache servers in operation.
Apple has a complete list of what kinds of content are cached in Technote 102860 Content types supported by content caching in macOS.
There are also explanations and diagrams of how content caching works in Intro to content caching in the Apple Platform Deployment guide.
Apple states:
"By default, content caching is limited to a specific subnet, but you can set it to provide content caching for:All combinations of subnets of the local network that share a common public IP address,
Any combination of subnets of publicly accessible IP addresses (with additional DNS settings being required)"
Where the cache settings are stored
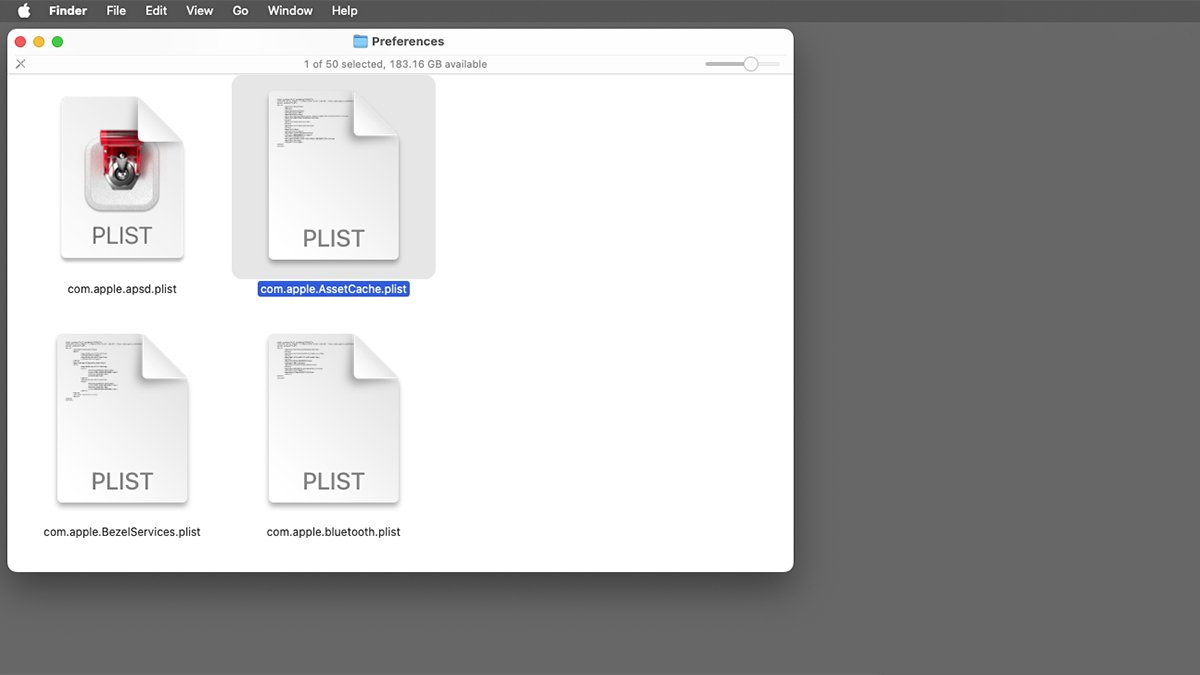
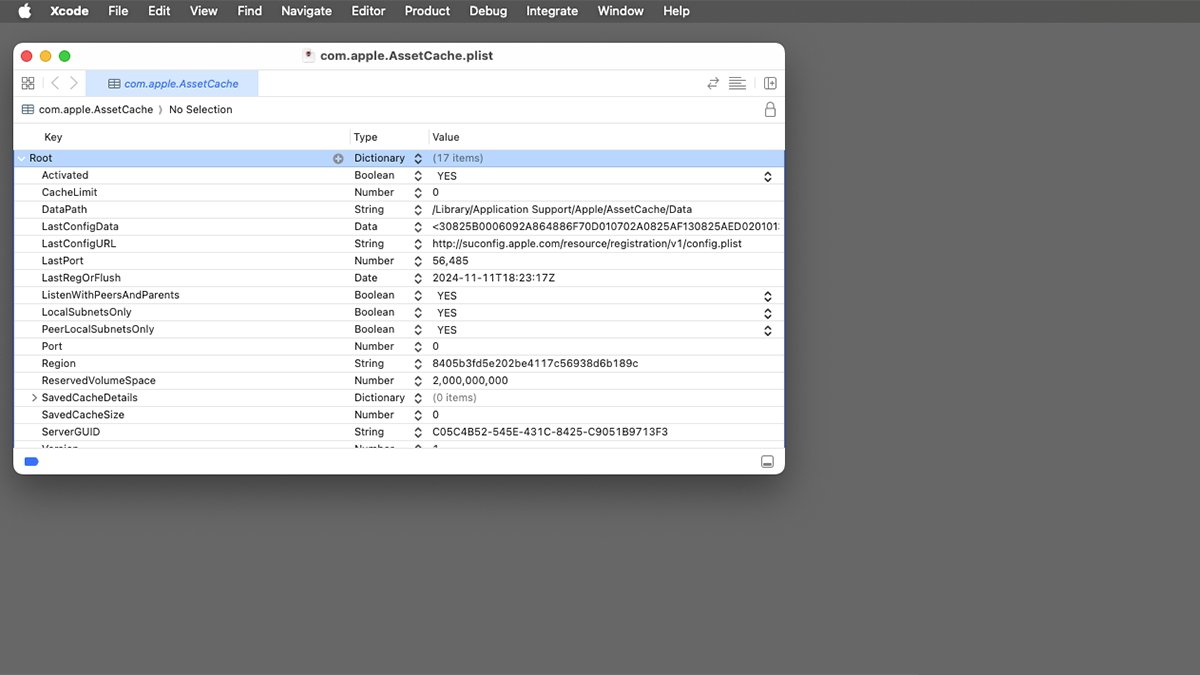
The Mac stores the content cache settings in a .plist (XML) file at /Library/Preferences/com.apple.AssetCache.plist on your Startup Disk. You can open this file in a text editor, or in Apple's Xcode, to edit its settings.
Apple specifically says only to change some of the settings in this file. The others are off-limits, and if you change them, it could cause your Mac to malfunction or be rendered unusable.
See below for the full list.
AssetCacheManagerUtil
If you don't want to edit the settings directly in the .plist file, you can instead edit them in macOS's Terminal app by using the AssetCacheManagerUtil command-line tool.
To get more info on AssetCacheManagerUtil in Terminal type:
man AssetCacheManagerUtil and press Return.
You'll need to use the sudo prefix when using the AssetCacheManagerUtil tool.
When you're done changing your content cache settings, force a reload of the settings by using the reloadSettings option for the AssetCacheManagerUtil tool:
sudo AssetCacheManagerUtil reloadSettings
Apple states some values require you to stop and then restart Content Caching in System Settings.
You can also use the defaults system in Terminal to set simple and advanced settings. To view all standard content cache settings in Terminal type:
sudo AssetCacheManagerUtil settings and press Return.
XML
For more complex commands you'll need to know how to use the defaults system in Terminal, and how to write XML (Extensible Markup Language) to pass parameters to the defaults system.
XML is essentially key-value pairs stored in plain text, which can be nested with data separated by commas and curly braces.
For example, '( { first = 10.0.0.1; last = 10.0.0.254; }, { first = 10.1.0.1; last = 10.1.0.254; } )' contains an array of 2 keyed dictionaries with first and last keys set to different internet addresses.
XML is actually fairly easy to write and understand once you know how the syntax and nesting works. XML is widely used all over the internet to pass and store data, but more recently has been superseded by JSON (JavaScript Object Notation). A dictionary is just a set of key/value pairs bundled together for easy access.
AssetCacheManagerUtil can output its data in JSON format using the -j option but defaults generally uses XML since it older.
Which values to change
Some of the values in com.apple.AssetCache.plist must be clamped between two allowable values. Don't change these to anything outside their allowed ranges.
Apple provides a complete list of the keys you can change in com.apple.AssetCache.plist in Advanced content caching settings on Mac in the Apple Platform Deployment Guide.
By changing these values you can alter quite a lot of how the content cache behaves including timeouts, limits on how big the cache can be, disk space, alerts, and more.
You can also set the verbosity level of the cache logs if you want more information about the way it behaves.
By altering these settings you can control and change how your Mac stores, loads, deletes, and shares content caches.
Also see the section Set up content caching on Mac in the Mac User Guide.
 Chip Loder


-m.jpg)


 Charles Martin
 Marko Zivkovic
 Andrew Orr
 Amber Neely

 William Gallagher and Mike Wuerthele






4 Comments
“
This is the very first sentence in this article and it is completely and utterly wrong. The article goes on to be wrong in other ways.
macOS’s Content Cache is for caching Apple system updates, App store updates, and optionally user data in iCloud. This is literally specified in Apple documentation, the first result when you search for “macos content cache”. See https://support.apple.com/guide/deployment/intro-to-content-caching-depde72e125f/web .
The Content Cache has nothing to do with caching when you visit websites. Authority: me, a developer on Google Chrome.
Messing with the Content Cache settings is useful in situations where admins have to manage multiple computers, and they have plenty of documentation to help. This is an anti-helpful article; it should be retracted.