 Bon Adamson
If you've ever found yourself needing to change the capitalization of an entire block of text at the same time, you'll know it can be mind-numbingly tedious. Thankfully, there is a way to make things easier on Mac.
Whether it be that something needed to have every letter capitalized, or that you typed something out with caps lock on by accident, sometimes it's too much work to retype a sentence or paragraph to change the capitalization. However, this isn't something you have to do by hand within macOS.
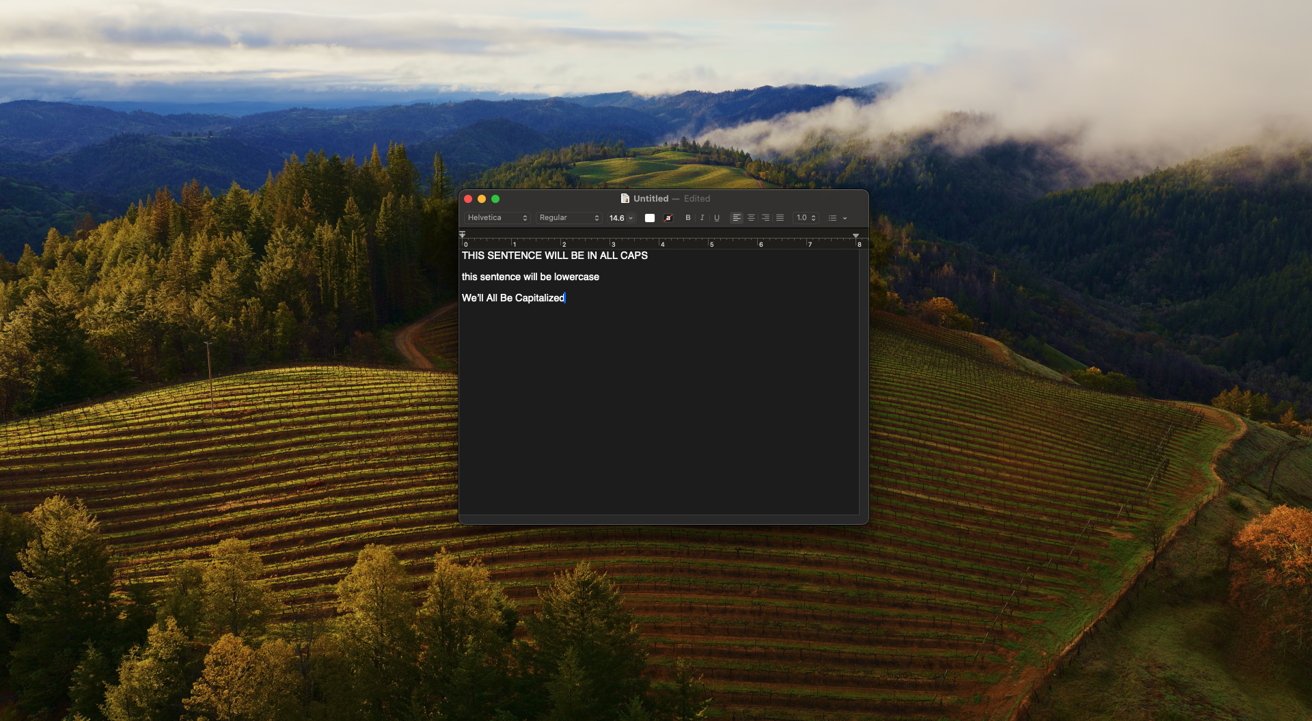
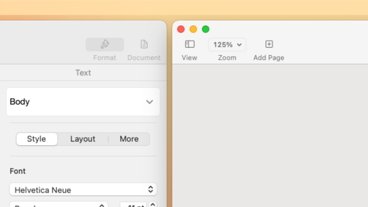
 Default macOS apps, such as TextEdit, will have the best behavior when working with the Transform toggles.
The simplest way to change the case of your text is built straight into your Mac toolbar, and it is as simple as just a couple of clicks.
How to change between upper, lower, and capitalization using Transformations
- Highlight the text you want to modify the capitalization of.
- In the toolbar, click on Edit.
- In the Edit menu, hover your cursor over Transformations.
- Select between Make Uppercase, Make Lowercase, and Capitalize.
 Any mistaken uses of these options can be quickly undone with the undo command.
The three options will either change your selected text into all caps, all lowercase, or capitalize the first letter of every selected word. However, you may need something more specific than the three options provided, such as a title case option.
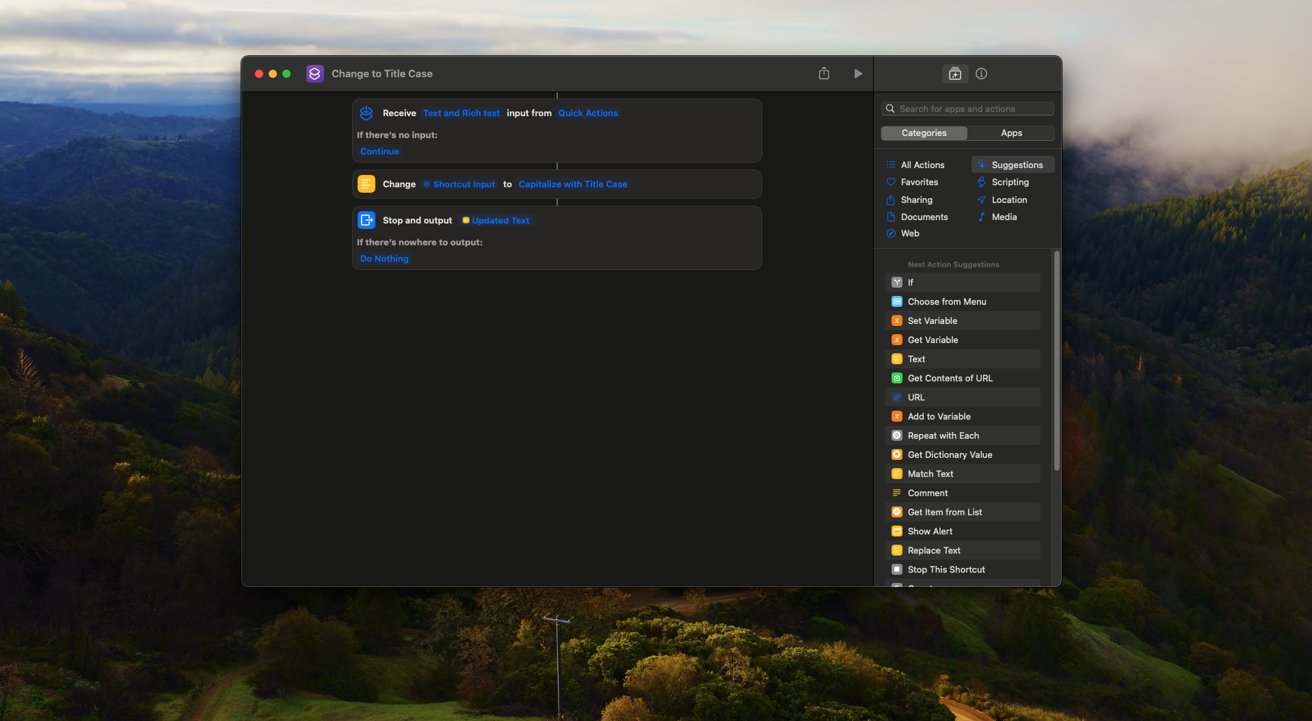 This shortcut is easily put together and modified if more specific settings are needed.
If your needs lie beyond the toggles already provided area, there is still a way to quickly get the capitalization changes you need on your Mac. To do so, you'll be taking advantage of the Shortcuts app, and setting up just a few simple quick actions to fulfill whatever your needs may be.
How to change between upper, lower, and capitalization using Shortcuts
- Open the Shortcuts app on your Mac.
- Create a New Shortcut.
- In Shortcut Details, tick the boxes for Use as Quick Action, Services Menu, and Provide Output.
- In the box next Receive, deselect all items aside from Text and Rich Text.
- In the Action Library, find and select the Change Case action.
- Drag the Change Case action between your shortcut's Receive and Stop actions.
- In the last box, change what the text is changed to your preferred capitalization.
- Name your shortcut whatever you want it to be called, and it is ready to use.
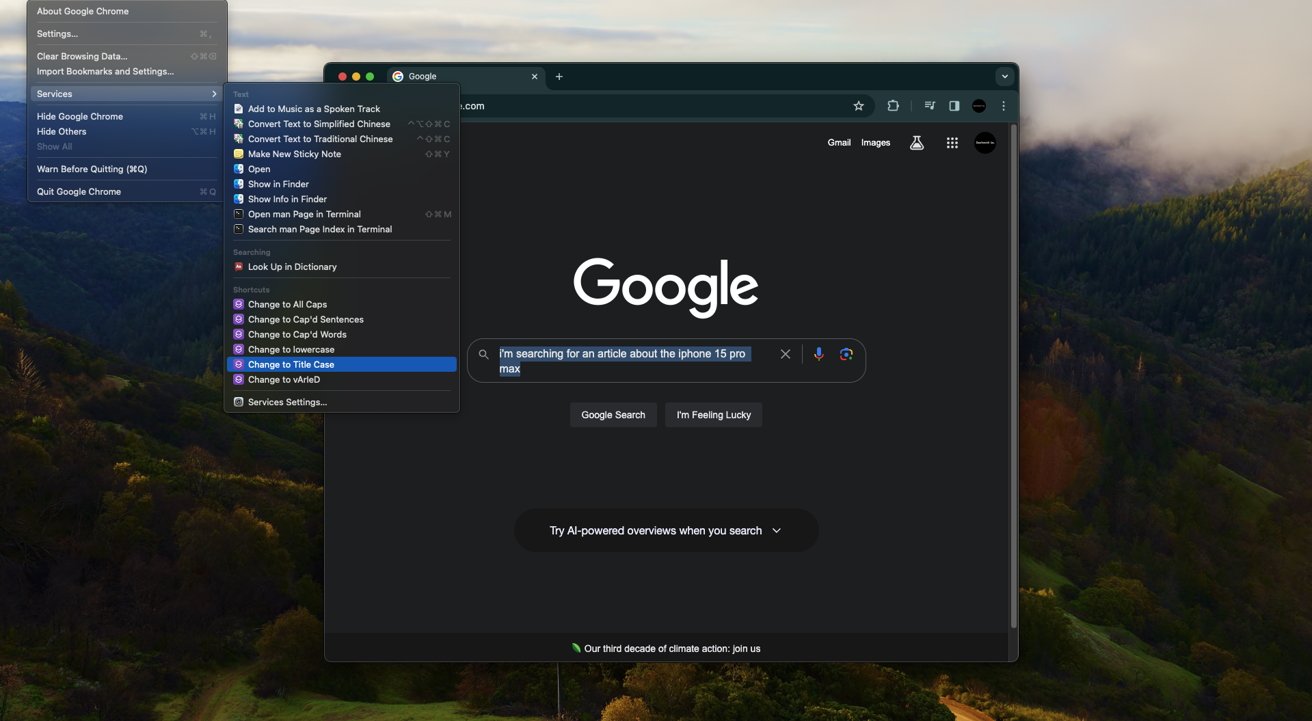 Utilizing all available shortcut options can crowd your services menu.
Once the shortcut is created and set up, it will be ready for use system-wide. To access your newly created shortcut, click the name of the application you are currently using in the toolbar, hover over the services box, and the shortcut will be available to use in the services dropdown.
 The Title Casing option is very intuitive towards correctly capitalizing trickier terms, although results may vary across applications.
Should the options provided by your Mac trip over certain words, you can further tweak the shortcut(s) you've created to better fit your exact needs with the use of actions such as the Replace Text action for more specific needs.


-m.jpg)


 Marko Zivkovic
 Christine McKee
 Andrew Orr
 Andrew O'Hara
 William Gallagher

 Mike Wuerthele


-m.jpg)


10 Comments
I wonder if this Services trick works around Transformations (and lots of other default MacOS text handling, like Lookup) not working in Microsoft apps? I’ll have to try it next time I’m on MacOS…
Nice tip.
I agree, very confusing. I opened a text file with TextEdit, selected some text and the only 'Edit' button I could see was in the app 'toolbar' on the left hand side, nothing on the right in the 'Menubar'. This really needs to be rewritten to tell me how to get this 'Edit' button, and not assume that everybody has made this modification. These tips need to assume that most people are running stock OS releases. [Sonoma 14.2.1]