Chip Loder
SFTP and rsync are two tools that can help you transfer files across networks and the web. Here's how to use them within macOS.
There are many occasions on which you need to transfer files between two computers on a LAN, in an office, across the web, or to a remote server. Many workers today use cloud services such as Google Drive or Dropbox for such transfers.
But there are more sophisticated tools available that give you more flexibility and accuracy when doing network file transfers. Two such tools are SSH File Transfer Protocol (SFTP), and rsync, or remote sync.
We'll discuss SFTP first, then take a look at rsync and how to use it to intelligently transfer and sync files over networks.
FTP
FTP, or File Transfer Protocol dates back to 1971 when its original specification was published in RFC 114, and later amended in 1980 during the switch to TCP/IP, and again in 1994 (RFC 1579), and 1997 (RFC 2228). The latter two standards added passive mode and anonymous server logins, if the server is configured for it.
FTP follows the client/server model, where users log in to an FTP server using a client app, and then use the client app to transfer files to and from the server. The FTP protocol uses two channels of communications, one for control, and one for data transfers.
Most standard FTP servers use port 21 for connections. Other ports can be used, depending on how a server is configured.
Passive mode was added mainly for servers behind firewalls, which can negotiate which port number to use. Once a connection is made by a client in passive mode, the server transmits which port number to use.
Most FTP connections transfer files in either text mode or binary mode, although two other rarely used modes (EBCIDIC and Unicode) are possible.
The one glaring omission in standard FTP connections is that all data in both directions is sent in the clear as plain text - including the user's login name and password. Obviously in today's world you want to avoid plain FTP as much as possible.
Enter SFTP
When the Secure Shell was released to the public in 1994, it provided a way to log in to remote UNIX and Linux-based computers using a secured, encrypted tunnel. All data passing through an SSH tunnel is end-to-end encrypted using modern encryption standards such as AES, or its older cousin, DES.
Other ciphers such as arcfour and blowfish are possible to use, but are now discouraged in favor of AES, the modern standard. SSH uses Public Key Infrastructure (PKI) authentication to verify users' identities. AES was originally known by the name Rijndael and was established by the National Institute of Standards and Technology (NIST) in the US in 2001.
SSH File Transfer Protocol (not to be confused with the earlier, now obsolete Simple File Transfer Protocol), uses the same end-to-end encryption when transferring files across networks - thus ensuring file data is also secure.
There are four RFCs that define the core SSH protocol (4251-4254), and RFC 4716 defines the SSH PKI key file format. The SFTP file transfer protocol itself is still an IETF draft.
While FTP servers tend to use port 21, connections over SFTP usually use port 22.
Mac SFTP apps
There are several good SFTP clients for macOS, including the free FileZilla (Free, Pro version $25 on the Mac App Store), Transmit ($45) from Panic software in Portland OR, and Cyberduck ($25 on the Mac App Store).
Cyberduck also offers a cool foreign file system plugin called Mountain Duck ($40) which integrates with the macOS Finder and allows you to mount SFTP servers on your Desktop as if they were a disk.
Cyberduck and Transmit also support WebDAV and a variety of cloud file servers such as Amazon S3, Dropbox, Google Drive, Microsoft OneDrive, and Backblaze. Transmit also supports another secure FTP standard: FTP with TLS/SSL.
In Transmit, in the connection window, click the Protocol: popup menu in any connection window to switch to SFTP. When you do, a small button with a key icon will also appear - allowing you to set your local SSH keys to use for connecting.
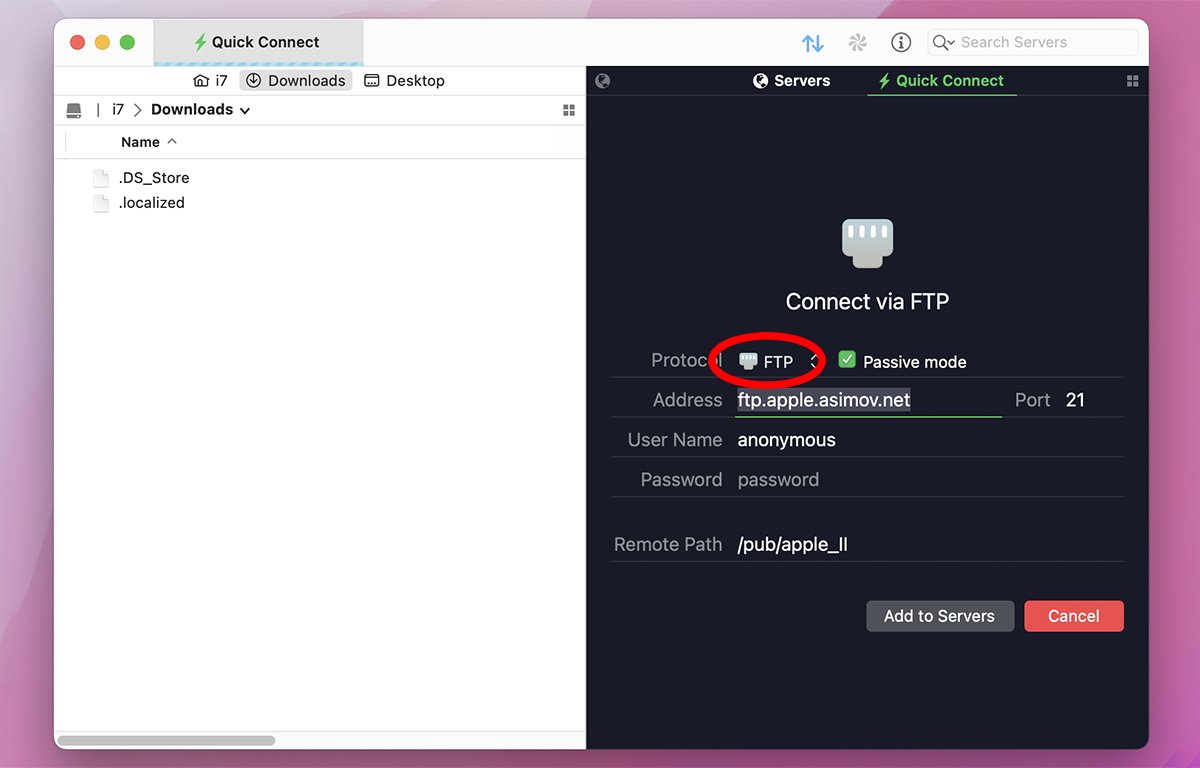 Set protocol, server name, user, and password, and Passive Mode in Transmit's connection window.
All of these SFTP apps are great, but Transmit has long been considered the gold standard on the Mac, and in fact, Transmit dates back all the way to the late 1990s and Mac OS 9. In 1996, Apple released its own FTP client app named CyberDog for Mac OS 9, which has long since been discontinued.
CyberDog was an unfortunate victim of Apple's ill-fated OpenDoc document-based architecture of the late '90s'.
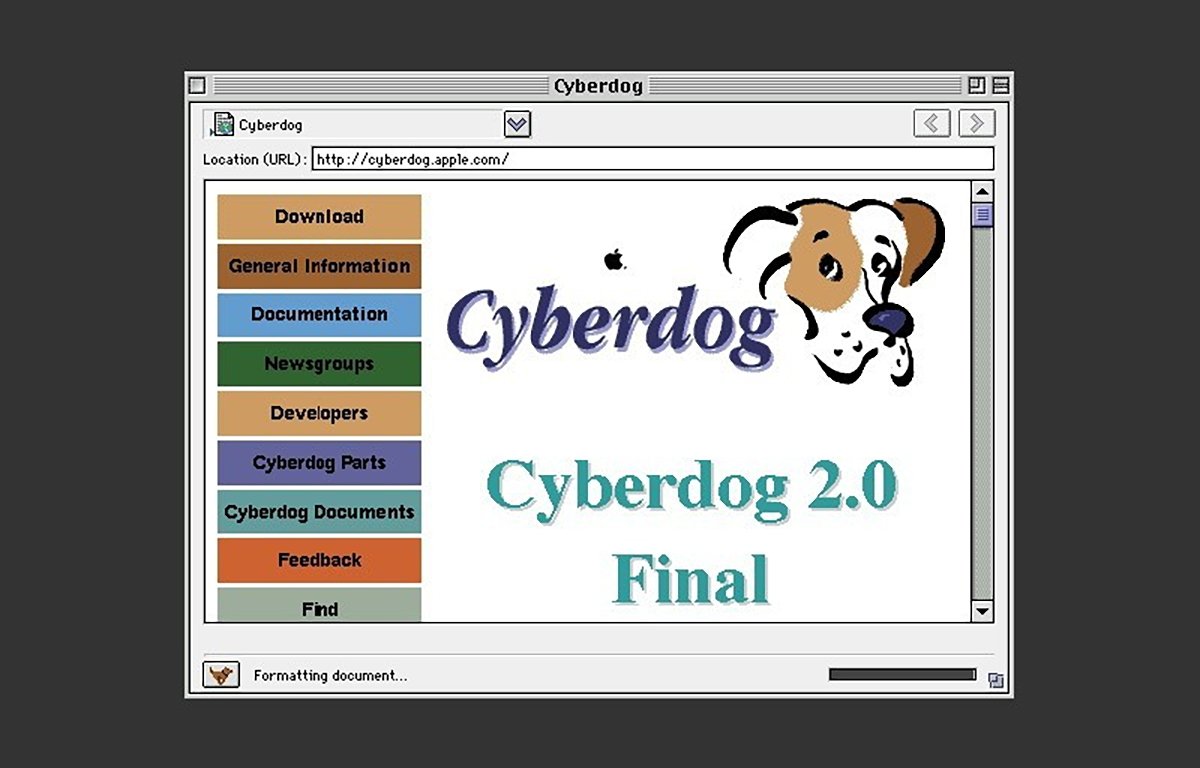 Cyberdog, from Apple circa 1996.
Finder FTP connections
Unknown to many people, you can actually connect to most regular FTP servers using the Finder's Go->Connect to Server window from the main menu.
Just use the ftp:// prefix and an FTP server's name or IP number. When prompted for a user name and password, enter your credentials to connect.
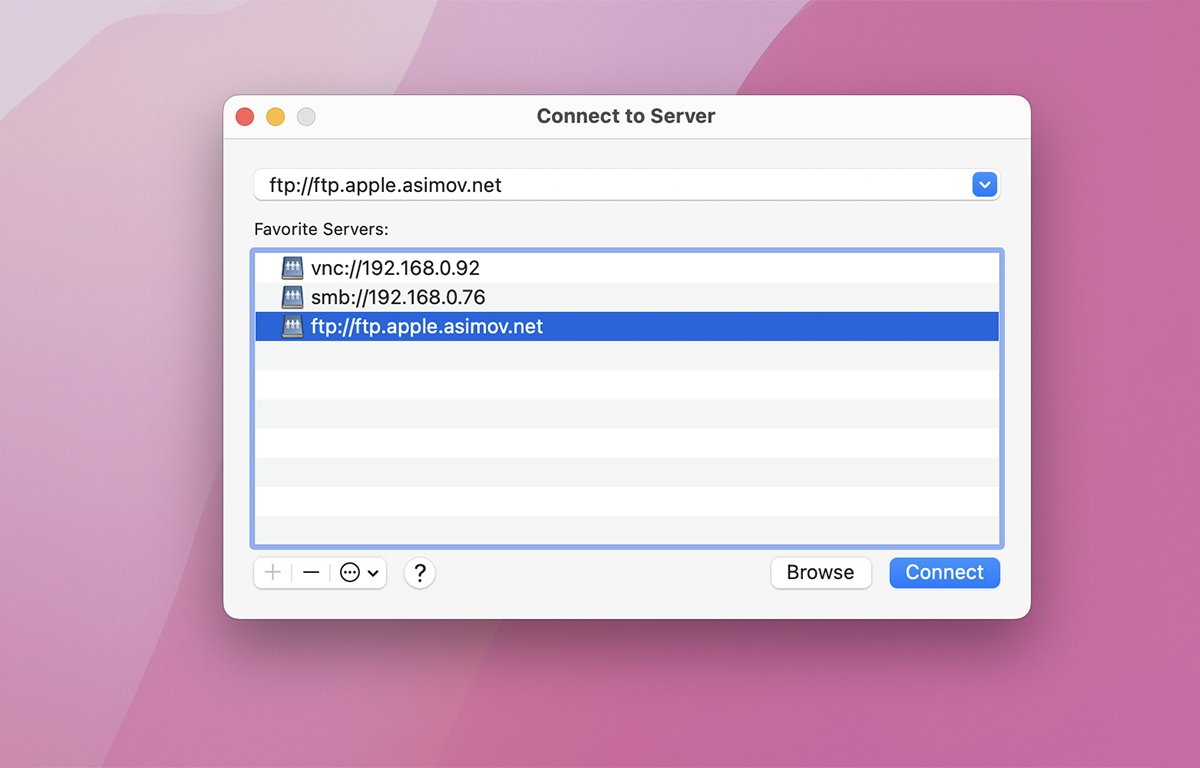 Use the ftp:// protocol in Finder's Connect to Server window.
Unfortunately, the macOS's Connect to Server feature doesn't currently support SFTP connections - something that is long overdue from Apple.
A command-line alternative is to use MacFUSE, and SSHFS to transfer files over SSH in the Terminal. You can use Homebrew to install both:
brew install osxfuse sshfs
For sshfs Terminal usage instructions in Terminal type:
man sshfs and press Return.
In the Finder's Connect to Server dialog, if the server supports anonymous connections, you can use your email and leave the password field blank or use "anonymous" as the password.
If you want a free public test FTP server to connect to, try Apple's legacy archive server, ftp.asimov.net:
Once a connection is made, Finder will mount the remote FTP server on your Desktop as it would any other networked disk. Just be aware any and all file transfers to and from an FTP server will transfer the file data in the clear with no encryption.
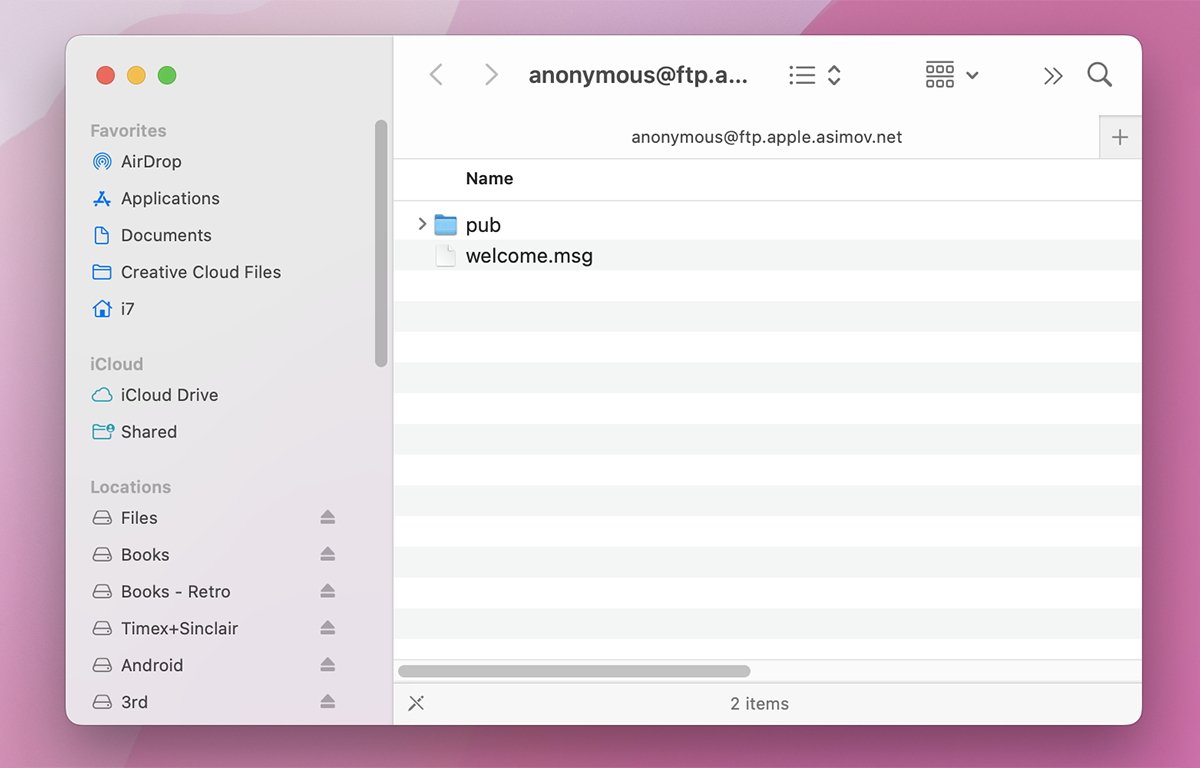 Apple's asimov FTP server. You'll be greeted with a "pub", or public folder.
In most of the commercial FTP apps available, file transfer usage is fairly simple: just drag files and folders from your Mac to a connected server's window and file transfer will start.
To move files the other way - from the server to your Mac, just do the opposite: drag files or folders from the connected server's FTP window in one of the apps to a disk, folder, or the Desktop on your Mac.
Some apps like FileZilla display a progress bar as file transfer progresses, along with a text log showing all activity in the transfer window. Others such as Transmit show a separate task window with each task running in a separate thread with a progress indicator.
Threaded apps run more smoothly and transfer cancellations are usually more responsive.
As a footnote, be aware that some FTP servers limit the maximum number of simultaneous connections from the same client or IP, so if the server you're connecting to has such limits, you'll need to set the same limit in your client app. If you don't, and try more simultaneous transfers beyond the set limit, the server is likely to disconnect your FTP app after you start the transfer - and you'll have to start all over.
In Transmit this setting is in the app's Settings window under the "Transfers" tab:
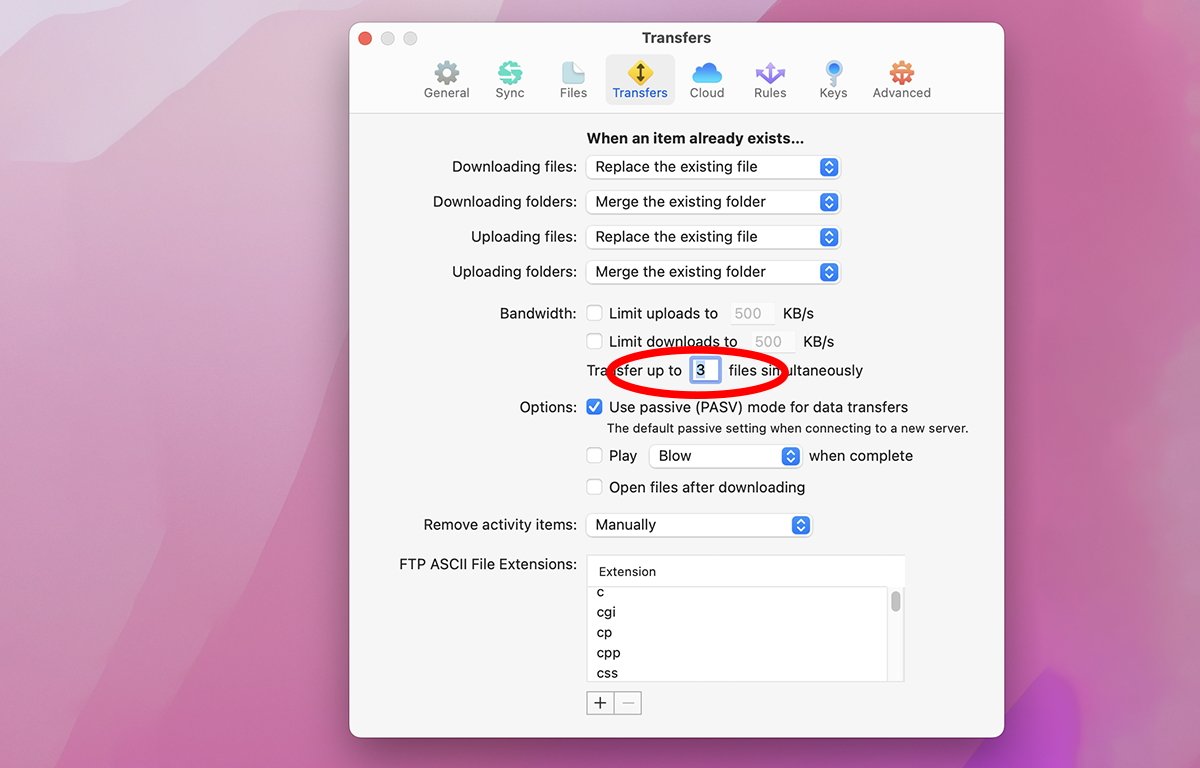 Set the max number of file transfers in Transmit's Settings.
Syncing files with rsync
The Linux/UNIX command rsync made its debut in 1996 as part of a Ph.D. thesis by Andrew Tridgell. It has since been ported to many modern operating systems including macOS, OpenBSD, and Cygwin on Windows.
rsync's homepage is at rsync.samba.org, is currently open source, and is maintained on GitHub by Wayne Davidson. There's also an examples page, including sample bash scripts that use rsync as a backup tool.
rsync can also be run in daemon (background) mode, which when running, allows the use of the "rsync://" protocol syntax in apps that support it.
One of the most powerful uses of rsync is to make incremental backups of computers or disks at specified time intervals automatically. It not only knows to transfer only files that are new or changed, but it even knows which parts of files have changed, and only transfers the updated portions if possible.
On macOS, rsync works from the command line in Terminal and generally uses SSH to connect and transfer files between networked computers.
A typical rsync command consists of the command, followed by a space, then the file to be copied or updated, followed by the user name and server IP or name separated by the @ symbol, followed by a space, and then the remote file or folder location on the server to transfer the file or folder to.
For example, rsync /Users/i7/filename user@remotehost:remote-filename sends a file named "filename" in the i7 user's home folder on a Mac to the remote server "remotehost" using a username and the current SSH keys installed on the Mac. The remote host can be a server name, or an IP address.
In most cases, the source file or folder is specified first in the command, with the destination at the end. When syncing files in the other direction - from a server to your local machine, use the same command but the with a reversed file syntax.
To get the full syntax and options available for rsync in Terminal, type:
man rsync and press Return.
Installation
To install rsync on macOS, use the Homebrew package manager formula in Terminal:
brew install rsync
To keep rsync up-to-date in Homebrew, use the update command:
brew update rsync
After installation completes, verify your rsync installation in Terminal by typing:
which rsync and pressing Return.
You should see:
/usr/bin/rsync
You can see which version of rsync is installed on your Mac by typing:
rsync -v and pressing Return.
You should see something like:
rsync version 2.6.9 protocol version 29
Copyright (C) 1996-2006 by Andrew Tridgell, Wayne Davison, and others.
Capabilities: 64-bit files, socketpairs, hard links, symlinks, batchfiles,
inplace, IPv6, 64-bit system inums, 64-bit internal inums
This is followed by more information and all of rsync's options printed to Terminal.
There are several other rsync Homebrew formulae available including the handy rsync-time-backup. Use Homebrew's search field to find them.
Writing a full backup script is beyond the scope of this article, but to do so, you'd essentially write a Terminal script in bash shell syntax that uses rsync and save it to a .sh file. You would then run the script every so often by using a timed UNIX cron job, or via a daemon that runs in the background.
You could also write a backup script and then simply run it manually at will by dragging and dropping it on a Terminal window and pressing Return.
It's easy to specify files, folders, or entire volumes using the rsync syntax as the source parameter. You can use rsync to back up to another local volume, a networked server, or an internet server.
There are also several third-party backup apps that rely on rsync, such as rclone.org and Grsync, which is a GUI front-end for rsync.
Using rsync as a backup mechanism makes backing up a breeze and it's smart enough to handle most backup details for you.
There's no more worrying about which files and folders changed, which files are new, and which ones to exclude in a backup because they haven't changed.


 Charles Martin
 Mike Wuerthele
 Marko Zivkovic
 Malcolm Owen


 William Gallagher
 Amber Neely


-m.jpg)