Apple understands that device backups are only useful when the process is automatic and done regularly, which is why the feature is baked into iOS and handled by iCloud.
Before iCloud, the prevailing method of backing up an iOS device was connecting it to a computer and syncing to iTunes. As streaming music and other cloud services became more prevalent, the need to sync an iPhone or iPad with iTunes has become obsolete.
As far as ease of use is concerned, iCloud Backup is a better answer than syncing with iTunes as it occurs automatically whenever a device is connected to a Wi-Fi network and charging. That might be every night for most users. Convenient, but with a limited amount of storage, users backing up a lot of content, or users with multiple devices, may see their iCloud allotment quickly fill up.
The iOS device will warn users when their iCloud Storage is full, but managing iCloud storage can be a frustrating process. Here is our step-by-step guide on how to make sure your device is getting backed up regularly, manage iCloud storage settings and apps, and how to make the most of your current space without upgrading to a more expensive plan.
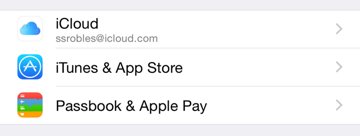
While iCloud is primarily a cloud service, you can only manage your storage settings on an iOS device or Mac. These options are not available on iCloud.com. To begin, navigate to the Settings app on your iOS Device, scroll down and tap on the iCloud section.
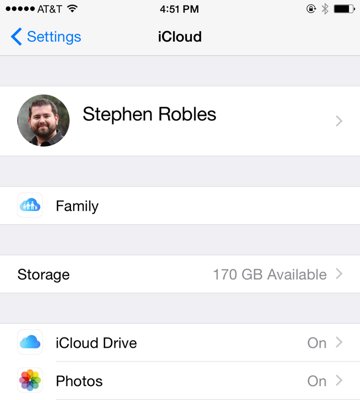
On the next screen you will see the iCloud account associated with your device, options for Family Sharing (to be covered in a future guide) available storage, and what services are currently syncing to your iCloud account.
Using the toggle switches, users can choose to stop syncing Contacts, Calendars, Reminders, etc., if another service is being used like Exchange. To manage your iCloud space or upgrade to a new plan, tap on the Storage heading.
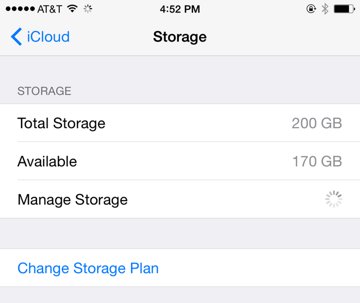
Total Storage refers to the total iCloud space you are currently subscribed. If the Available storage section is less than 10GB you will most likely have difficulty backing up your devices.
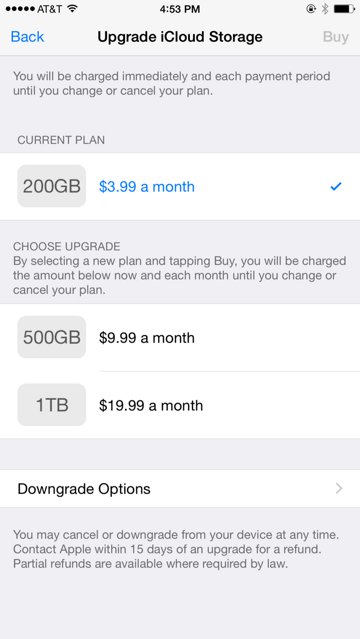
Apple recently lowered the price of high capacity iCloud Storage plans. To upgrade, tap on the Change Storage Plan option. Plans are now billed monthly rather than annually as they were before. The 200GB plan should be plenty if you're solely concerned with having enough space to backup all your devices.
Should you choose to use iCloud Drive for an increasing number of documents or large amounts of photos, you may want to choose 500GB or even 1TB. Users have the option to downgrade at any time if they are not using the total storage amount.
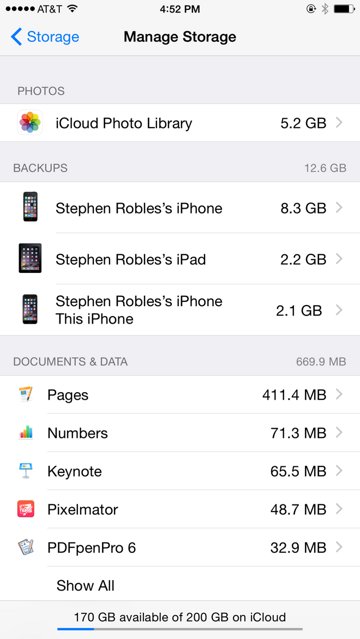
Going back a screen, tap on the Manage Storage option to see exactly what files and backups are using your iCloud space. Users will probably notice Photos taking up a majority of iCloud. Below that you can see what device backups are currently saved and the amount of storage being taken by each app individually.
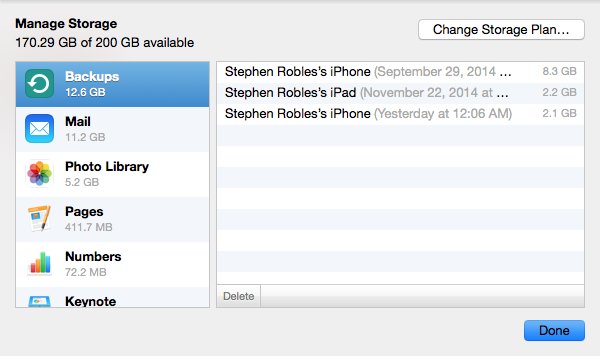
If you have recently upgraded your iPhone or iPad, multiple iPhone or iPad backups may appear in iCloud's list of backups. Viewing these settings on your iPhone will show you exactly which backup file correlates to your device by saying "This iPhone" or "This iPad". You may delete old backups of previous devices to free up space while keeping your latest iPhone or iPad backups intact.
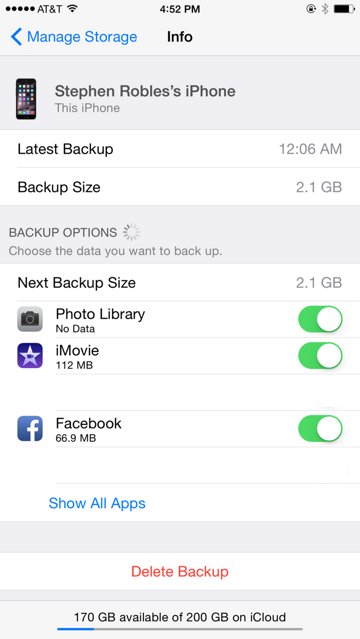
Tapping on one of your device backups will display details about that device, what apps are being backed up, and how much memory each app takes during backup. This detail page will also show users how much storage the next immediate backup is going to take and allows you delete the backup file.
Users may notice certain apps taking up a large amount of space in the backup file, like iMovie. You can choose to stop backing up that app's data, but be sure it's not important or back it up elsewhere before disabling.
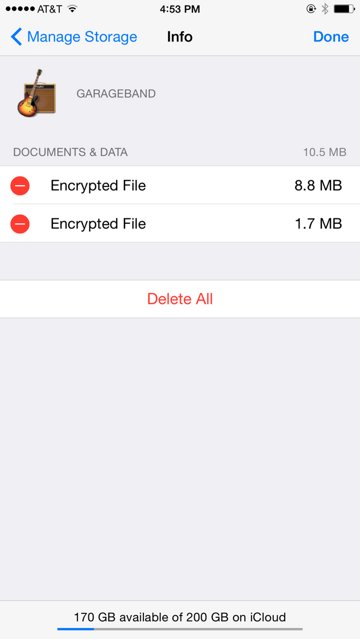
Tapping on certain apps may even allow you to delete portions of the data in the backup file while keeping some of the backup information intact.
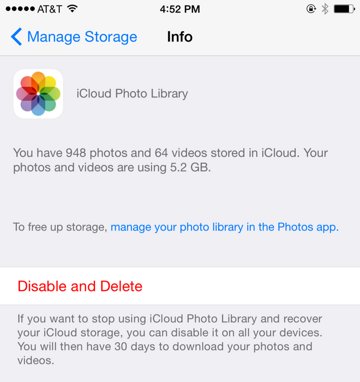
Navigating back to the main Manage iCloud Storage screen, users can tap on the iCloud Photo Library to disable and delete all photos from the cloud. This should be done only if you are confident the photos are saved elsewhere and backed up on another device. Once you've chosen to Disable and Delete these photos, you have 30 days before Apple removes them forever.
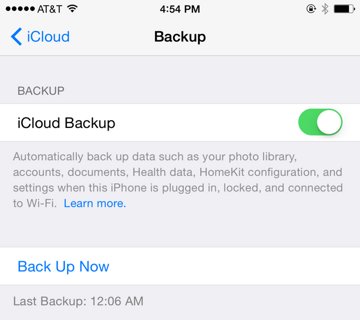
After you have managed storage options and deleted superfluous backups, make sure iCloud Backup is on and has a recent save. From the main iCloud settings screen, scroll towards the bottom and tap on Backup.
If the iCloud Backup toggle is off, be sure to turn this on. In the light grey area, you will see the "Last Backup" date and time. If this is not a recent backup, tap on Back Up Now to have your iCloud brought up to date.
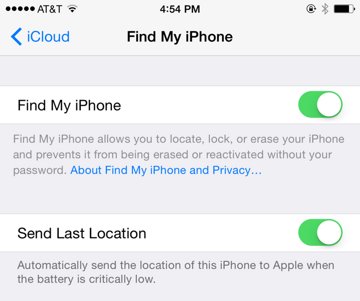
While you're adjusting these iCloud Settings, it's a good idea to double check that Find My iPhone is enabled. With this option on, in the event your phone is lost or stolen users can go to iCloud.com and see their iPhone on a map, remote wipe or lock the device, push a message to the home screen, and enable "Lost Mode" which will make iCloud continuously try to reach your device and email you when it's found.
Enable Find My iPhone under the iCloud Settings, scroll to the bottom and tap Find My iPhone. Users can also enable Send Last Location which will automatically track the device's location and send it to Find My iPhone if the battery is critically low. Your device's location is not available when turned off.
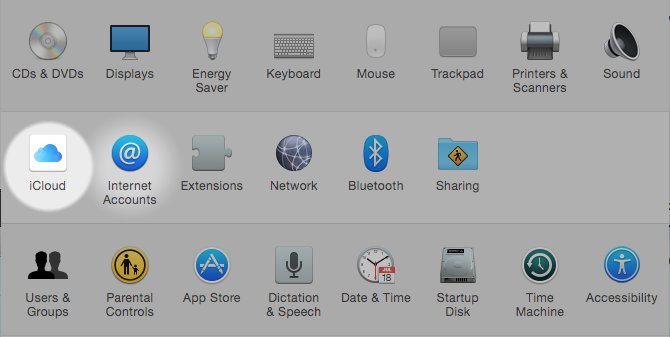
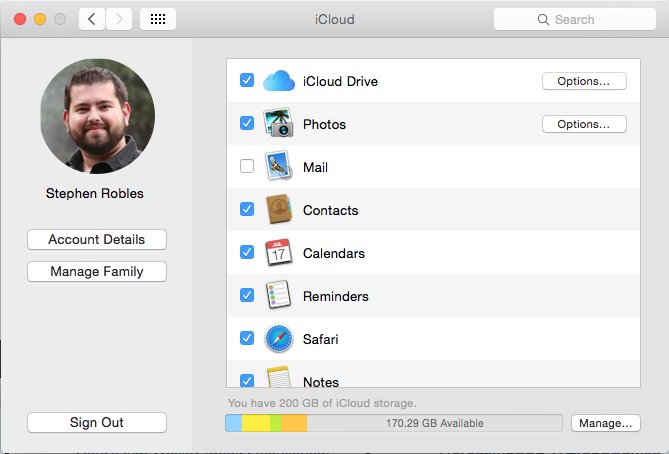
Users can also manage iCloud Storage Settings on a Mac. To do this, open System Preferences and click on the iCloud symbol.
Here you will see a similar listing of what iCloud services are currently syncing to your Mac. Click on the Manage... button in the lower right corner.
On the next screen users can upgrade or downgrade their storage plan, see what apps are using space in iCloud and delete backups of iOS devices.
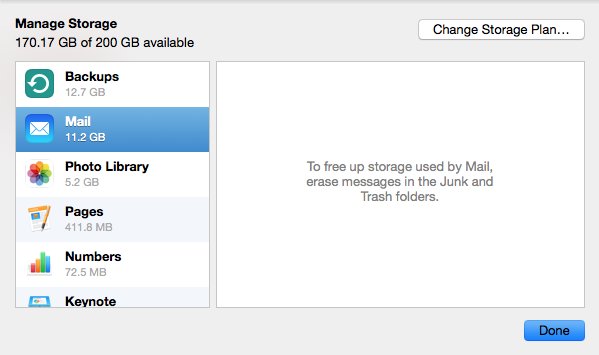
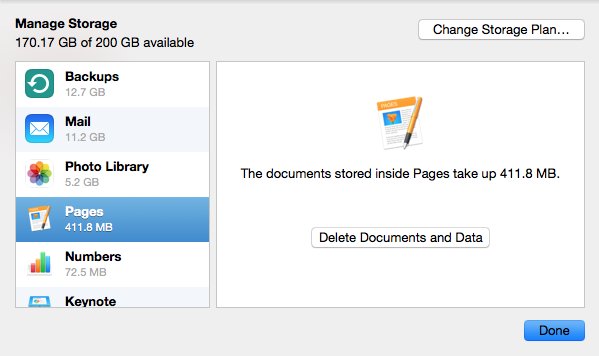
Clicking on some apps in the left column (like Mail or Photo Library) just describes where users should go to manage this storage. Other apps like Pages, Numbers and Keynote, will allow you to delete those documents from iCloud right in System Preferences.
 Stephen Robles







-m.jpg)



 Wesley Hilliard
 Oliver Haslam
 Marko Zivkovic
 William Gallagher
 Amber Neely
 Sponsored Content
 Christine McKee
 William Gallagher and Mike Wuerthele






22 Comments
Nice job but IMHO iCloud Drive, used manually or with 3rd party back up software, needs mentioning in more detail in such an article. It has some strange quirky behaviors, especially for those of us with tiny internal SSD drives on the new Mac Pro. I have encountered the situation where anything I copy from any external drive e.g. all Photography data is on external RAID 0 drives, to the iCloud Drive is immediately added to my internal SSD which if it doesn't have the room (Aperture Library in my case as I wanted to back up the RAW data), it just gives a 'not enough room' warning, even with plenty of room on the iCloud Drive. In addition I think it is weird the way anything you copy down from the iCloud Drive on another Mac removes it from the iCloud Drive by default instead of copying by default. These experiences are all from running the developer version of 10.10 so perhaps this isn't how life is on the release version.
Seems the article link on the front page is broken :(
Personally I see no need for iCloud paid backup until Apple releases OS X's Photos app. To me, that will be the real test as to how well iCloud will work, and how useful it will be in the long term.
Seems like a good addition to the article would be mentioning that not everything is backed up when using iCloud for backup.
Is there a way to share an icloud drive between 2 itunes account? I have family sharing between the accounts