Most people like the idea of having Wi-Fi available throughout their home, but in black spots at the edges of the hotspot's coverage area, the signal may be too weak to use properly. Rather than paying for more network hardware to extend the range, AppleInsider shows how to use a Mac connected to a wired network as an impromptu wireless access point.
The vast majority of smartphone, tablet, and computer users have some form of Wi-Fi network in their home, usually supplied by their Internet service provider's router. This setup is fine to use, but the area the Wi-Fi signal can reach is heavily dependent on where it is physically located, which can be far away from the ideal location in the middle of the intended coverage area.
Getting stronger Wi-Fi to these areas can be performed using extra hardware, like a Wi-Fi extender, powerline networking with a built-in Wi-FI hotspot, or if an existing network connection is available, a second router. All of these options cost money, but if you happen to have a Mac near the blackspot that is also connected via a network cable, there's a more immediate and free way to fix the problem.
Enable Sharing
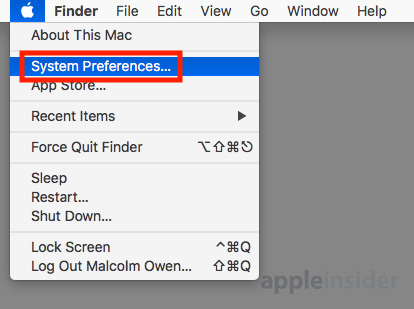
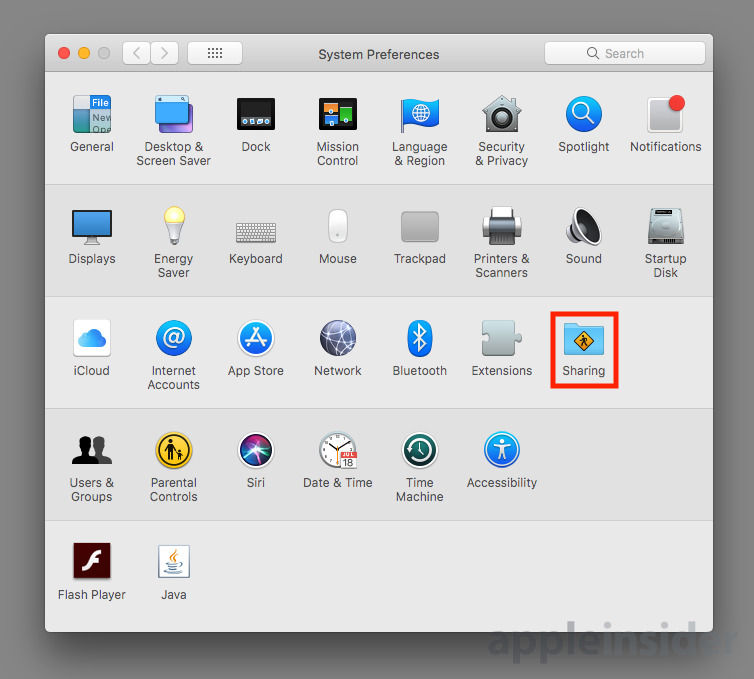
Start by going to the Apple Logo in the menu, followed by System Preferences. Click Sharing, which is the icon usually located at the end of the third row.
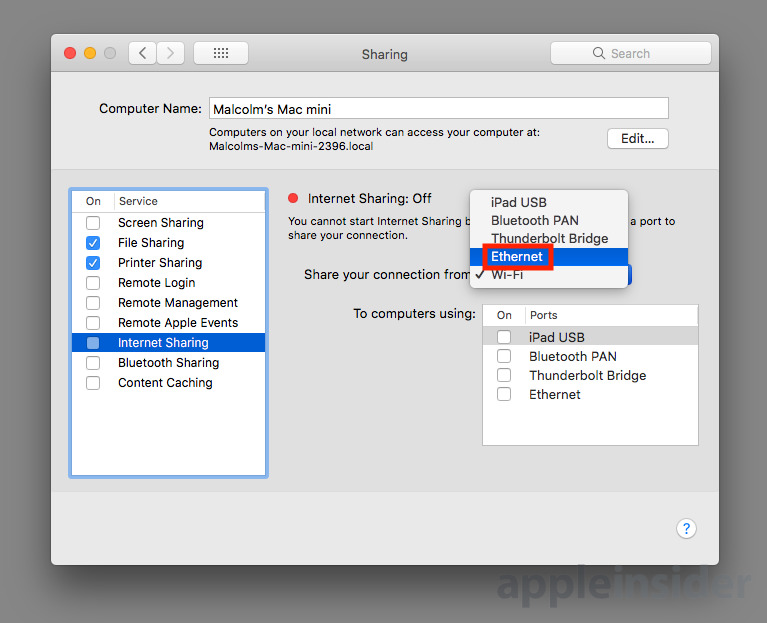
Select the Internet Sharing service on the left-hand side by clicking the name, not the tick box. This will bring up more settings on the right-hand side of the window, and a notification that Internet Sharing is Off.
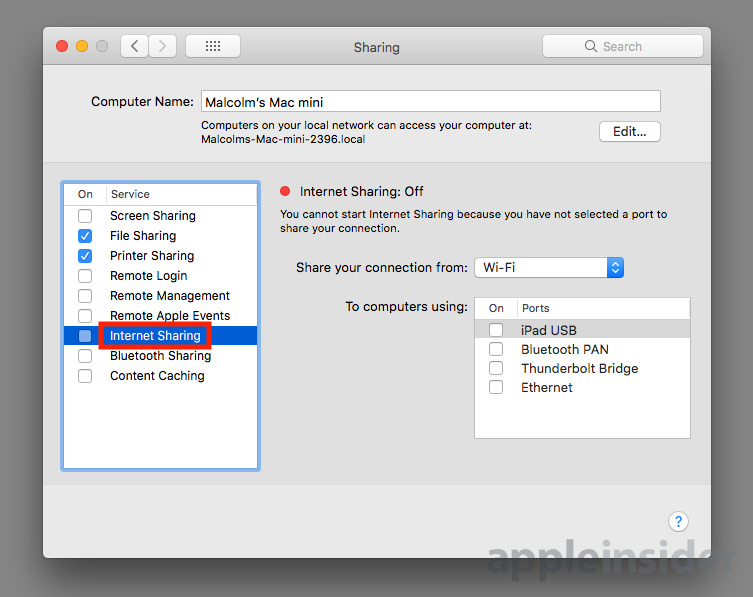
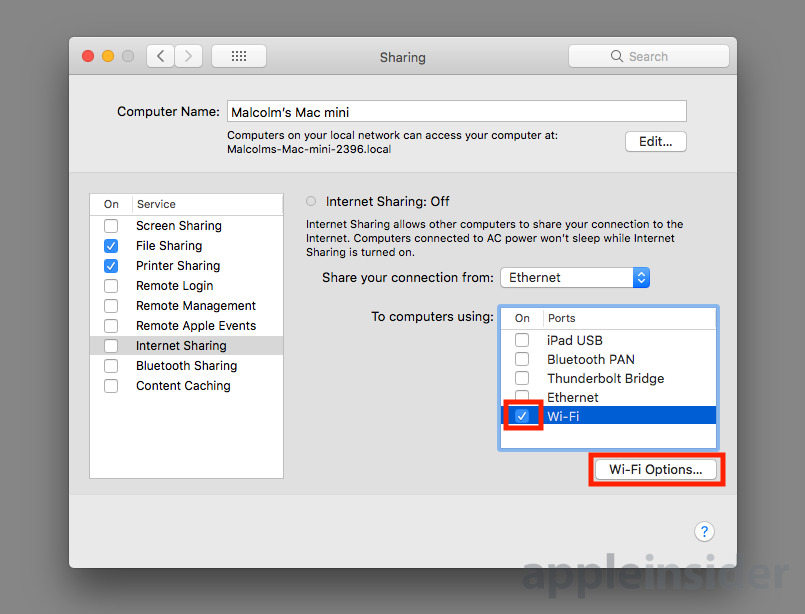
Go to the "Share your connection from" dropdown box and select Ethernet. In the section marked as "To computers using," click the tickbox next to Wi-Fi to enable it, then click the new Wi-Fi Options button.
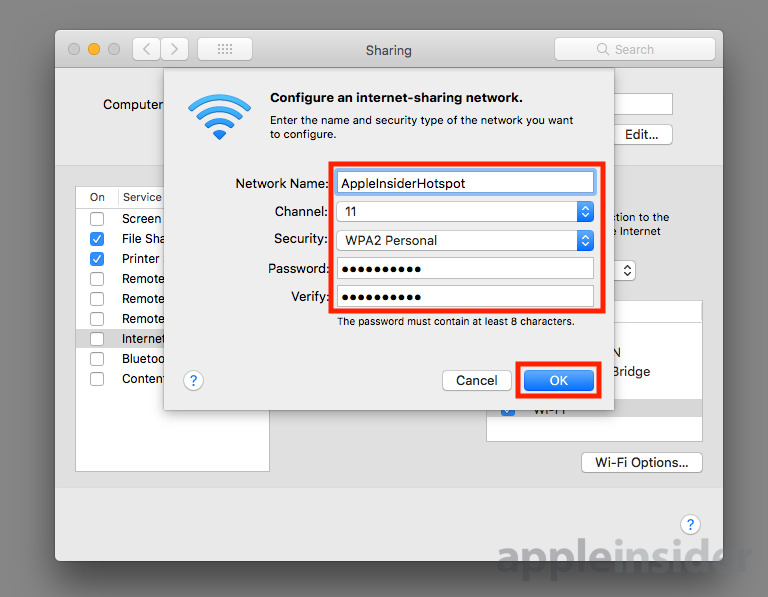
In this new pop-up window, enter an appropriate name for the wireless access point, and change the channel and the security to your preferred settings.
It isn't immediately obvious, but the channel you select will have a bearing on whether the hotspot will use 2.4GHz or 5GHz bands. Make sure to select the lower ranged numbers above the box's dividing line to use 2.4GHz, while go below the line to the higher-range channels to use 5GHz.
It is highly advised not to switch Security to Off, for fairly obvious reasons, unless you actively want others to easily access the network without a password. With a security option selected, enter a password you want to set up for the hotspot, and re-enter it to verify, then click OK.
Return to the left-hand side of the Sharing window and tick the box next to Internet Sharing to turn it on. A confirmation box warning you are enabling access to the network will appear, which can be accepted by clicking Start.
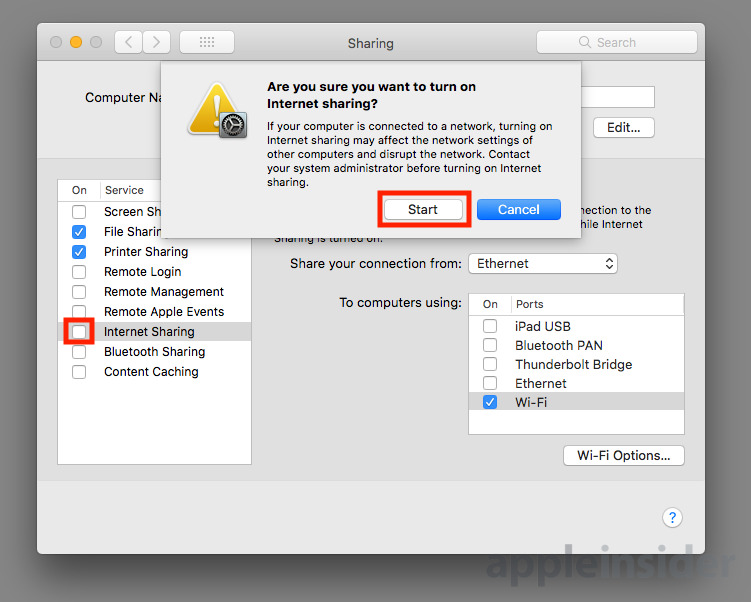
You can now close the window.
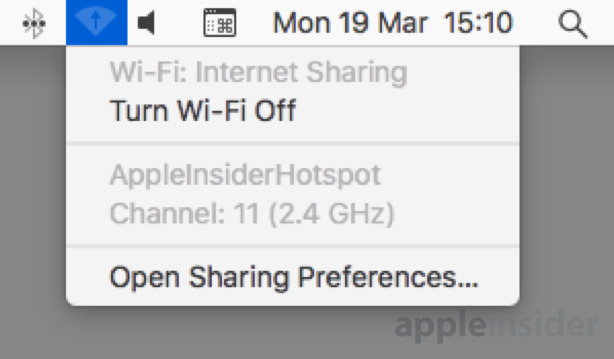
At this point, the Mac will be visible on other Wi-FI enabled devices as a hotspot, and can be connected to using the password set up for the service earlier.
Disabling Sharing
Turning off the connection is quite easy, and involves going back to the Sharing section of System Preferences, as explained above. Select the Internet Sharing service, and click the tickbox to remove the check.
While this stops the Wi-Fi being used for sharing access to the network, the settings you have entered to create the hotspot will remain. This allows you to quickly re-enable the hotspot by clicking the tickbox in the future.
Selecting the channel
The channel will depend on what other hotspots are operating in the area, as ideally you will need to use one that has the least competition on nearby channels to ensure a strong signal. While there are network analysis tools you can download to work out the best one to use, there's one option already built into macOS.
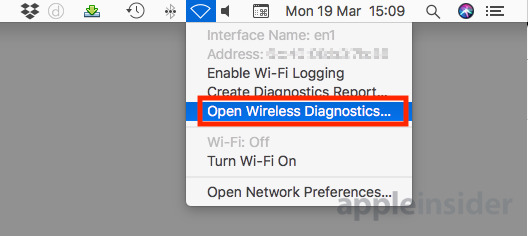
Starting with sharing of the connection disabled, hold the Option key and click on the Wi-Fi icon in the menu bar. In the enhanced version of the Wi-FI menu, click Open Wireless Diagnostics.
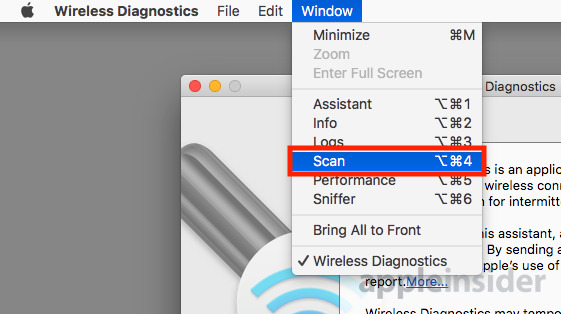
Ignore the window that appears and instead select Window then Scan in the Menu. You can also use the keyboard shortcut Command-Option-4 at this point instead.

Another window will appear, with a Scan button at the bottom right. It should automatically start bringing up a list of all the nearby Wi-Fi networks, but if not you can click Scan and wait a few seconds for the results.
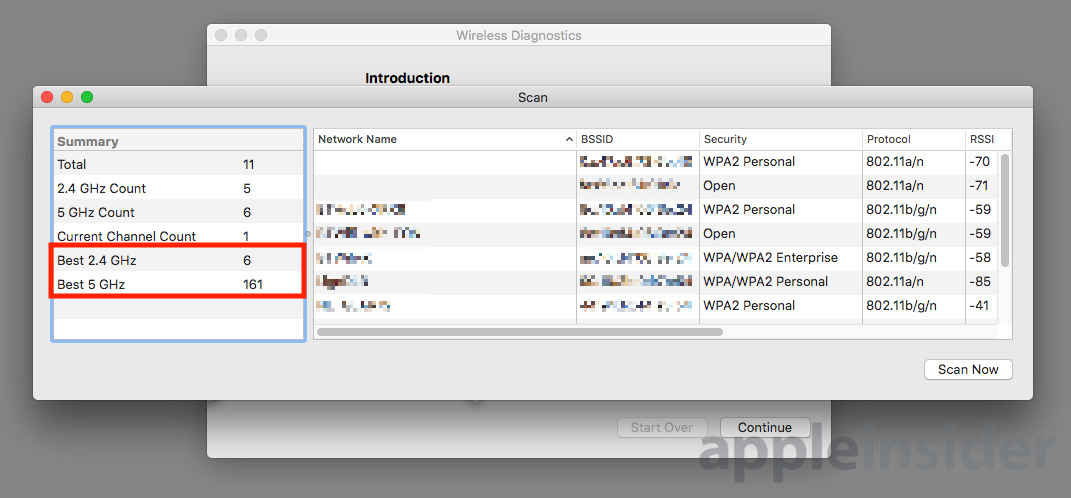
The important part of the left-hand Summary are the bottom two rows marked Best 2.4GHz and Best 5GHz, as these advise of the best channels to use for setting up a new Wi-Fi hotspot, taking into account others it can pick up.
Further notes
This can be an extremely useful tool for traveling, as an older Ethernet-equipped MacBook Pro could be used to create a hotspot of a wired hotel Internet connection for other mobile devices you may possess, saving on cellular data usage.
The setup process can also be adjusted for different situations, for example setting it to share an Internet connection from a Wi-Fi network through a Mac's Ethernet connection can effectively turn a Mac into an access point for an Internet-less wired network.
If you have a second Wi-Fi adapter connected to the Mac, you can use both it and the built-in Wi-Fi to create a new hotspot that funnels Internet traffic through the existing Wi-FI network by changing the options in the Sharing window. Sadly this is not possible using just the built-in Wi-Fi hardware alone.
Lastly, a reminder that, while this is a good idea for limited use, like at home, it's ill advised to do this at work or on a corporate network. Most businesses have some sort of information security policies in place that forbid changes to the network, such as the creation of a new unauthorized hotspot for your own use, so doing this on such a network without permission is a really bad idea.