There's a lot to making a podcast from planning to getting it in front of listeners but it all starts with recording. AppleInsider explains how to pick your equipment and recommends some favourites.
Here's one we prepared earlier: AppleInsider has a podcast that you can listen to over iTunes, Soundcloud and via any podcast app you could name. We're not going to go behind the scenes of it, The Making of AppleInsider Podcast is another piece entirely, but producing ours takes precisely the same steps you need for your own one.
We've had to make the same software and hardware choices you face. And we are continually trying new techniques to make a podcast that's better and better both technically and editorially. Here's an overview of what to think about, what issues to consider, and what software plus hardware to use.
First decisions
Before you look at the right microphone or even think about what you're going to say, spend some time on whether you should be saying anything at all. There are quite a few podcasts around already and if your aim is to get information out to people, there are also quicker ways of doing that.
Then, not to try putting you off, but a podcast is a commitment. You will get quicker at it, yet it will always take time and effort. You can assume that the very simplest of one-hour podcasts with absolutely no problems at all will take at least three hours to make. There's the recording, sure, but also producing, planning and arranging beforehand plus editing afterwards.
Three hours spent now on deciding what you want the show to sound like will help you make a consistently interesting podcast — and make the right equipment choices too.
Standard issue
If you follow what's become the standard format for most podcasts you're going to have yourself and someone else talking. That has the advantage that it's one of the easiest formats to make and it means with two voices, the podcast doesn't sound like a lecture. Choose your co-host carefully though — if you both have the exact same opinions and know the exact same subjects, it isn't going to be a good listen.
That is always the bottom line — you're making a podcast, it should be interesting in topic, and sound interesting, and be entertaining to your audience segment. You're making a show, you're creating something new — don't just read headlines your audience knows anyway.
Editorial decisions can make or break a podcast. If what is being said and how it's being conveyed are good enough, it even makes up for the odd technical issue. Don't rely on that, though — make the best podcast audio you can.
Your own gear
Given that this is AppleInsider, we'd like you to use a Mac for that, even though it is possible to record and edit a podcast on your iPad with an app such as Ferrite Recording Studio.
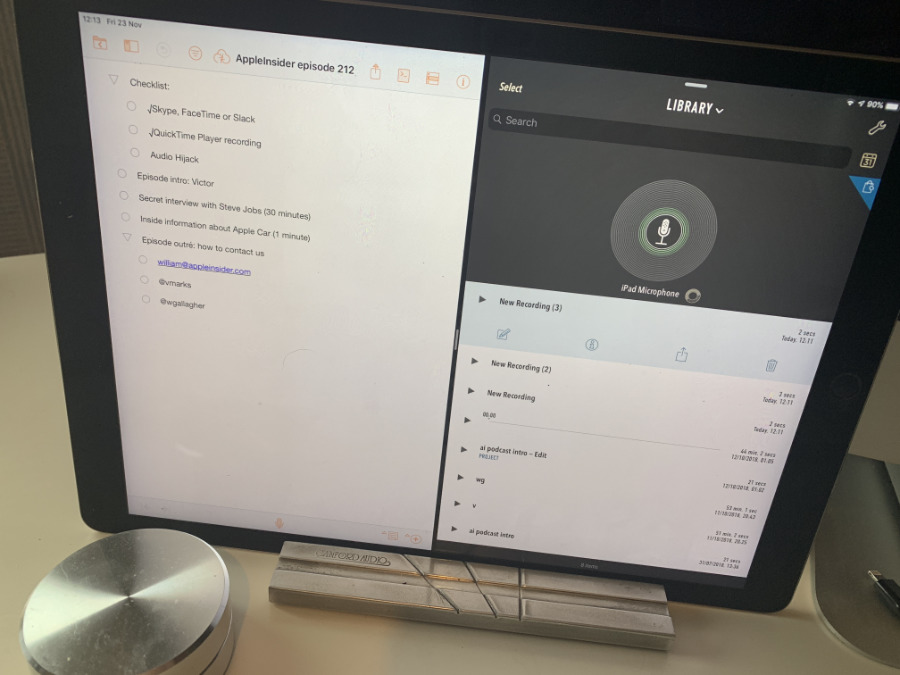
That app is excellent for editing. It takes time to get used to how it works, and especially so if you're used to working on Mac audio tools, but it is superb. Certain episodes of the AppleInsider podcast have been edited and produced in Ferrite on iPad, but they were still recorded on Macs. This is because Ferrite can't help you with a limitation on iPads. They are not good for recording your own voice plus that of a co-host at the same time.
You could just sit around the same microphone but more often you'll be doing this with someone who is far away across the world.
So you need a Mac. Alongside that, you need a microphone, some headphones and software for recording and editing.
Microphone
Your Mac does come with a built-in microphone and you've heard it, you know it's fine on FaceTime or Skype calls. It isn't great for broadcast, however, so you must get something better.
If you're interested in podcasts because of the technical side then this is a topic that could cheerily occupy you for weeks. Assuming you want to get the show made, though, let's cut through the debate and make some decisions.
Get a USB-connected digital microphone that is a cardoid type. We aren't going to delve into what that means at this time — suffice it to say that such microphones are made for you to record on your own while not picking up too much sound around you or behind the mic.
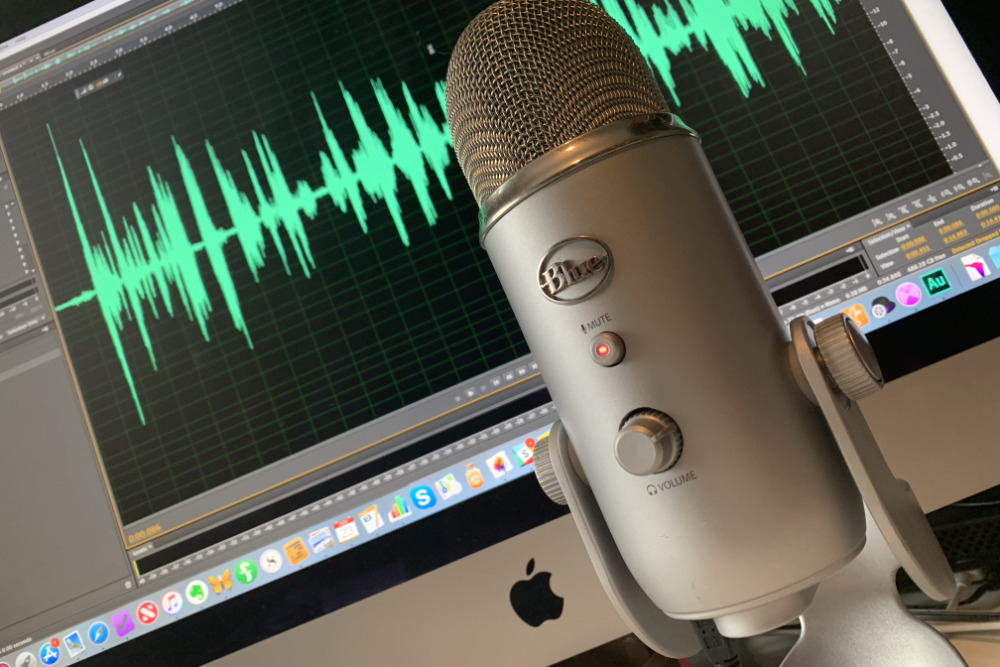
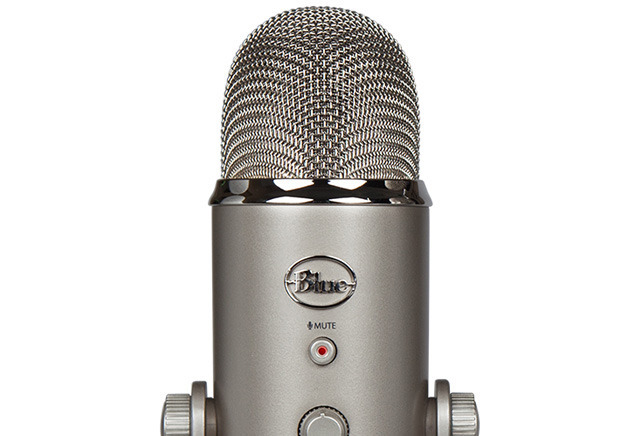
One example that we like is the Blue Yeti microphone. This retails for $130 but the Amazon price is typically around $90. As well as the overall sound quality, what we particularly like is that you can change what you use it for.
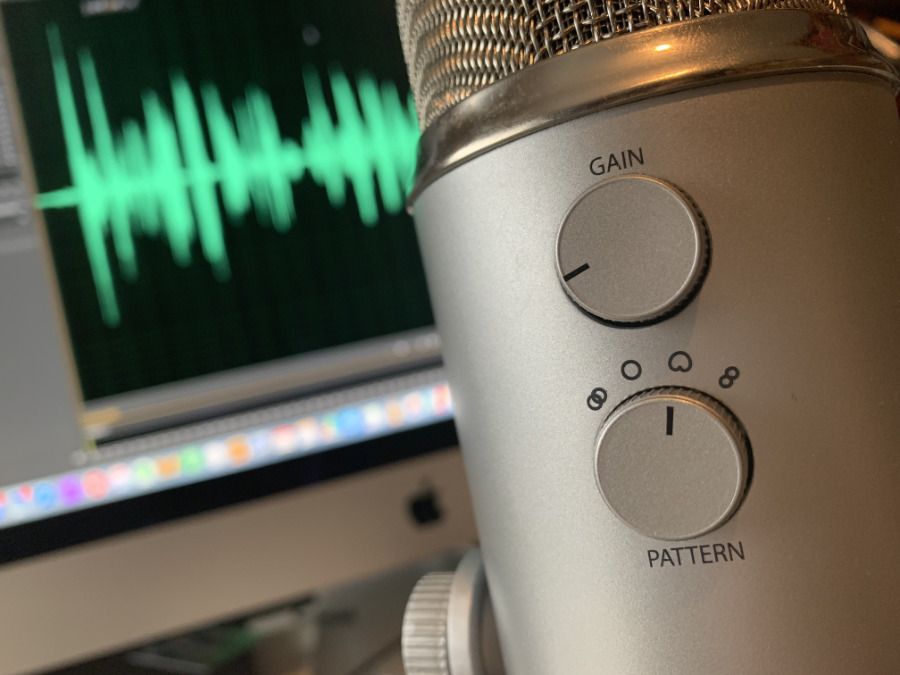
On the back of the Blue Yeti mic there is a control for switching off the cardoid type of recording and switching on one of three alternatives. When you interview someone in front of your Mac, switch to the Bidirectional Mode and the one mic will record you both well.
There's also a stereo mode designed for recording musical instruments and an omnidirectional mode that records everything. That can be superb for capturing the sound and feel of a venue — but more often it's a nuisance because it picks up everything.
As well as the Blue Yeti, we should say that we recently also found a lot to admire in the same firm's smaller Blue Yeti Nano which retails for $99.
It's new enough that we haven't seen any discounts. So, it's currently selling for more than the street price for its older, bigger sibling. Consequently we'd still go for the regular Blue Yeti because of its adaptability. Otherwise, the Nano isn't a compromise, it's just a smaller version of a fine mic.
You can go smaller, though, and we would when travelling. Specifically, we've been using ones such as the Blue Raspberry mic.
Most recently, there has been a new contender — the AmazonBasics Professional USB Condenser Microphone. It officially sells for $90 but Amazon itself has already discounted it to as low as $40 in the past which is an appealing price for a good mic.
Small, portable mics are obviously handy for travelling as well as just for putting away when you don't need them. If you want to actually record as you travel, however, this one was recommended to us by a BBC Radio Drama producer.
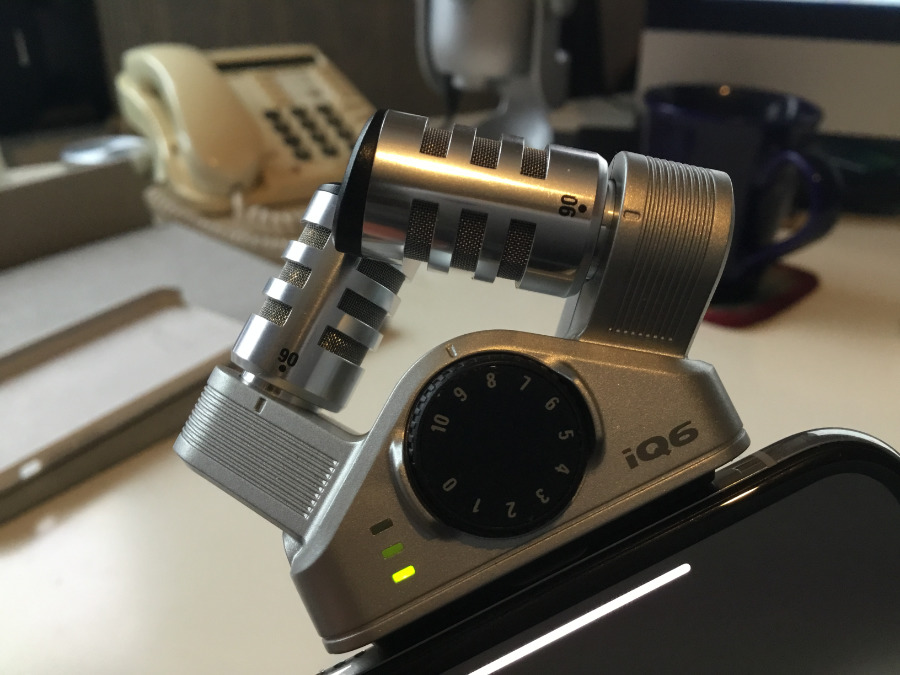
The Zoom iQ6 is a broadcast-quality stereo microphone for your iPhone or iPad. It's such a high-quality and sensitive microphone that it took us a while to adjust the gain to make it pick up the sounds we wanted and not the hiss we didn't.
Mounted microphones
Speaking of noises we don't want, any mic you get will pick up the vibration of you knocking against your desk or even typing as you talk. You can avoid that by just being conscious of it and taking care not to bump anything, or you could get a mount.
Blue, maker of the Yeti microphone range, sells a Blackout arm that comes with a clamp. It's meant to be clamped to your desk but you could instead have it gripping a second table or a nearby shelf. If you do that, it prevents transmission of knocking on your desk through the mic, and lets you mount a mic, a pop filter and your headphones to the arm for around $145.
Headphones
You've already got headphones, even if only the ones that came with your iPhone. As much as we like those, we prefer AirPods — and neither are good enough for podcasting. It's not that you especially need to hear brilliant sound while you're recording. Your listeners should get that great sound, but you're fine with just enough to be able to hear the other person speaking.
The issue is that you don't want listeners to hear that other person speaking through your headphones. You don't want his or her voice to leak and be recorded on a channel that it didn't originate from.
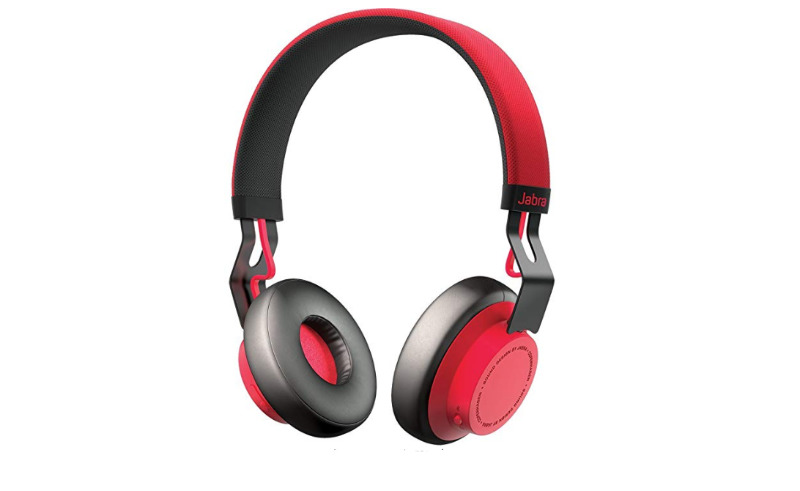
So don't go wild, but do get over-the-ear headphones, the sort you hear being called cans. If you don't already have any, try the Jabra Move Wireless which typically costs around $50.
Podcast bucket
If you've got an excellent microphone, it will excellently pick up sounds around you as well as your voice. Maybe you can deal with that on the odd occasion by just shushing everybody around you, but to do this regularly you'll need something more.
Some people wheel out what they call a "podcast bucket." It has the microphone surrounded by basic soundproofing foam on all sides bar the front. Then when they've recorded the podcast, these people wheel the whole thing away until next time.
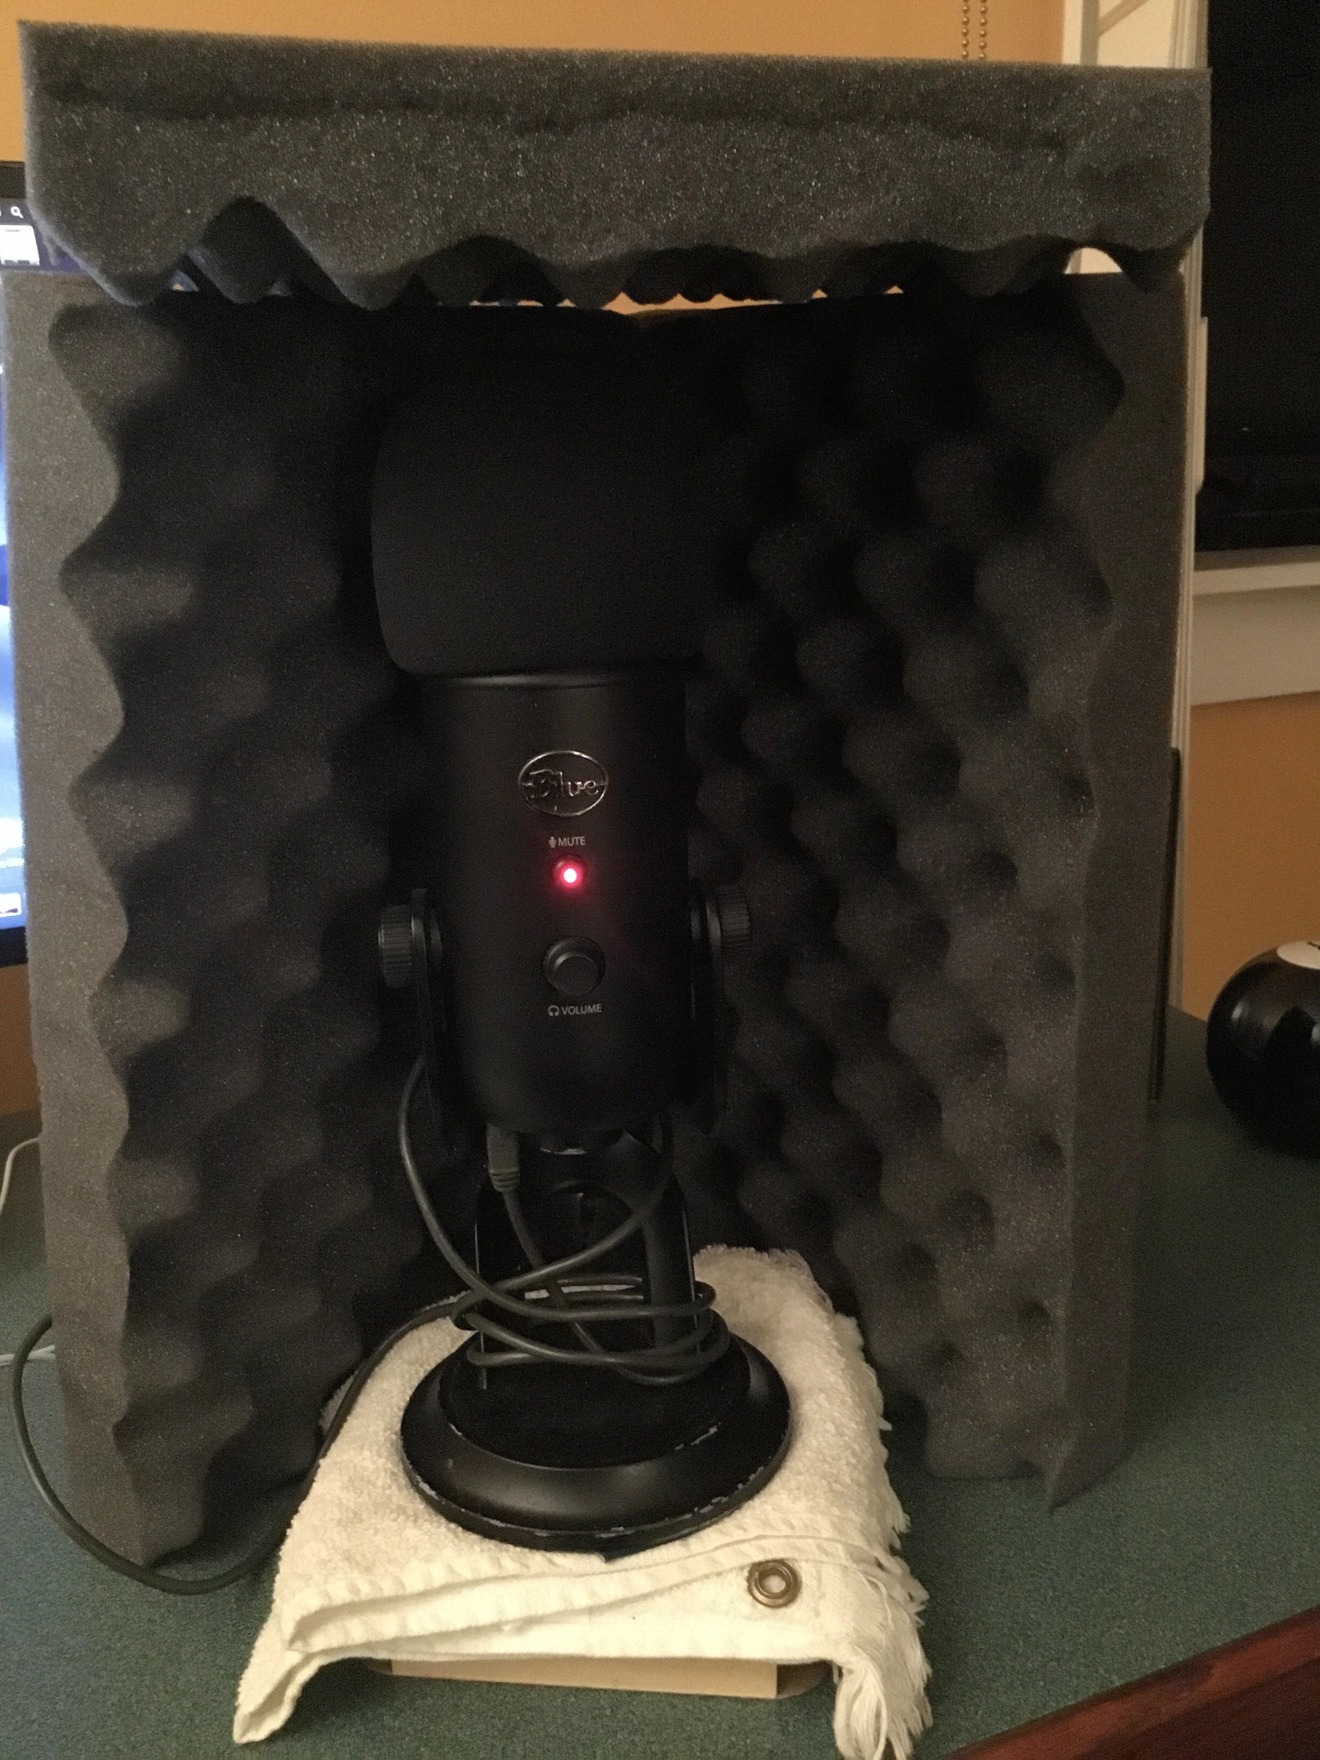 Rudimentary podcast bucket (credit: Charles Martin, Space Javelin podcast)
That costs you the price of a plastic storage box and some foam which makes it a cheap possibility — just not a great one.
If you're going to do this a lot, consider outfitting a disused corner as a de facto podcast studio. Here you can spend as much money as you like but that also means you can stop short of recreating Abbey Road in your spare room should funds be a limiting factor.
-xl.jpg) A DIY podcast studio (Credit: Duane Sibilly, HammerCast)
A DIY podcast studio (Credit: Duane Sibilly, HammerCast)The purple and black sections of the wall in that image are acoustic foam tiles that provide soundproof insulation. Pictured is the contents of one pack which retails for $19.99 for 12 tiles. This installation used spray adhesive to adhere the tiles to white cardstock, which was then adhered to the wall with Command strips so it wouldn't be a permanent installation.
All set
You've got your podcast studio, you've got your Mac, you're ready. As well as avoiding the sound of bumps or typing while you're recording, though, find a mute switch. Some microphones like the Blue Yeti ones have a hardware button you can press. Skype also has an on-screen button you can click.
You'll need this for certain when you feel a cough coming on. However, it also frees you up to do that typing as you check a fact while your colleague is talking.
Don't go crazy
Keep it simple for now — stick to a mic, a like-minded co-host, and a Mac. You can later go for vastly more complex audio setups such as multiple microphones going through a mixing desk to your Mac, or even to a dedicated digital recorder instead.
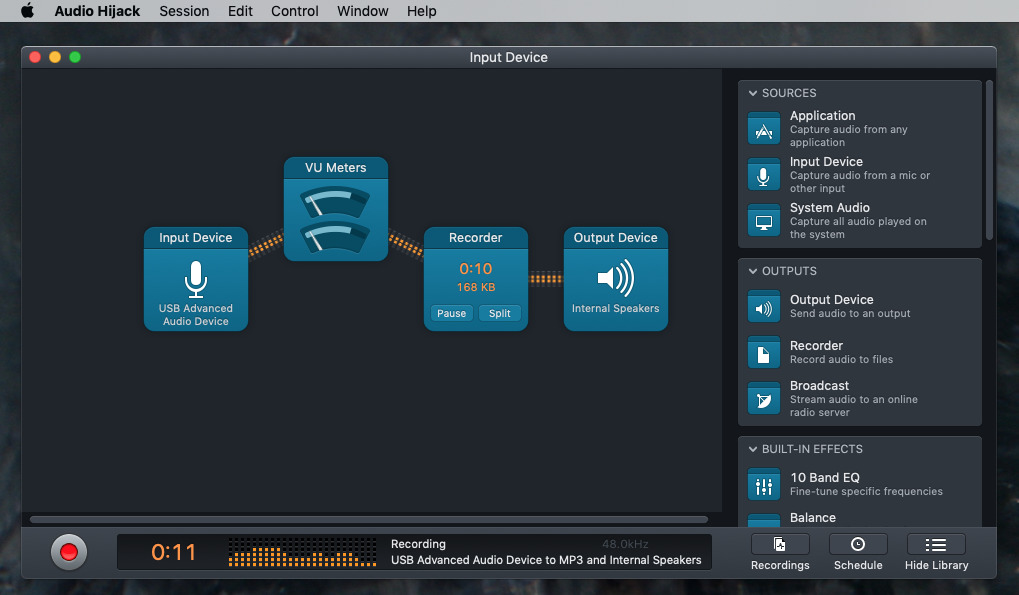
What you cannot and must not skimp on, though, is software. Ultimately it's software that records the audio from your microphone and it is most definitely software that you use to edit your podcast with.
It's not true that all podcasts are edited or given much of a post-production pass before uploading them, but it is certainly true that all of them should be. In the second half of this podcast series, we'll show you and how to pick software that will make your show sound better and also cut down the time it takes to make it, where to put your completed tracks, and how to tell Apple where it is so it can be found in iTunes.
 William Gallagher
-and-Nano-xl.jpg)


-m.jpg)


 Malcolm Owen
 Charles Martin
 Christine McKee
 Wesley Hilliard

 Andrew Orr


6 Comments
I’d suggest that you add the Rode NT USB mic to the mix of good mic options. Brilliant mic.
Another person with extensive experience in podcasting (I’ve lost count on how many podcasts he is in or makes) is Jason Snell, former editor at Macworld. Good information deserves more good information: https://sixcolors.com/post/2015/01/how-i-podcast-recording/
Also, by the way Monoprice makes a neat little "sound isolation booth" for podcasters that's nicely put together for very little money:
https://www.monoprice.com/product?p_id=602650
It would be nice if the scope of the article was expanded to let you know how you go ahead and publish your podcast on the Podcasts app.
Wouldn't have it any other way!!