It can be dangerous if you're not careful, but alongside immense yet arcane power tricks, macOS Mojave's Terminal app has benefits for every Mac user. If you're a beginner, AppleInsider has some suggestions for you.
Terminal is one of the most useful apps on a Mac but using it feels wrong if you love a graphic user interface. It's a Mac — this is the computer that defined graphical interfaces, and it is what took us away from typing barely comprehensible commands into computers with glowing text-based screens. Yet, decades after we learned to drag and drop, still you can open Terminal on any Mac and go right back to typing instructions.
Most people who use Terminal do so intensely and for a gigantic range of features that most Mac users neither know nor care about. If you're a beginning user, there's a good chance you haven't even heard of the Terminal.
And if you're in the middle, if you've had a Mac for a while, then it's likely that you have heard of it but specifically that what you've heard is that it's dangerous. You can type commands into it that will wreck your Mac, for instance. The Terminal is far from a self-destruct button, but it isn't so safe that we'll press on without giving you a disclaimer.
We are going to show you Terminal commands that are likely to be useful to every user, but yes, you need to type them in carefully.

With that said, though, here's the cold, hard and very un-Mac-like truth. You can do things on your Mac in Terminal, you can do useful work, that you can't in any other way. And, that includes changing visual elements such as the Dock and it includes getting you finer control over screengrabs.
Screengrabs
Apple added new ways of taking an image of whatever's on your screen with the release of macOS Mojave but it didn't take any away. So it's still possible to very quickly grab an image of a specific document or Finder window. Or at least it's quick if you're happy with how the Mac handles it.
You just hold down Command and Shift, then tap the digit 4. Your cursor changes to crosshairs and you could drag it across the window to say what bit you want to capture, but you can also tap the space bar. When you do that, the crosshairs turn to an icon of a camera and now when you tap the space bar, you save an image of just that window.
Except that isn't quite true. You do get just the window you chose, you don't get anything else from your Mac's screen — but unfortunately you do get a drop-shadow background border that Apple chooses to add.
Depending on what you open the image in, the border will be black or off-white but there will always be a border
The border that Apple adds does give you room to make annotations but if you just want the window, you can tell the Mac to ditch the border. You just have to do it through Terminal.
Opening and using Terminal
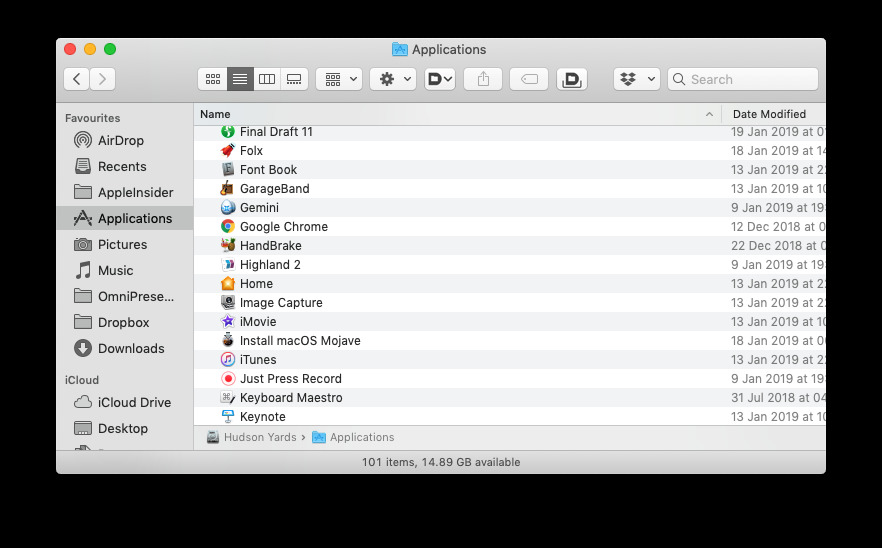
Terminal is an app on your Mac and you can open it via Spotlight or by drilling down into the Utilities folder within Applications.
If you are the main or admin user of your Mac, then launching Terminal will open a window that shows you a single command line prompt. It will be the name of your Mac's startup disk followed by your username with a dollar sign at the end. Then there'll be a flashing cursor waiting for you to type something.
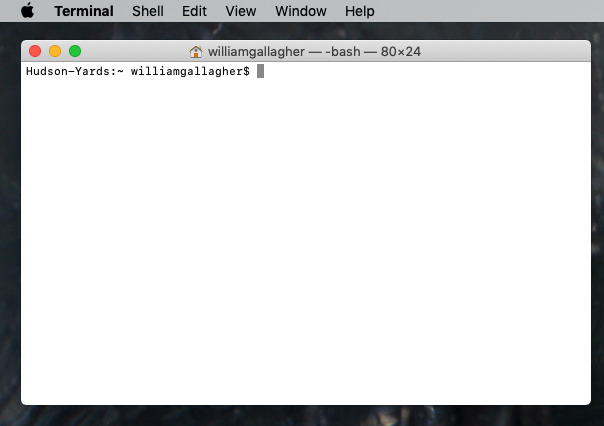
The Terminal app before you enter any commands. Hudson-Yards is the Mac's name, williamgallagher the user's.
Type the following precisely — or better yet copy and paste it.
defaults write com.apple.screencapture disable-shadow -bool TRUE
Hit Return and now type:
killall SystemUIServer
And Return again.
That first line changes a default option in the Mac. In all the examples you're going to see, there will be a word in all-caps such as TRUE or FALSE, YES or NO. In each case, you type the command with one to switch the option on or with the other to switch it off.
You don't have to write those words in all capitals but it's handy to. It means you can see immediately whether you've switched something on or off.
Note that you do have to write everything else in precisely the right mix of upper and lowercase. While Killall works just as well as killall, the command killall Dock will work and killall dock won't.
This killall command is Terminal's equivalent of force-quitting an app and immediately relaunching it. None of these Terminal commands need you to restart your Mac but most of them do need you to restart part of it and that's what the killall command does.
When you've typed or copied-and-pasted correctly and then hit Return, you get the command line prompt again and usually nothing else. If you're done, you can now type exit, which will let Terminal neatly finish up, and then File, Quit.
That's what you will always do: open Terminal, type or paste a specific command or two, then get out. Don't leave Terminal open if you're not using it.
And having now delayed you long enough, here's the result of typing that command ending in disable-shadow -bool TRUE.
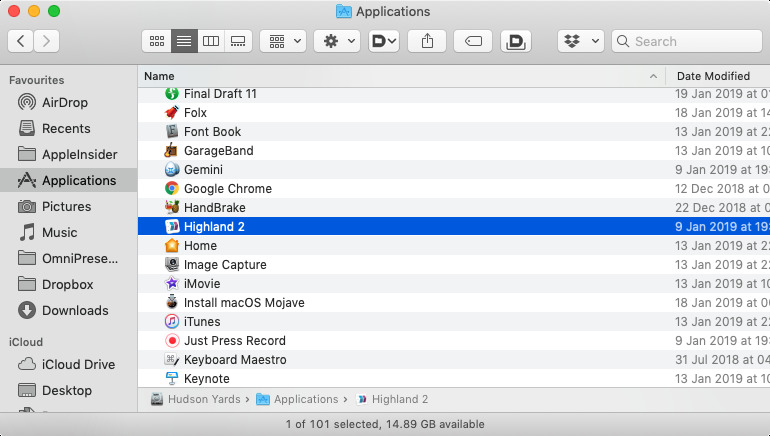
After using the Terminal command, a screengrab of a window does no longer gains an extra border
From now on, any Finder or document window that you take a screen grab of, will look like this. No more borders — until you use Terminal to enter the opposite commands, which are:
defaults write com.apple.screencapture disable-shadow -bool FALSE
killall SystemUIServer
Speaking of screenshots
When you take a screengrab of anything on macOS Mojave, you see the image briefly appear as an iOS-like thumbnail at the bottom right of your screen. Then it's always saved to your Desktop and it's always saved in PNG format.
The thumbnail is handy when you're just taking one shot and can see from it that you've got the bit of the screen you wanted. If you want to take several in a row, though, then it's a pain because macOS is not as smart as iOS.
Even if you still have the preview thumbnail on screen when you take another screengrab on your iPhone or iPad, iOS is clever enough to not show it. On macOS, you get the screengrab plus any preview thumbnail that happened to be open.
You don't need Terminal for everything.
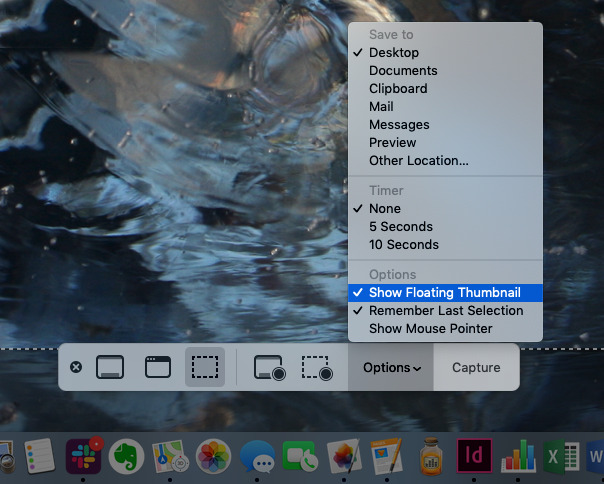
You don't need Terminal to switch this preview thumbnail off. Just hold down Command, Shift and tap 5. In the toolbar that appears, click on Options and then click to deselect Show Floating Thumbnail.
There is also an option in that same section to choose where you want all your screen grabs to be saved. What you can't control here or anywhere else on your Mac is what format the screengrab is saved in — unless you use Terminal.
From within Terminal, you can say that you want these shots to always be saved in JPG, TIFF, BMP or just about any format you can think of, including PDF. Type or copy/paste this:
defaults write com.apple.screencapture type pdf
This is one that doesn't need a killall, it just works. And from now on, every screengrab will be saved to your Mac in PDF format. To change it back to PNG, write
defaults write com.apple.screencapture type png
There is one more thing you can do with screengrabs in Terminal that you cannot in any other way without third-party apps such as Hazel. Right now, your Mac will save a screengrab and begin its name with the word "Screenshot."
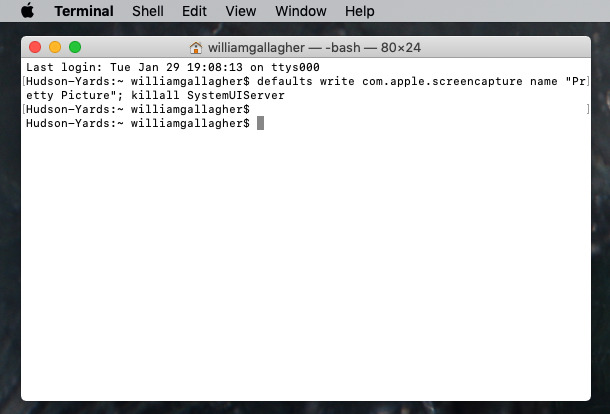
Changing the defaults from "Screenshot..." to "Pretty Picture" or anything else you want such as a company or project name
To do this, type the following into Terminal.
defaults write com.apple.screencapture name "Pretty Picture"
You realize that you can change Pretty Picture to anything you like. It just has to be in speech marks. Notice, though, that in the image above, we've actually written this as:
defaults write com.apple.screencapture name "Pretty Picture"; killall SystemUIServer
That's the killall command put on the same line as the rest of the instruction. It's separated by a semi-colon and there's no functional difference between doing it like this or as two separate lines. It's just sometimes convenient to put it on one.
And that's especially the case when you want to do something briefly and then change it back. For Terminal has one trick to save you doing all this typing. At the command line prompt, press the up arrow on your keyboard. You'll see your previous command appear at the prompt. You can edit it there to change, say, the name of the screenshots or to switch TRUE to FALSE and then just Return.
The Dock will see you now
All of these screengrab options do speed up your work. You're no longer having to remove the border from a shot of a window, for instance, and you don't have to convert image formats or change names. That's great if you're working with screengrabs but there are also Terminal commands that can speed up how you use your Mac for everything.
They're all to do with the Dock. If you've already ditched the Dock in favor of a third-party app or actually no Dock at all, then they're no use. Yet if you just speed the Dock up, you might find it more appealing.
First, hide your Dock. Go to System Preferences, Dock and click on Automatically hide and show the Dock. With this set, then your Dock vanishes — until you hover your cursor over the bottom of your screen. Then the Dock pops back up so in theory you get all the benefit of having it there but also the extra space that hiding it offers.
In practice, though, it tends to pop up quite slowly. You can instead go to Terminal and type:
defaults write com.apple.dock autohide-time-modifier -int 0
killall Dock
You can guess that this speeds things up but actually it makes the Dock appear instantly. It removes the animation effect and instead one moment your Dock isn't there, and the next it is.
This works whether or not you have the Dock at the bottom of the screen or to the side. And to get it back to appearing in the animated way that Apple intended, you use Terminal and enter this:
defaults delete com.apple.dock autohide-time-modifier
killall Dock
Space walk
If, on the other hand, you love the Dock so much that you use it to excess, you can also use Terminal to help organize it for you. Alongside regular app icons, you can create spacers which simply take up a slot in the Dock without doing anything.
As they're spaces, they can be hard to drag because you can't see any icon to click on. However, even if it takes you a few goes to find the right spot to click and hold, you can do it and that means you can position them anywhere in the Dock that you want.
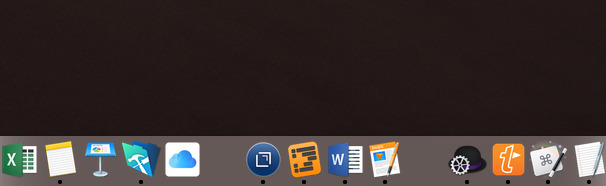
Terminal can create spacers to help you organize your Dock
You can group all of your writing apps together, for instance. To get one single spacer in your Dock, you enter the commands:
defaults write com.apple.dock persistent-apps -array-add '{"tile-type"="spacer-tile";}'
killall Dock
Unusually, there's no place in that command for you to specify that you want two or more spacers. To get extra ones, you enter the exact same command again. And again. Until you've got as many as you need.
Equally, there's no version of this command for removing spacers but that's because you don't need one. Spacers in your Dock act like regular app icons in that you can drag them off until you see the word Remove. Again, it's hard to see where to click to drag like this but with your cursor anywhere near the spacer, you can right-click and get the functionally identical Remove from Dock option.
Take it from here
These commands all make visual changes to how your Mac looks or how it handles the filenames in screengrabs. The way that you've done these, though, is precisely the same way that you will go on to do more elaborate and potentially more useful, certainly much more powerful work in Terminal.
Using these same techniques and some different commands, you'll be able to force your Mac to rebuild a troublesome Spotlight index, for instance. You'll be able to keep your Mac awake, shut it down and make it automatically restart after a crash. These are all topics for another day, however.
Keep up with AppleInsider by downloading the AppleInsider app for iOS, and follow us on YouTube, Twitter @appleinsider and Facebook for live, late-breaking coverage. You can also check out our official Instagram account for exclusive photos.