Your iPhone contains a lot of personal information. Keep strangers out of your data by having your iPhone automatically wipe itself after 10 failed passcode attempts.
To protect yourself from malicious actors who wish to access your iPhone's data, it's worth making sure you've got a secure passcode in place. Here's how to set up or change a passcode on your iPhone.
How to set up a passcode on your iPhone
- On your iPhone, launch Settings.
- Tap Face ID & Passcode.
- Tap Turn Passcode On.
- Enter a passcode.
- When prompted, confirm the passcode.
Now armed with a passcode, your iPhone is already protected against strangers, including Apple. However, even secure passcodes can be cracked, and the shorter they are, the easier it is. Beyond using a complex code, to prevent this, you can enable your iPhone to erase all data after ten failed passcode entries.
How to turn on Erase Data
- On your iPhone, launch Settings.
- Tap Face ID & Passcode.
- When prompted, enter your passcode
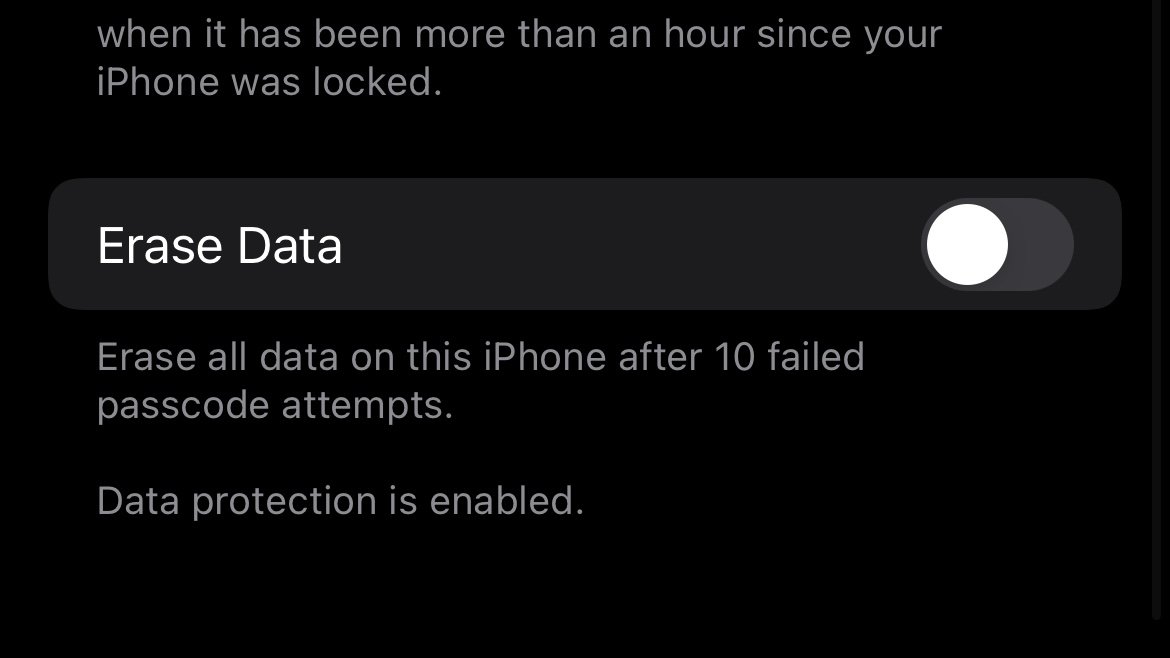
- Scroll all the way down, and turn on Erase Data.
Important: Once enabled, and obviously, ten failed attempts at entering the passcode will reset the iPhone to factory settings.
A timer will appear after a few failed attempts, preventing back-to-back passcode entries. This prevents accidental data wipes that could occur from certain situations, such as a child playing with your iPhone.