Make Safari more useful on macOS Ventura and more part of your workflow by adding in extensions that give you extra features, straight from your favorite apps.
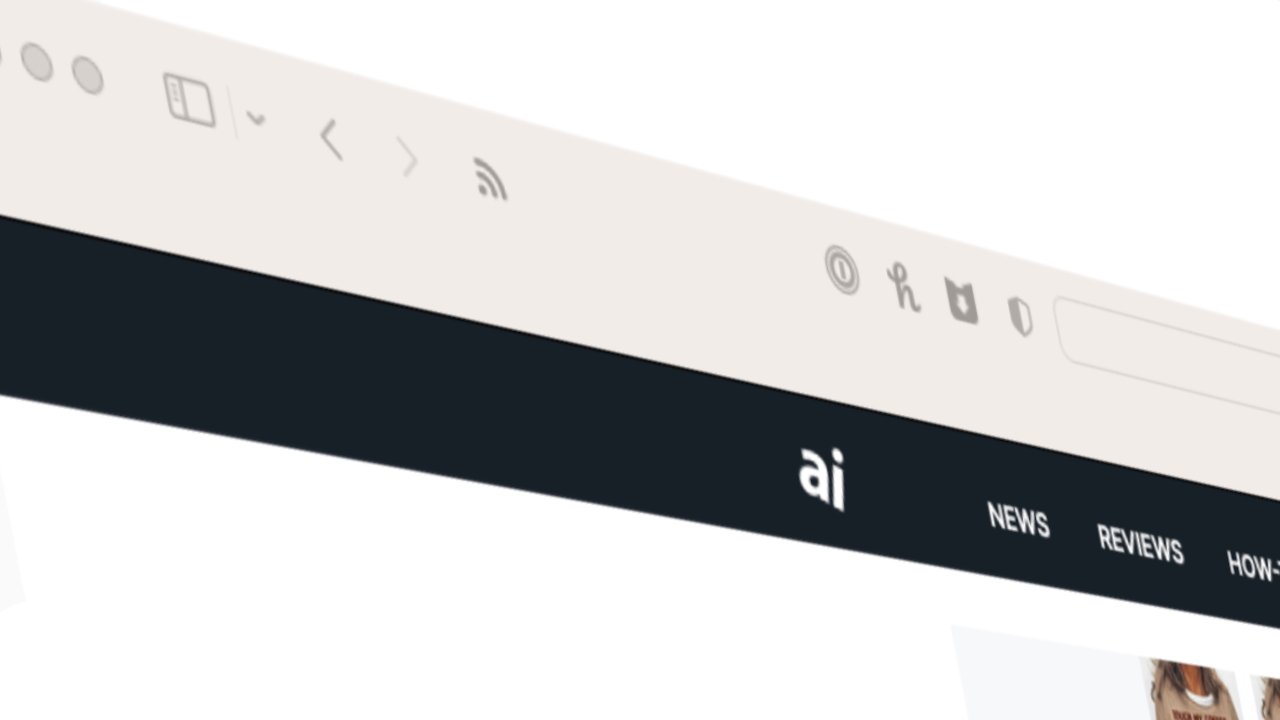
An extension adds new features to Safari and puts them in the browser's toolbar so that they are a single click away regardless of what you're doing. They're still not very well known with Safari-only users, but they have been a huge part of Google Chrome for years.
We might still be waiting for a gold rush on Safari extensions, and there will probably never be as many as there are for Chrome. But Apple has been taking steps to make it easier for developers to add extensions — and for users to find ones that are useful.
If you've used Safari extensions in macOS Monterey then you'll find that they are practically the same in macOS Ventura. But the process of installing them is a tiny bit different, and behind the scenes Apple has been enabling developers to create more.
How to install Safari extensions
- Open Safari on macOS Ventura
- Click on the Safari menu
- Then click on Settings
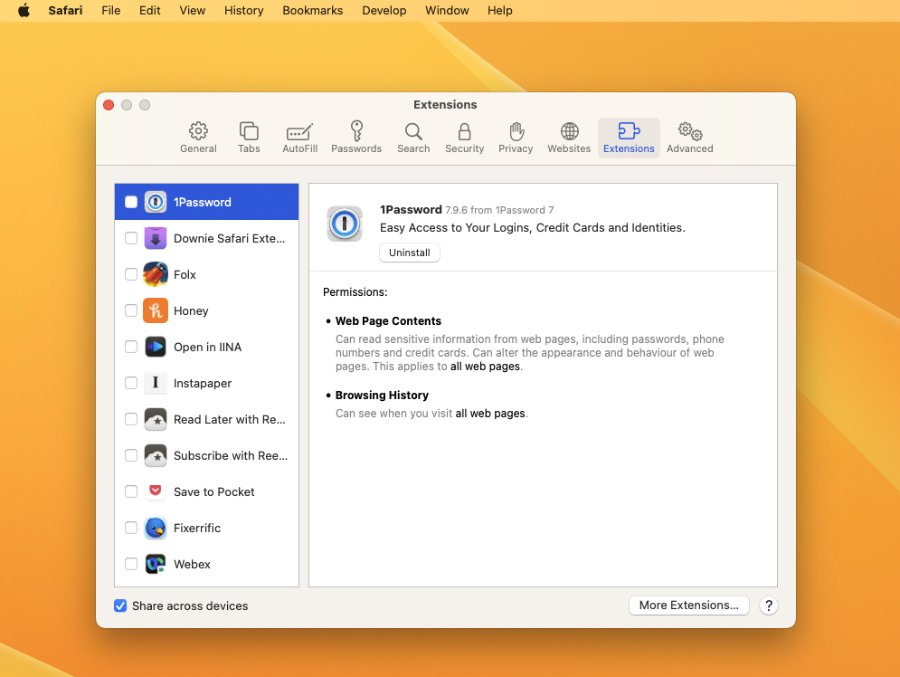
- In the Settings pane that appears, click on Extensions toward the right
This is important and you're going to get it wrong because Apple has done an odd thing. Right above Safari's Settings section in the menu, there is another entry called Safari Extensions.
You don't want that one, not yet. That's for later after you've seen both how to install extensions, and also what ones you've already got.
 If the apps you use include extensions, they will appear here where you can turn them on or off as you need
Because that's the thing. Even if you've never heard of Safari extensions, you've already got some.
That's because the odds are that you have apps that offer some of their functionality to Safari in the form of optional extensions. None of them are working, none will be active unless you elect to turn them on, but they're there.
To turn them on, you click in the tick box next to their name. Safari asks you to confirm that you want to use it, and will also warn that as an extension, it can see your browsing history.
Click on Turn On, and that's all you really need to do.
You can also now click on the extension's name and get details of what it does, and what it can do, such as monitoring web pages. It's also in this detail section that you get an Uninstall button.
What extensions you've already got
It really will depend on the apps you've got, but then there is also this — the extensions you most need are likely to be the ones in the apps you most use.
However, what that type of extension does most of all is take you into the main app to perform a function, or to record some information. And there are others who offer just one or two very specific functions that make using Safari better.
For instance, there are ones that will monitor — with your permission — when you're shopping for something online. If there's a discount code that you can apply, an extension may find it and recommend it to you.
Much as Apple would want there to be more, there isn't a flood of extensions yet so you can take a look through the App Store to see most or all of them.
And that is how you install more extensions.
How to install more extensions in Safari
- Open the App Store on Mac
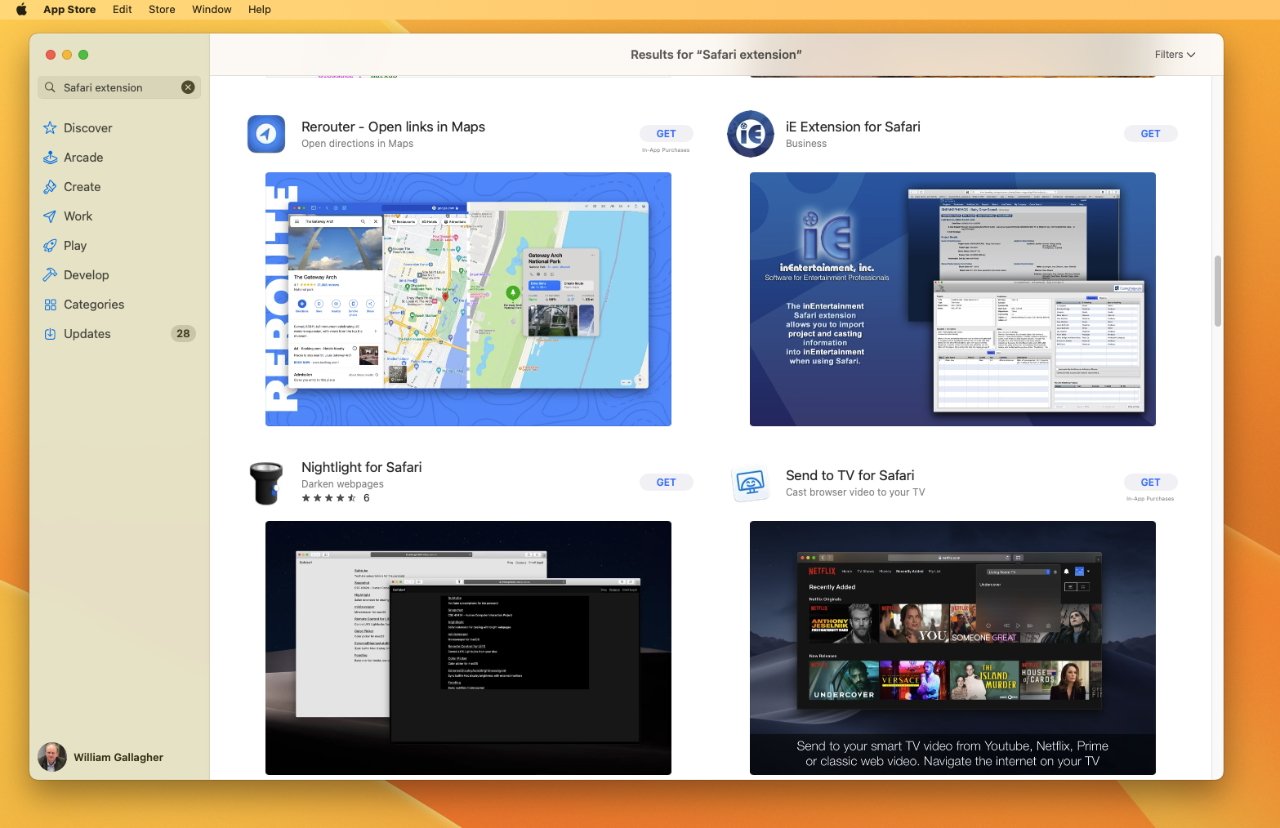
- Search for "extensions"
- Or go to Categories, Safari Extensions
It's sometimes not very clear in the App Store when you've come out of the search results for extensions and instead are just looking at regular apps. That's not going to change, either, not until there are a lot more extensions in the App Store and Apple doesn't have to try filling up the screen.
When you find an extension you want, though, the process of installing it is initially exactly the same as for installing any app. You click the Get button, confirm your purchase, and wait as it installs.
Once it's installed, you go back to the Safari Settings page and tick the new extension to turn it on.
 William Gallagher


 Malcolm Owen

 Chip Loder
 Brian Patterson
 Christine McKee
 Wesley Hilliard
 Amber Neely


-m.jpg)


