Whether you need to be secretive, or you just like to be tidy, Photos will let you hide away any image you choose in macOS Ventura.
Perhaps it's the introduction of iCloud Shared Photo Library to macOS Ventura (and iOS 16) which has made you think about hiding certain photos. If it's that the wrong person seeing the wrong photo means your secret double existence is exposed, then you possibly need to examine your life choices.
But for anything else, it can be handy, useful, or just plain tactful to hide an image before you let someone sit at your Mac. Now you can do exactly that with the Photos app in macOS Ventura.
And if it's taken Apple a time to implement this, it has done it very well.
How to hide your first photo in macOS Ventura's Photos app
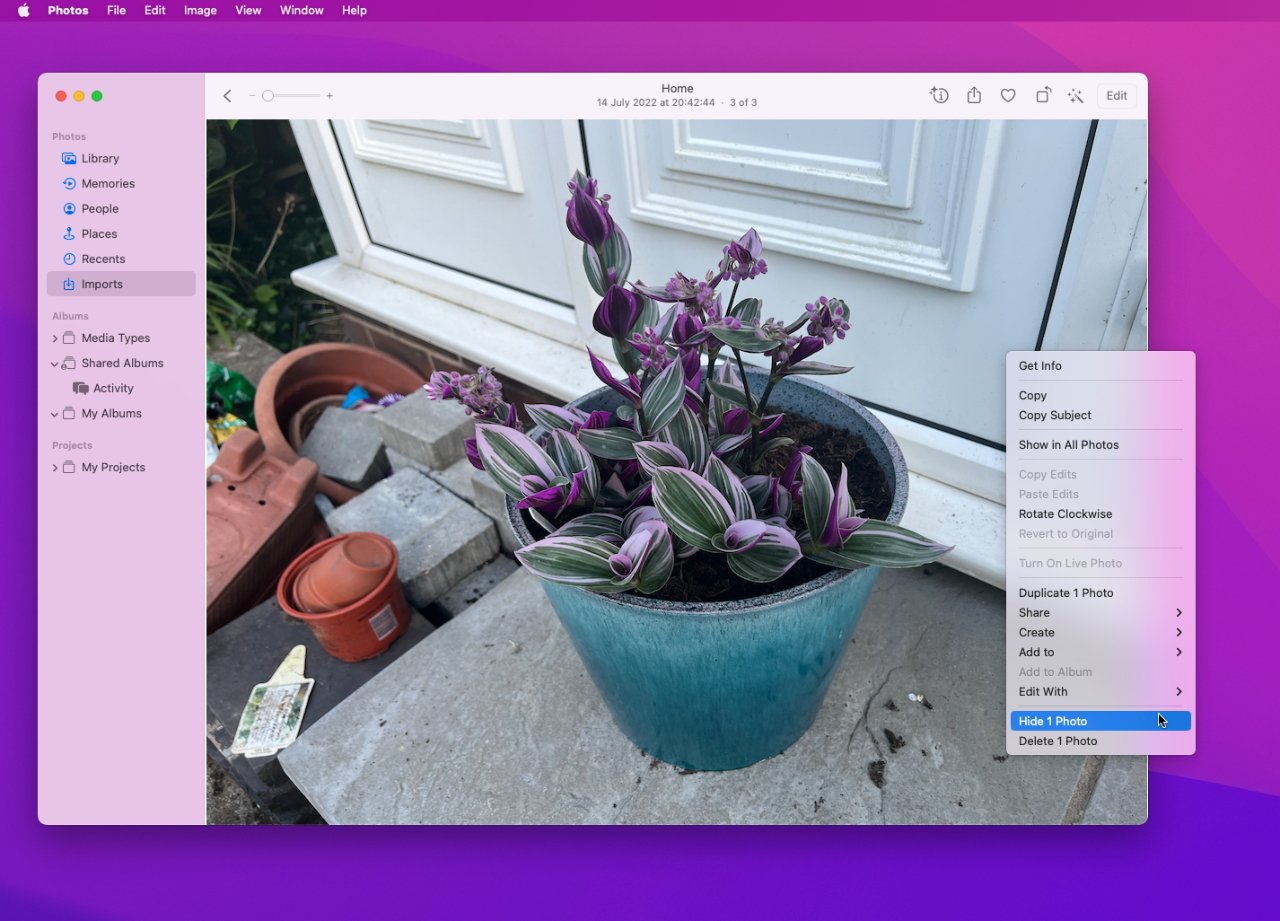
- Open the Photos app and find the image
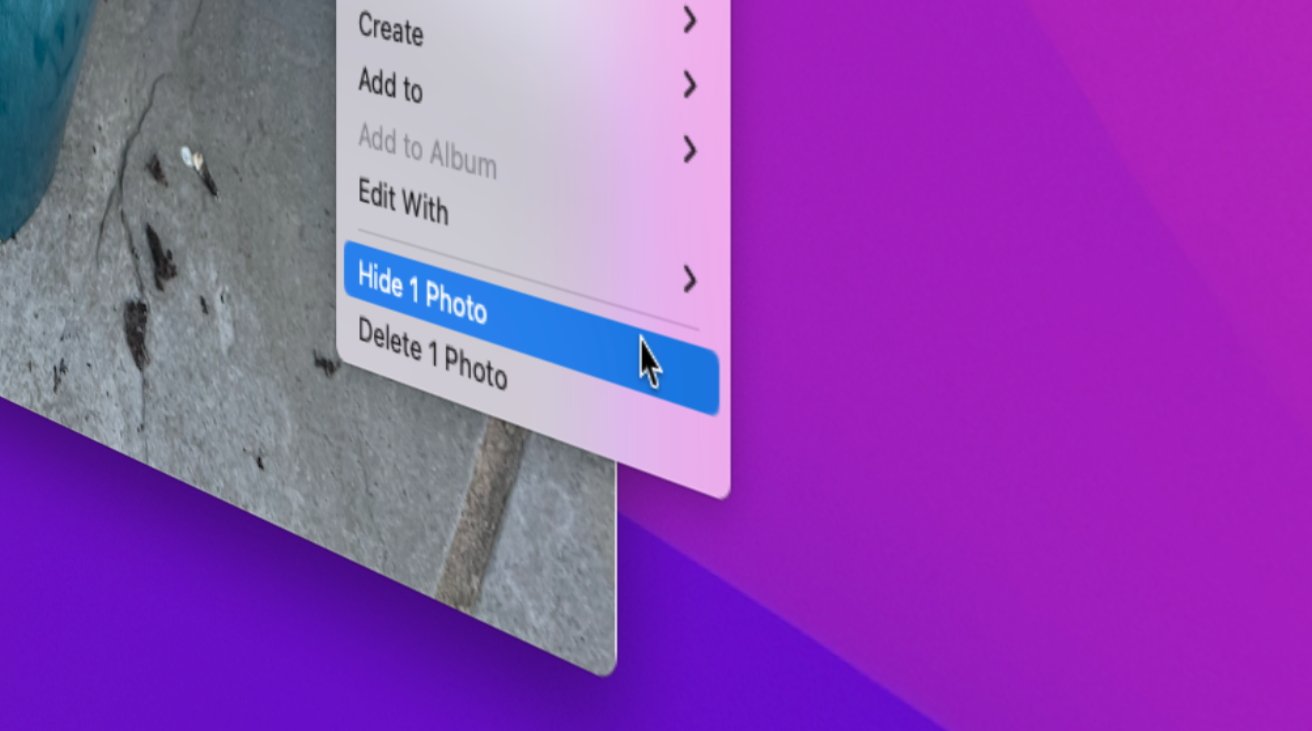
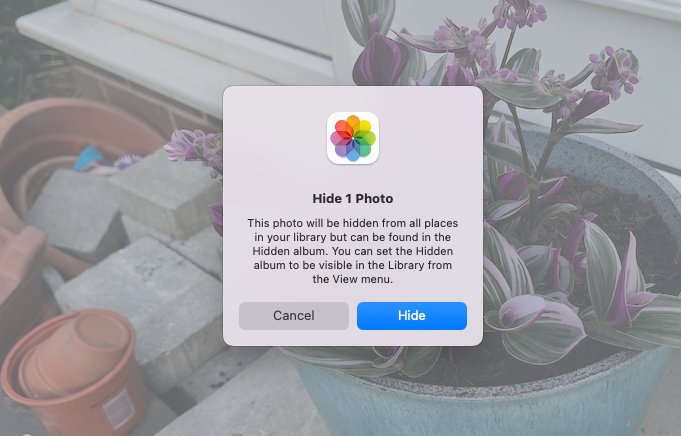
- Right click on it and choose Hide 1 Photo from the menu that pops up
- On the Hide 1 Photo dialog that appears, click Hide
That is all there is to it. If you ever want to hide another one, you go through the same steps.
And if you want to hide many, you go through the same steps — but first you select all of the photos that you want.
Whether it's one or many, though, Apple Photos does a decent job of hiding them. Without a deliberate search, the stranger or worse still family member at your Mac won't even know anything has been hidden.
That's immediately better than the nearest equivalent in Apple's other apps. In Notes, for instance, you cannot hide a note but can easily hide a note's contents by locking it.
Only, it's then visually clear that you have locked a note. With Photos, it's not visually clear at all because, by default, it shows no clue that there are hidden shots.
How to find an un-hide hidden Photos
- In the Photos app, choose the View menu
- Select Show Hidden Photo Album
- Now in the Photos window there is an album called Hidden
- Click on that
- Enter your password or use Touch ID
- The photo is unhidden
Note that you can't just unhide one image. This is not about letting people see one given image, it's about you choosing to have them all viewable.
So for actual clandestine undercover espionage work, it's a bit too much of a blunt instrument.
But for neatness, for convenient speed, Apple has done it the way it always does. It's done it the way that now seems like the only obvious choice.
 William Gallagher

 Malcolm Owen
 Amber Neely
 Andrew Orr
 Wesley Hilliard


 Sponsored Content


