How to create your own HomeKit camera with a Raspberry Pi and HomeBridge
 Andrew O'Hara
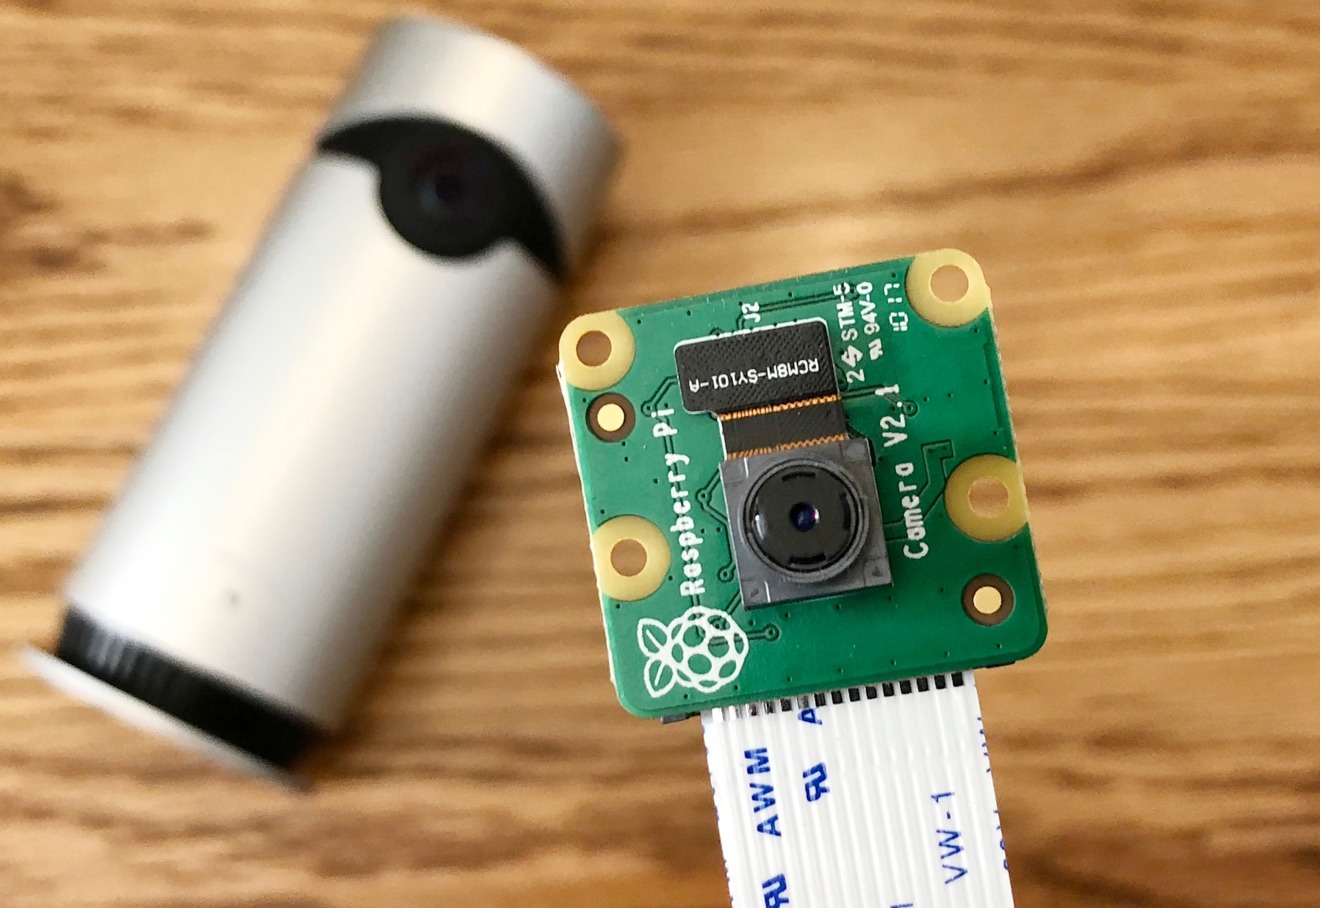
Though Apple's HomeKit home automation platform has supported cameras for over a year, manufacturers have been slow to bring compatible devices to market. Learn how you can create your own HomeKit security camera for around $60 in this tutorial.
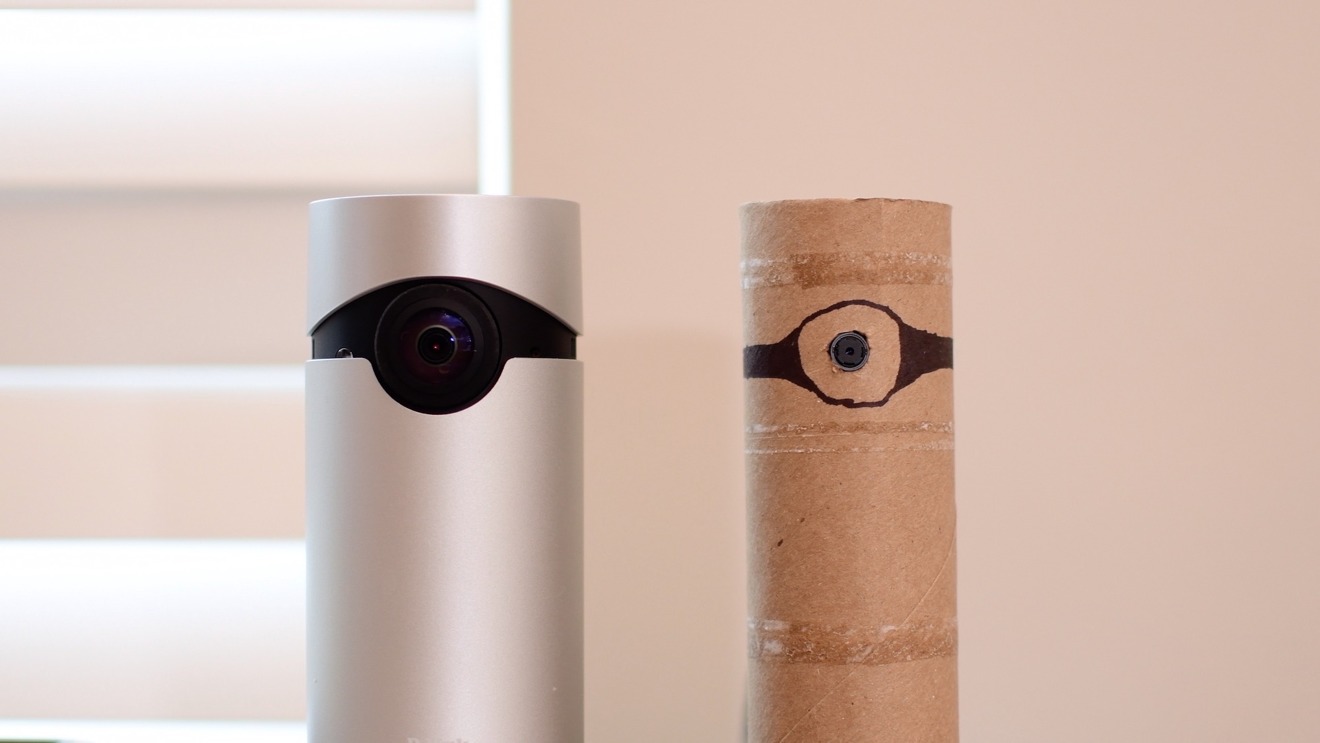
Currently, only a handful of HomeKit-enabled cameras are available for purchase, two of the most popular being the Logi Circle 2, the D-Link Omna 180 Cam HD and the Netamo Presence.
Other than HomeKit support, the one thing most compatible cameras have in common is a high price tag. To help alleviate potential sticker shock, we put together an extremely simple guide on how to create your own. About $60 and four easy steps are all that separate you from your own DIY HomeKit camera.
For this project, we are going to make our own HomeKit camera using a Raspberry Pi. It will essentially be plug-and-play, though you will need to answer a couple setup questions once you power up the camera. After you walk through the setup, you will be able to view live camera feeds while at home or away assuming you have some form of Home hub such as a HomePod or Apple TV.
Background information
This project was built using HomeBridge. HomeBridge is a lightweight server that runs on the Raspberry Pi and emulates the iOS HomeKit API, bringing support to your own projects or (via plugins) to products that don't currently interface with HomeKit or Siri.
For those who like to really tinker, it isn't especially difficult to install HomeBridge yourself. However, we wanted this project to be accessible for anyone, so we've provided our own custom disk image for you to use.
The disk image we provide will include a copy of Raspbian Lite (the Raspberry Pi's operating system), the necessary plugins and components for HomeBridge, as well as a few customizations to make the experience better.
What you will need
To play along at home, you need a few things. Some you may have, others you might need to pick up.
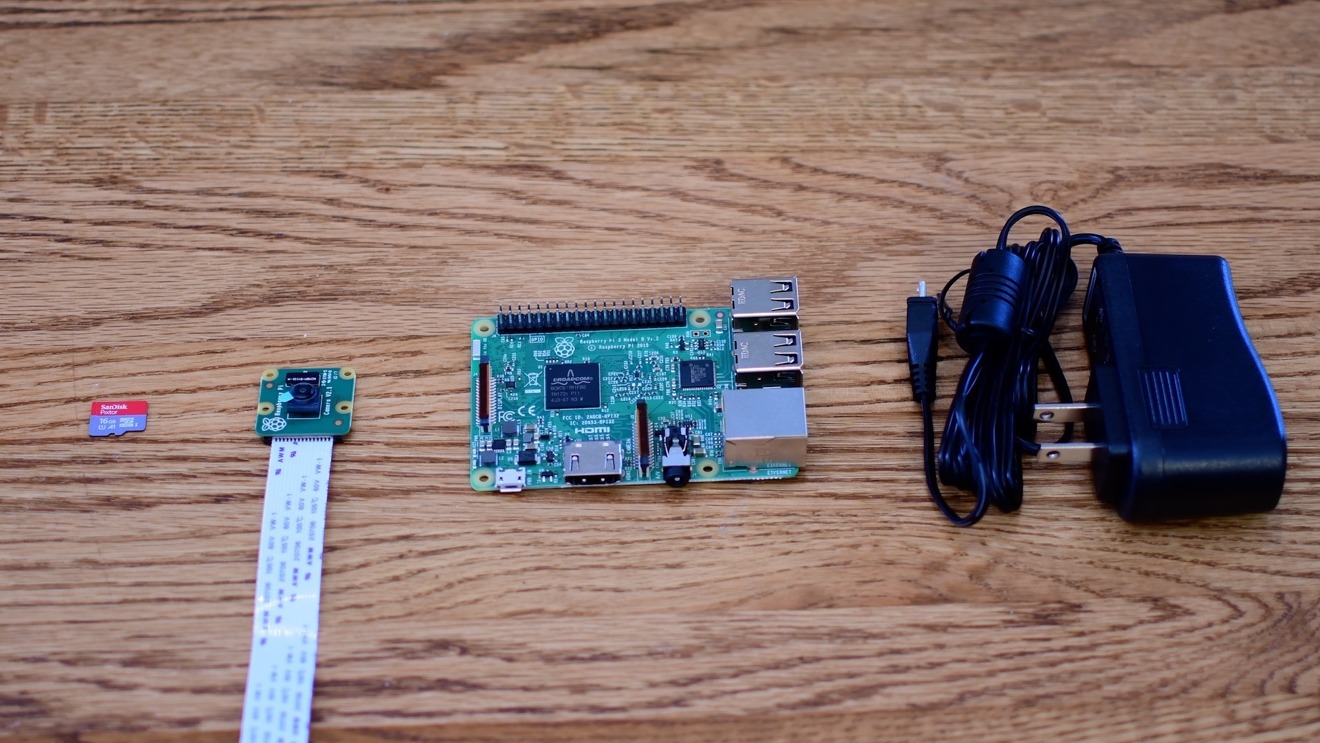
You'll need:
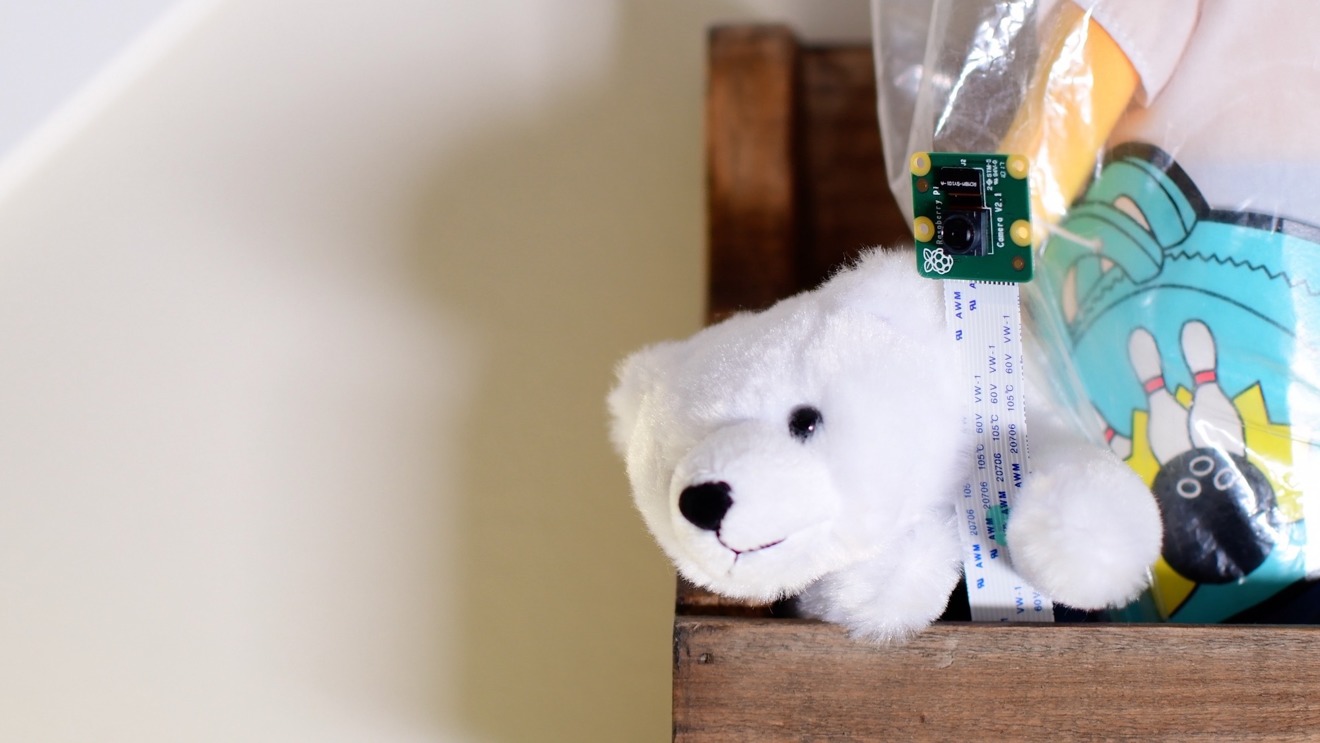
Most people will have a micro SD card available, and the same goes for a spare micro USB cable and wall adapter that can be used for a power supply. The camera I used has an 8MP Sony Exmor IMX219 sensor that is capable of 1080p video.
How-to create your own HomeKit camera

Step 1
To create your camera, start by downloading our provided disk image. The download is on the large size, so be warned. You are downloading an entire OS after all.
Step 2
Once you have the download, we need to burn that image to your micro SD card. There are many ways to do this, but by far the easiest is to use Etcher.
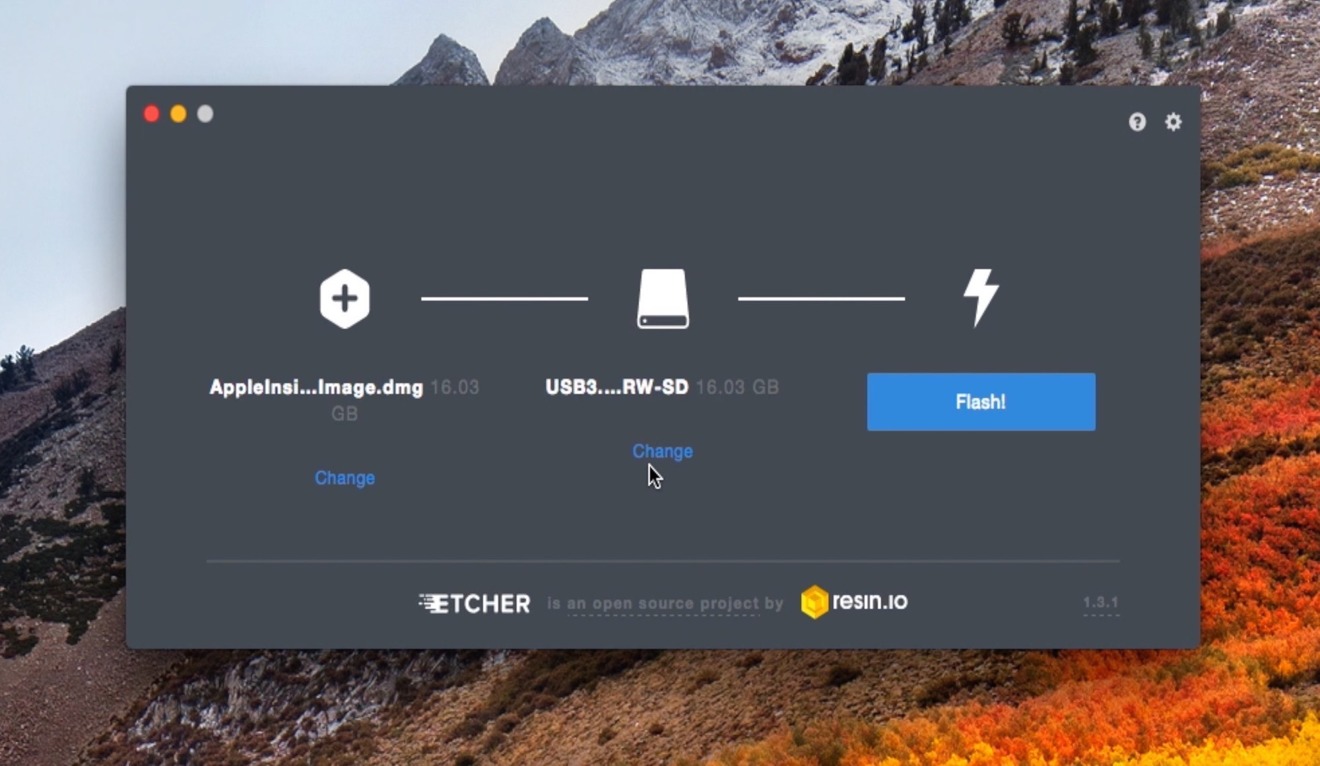
Download Etcher, select the disk image we provided, choose the SD card you have connected, and hit Flash!
Now, all we need to do is to connect the Raspberry Pi and run the setup script.
Step 3
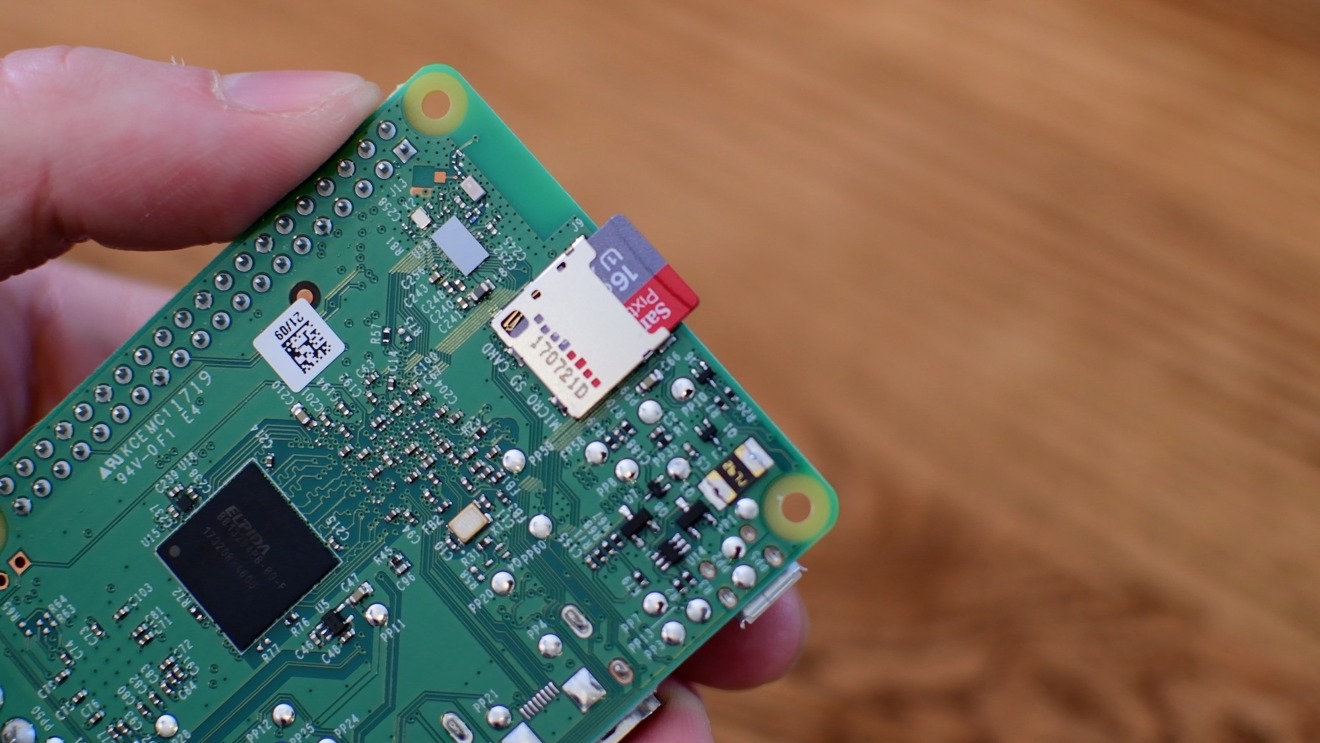
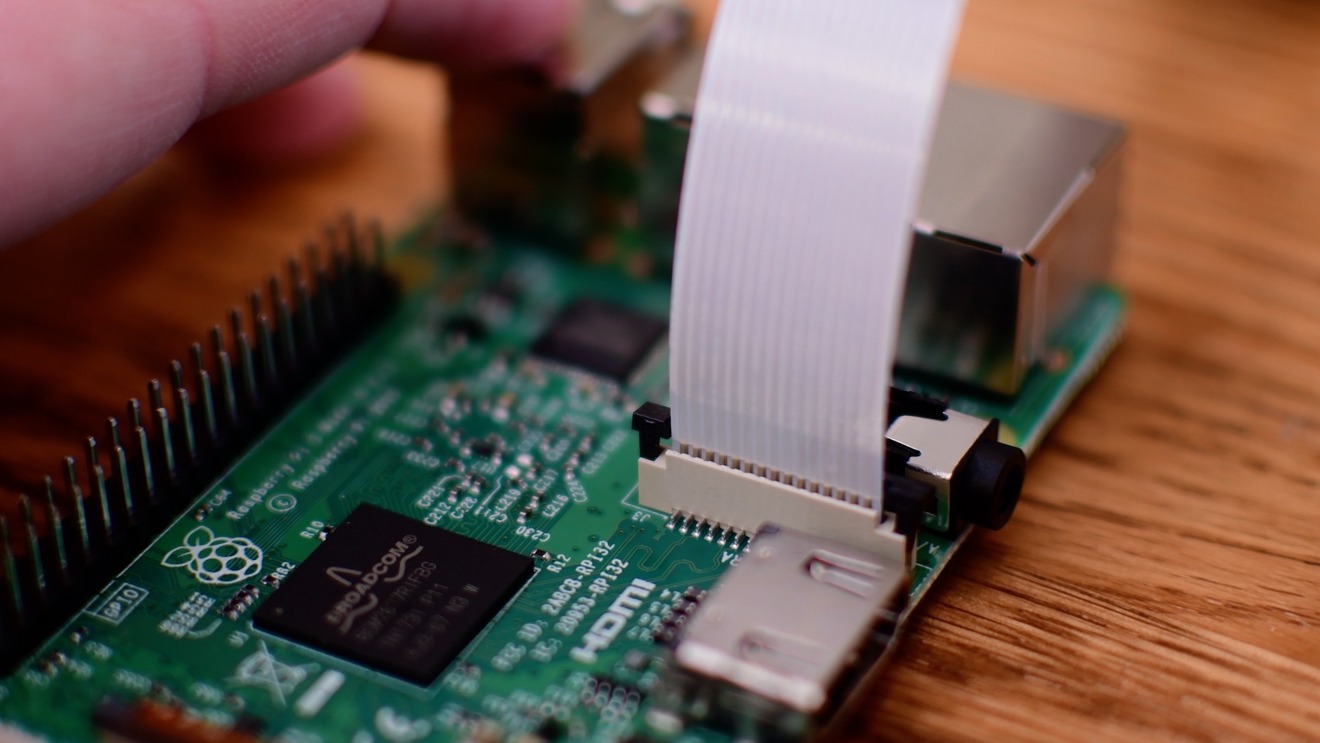
Insert the camera module into the Pi, insert the micro SD card, connect it to a monitor or TV with HDMI, and plug in the power.
The setup script can be run from your Mac via SSH or you can plug in a keyboard and run it from the Pi itself. Using a keyboard is easier for those just getting started.
In either situation, log in with pi as the username, and raspberry as the password. Then type ./get-started.sh followed by Return into the command line.
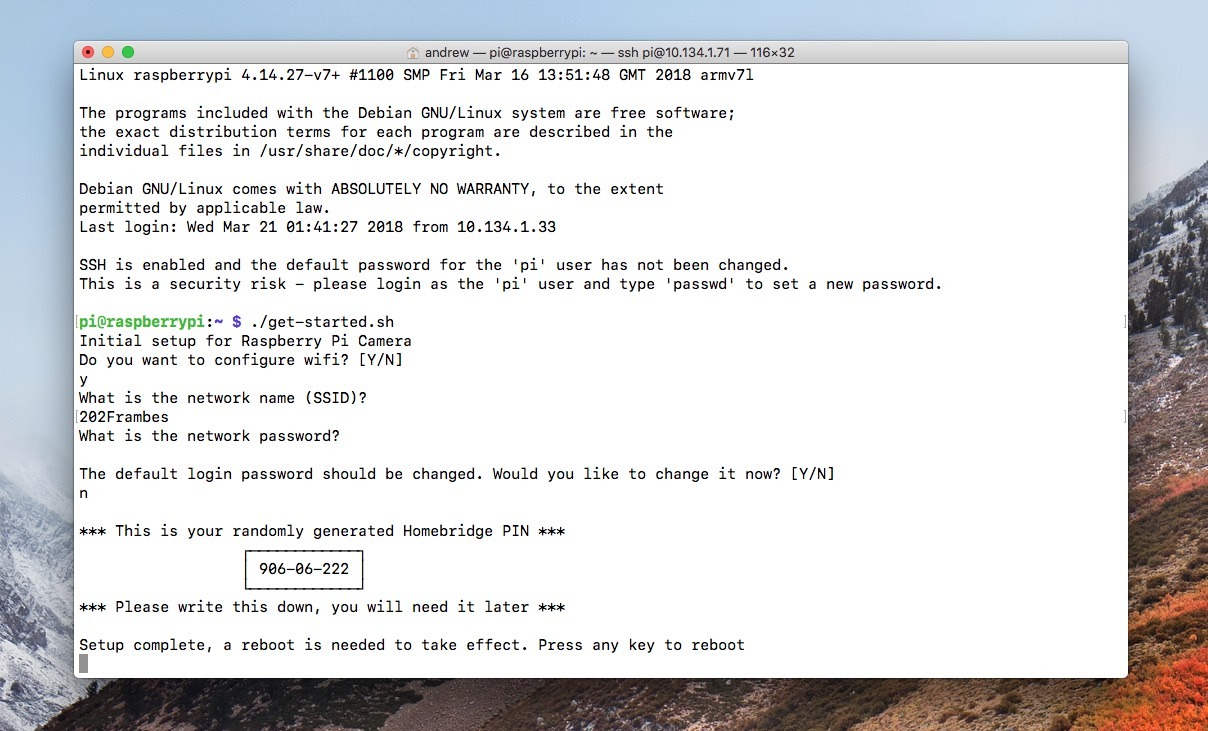
It will walk you through the setup process which includes entering your Wi-Fi credentials, changing the default username and password, and generating a random HomeKit pairing code. It will then reboot to take effect. Make sure to take note of the HomeKit pairing code.
Step 4
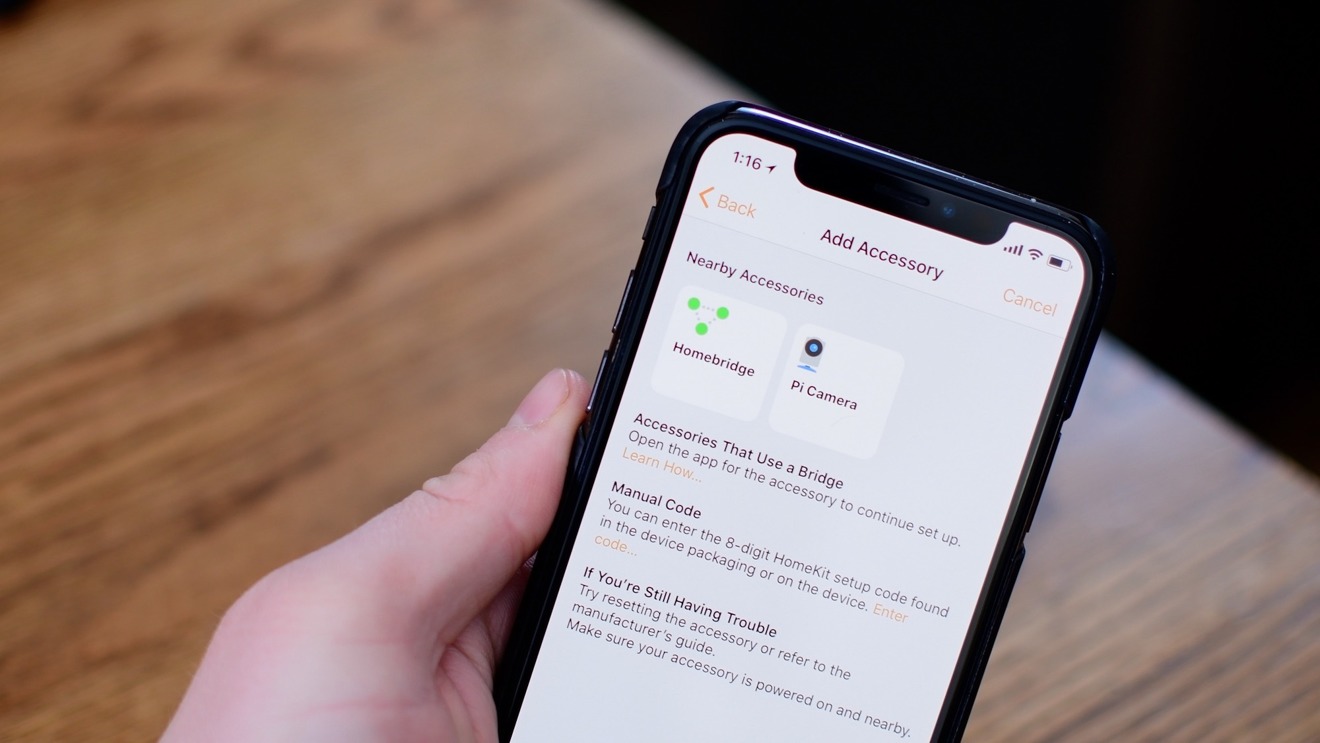
The last step is pairing your new HomeKit camera with the Home app. On your iPhone or iPad, launch the Home app, tap the "+" button in the top right hand corner, and choose Add Accessory.

Now we have to enter the code manually by tapping "Don't Have a Code or Can't Scan?" towards the bottom of your screen. Choose "Enter code", and do just that using the code that was randomly generated for you. In some cases, your device may discover the HomeBridge and the Pi Camera automatically. Add both devices, starting with the bridge, using your randomly generated HomeKit code.
Feel free to assign a room, change the name, or mark the camera as a favorite during the setup.
That's it! Four easy steps: Download the disk image, write to SD card, connect your Pi, and connect to HomeKit.
Viewing your camera
Unless you opted for a different room during setup, cameras will be added to your "Default Room" in the Home app on iOS. You can view their feeds here, as well as get details, and make name or location changes.

You can view the cameras anytime while you are at home over Wi-Fi, or remotely if you have a hub.
Notes
In this tutorial, we used the Raspberry Pi 3 Model B. If you want to save some money, older models work as well, including the Pi 2 (which we did some light testing with).
Similar sentiment goes to the camera modules, as well. While we used the official Pi Camera V2, there are countless others available much cheaper, though we can't guarantee compatibility. It would simply be too difficult to buy and test each camera with each model of Raspberry Pi.
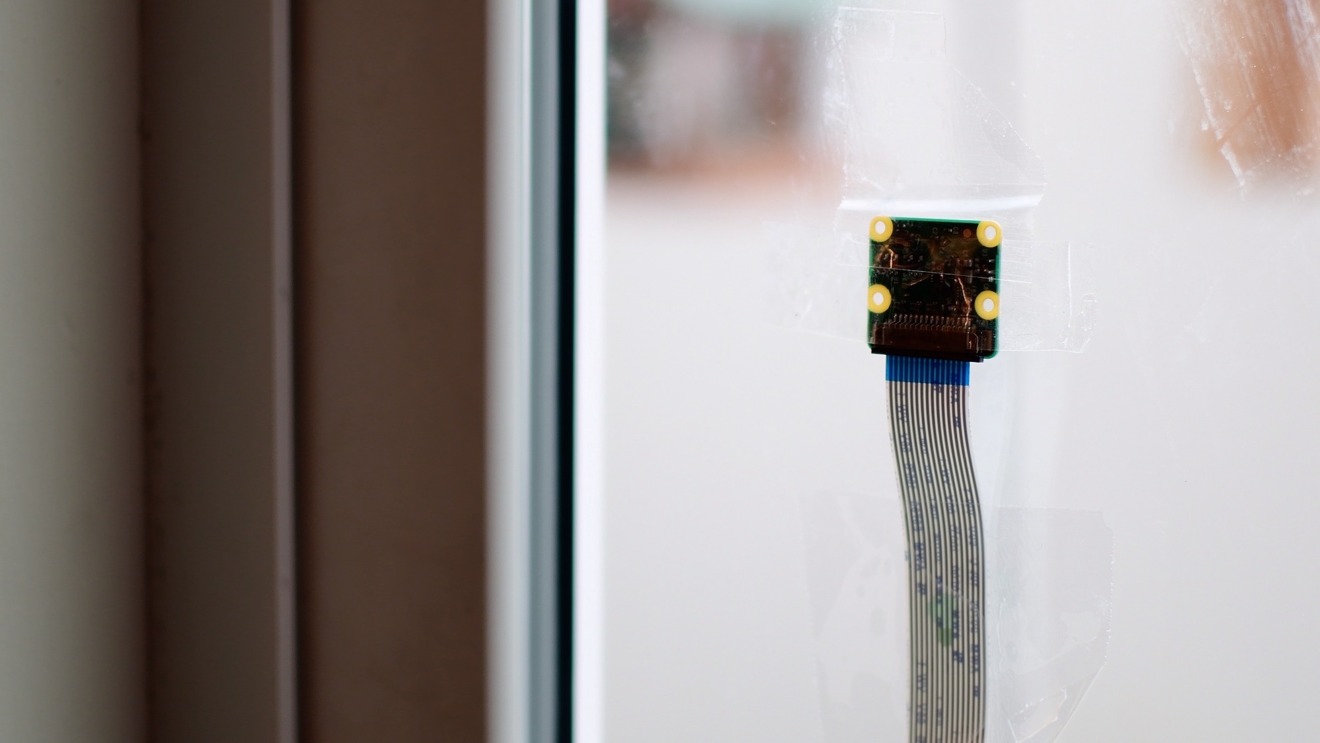
By default, it may be a bit wonky trying to correctly place your Pi camera, but luckily there are many cases and mounts available that make it much easier. My favorites are those compatible with LEGO!
Wrapping it up
While great for viewing camera feeds, there are clearly plenty of limitations to rolling your own HomeKit hardware. As an example, there is no way to record video (other than viewing the video on your iPhone and making a screen recording). You also don't have motion sensing capabilities for notifications or a mic and speaker. Third party cameras contain these, as well as other value-added features.
Still, affordable DIY Pi cameras are a great option to expand what you currently have in your home or present a good stepping off point for those just getting started in home automation. A room only needs one motion sensor, so if you have one already, or create one with a Raspberry Pi, you don't necessarily need one in your camera.
Since the install also includes the HomeBridge server, you can use any number of other plugins for many other accessories and platforms. There are countless HomeBridge plugins for things like IFTTT, SmartThings, Dyson, and so much more. Here are just some of the more popular plugins.
Eventually, we may see many HomeKit cameras on the market hitting close to the $100 mark, at which point projects like this will prove less useful. In there interim, this is a great alternative to official HomeKit cameras.
Be sure to share your experiences as well as your own projects in the forums.
We want to give a big thanks to Aaron Dippner for helping with the project.


 Mike Wuerthele
 Malcolm Owen
 Chip Loder
 William Gallagher
 Christine McKee
 Michael Stroup