How to take a screenshot on a Mac - the comprehensive guide
 William Gallagher
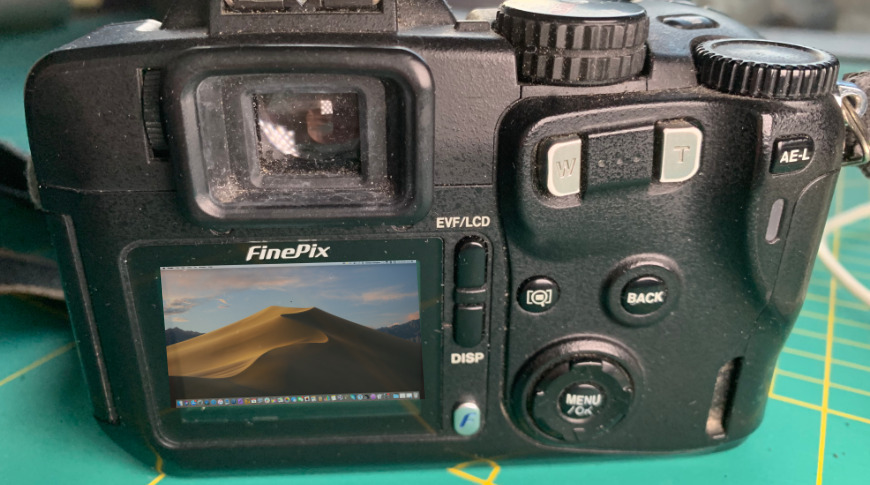
We could clean our camera better.
If you ever wondered how to take a screenshot on a Mac, here's a comprehensive guide of not only how to do it, but every option available to you from Apple and third-party apps.
Editor's note: We got a giant response to our Mac screenshot guide, and a lot of requests for a video tutorial. So, here it is!
We must love our Mac screens. Apple gives us five ways to take screenshots or screen grabs of them, each with options. There are at least as many other third-party apps that will do exactly the same thing.
Or rather, not quite exactly. Each option of Apple's and each third-party app does this grabbing of your screen in slightly different ways. The principle is always the same, but it's the method you use and and precisely what results you get that make the difference.
It makes the difference over whether it's worth paying for an app or just using Apple's built-in options. And it makes a difference, too, over just what you can then use the images for. You'll always be able to take an image and work on it in, say, Photoshop or Pixelmator Pro, but many of the screen grab tools available will let you work directly on the screenshot.
Start with Apple
Apple has long had ways for you to take screenshots on the Mac and only last year added more with the release of macOS Mojave. What it's never done, though, is make it obvious how to take a screenshot on a Mac, which can be frustrating for new users.
You can't use the menus in the Finder or most of your favorite apps to take a screen grab, you can solely use a keyboard shortcut. That makes perfect sense since a menu would get in the way of your screen shot, but no one could possibly guess that Command-Shift-3 was the keystroke you need.
Screenshot 101
Hold down Command-Shift-3 and, immediately, whatever is on your screen is saved as a PNG file on your desktop. You wanted a screenshot, you've got one, you're done.
Except that this basic Command-Shift-3 keystroke takes a grab of the entire screen when you might want just a portion. It also takes the shot immediately, perhaps before you've got everything ready.
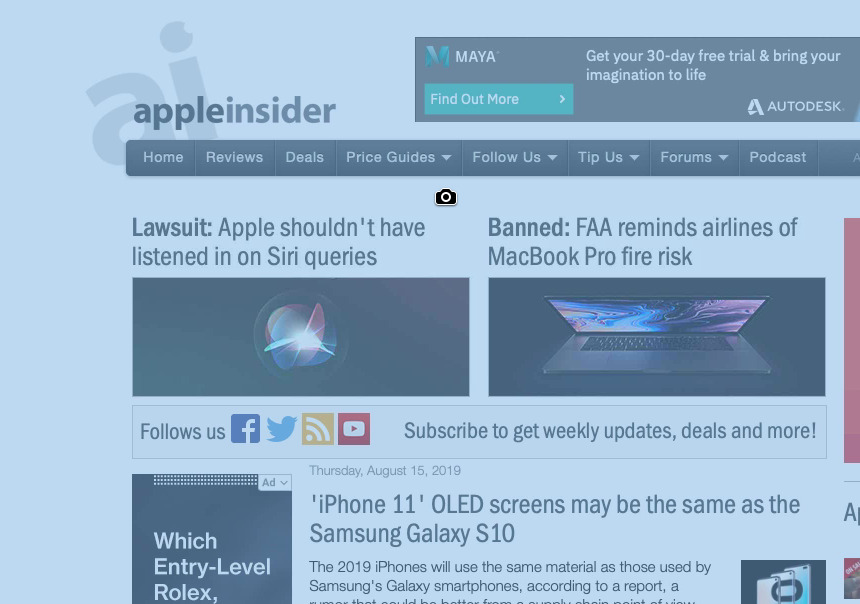
It also briefly puts what Apple calls a floating thumbnail in the bottom right-hand corner of your screen.
This is exactly what you may be used to from taking screen grabs on your iOS device — except it isn't. There's one crucial difference, which is that if you take a second screen shot before the first thumbnail vanishes, your new grab includes it.
On iOS, the system is intelligent enough to ignore the thumbnail and grab whatever is underneath it, but macOS is not.
Then this basic screen grabbing saves the image to the desktop and you could end up with a lot of those to clear off later. And, just to cap it all, the Command-Shift-3 images will never include your mouse cursor.
So if you're just trying to show someone which tick box to click in, this approach doesn't get you the mouse cursor over the box, it doesn't even get you just the dialog box.
Fortunately, other options can.
Go one better
Press Command-Shift-4 instead, and you get a much different result. As soon as you press those keys, your cursor turns to a crosshair. Click and drag that crosshair over an area you want to take a screen grab of, and as soon as you let go of your mouse or trackpad, that's what you get.
Maybe the most common use for selecting a portion of the screen is when you're trying to take a shot of a single window. It's sufficiently common that Apple has you covered.
Press Command-Shift-4 to get the crosshairs, but this time don't click. Move your mouse cursor over the window you want to grab, and then tap the space bar. The whole window turns a light blue and your cursor becomes an icon of a camera.
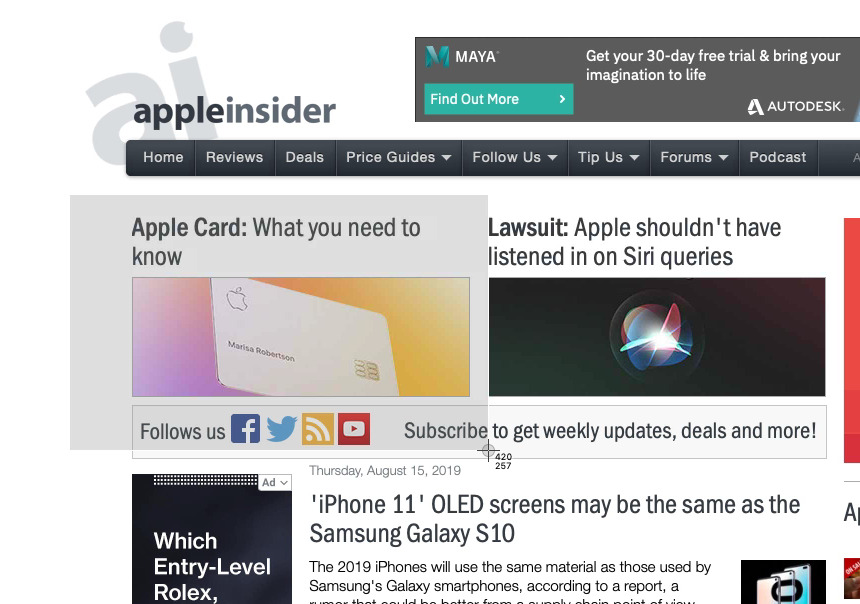
Click the mouse or press the Return key, and a screen grab of just that window will be saved to your desktop.
If you don't want to clutter up your desktop with screengrabs that you're just making to send to someone and forget about, you don't have to.
This time, press Command-Control-Shift-4. Everything works the same as it does with crosshairs and selecting windows, but instead of saving the PNG file to your desktop, your Mac puts the image into the clipboard. Go into Mail, or any other app, and simply Paste.
So now you can highlight a particular area, make a screen grab, paste it into an email message and move on.
Except you still haven't got that mouse cursor, and you still didn't get that context menu displayed in time.
One more
As of macOS Mojave, you can now press Command-Shift-5 to get screenshots as well. If you only learn one keystroke, this is the one because it gives you all of the various options in one place.
Press that key combination and you get a floating palette of options at the bottom of your screen.
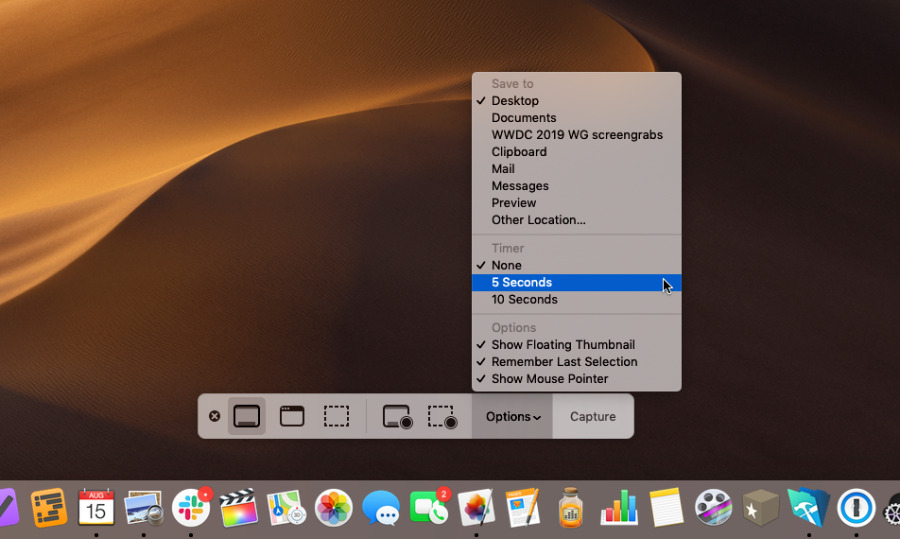
To the left are options for taking screen grabs. So there's a button for grabbing your whole screen, then next to it one for just grabbing a particular window. Then there's a selection button, with an icon of a square made up of dotted lines, which is how you say you want to drag to select part of the screen.
There are then controls for doing the same with video, taking screen movies of the whole or part of the screen.
Next to those, though, there is a button for Options. In this section, you can change where screenshots are saved, and you can set a timer. Tell your Mac to take a screen grab any time from immediately to five seconds from now. That's how you can press the button and scurry to arrange menus.
Here you'll also find an option called Show Mouse Pointer. Unfortunately, it's not quite what you think or quite what Apple appears to say. It will show the mouse pointer in your screen shot, but solely if that shot is of the entire Mac's window.
If you just want to grab a portion, you can, but you're not getting the mouse cursor showing in it, regardless of what the setting says.
That's annoying, but there's a reason this is an option and not a default. There's even a reason we could believe Apple simply hasn't noticed that Show Mouse Pointer has this limitation. It's that the mouse pointer is not that useful in a still image,
Show someone a screen shot of your entire Mac display and they will have trouble finding the cursor. You're much better off marking up your images with annotations.
Marking up
There's one more option in that Command-Shift-5 pallete, and that's Show Floating Thumbnail. This is where you can switch off the thumbnail that appears at the bottom right of your screen, if you want to.
While it's a pain when you're taking a lot of shots and have to wait for the thumbnail to vanish between each one, there's a reason Apple makes this the default. When the thumbnail image appears on your screen, you can click on it to open it up into an editor. Before it's even saved to your desktop, you can edit it.
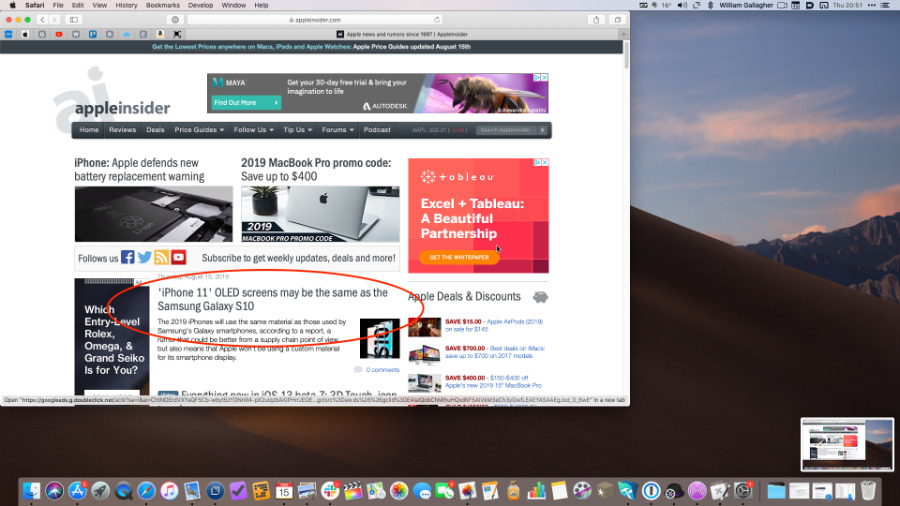
You can crop the image, rotate it — or annotate any part of it. Right within macOS, you can draw arrows pointing to elements, you can draw ragged circles around them, and you can write text notes.
So you might show someone a dialog box that needs three things to be turned on or off. Point out each part, and you can number them, or you can write 'on' or 'off' right there.
When you're finished, click Done and the image is saved to your desktop.
This does all require you to be fast enough to click on the thumbnail before it vanishes. And it's funny how it feels as if the thumbnail lingers when you don't want it, but races away when you do.
Even if you don't catch it in time, though, you can find the image in the Finder and annotate from there. Either right click on the file, choose Quick Actions and then Markup, or click to select an image, then press the space bar to get a Quick Look.
While Quick Look is on screen, you'll find a Markup button at top right.
There's still more
The screen grab features of macOS are so comprehensive as to be practically absurd. It's hard to imagine anyone ever needing all of this — until that someone is you, and suddenly you've got a specific task to do that this solves perfectly.
There's no question but that as of macOS Mojave, Apple has the giant majority of users covered for this. Yet there is more that other company's apps can do.
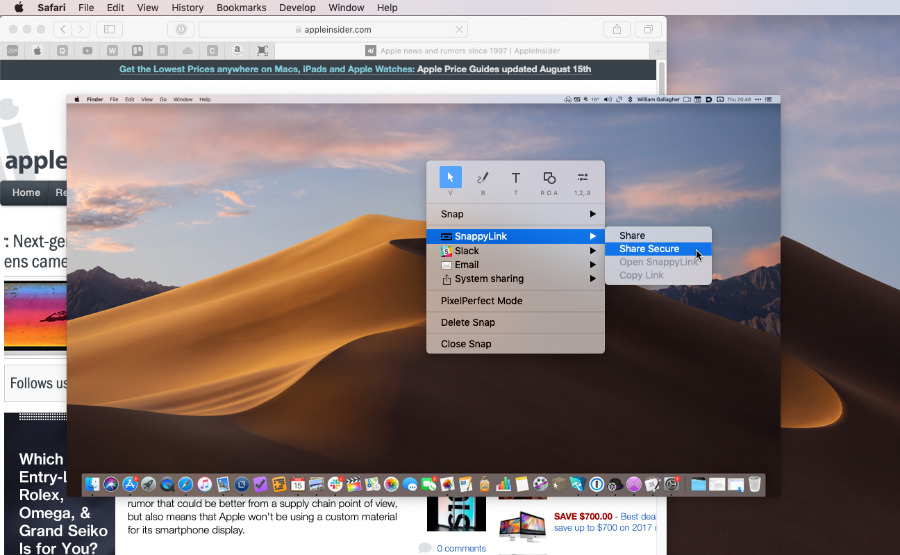
The free Snappy, for example, is similar to Apple's one in that it lets you take a shot and then immediately mark it up. However, it keeps the shots in a library rather than saving them to your desktop. And, while Apple's ones come with the regular Share sheet to email macOS screenshots and so on, Snappy goes further.
It gives you access to those same sharing options, but it also has more direct links to other apps such as Slack. And it can have what it calls self-destructing images that will delete themselves after a set amount of time. Or you can password-protect an image right there before you share it anywhere.
There are many others, such as Monosnap which offers quick annotation, and there are screen movie recording apps that will let you also take single screengrab images.
One that still offers a feature Apple doesn't, is the $19 CleanShot. This takes screengrabs like all of the rest of them, but, if you choose, it will hide all the mess on your desktop first. When you've taken fifty screenshot images in order to test out all of Apple's options and then thirty more to test out the features of third-party alternatives, you might be tempted by that.
There you have it. Now you know how to take a screenshot on a Mac with expert precision.


 William Gallagher and Mike Wuerthele

 Chip Loder
 Andrew Orr
 Marko Zivkovic
 David Schloss