How to manage your iCloud security and Apple Pay settings from the Web
 Stephen Robles
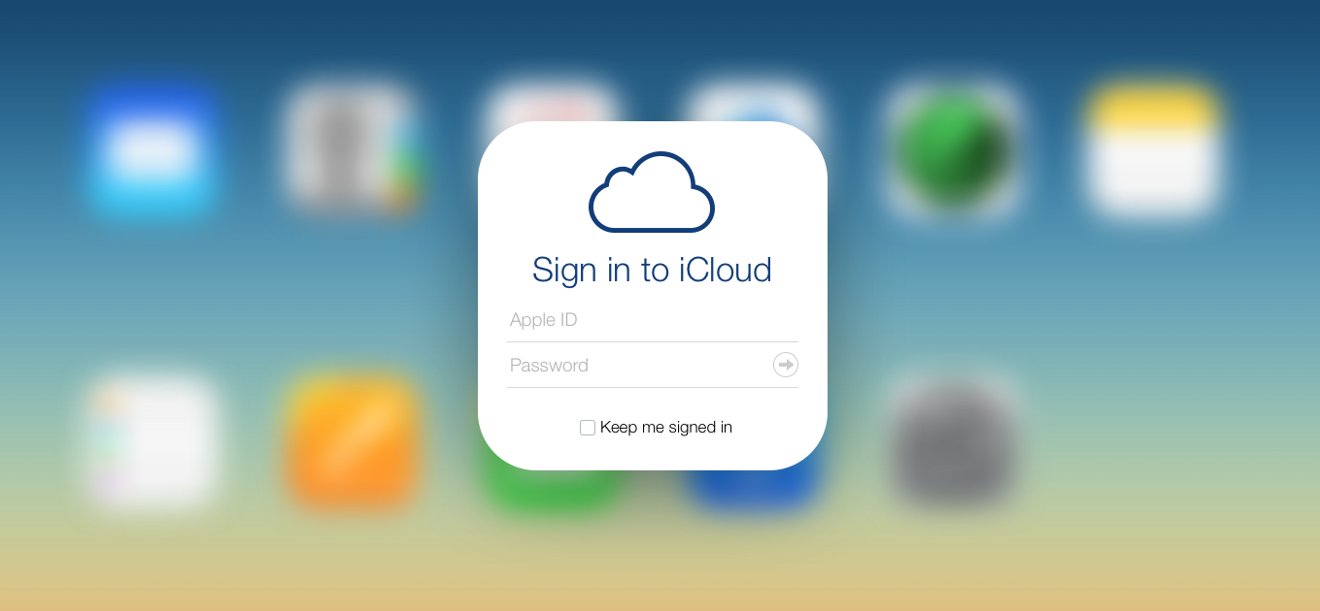
Last updated
Ever since Apple transitioned from its legacy MobileMe service to iCloud, it has sought to add more cloud features to match those of Google and Dropbox. With iOS 8 and Yosemite Apple has also opened iCloud Drive for file storage and Family Sharing of purchases, but managing your iCloud account can be challenging and confusing, especially when it comes to security.
iCloud doesn't feel native to iOS devices or the web. Certain options are only adjustable on your device, like iCloud Storage and Family Sharing settings. While changes to your Apple ID are not on iCloud.com or your device, but rather appleid.apple.com. This guide will help demystify and inform you about the most important settings for your iCloud account: security.
Navigate to www.icloud.com in your web browser. Users will be prompted to login with your iCloud credentials, and if two-step verification is enabled a four digit security code will be sent via text or iOS notification. More on two-step verification later in this article.
After logging in users have the option to manage Mail, Contacts, Calendars, Notes, Reminders and more. For security options, choose the Settings app.

Once inside the Settings app users will see three distinct sections: the first is to manage your Apple ID, the second displays what members of your family have been invited to share purchases, and the last displays the devices associated with your iCloud account.
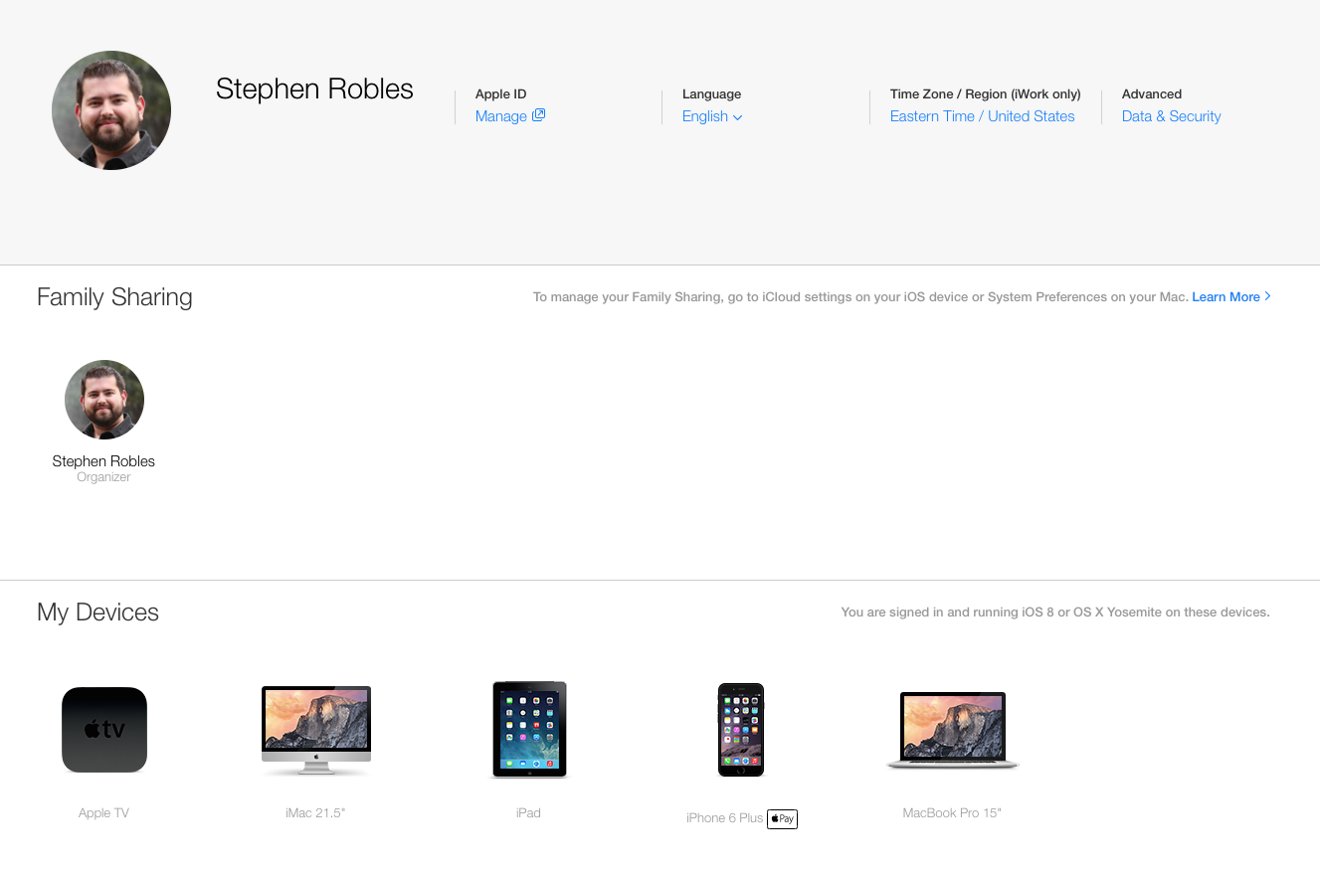
Click on Data & Security in the first section. This will bring up a window that allows you to sign out of all instances of iCloud in any browser. If you feel your account has been compromised, this would be a good first step to securing your account.

After Signing Out Everywhere, users should update their password and enable two-step verification. Under the Apple ID option in iCloud Settings, click Manage. This will load a new tab with appleid.apple.com
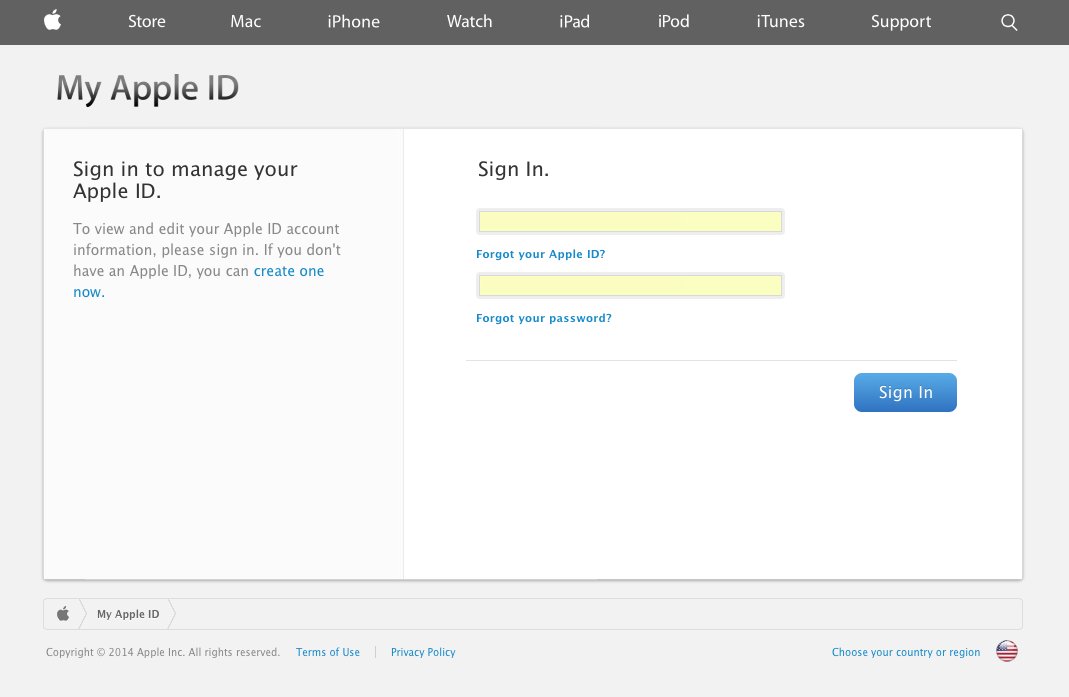
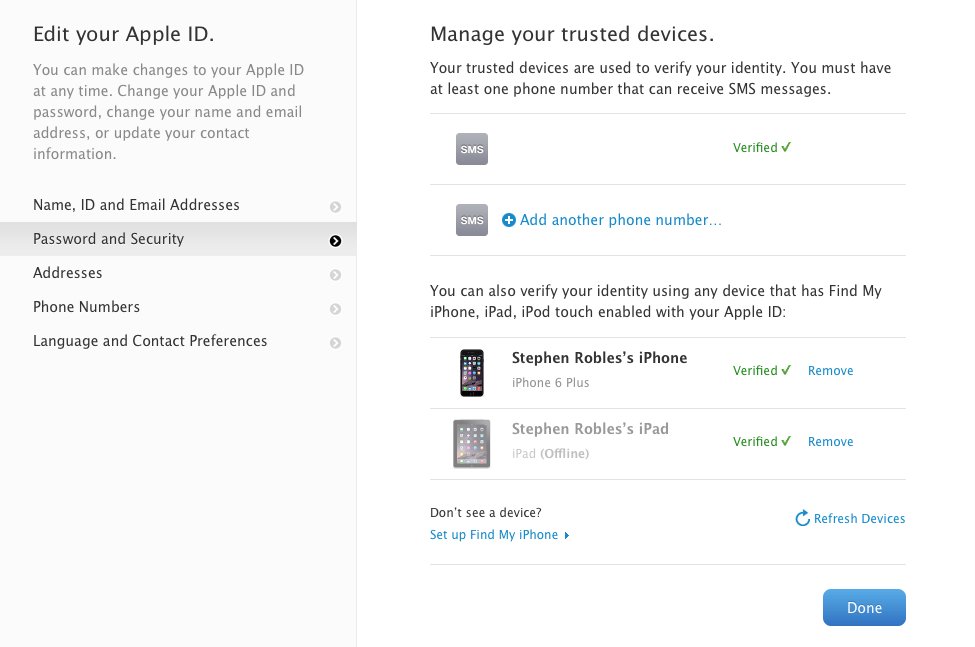
Sign in with your iCloud credentials to manage the account. Once logged in, you'll see several sections with the options to manage personal data like email and physical addresses, change your password, add phone numbers and more. Click on the Password and Security section in the left hand column.
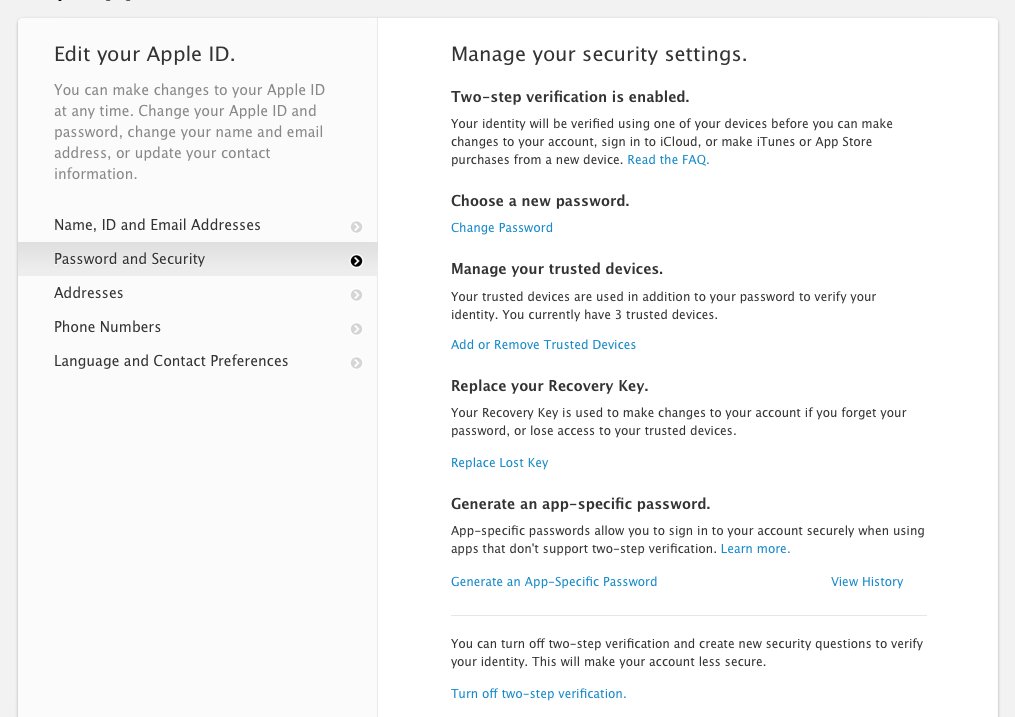
In order to turn on two-step verification, users will need to register a trusted device. Any iOS device with Find my iPhone enabled will automatically appear here. Click on the Add or Remove trusted devices to add more or remove old devices.
Return to the Password and Security section to enable Two-step verification on your iCloud account. Once enabled, users will be asked to authenticate using a trusted device.
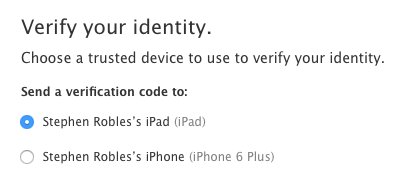
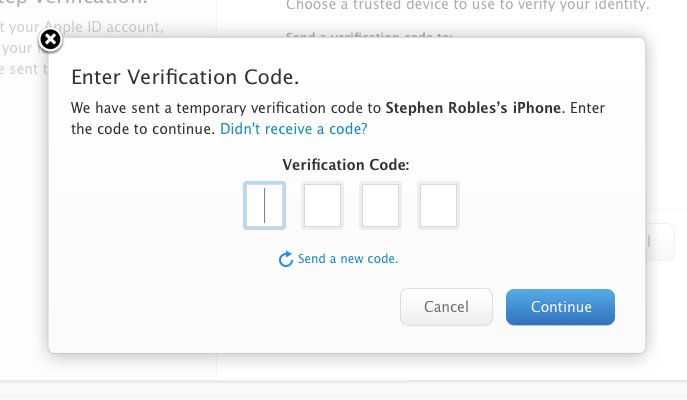
Once a device is chosen, a random four digit code is sent and users will be required to enter it to access their account for future logins.
Users should also generate a Recovery Key from the Password and Security section in case all trusted devices are lost or stolen. The Recovery Key will allow users to enter the account without a four digit code or trusted device.
Back to the iCloud.com Settings app, the second section displaying Family Sharing is view-only. In order to manage the shared users on your account, you must do this from an iOS 8 device or Mac running OS X Yosemite.
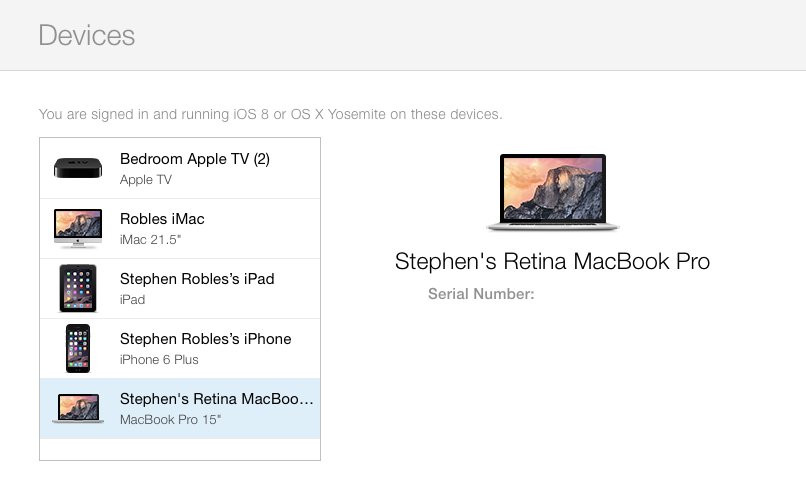
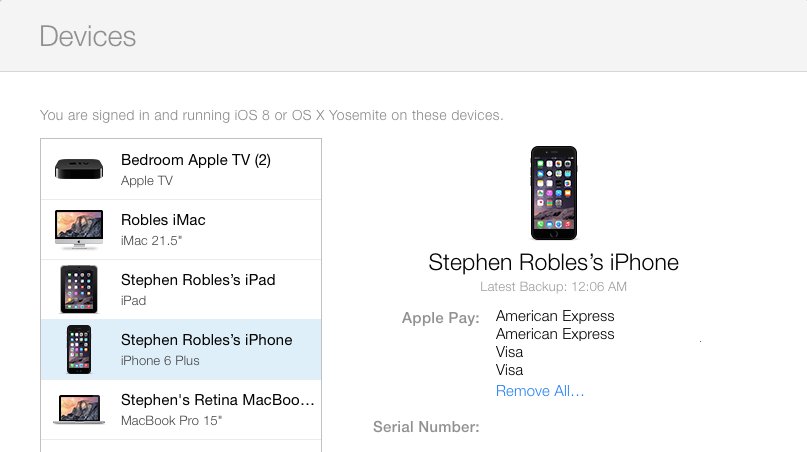
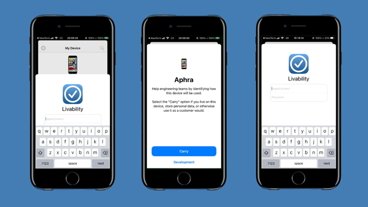
The third section in iCloud Settings displays what devices are associated with your iCloud account. For any device beside an iPhone 6 or 6 Pus, clicking on it only displays the Serial Number.
If an iPhone 6 or 6 Plus is associated here with Apply Pay enabled, there is a very useful feature available. Clicking on the iPhone displays what credit cards are stored on the device for use with Apple Pay. There is an option here to Remove All Cards from the phone remotely. An important step if your device is ever stolen.
Once you have finished managing your iCloud Settings, click your name in the upper right hand corner to Log Out. Upon logging out, users have the option to save the current browser and skip the verification step in future logins.

Be sure this box is unchecked if you are using a public computer. Only allow iCloud to "Remember this browser" on your personal devices.


 Amber Neely
 Thomas Sibilly
 AppleInsider Staff
 William Gallagher
 Malcolm Owen
 Christine McKee


22 Comments
This is excellent information. It is especially useful for people new to Apple. Please continue to produce more in-depth How-to articles like these. It would be great if Apple Insider produced an online manual to get the most out of Apple's iOS and desktop OS, as well as all of the services that Apple has to offer. Apple Insider is an incredible resource and should be the go to source for all technical things Apple like Anandtech is for in-depth technical reviews.
So presumably after the ?Watch is released, iPhone 5, 5c, & 5s users will be able to also manage their credit cards here as well. That's a very convenient feature to have. I wonder if this will also allow the ?Watch to be authorized by a Mac, when someone has left their iPhone at home? That would be a handy feature to have. I wonder if an ?Watch can be an "trusted" device for retrieving the verification codes as well? Hmmm. Will find my iPhone work with the ?Watch? That might really be useful ... oh right, no GPS.
[quote name="Mac_128" url="/t/183652/how-to-manage-your-icloud-security-and-apple-pay-settings-from-the-web#post_2645943"] Will find my iPhone work with the ?Watch? That might really be useful ... oh right, no GPS. [/quote] macs show up in the Find My devices list, despite no gps chips.
When I went to set up 2 step verification it took me ages to work out that after I had logged in to apple id, that to proceed with the verification process I had to enter my security questions to continue.
[quote name="NolaMacGuy" url="/t/183652/how-to-manage-your-icloud-security-and-apple-pay-settings-from-the-web#post_2645946"] macs show up in the Find My devices list, despite no gps chips.[/quote] Good point. Maybe it will work. Interestingly, I just saw an ad for a Seiko Astron which sets itself automatically using GPS. And it's solar powered. Frankly if you can manage ?Pay from iCloud, I really don't understand why they limit the ability to set up an ?Watch with a 5 series iPhone.