The Rio Arc is the first dedicated personal heater to support HomeKit, but just being first doesn't guarantee it's worth owning. We put the Arc through its paces to determine how it stacks up during these winter months.
Rio Arc review - Design
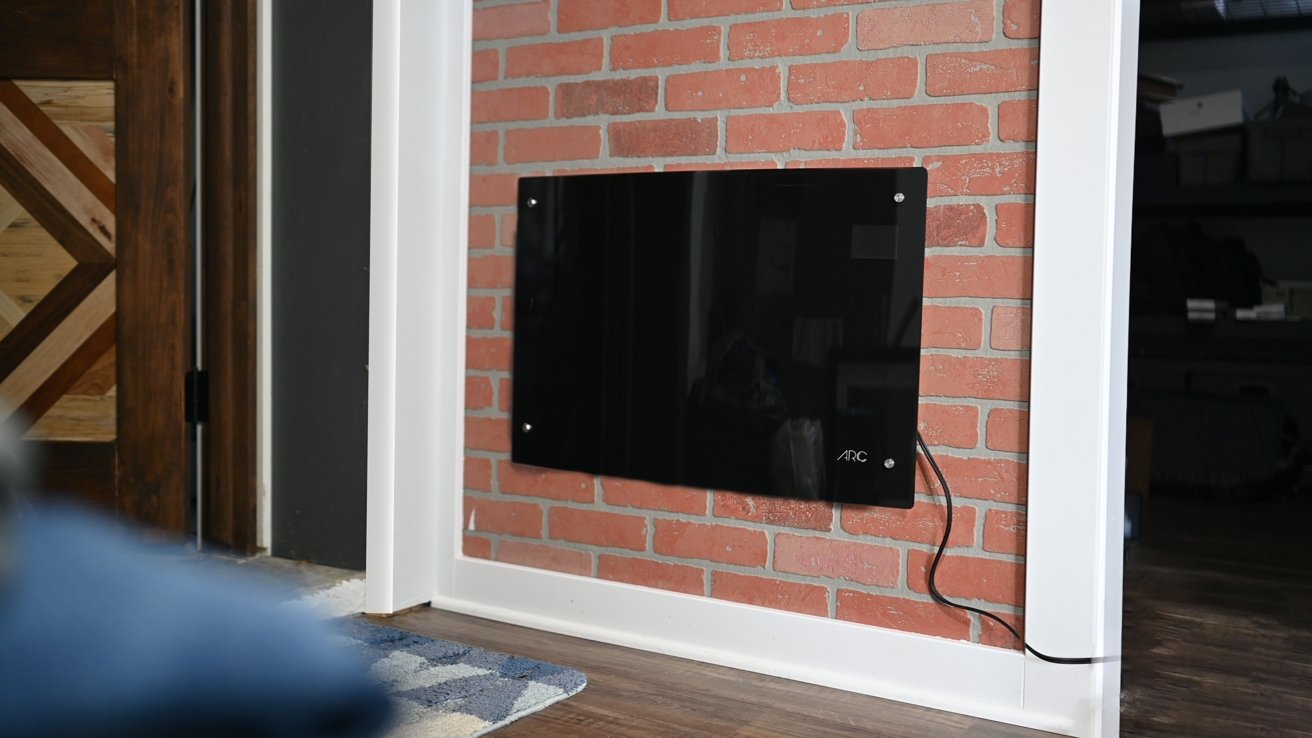
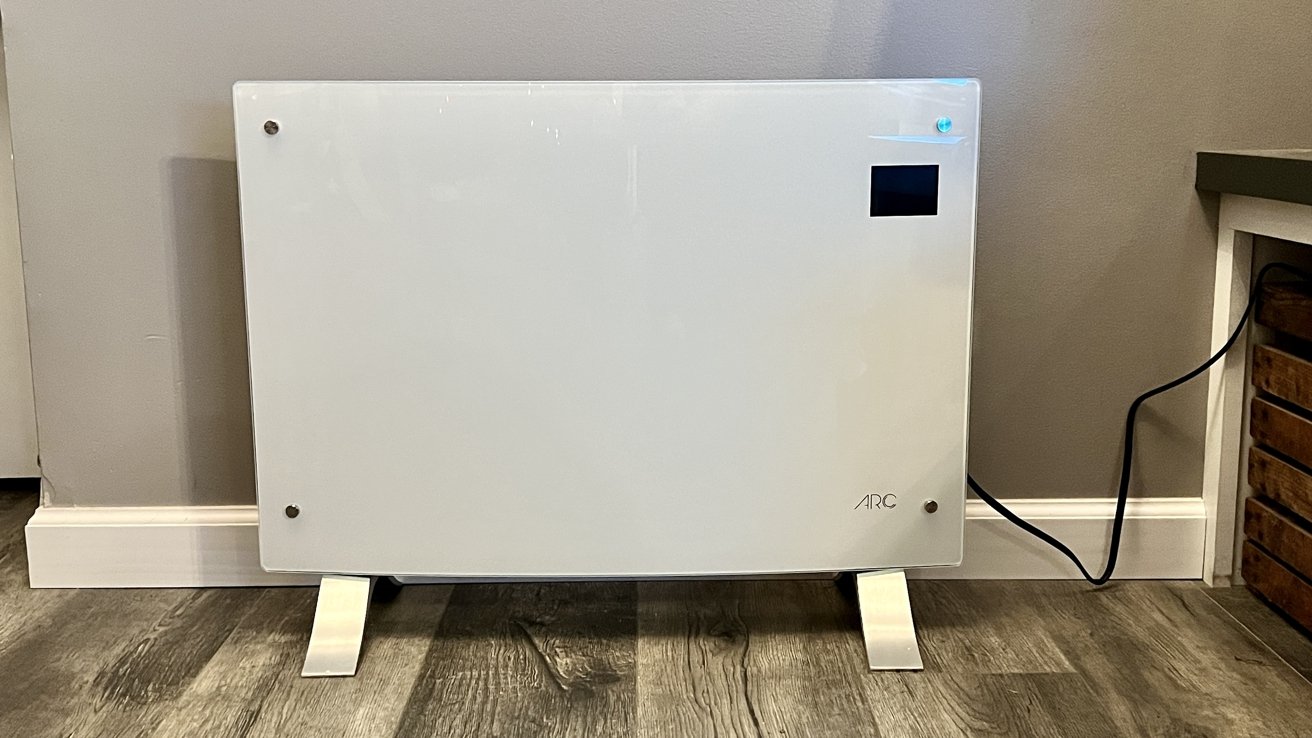
Kicking things off, we love the design of the Rio Arc. It measures roughly 32 inches wide and 18 inches tall. This isn't small by any means but seems appropriately sized for the heat output it provides. The entirety of the front is consumed by a curved sheet of glass, clearly where the product gets its name.
There are technically two models available, a 1500W and a 2000W version. We're testing out the 1500W, and the 2000W version appears to be as of yet unavailable. The 1500W variant puts out enough heat to efficiently warm a room about 250 square feet in size. In our 225 square-foot home office, it seems more than enough.
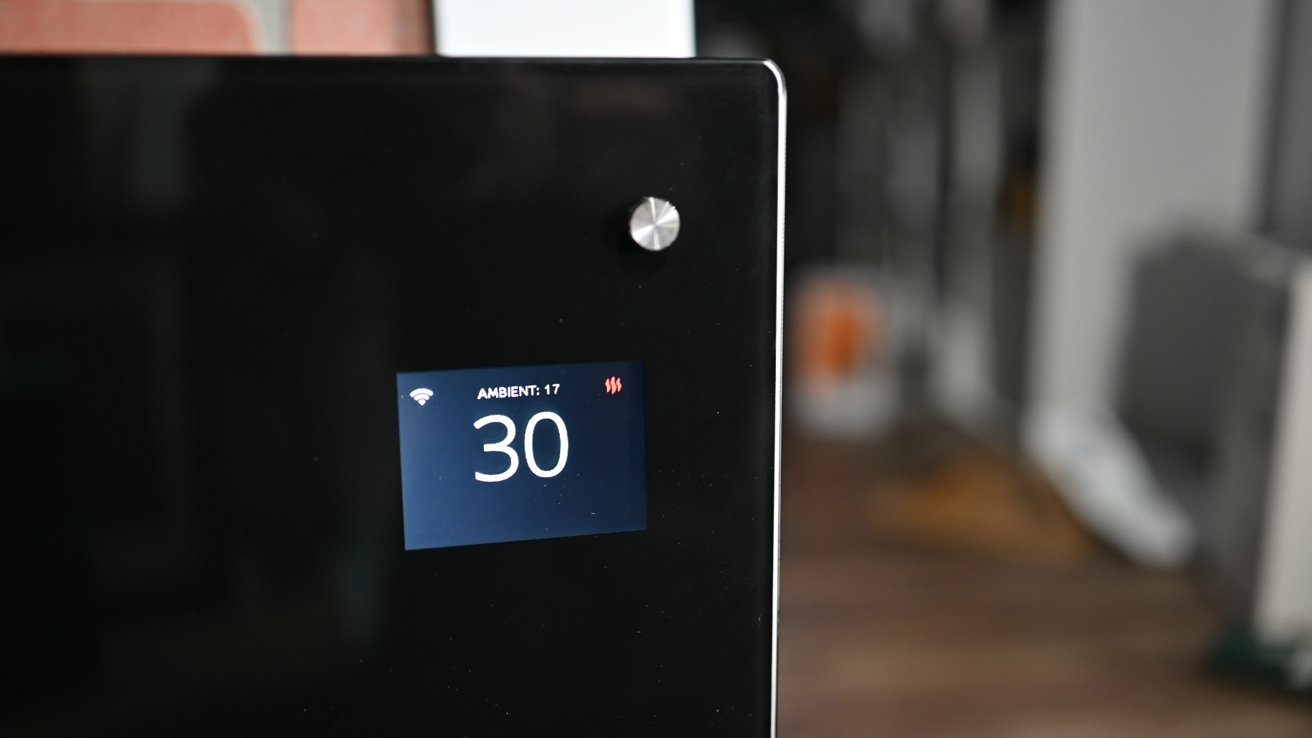
On the right side of the device is a small display, roughly two inches by two inches. It's a backlit LCD and will show the current set temperature, whether or not the heater is actively heating, and your HomeKit pairing code during setup. When heating, a series of red lines will appear next to your chosen temp as a further visual indicator.
When you look down at the black model of the Arc, the edge of the LCD panel is visible. The display could be placed closer to the glass to hide this, but it is more apparent on the model with the dark glass. This isn't an issue with the white and grey models at all.
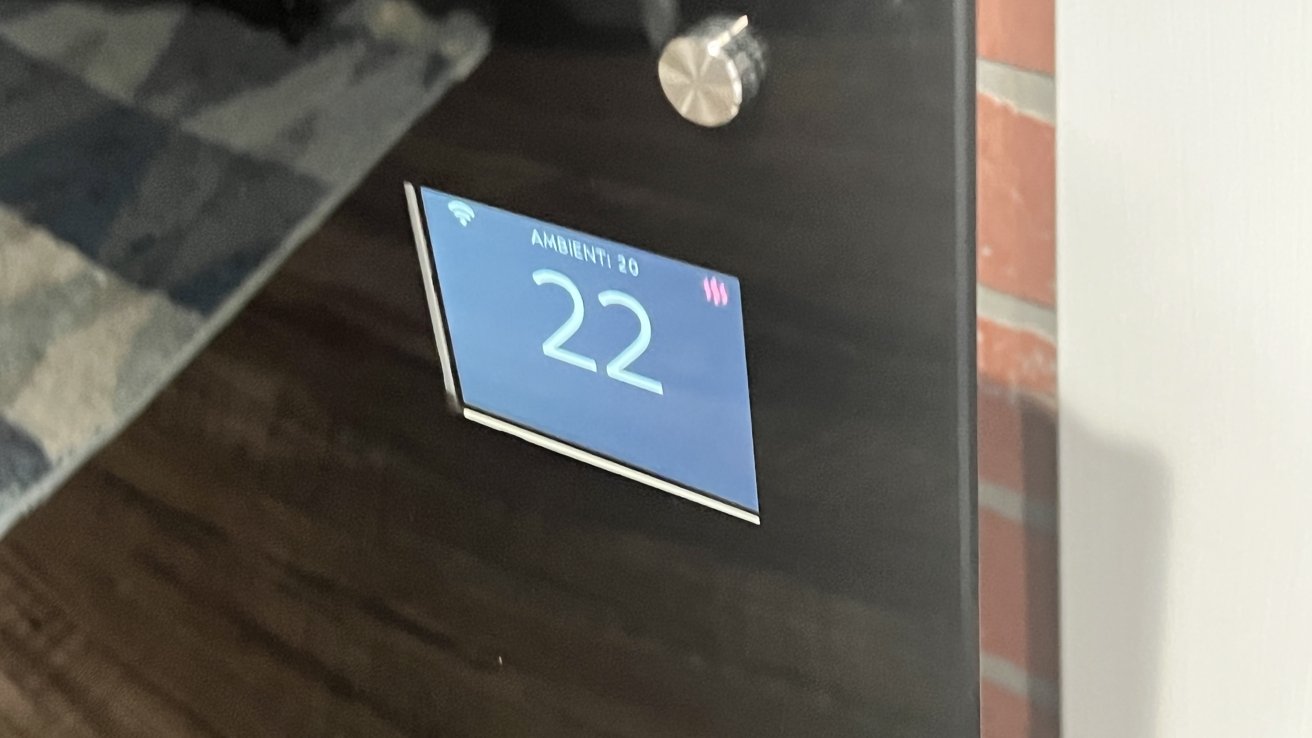
White edge of the LCD panel peeking through
Furthermore, Rio says this isn't something they've experienced with other units, so we may have a one-off defect. It doesn't hurt anything functionally, just something we couldn't help but spot on the darker aesthetic.
You have two options for placing your Rio Arc. There are two metal brackets on the back so that the heater can be connected directly to the wall. When mounted to the wall, you can do your best to hide the cable for a very clean look.
Heat is vented out the top, so assuming you don't point it directly at a wall at close range, there will be no issues with damaging the wall, paint, or wallpaper. We ran the heater for a few hours with a wall mount, and the wall behind was still cool to the touch. Like any heater, it's important not to place anything covering the vents. So no — don't put your sweater on top to finish drying.
The alternative to wall mounting the Arc is freestanding on the floor. Rio includes two die-cast aluminum metal legs that screw into the bottom of the Arc. Screws are included though you'll need to provide the screwdriver.
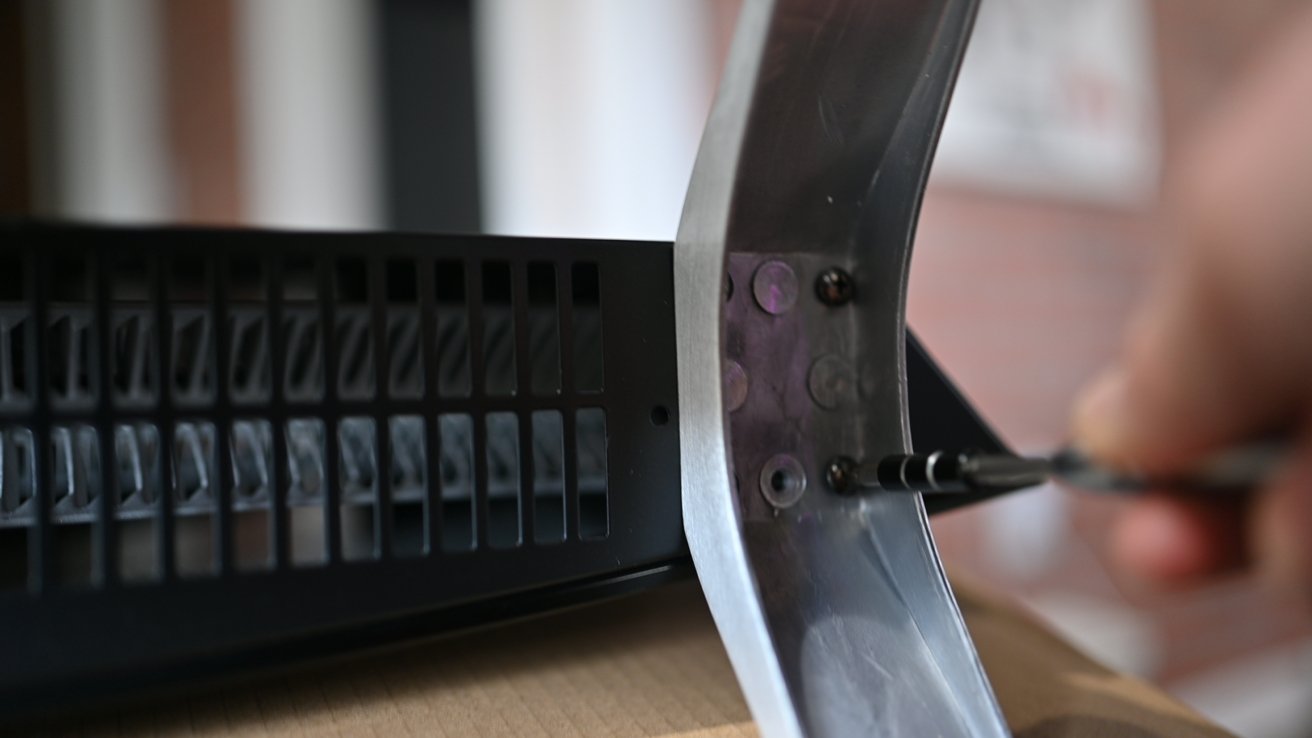
Installing the metal feet
We're not excited about the feet on the unit. Specifically, they are sharp, and we worried that it would scratch our wood flooring if we slid the heater at all.
We reached out to Rio on this matter and were told that this was an early issue and has since been fixed on subsequent models going through production. Newly produced units have a silicone grip under the feet to
remedy this issue entirely.
If you do happen to get a model with rough feet, be careful as you slide it around on your floor or place it on non-flammable pads.
Behind the right edge of the Arc are a few buttons used to manually control the heater, such as adjusting the target temperature up and down.
Whether you set the temperature manually or via HomeKit, the heater will immediately start heating the air and pushing it out of the top of the Arc to bring your room up to the temperature you chose. It didn't take long at all for the temperature to rise in our bedroom.
It also is nearly completely silent. This can be good or bad, depending on your preference. Some people may prefer the white noise of a fan-based heater like a Dyson, while others don't want the noise and want a very quiet heater that works just as well. Your mileage may vary.
Rio Arc review - HomeKit control
The Rio Arc looks good enough that we'd very much consider purchasing it based on the appearance alone. The real meat here, is the support for HomeKit.
Setup for HomeKit is as easy as can be. Plug in the Arc for the first time, and a HomeKit pairing code will be displayed on the built-in screen. Scan this code from the Home app, and the heater will be added to your home, including configuring the Wi-Fi.
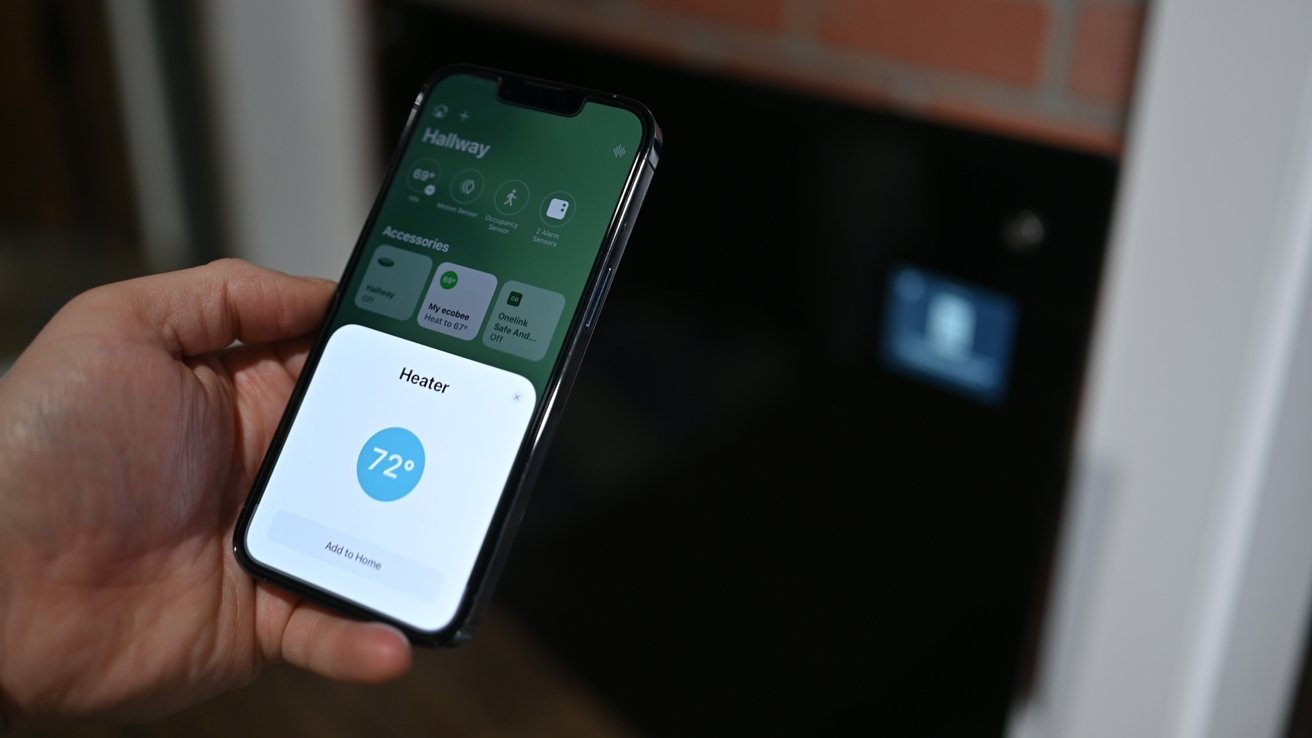
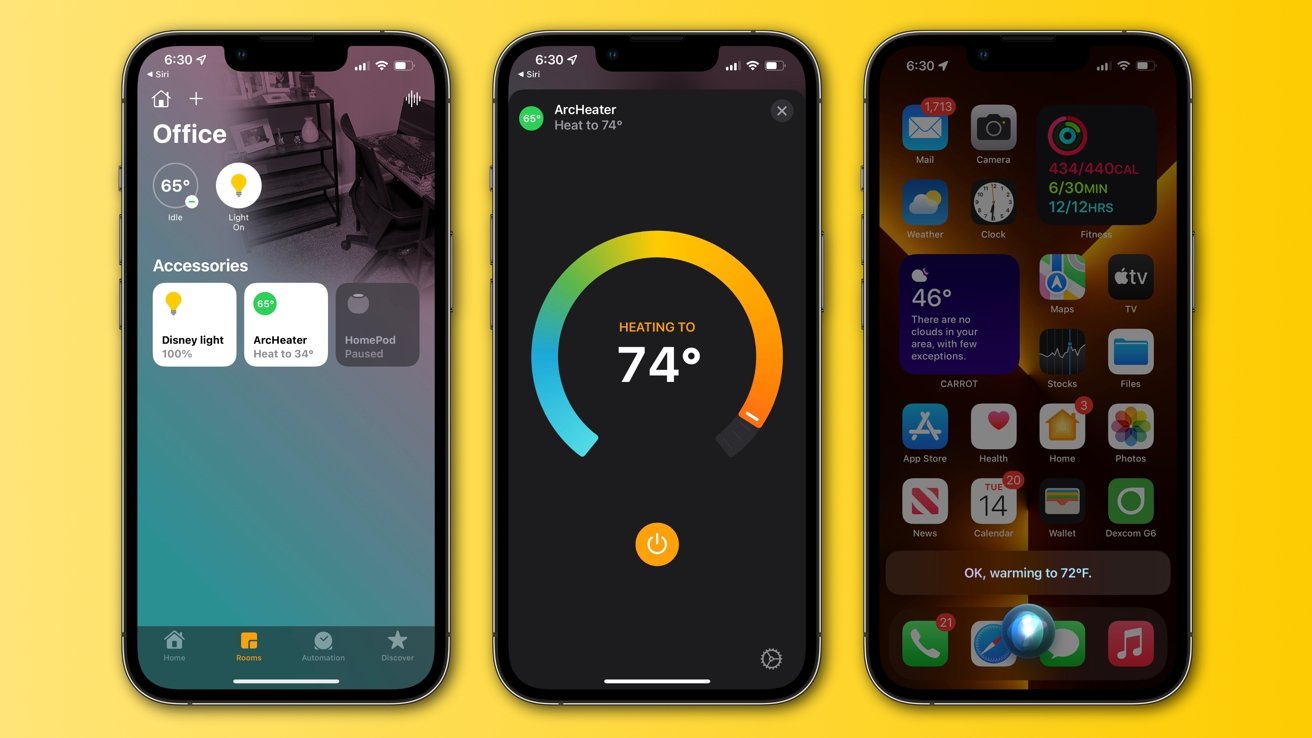
The Rio Arc works with HomeKit
The setup process involves assigning a room to your heater and choosing a name. A recognizable name is helpful when querying Siri to control the device, though Siri is more intelligent than she used to be.
You can say "turn on the bedroom heater" or "set the kids bedroom heater to 72 degrees" without knowing the name, but if you have multiple heaters, it makes sense to know which is which.
As a HomeKit device, it can now be automated, controlled via other HomeKit devices, and included in user-created scenes. Everyone will have their preference, but here are a few ideas that we set up for our Rio Arc.
One of the first HomeKit automations we set up was to have the heater automatically turn off whenever we leave home. You can choose this to be you specifically, or you can have it turned off whenever the last person leaves home.
We also set up a HomeKit button to control the heater. A single button press would set the temperature to 69 degrees, while two button presses would boost it a little higher to 72 degrees. Three presses would turn the heater off.
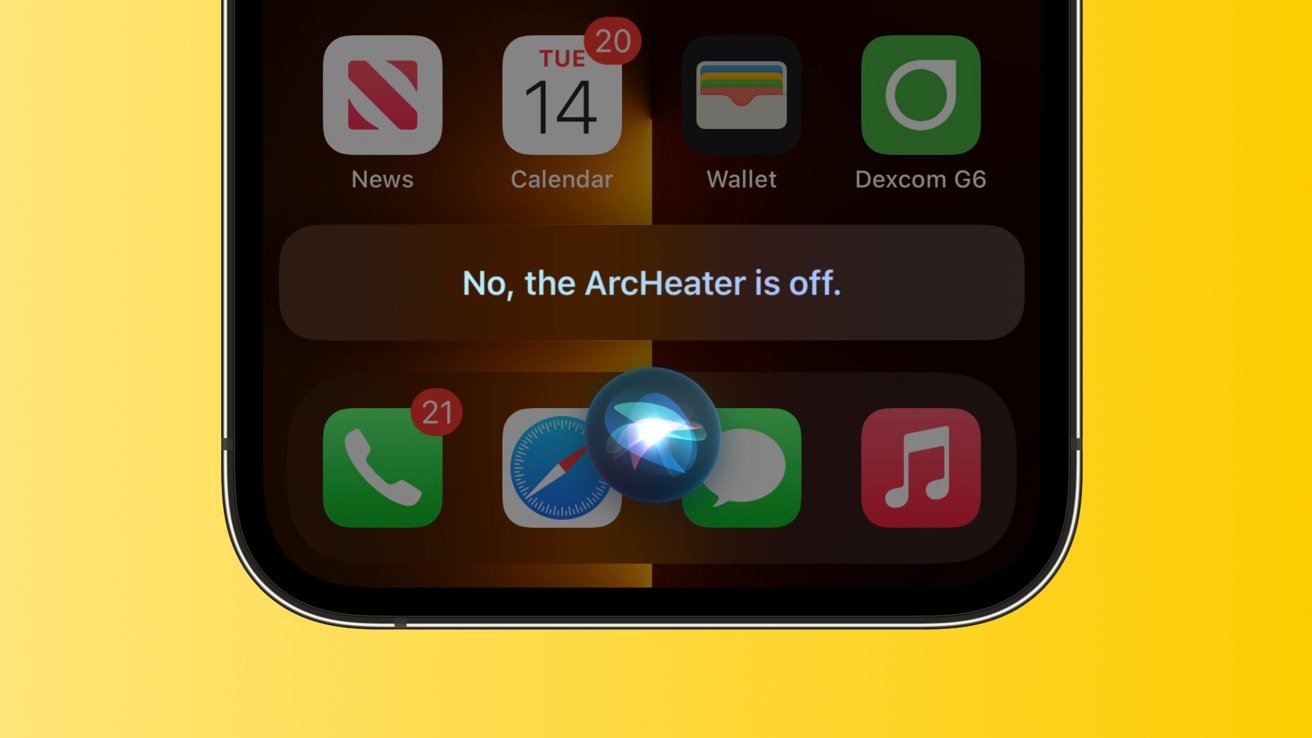
Ask Siri if you left the heater on
The heater is also part of multiple scenes in our home. Our "goodnight" scene will turn off the lights, close the living room shades, lock the front door, close the garage, and will set the heater to our preferred nighttime temperature. This single scene can automate several individual tasks.
Other possibilities include turning it on and off when someone enters a room using motion sensors, turning on when a thermostat in the room reaches a particularly low temperature, or maybe turning off when the ceiling fan is turned on. It is only limited by the other accessories in your home and what you can come up with.
The Rio app
While the HomeKit setup was painless, we weren't without hiccups in the process. The dedicated Rio manufacturer app is a necessary evil in the HomeKit space and, while easy to do, isn't all that intuitive.
The white Rio Arc
The Arc needs to be added to the Rio app separately from HomeKit. This involved launching the Rio app and generating a new QR code on the heater itself.
Initially, the app says "ensure Arc is in pairing mode" without saying what pairing mode is or how to get there. All you need to do is hold the top button to generate a new code. The documentation needs to be more explicit about this.
For HomeKit users, there is one big reason you need the Rio app, and that's firmware updates. This is especially true as we're writing this review.
See, Rio Heating isn't a U.S.-based country, and therefore, doesn't use Fahrenheit to measure temperature. When you receive your Rio Arc, it will most likely display the temperature in Celsius. For example, instead of showing 70 degrees Fahrenheit, it will show only 21 degrees Celsius. The device initially was only available abroad, and an upcoming firmware update will make the heater show the temperature in Fahrenheit.
This isn't a dealbreaker in functionality; however, the temperature is shown in the units relevant to the country in the Home app. And when you ask Siri, you can also use your local measurements. It is only on the heater's display where Celsius is shown.
Rio says the firmware update is nearly ready to roll out — but as with most HomeKit peripherals, the only way to install a firmware update is through the Rio app. We wish Rio could route the firmware updates through the Home app, but you need that dedicated manufacturer app as it stands.
Should you buy the Rio Arc?
There are a ton of benefits to having a connected personal heater. You can control it from anywhere using just your voice. You don't have to get out of bed to warm up your bedroom on a cold winter morning.
The automation and routines can also make it easier to control and perhaps even save you money by only initiating the heater when you need it.
Additionally, you have the safety and peace of mind aspects. Whether it is ensuring your house doesn't drop below freezing, or you can rest easy knowing you didn't leave the heater on as you left the house.
The Rio Arc is great as a connected heater and works flawlessly with HomeKit. There are still quirks, such as the setup process with the Rio app, but that only rears its head during that initial setup process.
Once configured, the Rio Arc is a dream and performs admirably.
In these chilly winter months, if you're in the market for an electric heater and want one that works with HomeKit, the Rio Arc is an exceptional choice. And not just because it is your only one.
Pros
- Stylish, modern design
- Multiple colors to choose from
- Sleek, glass front
- Includes metal feet but can also be wall-mounted
- On-device display relays heating status and temperature
- Seamless support for HomeKit
- Connects via Wi-Fi
- Heat is directed up, won't heat behind unit
- Excellent job at heating the room
- Reliable & responsive
- Built-in safety guards
Cons
- Currently only displays Celsius
- Feet have sharp bottoms, though reportedly fixed
- Edge of display is visible from above on dark model
- Awkward pairing to Rio app
Rating: 4.5 out of 5
Where to buy
Currently, for U.S.-based customers, the Rio Arc is only available via the manufacturer's website. You're able to pick it up in black, white, or grey for $291 with free worldwide shipping.