 Damien Lavizzo
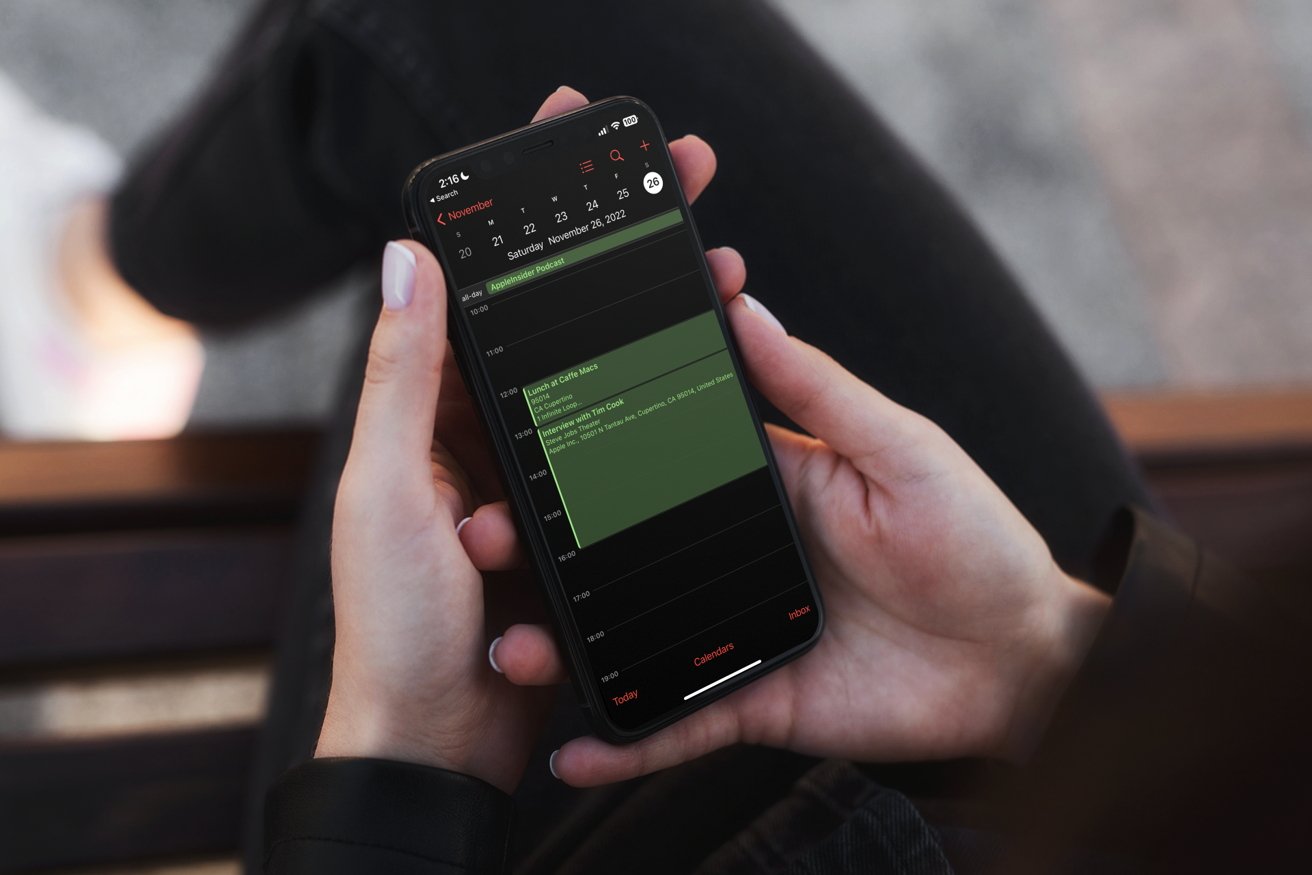
Your iPhone's Calendar app can be an great way to keep your busy schedule in sync with your family, friends, or co-workers. Here's how to manage your Calendar and get everyone on the same page.
The phrase "my whole life is on my phone" becomes truer almost every day as both apps and the iPhone itself get more and more capable. However, one of the most powerful tools for keeping your life organized is actually pre-installed your phone, right out of the box.
Apple's Calendar app might seem simple at first glance, but with a little tweaking it can be one of the most powerful tools on your phone for keeping on top of a busy schedule. One of Calendar's most powerful features is Sharing, letting you and anyone else with an iCloud account co-ordinate your Calendars and see each other's schedules at-a-glance.
Here's how you can get started with creating and sharing in Calendar.
What you'll need
- Any iPhone that's compatible with iOS 15.4 or above (for delegation) or any iPhone (for creating and sharing).
- An iCloud account.
How to create an iCloud Calendar
Calendar comes with a few pre-set calendars out of the box. If you'd like to add your own custom calendars, however, Apple has made it quite simple.
How to add a custom Calendar
- In the Calendar app, tap on Calendars at the bottom of the screen in the middle.
- In the Calendars pop-up menu, tap Add Calendar at the bottom left of the screen. In this menu, you can add a new Calendar.
- Tap Add Calendar.
- In the Add Calendar pop up menu, you can give your new calendar a name and assign it a color, so you can easily spot events from that calendar in your Calendar's Day or List views.
In the Add Calendar menu you'll notice that you can also subscribe to an existing calendar or add a holiday calendar. Subscription calendars are public calendars from external sources. Holiday calendars are public calendars with Apple-curated lists of holidays from different countries and regions.
Sharing your Calendars
Once you've created your own personalized calendars, sharing them can be a great way to stay connected with family, friends, or co-workers.
How to share a Calendar in iOS 16
- Similar to creating a new Calendar, in the Calendar app, tap "Calendars" at the bottom of the screen.
- Next to the calendar you'd like to share, tap the "Information" button - it looks like a lower case i in a circle.
- In the Edit Calendar menu, under Shared With, tap Add Person.
- You can add a person by typing their name, email address, or by tapping the + button on the right side of the To: field.
- Tap the person you'd like to share your calendar with.
By default, people you share your calendar with are given View and Edit access, meaning they cand add and change events, along with viewing them. You can change this in the Edit Calendar menu by tapping on the person's name, and tapping the green Allow Editing toggle.
If you'd like you can also make this calendar completely public, which will allow anyone to subscribe to a read-only (non-editable) version of the calendar. Apple has limited the number of people you can share a private calendar with to 100 but public calendars have no limitation.
What is Delegating a Calendar?
While browsing through your Calendar settings, you may notice the option to Delegate Calendars. Delegating a Calendar is a way to share a CalDAV or Exchange calendar service with other people.
While delegation is a holdover feature from iCal and has largely been deprecated, some businesses and organizations still require it. If your organization uses a private CalDAV or Exchange server, you may be asked to delegate that Calendar with other users. Here's how to get started.
How to Delegate a Calendar
- In the Calendar app, tap Calendars at the bottom of the screen.
- Swipe up on the screen until you see the Delegate Calendars option at the bottom of the list.
- If you have any Calendars that can be delegated, you'll see them here. Select the Calendar you'd like to delegate and tap Add Person.
- If your system administrator has authourised it, you'll see a list of other users you can delegate your selected calendar to. Tap the person's name, then tap done.
In the Delegate Calendar menu, you can also view Calendars that have been delegated to you.
One thing that's very important to note is that delegating a Exchange Calender gives the other user access to your Calendar as if they owned it, meaning they can make changes, add or remove events, share events with others, or even delete the Calendar entirely.


 Charles Martin
 Malcolm Owen
 William Gallagher
 Christine McKee
 Marko Zivkovic
 Mike Wuerthele

 Amber Neely