The Live Photos feature in the Camera app on an iPhone or iPad takes about two seconds of video. Here's how to turn it into an actual video clip.
It is sometimes handy to capture a very short video of something, like a kid doing a cartweel. Live Photos capture those moments, and can be played, looped, bounced back and forth, or have a "long exposure" effect that blurs motion.
This makes Live Photos very handy for capturing a moment that involves motion rather than just a still image. You can edit a Live Photo to turn any part of it into a still picture as well.
Convert a Live Photo into video on an iPhone or iPad
Sometimes, you will want to use a Live Photo into an iMovie project you are putting together, or for use with other video projects. This means the Live Photo has to be converted to a standard video file format.
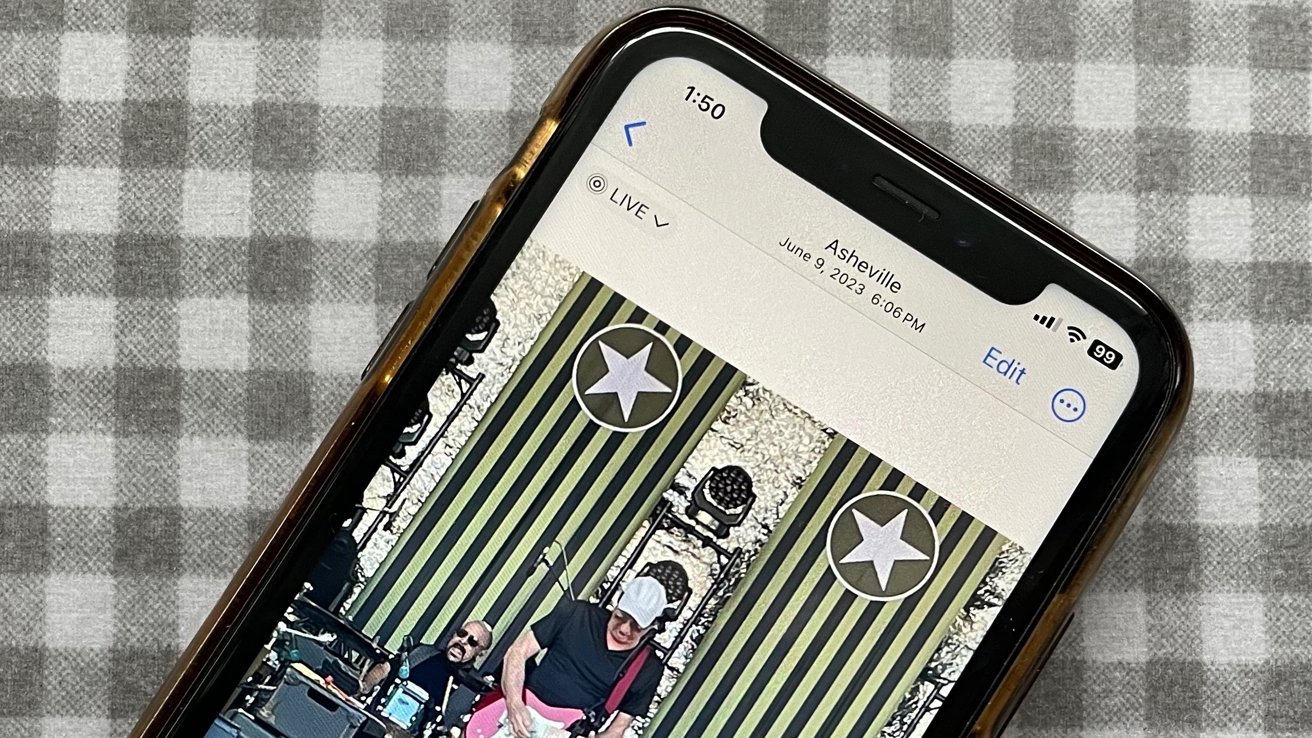
To do this, first open the Live Photo in the Photos app. The easiest way to find them is tapping or clicking on the Albums section.
From there, scroll down to Media Types, and choose Live Photos. Then tap or click to select the Live Photo you want to convert.
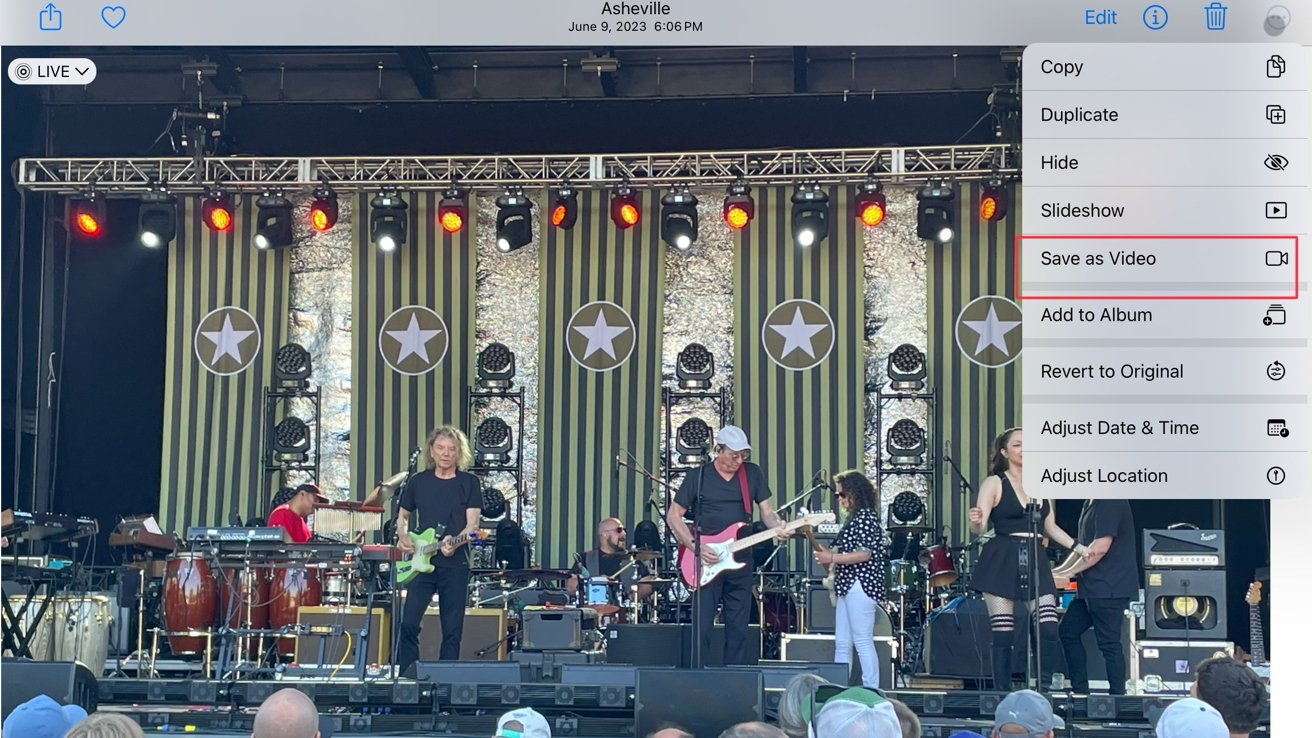
On an iPhone or iPad, tap on the "three dots" menu in the upper-right corner and choose "Save as Video." The resulting video file will be available in the Media Types section under "Video" as well as in the "Recents" album.
The original Live Photo is still there, and can be found in the "Live Photos" album. You can now export that video wherever you'd like it to go, such as an attachment to an email or copied to the Files app for future use.
Convert a Live Photo into video on a Mac
On a Mac, the procedure is a little different. By default, Live Photos are saved in High Efficiency Image Codec (HEIC), so you must hold the option key down while dragging the Live Photo out to your desktop or another Finder window.
This creates two files: a .mov video file, and a HEIC "keyframe" still image. The .mov file can be imported into iMovie or other video editors on the Mac.
You may want to share the file with non-Apple users, which means you should convert the .mov file to another format. To do this, you can export the clip from iMovie into MP4, or you can use other third-party utilities to convert the clip to lesser-used formats.
Live Photos can capture brief but special moments, or just add some context to a picture by including sound and movement. Though they are very short, they can come in handy in a video of pictures by interspersing live moments in-between the still images, and there are other uses for clips like these as well.
 Charles Martin






-m.jpg)




 Wesley Hilliard
 Malcolm Owen
 Andrew Orr
 William Gallagher
 Sponsored Content
 Christine McKee

 Thomas Sibilly





3 Comments
Better yet, select a group of photos taken one after another, then convert to video. If the gaps between shots isn’t too long, you get one long video!
Tap on the "three dots" menu in the upper-right corner and choose "Save as Video."
@appleinsideruser great tip! Thanks! @AppleInsider givr credit to users with those side bar/in article tips and you gain user contributions!!
Appleinsider, these should be Tips all along the side bar and within articles, it helps people look beyond the article and makes Ads “seen” vs doing a whole article on something that literally took one sentence to tell.