Owning any Apple product at all means you almost definitely have an Apple ID. Whether it be the email attached to your Apple ID being a little outdated or security concerns, changing it is no problem.
Your Apple ID, soon to be rechristened as your Apple Account, is the gateway to the amazing cross-device continuity that Apple has to offer, so it can be very important that yours is up-to-date. As long as you own an Apple device that has internet access, it's actually no issue at all to change your Apple ID. But, depending on your security settings, the process can take an extra hour.
How to change your Apple ID email
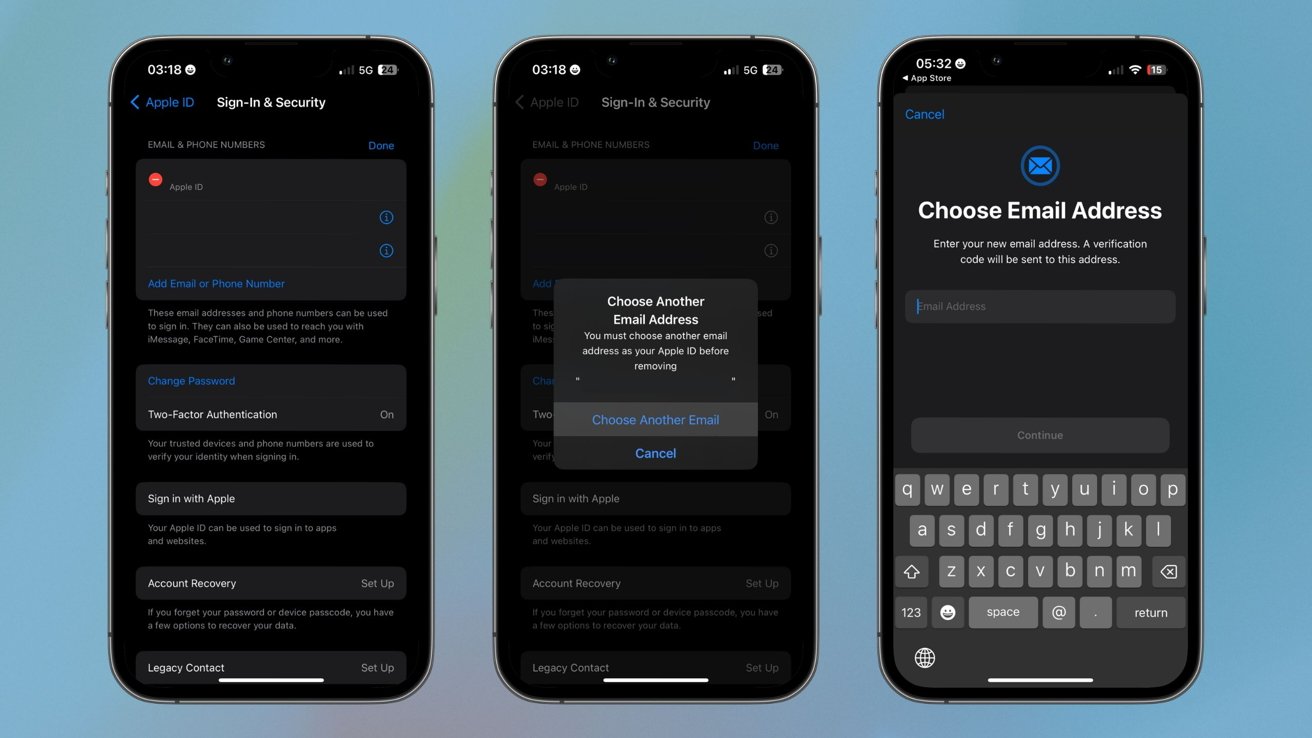
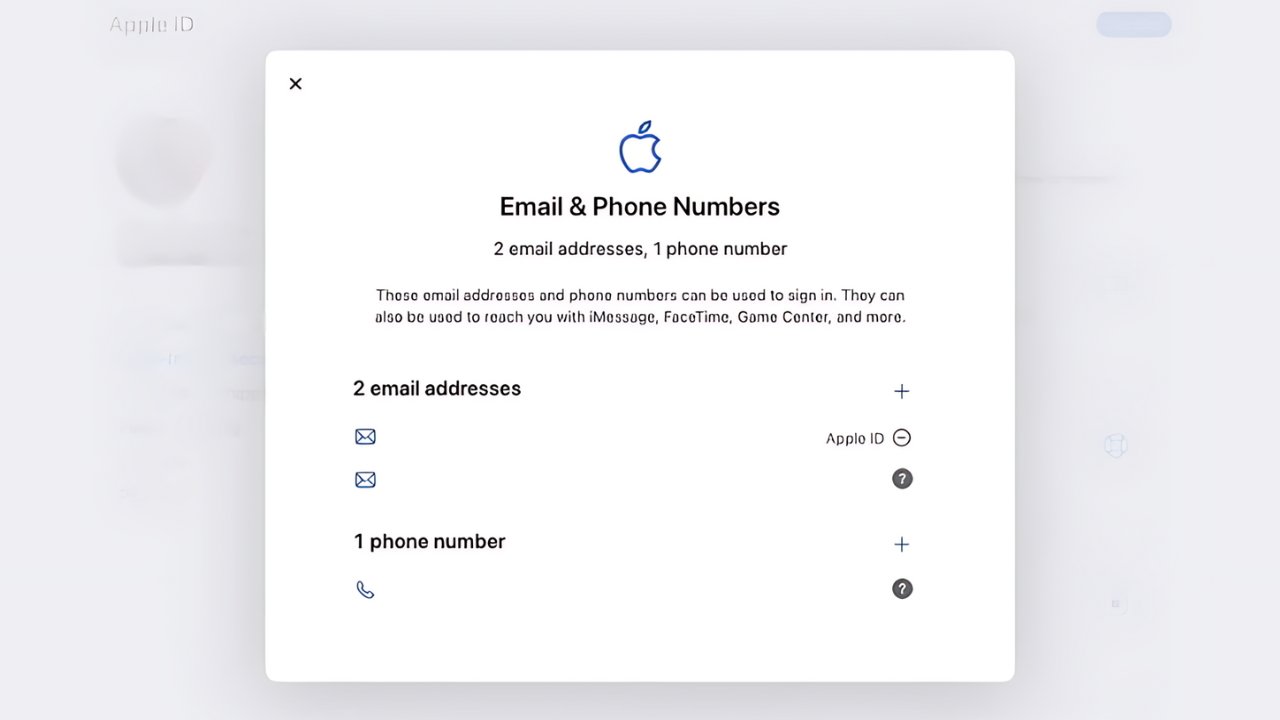
So long as you have Stolen Device Protection turned off, changing the email tied to your Apple ID is a simple as a quick visit to your iPhone or iPad's Settings app. You can also make changes on Apple's website. Either way, the steps remain about the same, but it is important to know how to get to where you need to be in your iOS or iPadOS' Settings app.
- Open the Settings app.
- Tap on your name.
- Tap on Sign-In & Security.
- Tap the Edit button next to Email & Phone Numbers.
- Delete the email labelled as your Apple ID.
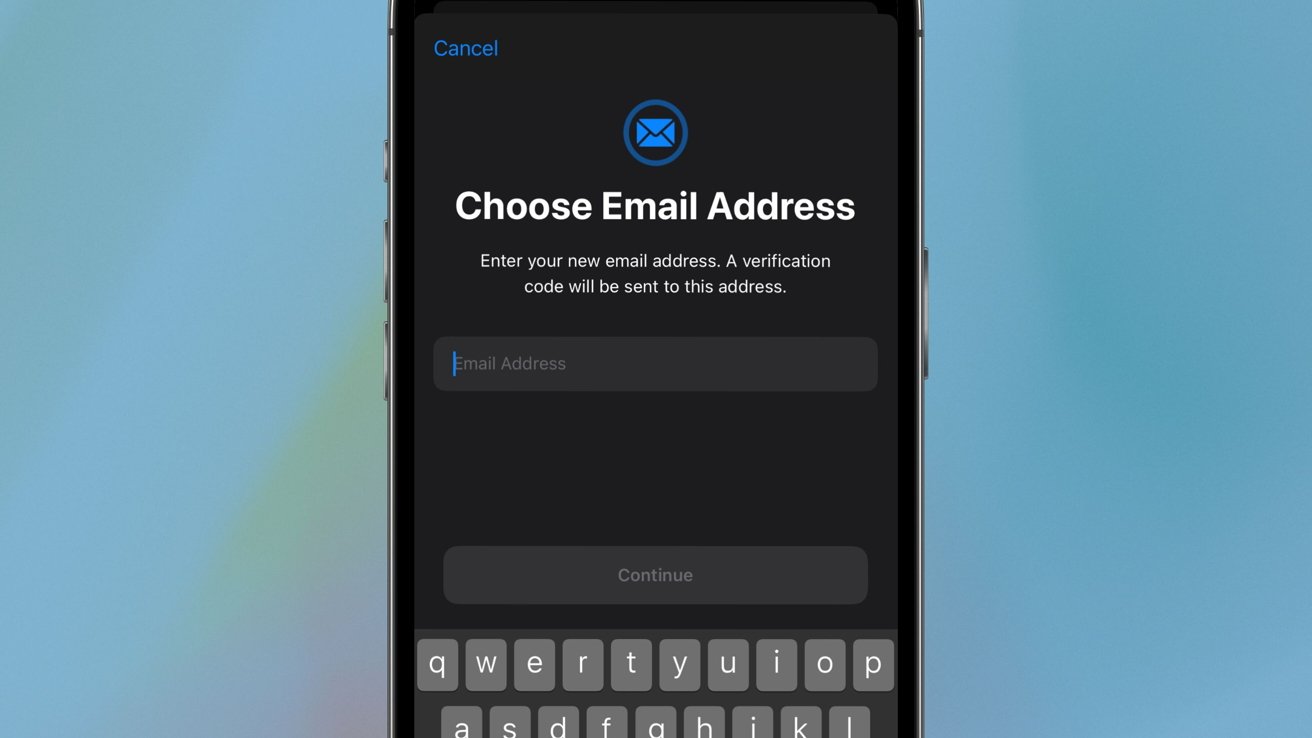
- Choose your new Apple ID email.
After entering your new email, you will need to verify it. Verification is as easy as opening a link that Apple will send to your newly chosen email address. Just like that, you'll have changed your Apple ID email. The process on Apple's website will remain much the same. However, if you do try to change your Apple ID on the web, you may encounter an issue if you have Stolen Device Protection enabled.
How to change your Apple ID email with Stolen Device Protection enabled
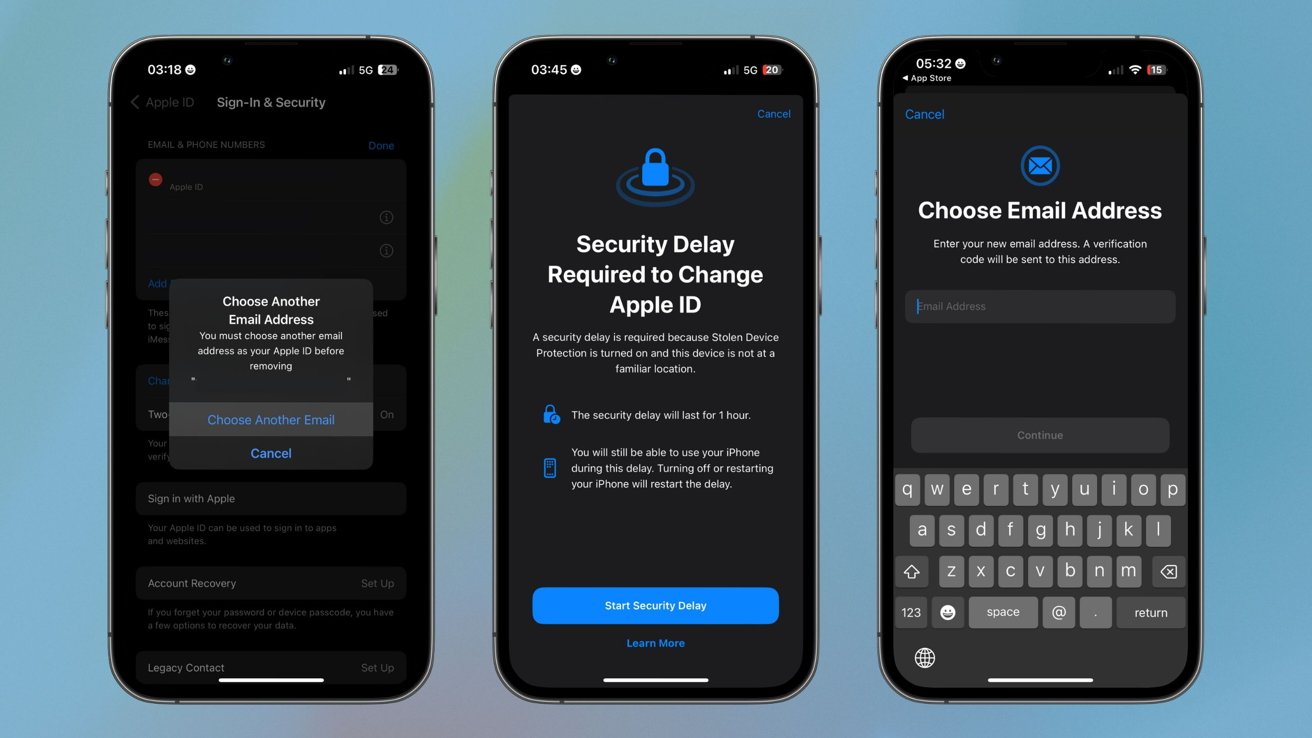
Should you have Stolen Device Protection enabled, your process for changing your Apple ID email will differ ever so slightly. To begin with, you won't be able to change your Apple ID email on the web. You'll instead need to do it directly from the setting of one of your devices.
The main difference will be a time sink at worst. Should you be away from a familiar place, or have Stolen Device Protection set to always require a security delay, you're going to need to wait an hour to make the change. Making the change on your iPhone with Stolen Device Protection requires largely the same steps.
- Open the Settings app.
- Tap on your name.
- Tap on Sign-In & Security.
- Tap the Edit button next to Email & Phone Numbers.
- Delete the email labelled as your Apple ID.
- Start your security delay
Your iPhone will send you a push notification once the security delay has ended, but then you'll only have a further hour in which to make the change . If you miss that hour window, you'll have to start the security delay all over again.
Whether it be a necessity or a want, changing you Apple ID email isn't difficult to do. Just be sure you're ready to possibly wait an hour if you have Stolen Device Protection enabled.
 Bon Adamson




-m.jpg)




 Charles Martin
 Marko Zivkovic
 Andrew Orr
 Amber Neely

 William Gallagher and Mike Wuerthele




3 Comments
One AppleID to Rule Them All.
I have always wanted to get more out of AppleID.
Since I have a vast selection of devices, some over 10 years old, and my gorgeous unreplaceable iPad1 (with limited uses), I have always worried about falling under Apple's evil spell of forced/early obsolescence, savage and apparently arbitrary update changes, and unwanted app changes which may undermine and destroy my collections - looking at you iPhoto and Podcast and Adobe Suite. Along with having a few AppleIDs and limited functionality between devices, I have always wanted to clean-up the whole eco-system and it seems that 'aggregating' to a single all-knowing, all-seeing AppleID was a major step. A good All Things AppleID might be a good primer, including said article with a relevant email address. Ho-hum.
This doesn't work and never has, at least not those with legacy @mac or @me email accounts.